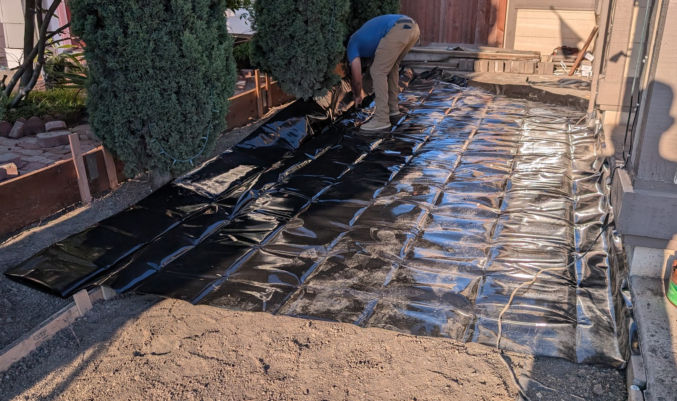
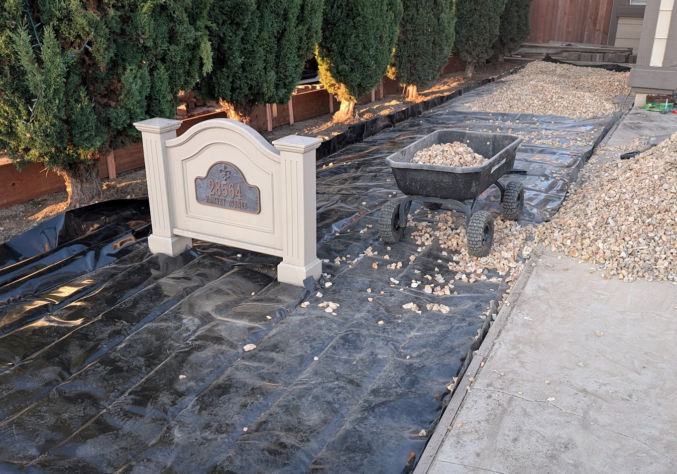
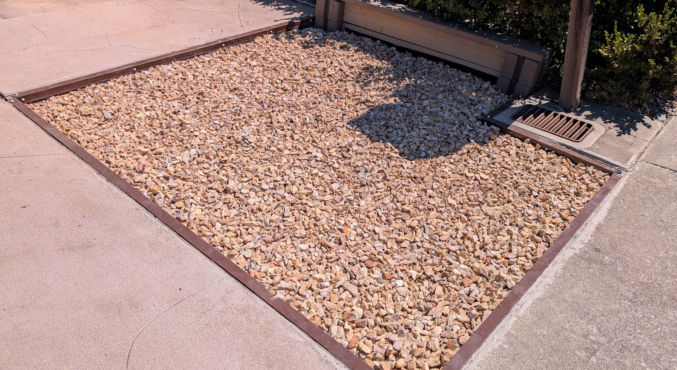
To eliminate maintenance and water costs, I replaced my front yard with rocks and 6 Cypress trees. The front yard slopes away from the house toward the street. Since I don’t need to water any plants or trees (the Cypress trees can survive off of rainwater in the Winter), I put down 20-mil thick pond liner. Where two pieces of pond liner meet, I overlap them by 12 inches.
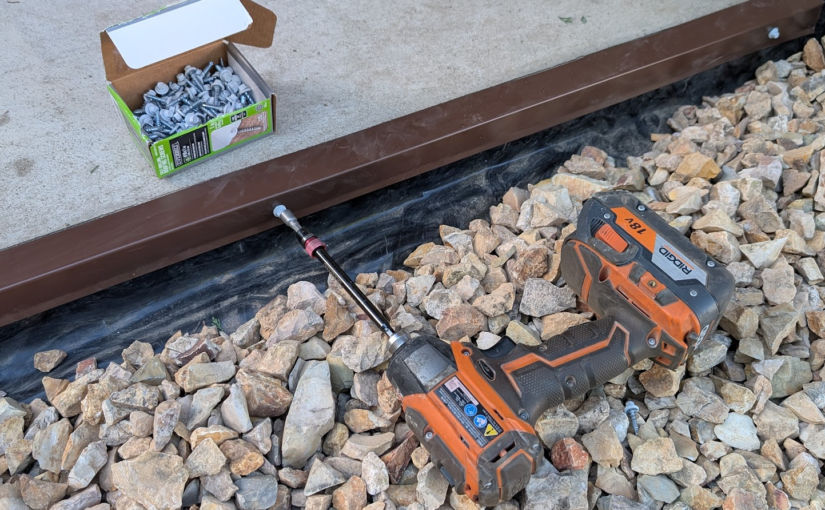
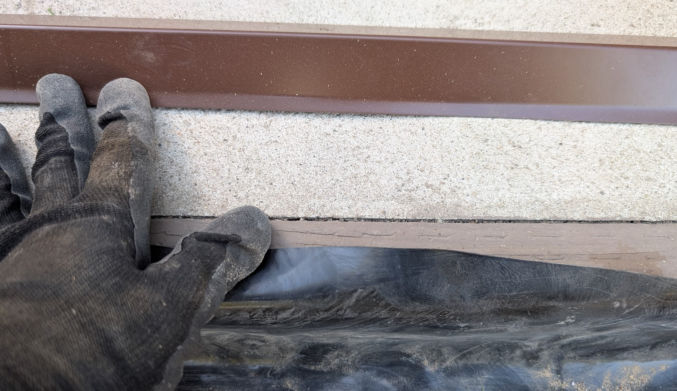
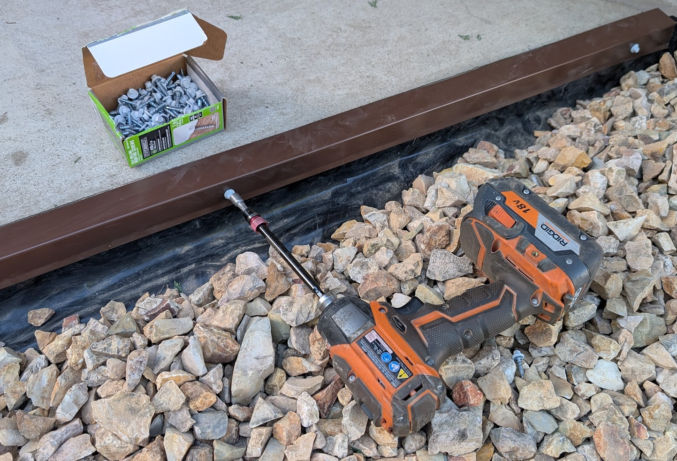
Along the perimeter, I screwed 2x4s into the sides of the concrete using concrete screws. I stapled the pond liner to the 2x4s along the perimeter and then screwed 1.5″ x 1.5″ brown drip edge to prevent weeds from sneaking their way up along the crevices.
If one of your edges is not a standard concrete slab, you may install a short retaining wall. In my case, I made a wall using 12″ wide pressure-treated wood that I held in place using metal stakes. I used brown deck screws that were designed for exterior use to minimize rust and corrosion.
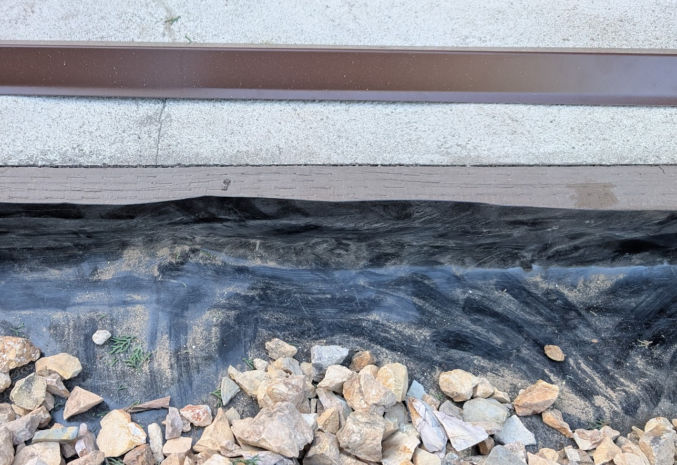
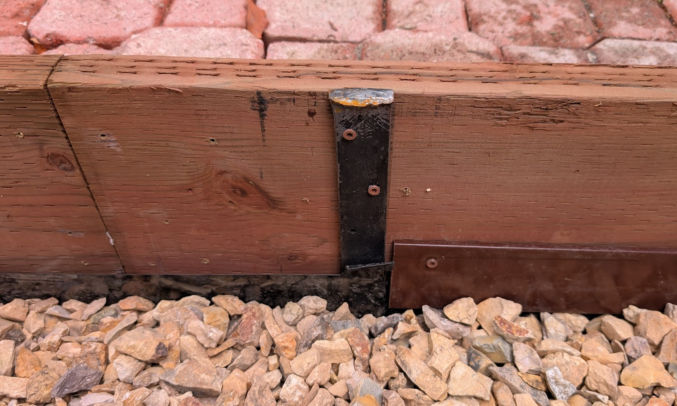
I should have placed the pond liner under the wood before securing the wood in place. Since I didn’t do that, I stapled the pond liner to the side of the wood and then screwed thin wood wrapped in brown plastic (bender board) over the pond liner and into the wood. That should prevent weeds from growing between the wood retaining wall and the pond liner.
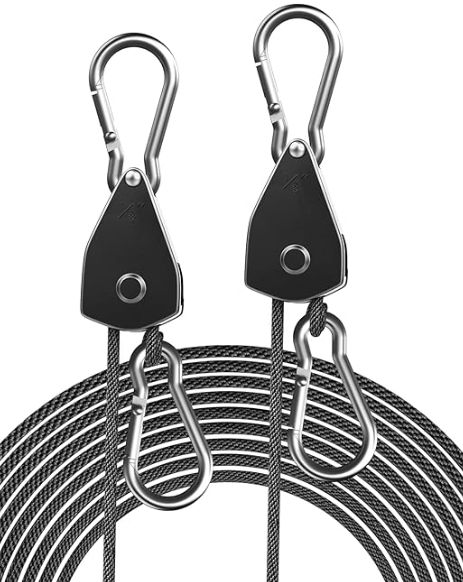
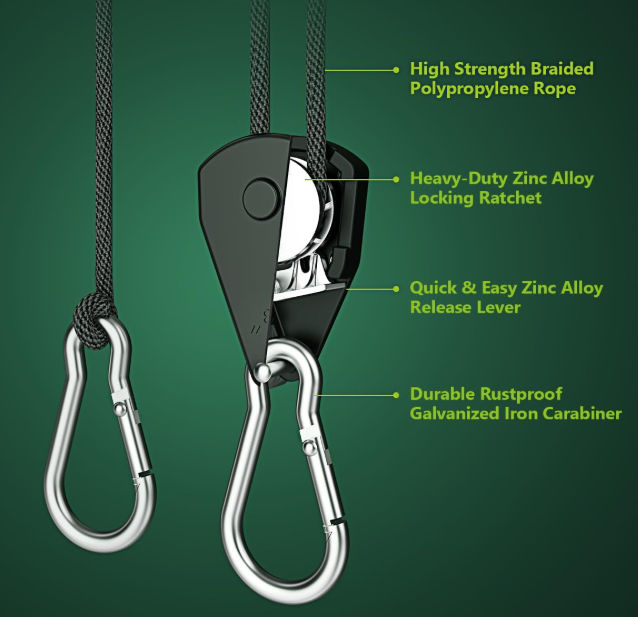
These instructions are for a 2019 Toyota Prius Prime, but they should work for most cars. Some people use a bungee cord, but I prefer this 1/8” Adjustable Rope Hanger I got on Amazon. It has carabiners on both ends rather than hooks, which is more secure. It also has a simple ratcheting mechanism to shorten or lengthen the rope.
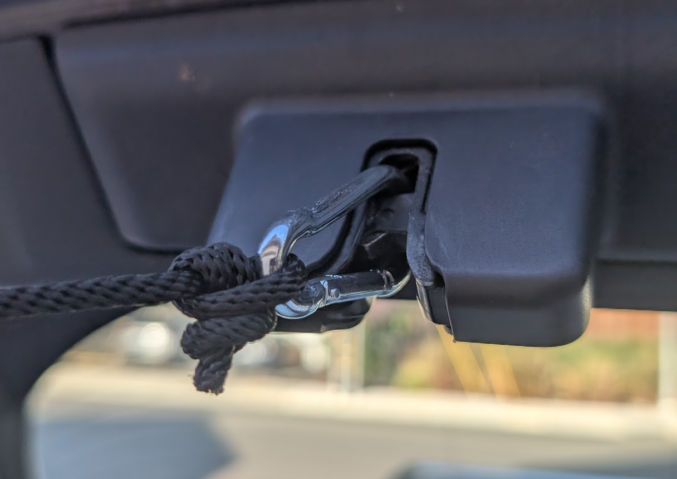
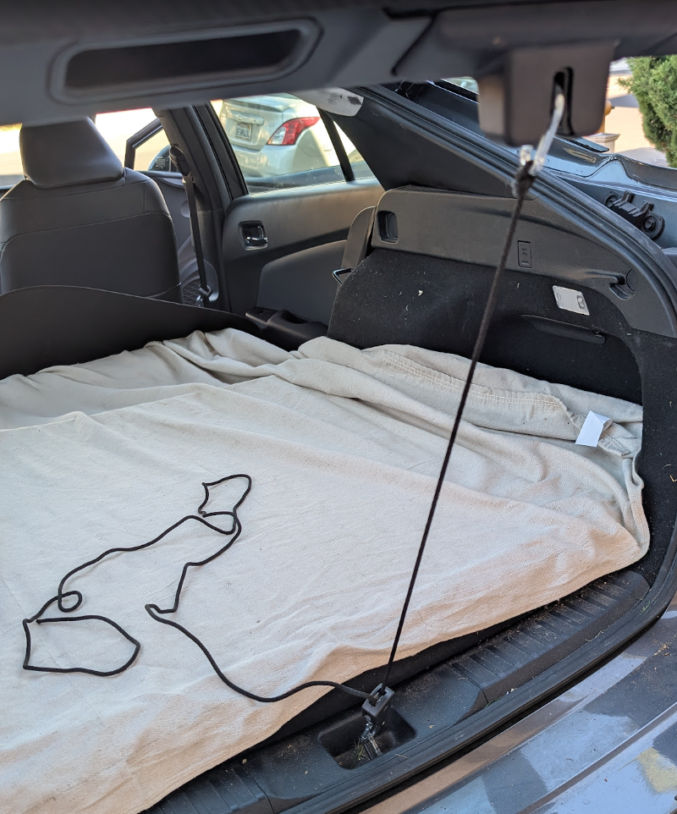
To hold your trunk partially open, take one end of the rope hanger and push it into the locking mechanism on your trunk as shown below.
The lock will close, preventing the carabiner of the rope hanger from disconnecting.
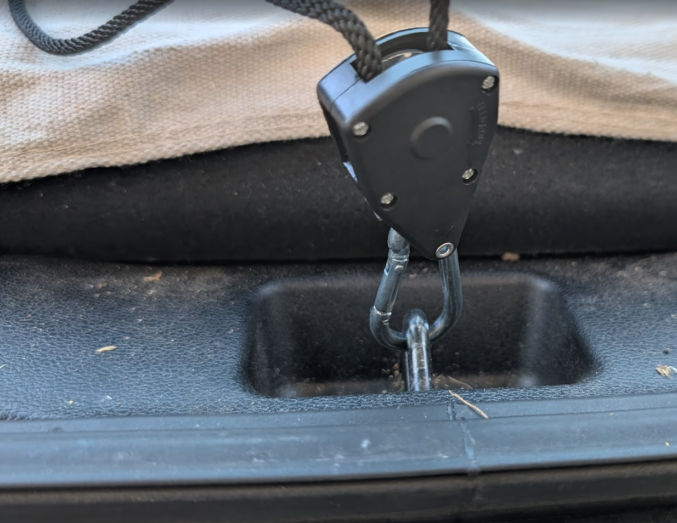
Then, take the carabiner on the other end of the rope hanger and hook it onto the metal lock part that’s at the other end of the car’s trunk locking mechanism.
Lastly, pull on the rope that’s connected to the ratchet to make the rope hanger shorter.
When I was a kid, there were 2 foods I ate a lot of
Pizza
Greek Gyro (pronounced “yee-ro”) Sandwiches
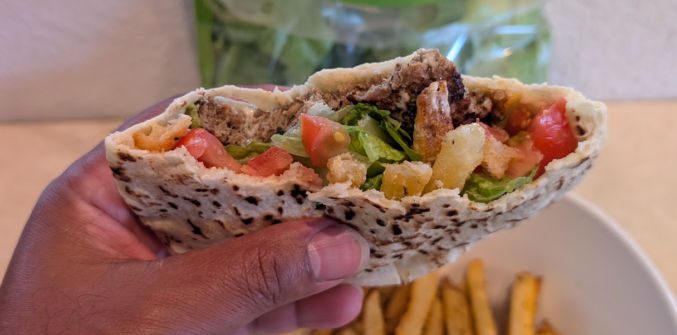
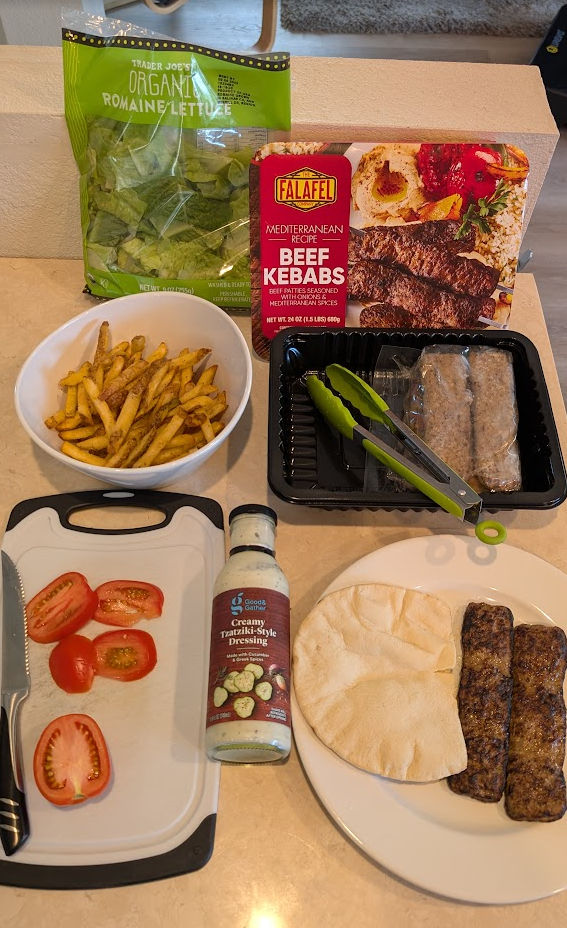
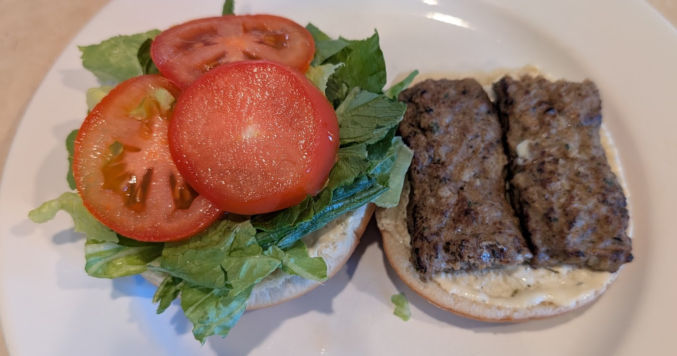
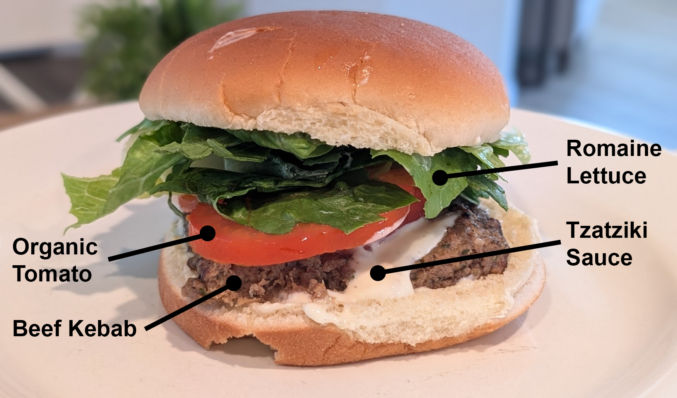
Pizza is available everywhere, but there aren’t many places that sell Greek Gyros in the San Francisco Bay Area. One place that has it is Nick the Greek, but at $12.50 for a small sandwich, it feels overpriced. So, I tried to make my own without the hassle of cooking the meat and making the Greek Tzatziki sauce. I couldn’t find precooked doner kebab (“doner” is Turkish for “rotating”) meat, like a rotisserie, but I did find kebabs at Costco, which take a minute to heat up in the microwave, come out juicy, and taste delicious. For the Tzatziki sauce, I bought Tzatziki salad dressing from Target. It tastes good, but it’s thick, so getting it out of the bottle required using a knife.
French Fries (I bought frozen ones from Costco and cooked them in an air fryer)
Tomato
Lettuce (I got chopped and pre-washed lettuce for convenience)
Instructions
Cut 10% of the pita bread so you can open it like a pocket
Toast the pita bread in a toaster
Heat the beef kebabs in a microwave for 1 minute
Smear the Tzatziki sauce on both inner sides of the pita bread
Insert the kebabs in the pita bread
Add some lettuce, sliced tomatoes, and french fries in the pita bread
Enjoy
UPDATE
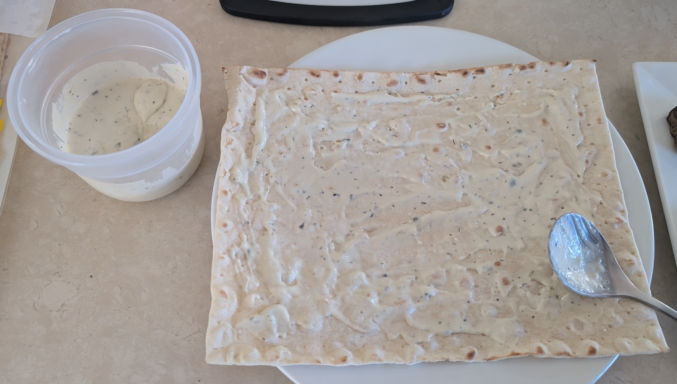
Stuffing a pita bread such that the ingredients are distributed uniformly so that you can taste each ingredient with each bite is a bit difficult to do. Instead of using a pita bread, you can use Lavash bread, shown below. It’s much easier to place the ingredients on Lavash bread. First, smear the Tzatziki sauce all over one side of the bread.
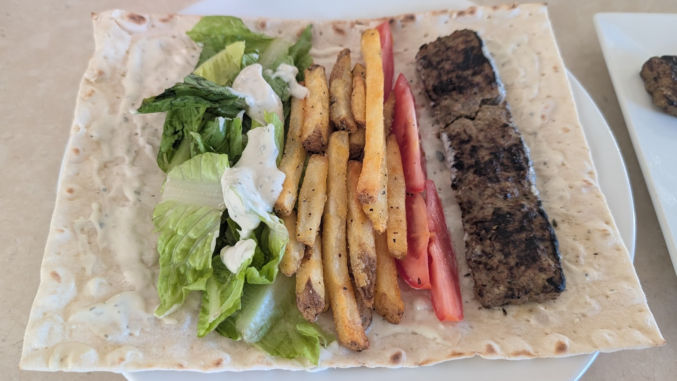
Then, place the ingredients as shown below (I added some extra Tzatziki sauce on the lettuce).
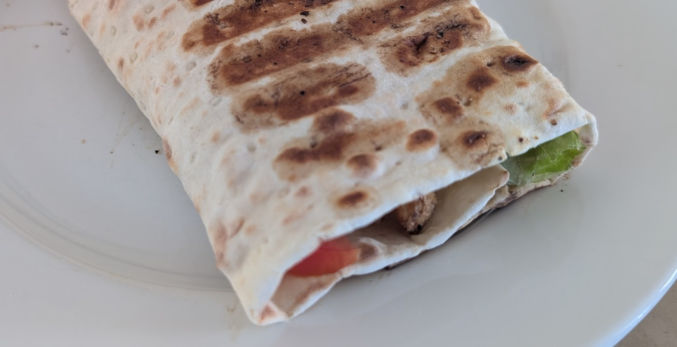
Then, roll the lavash and place it in a panini press.
Older videos tend to be in the 4:3 aspect ratio rather than the 16:9 we use today. If you enlarge an old video, you’ll end up cropping parts of it. To keep all of the existing video, but extend it horizontally or vertically, you can use Photoshop’s Generative AI Extend feature. Here’s an example.
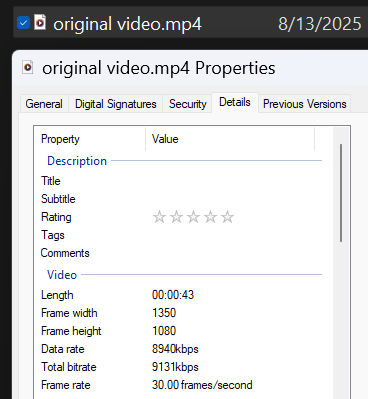
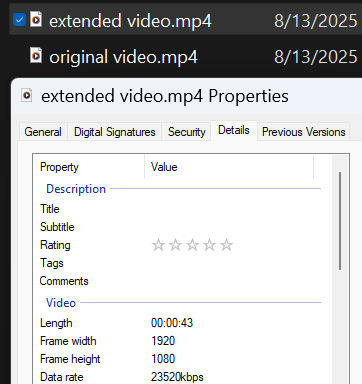
I have a video with dimensions 1350 wide by 1080 tall.
You can see this by looking the at file’s properties.
To extend this video horizontally so that it has a 16:9 aspect ratio, we’ll use Photoshop.
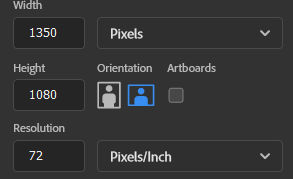
Create a new document with the same dimensions (1350 x 1080 px)
Drag the video to the blank document. The video will be on a layer above the white background layer. Click “Done” or the checkmark at the top to accept importing the video into the document.
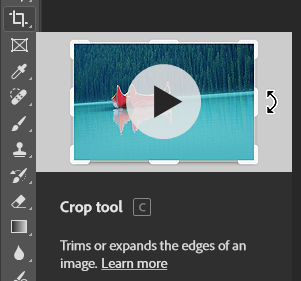
Click the Crop tool
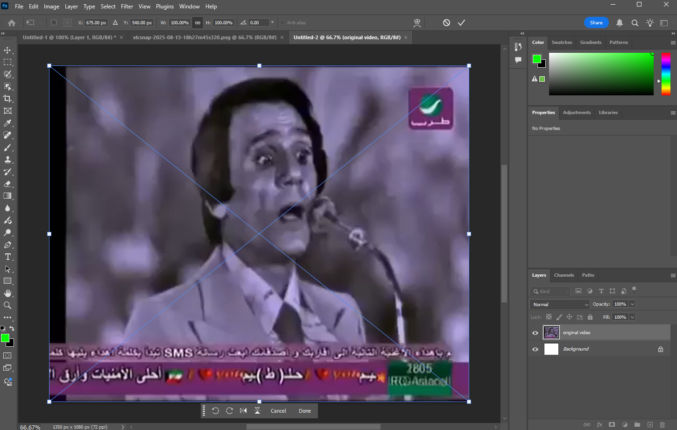
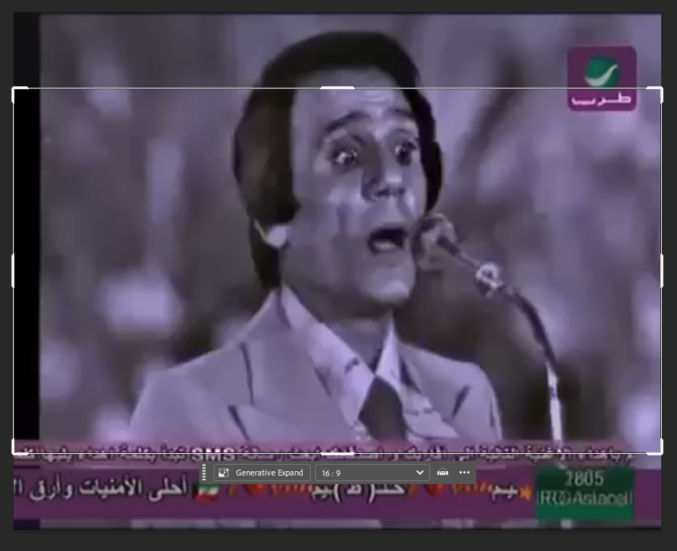
A white border with handles will appear on the video. A floating toolbar that says “Generative Expand” will also appear. Ensure the dimensions are set to 16:9.
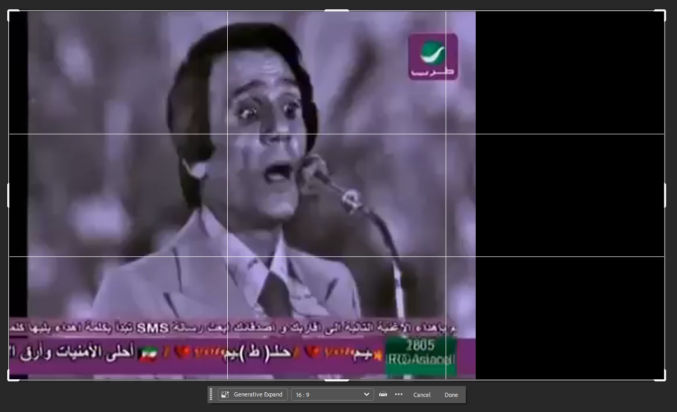
Drag the handles so that the crop border covers the video. In this case, I dragged the vertical handle on the right toward the right.
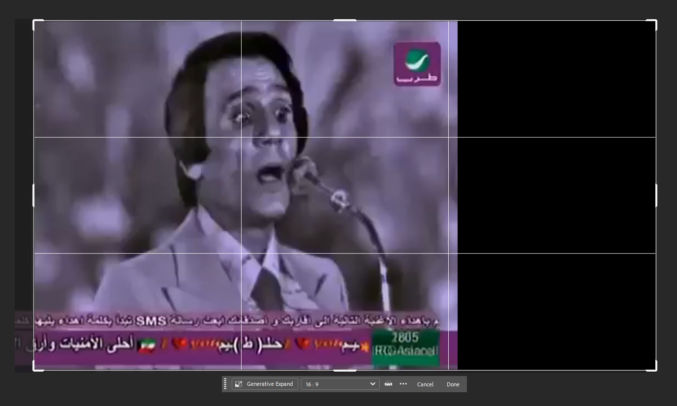
The original video had a black vertical bar on the left. I don’t like that, so I will drag the video to the left so he black bar is outside the crop rectangle.
Click the Generative Expand button in the floating toolbar.
You can then enter a prompt if you want. I will just click “Generate”.
Photoshop will generate 3 variations. Click on each one to see how they look.
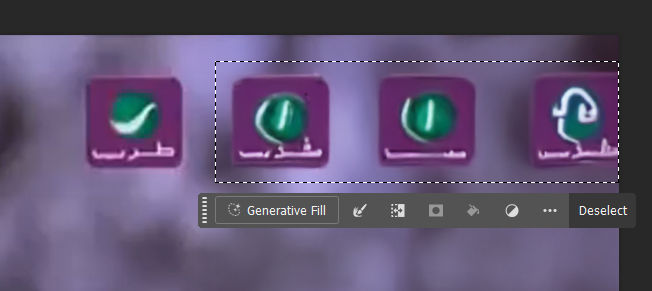
I like variation 1, but I don’t like that Photoshop added 3 purple and green boxes on top to the right of the original box.
Select the 3 boxes so we can remove them using Generative Fill.
Click the Generative Fill button followed by ‘Generate”.
Those 3 boxes are now gone.
Click “Window” > “Timeline” to open the timeline. Then, click “Create Video Timeline”.
You will see a track for the original and two tracks above it, one for generative expand and one for generative fill.
Drag each generative track so they are the same duration as the original track.
Click the play button in the timeline to preview the modified video.
If the results look good, export the video by going to File > Export > Render Video.
If you inspect the video’s properties, you’ll see that they are now 1920 x 1080 px.
There are many tools for removing objects and people from a video, including Adobe After Effects. So far, the easiest one I’ve found is Fotor. You can also use it to remove watermarks on videos.
Upload your video
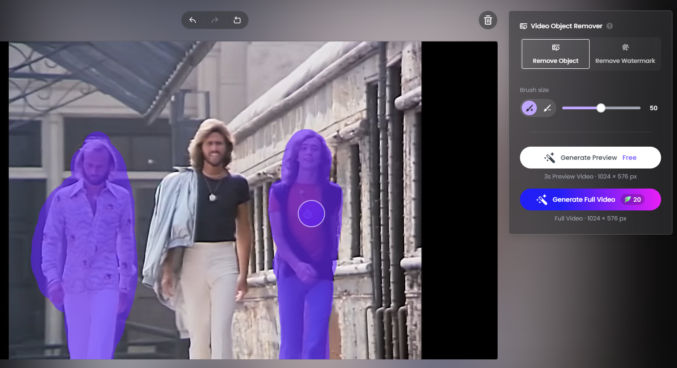
Click the “Remove Object” button
Paint over the objects you want to remove (you can adjust the size of the paintbrush, if needed)
Click ‘Generate Preview” to see how it looks. If it looks good, you can download the generated video if you are a paying member.
Here’s an example. Below is a video clip from a music video.
I wanted to remove the 2 people, which I identified in Fotor using the purple paintbrush.
Usually, people create AI videos by describing what they want using a text prompt. This can be very difficult depending on the results you are looking for. Another way to create an AI video is by creating a “driving performance” video, which shows what movements you want to mimic. For example, if you want to make a video of yourself dancing and lip syncing exactly like someone else in an existing video, you can upload the existing video as a “driving performance” video and upload an image of yourself as the “character image”. This post explains how to do it using Runway Act-Two.
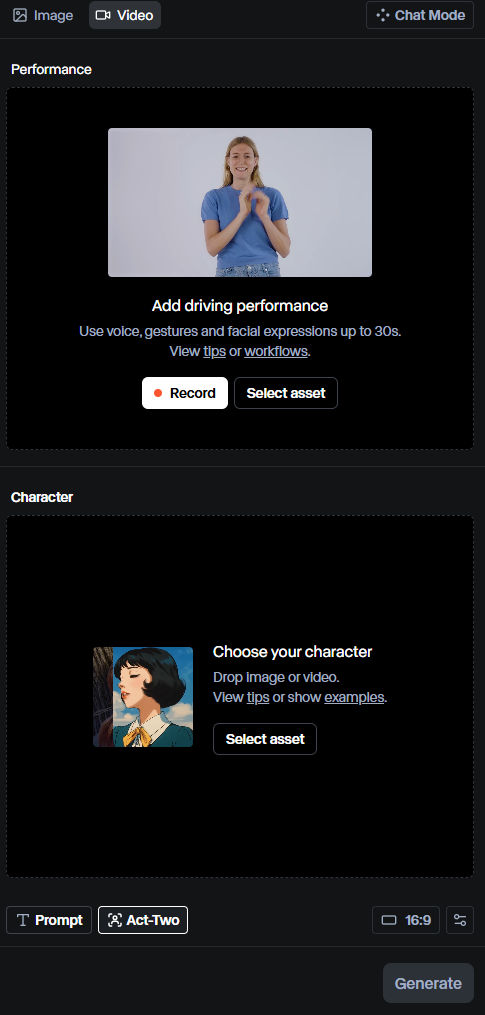
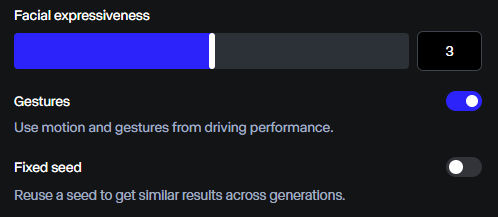
In Runway, click on Act-Two. You will see the UI below.
In the top section, you upload a “driving performance” video, which will contain the body movements and facial gestures you want to copy and apply to your character in the bottom section.
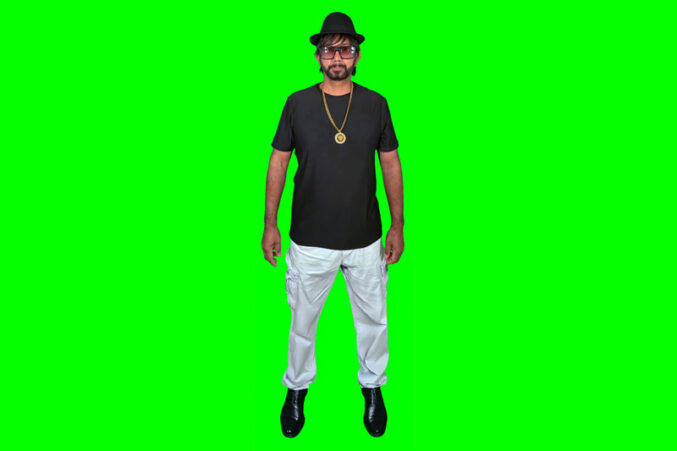
In the bottom section, your character can come from an image or video that you upload. For simplicity, and to match the driving video, I will upload an image containing my character.
For demonstration purposes, I want to make myself sing and dance exactly like the subject in the following video.
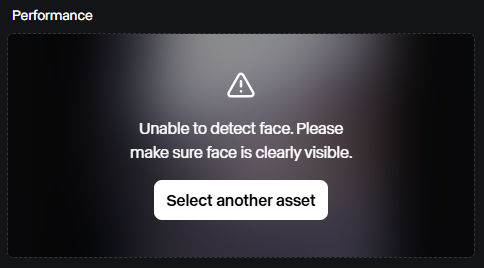
Ensure the subject’s face remains visible throughout the video
Frame the subject, at furthest, from the waist up
Well-lit, with defined facial features and expressions
Certain expressions, such as sticking out a tongue, are not supported
No cuts that interrupt the shot
Ensure the performance follows our Trust & Safety standards
[Gestures] Ensure that the subject’s hands are in-frame at the start of the video
[Gestures] Start in a similar pose to your character input for the best results
[Gestures] Opt for natural movement rather than excessive or abrupt movement
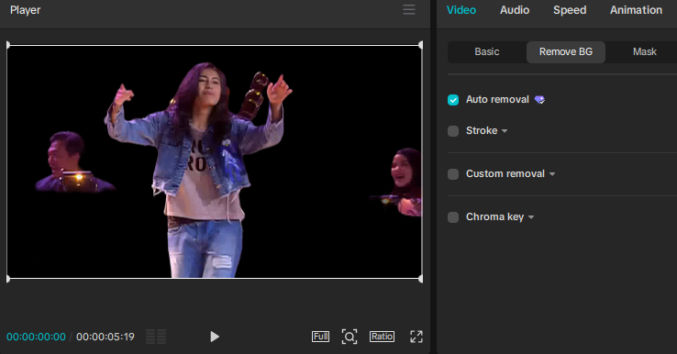
Since my “driving performance” video has people playing music in the background, I need to remove them. One way is by using Capcut’s Auto Background Removal feature.
While it’s not perfect, it may be sufficient for Runway’s Act-Two. Here are two other AI-based video background removal tools that seem to do a better job.
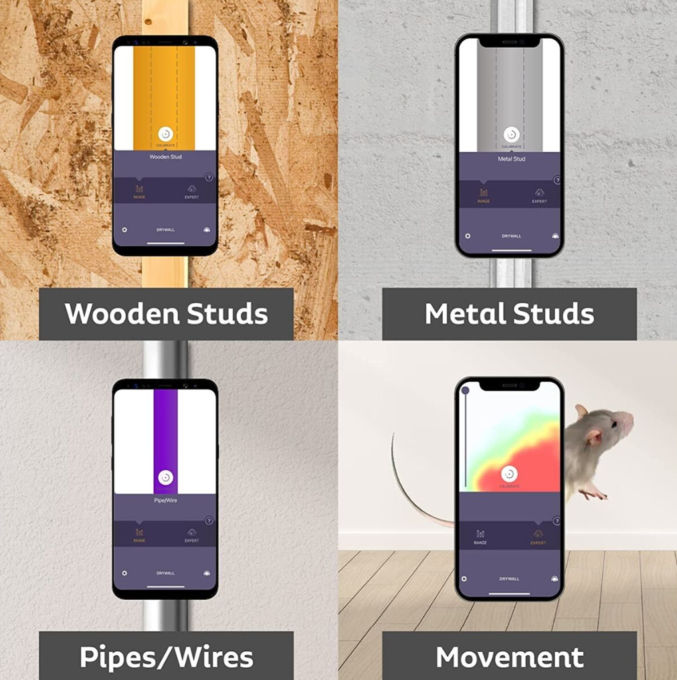
As a real estate investor, I’m often needing to know what’s behind some drywall. I normally use a stud finder, but after removing a bunch of drywall, I sometimes find pipes, which, unlike electrical cables, are difficult to move, so I end up wasting my or my contractor’s time patching a wall back up. So, I bought the Walabot DIY 2, which claims to be able to detect wood and metal studs, plastic and metal pipes, and wires behind drywall up to 5/8″ thick and 4″ deep.
I put this to the test and compared it to my Franklin ProSensor M150, which can detect wood and metal studs as well as live wires up to 1.5″ deep.
I tested both sensors on an actual wall with pipes and live wires as well as a test wall.
My test wall below has, from left to right,
2×4 stud
15A Romex wire (non-live)
Pressure-treated 2×4 stud
2×4 stud
2″ black ABS drain pipe
Metal copper pipe
2×4 stud
The Walabot DIY2 detected all items, but it couldn’t differentiate between a wire and a pipe. Also, the Walabot got a bit confused by the 2 touching studs in the middle because of the small gap between the studs. The Franklin only detected the wood studs, but it detected them very well, including the two touching studs.
On an actual wall with wood studs, pipes and live wires, the Walabot performed the same, and it couldn’t differentiate between pipes and wires. The Franklin sensor, however, was able to detect live wires. The lightning symbols lit up yellow when a live wire was detected, as shown below.
Conclusion
It looks like both detectors are needed to see what’s behind your walls. I’d use them as follows:
Use the Walabot first to mark all wood/metal studs, and pipes/wires.
Use the Franklin to confirm the location of the wood/metal studs and to determine whether the pipe/wire detections by the Walabot are live wires or pipes. If the Franklin detects live wires, then that’s what they are. If the Franklin doesn’t detect anything where the Walabot detected a pipe/wire, then there’s a pipe there.
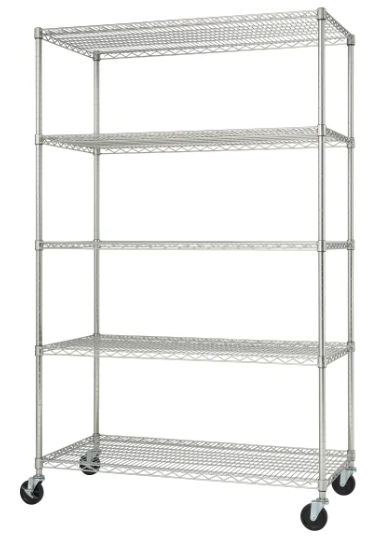
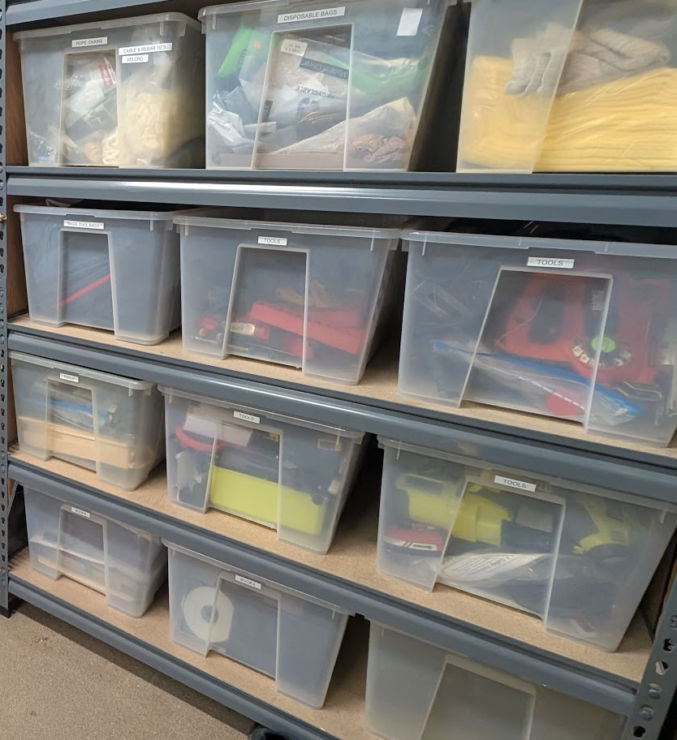
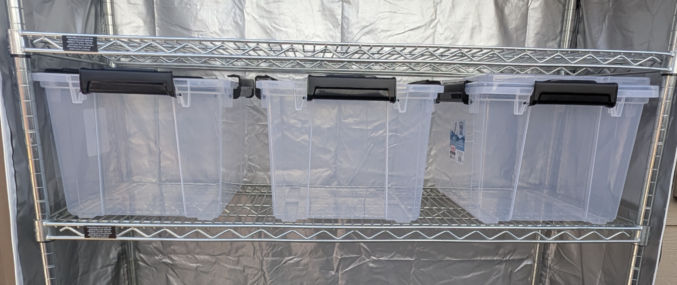
In America, many people use their garages as storage rooms rather than what they were intended for (parking vehicles). I do the same, but I also use my garage as a home gym. Along the side walls are 5-tier shelf racks with wheels and on each shelf there are 3 transparent plastic containers.
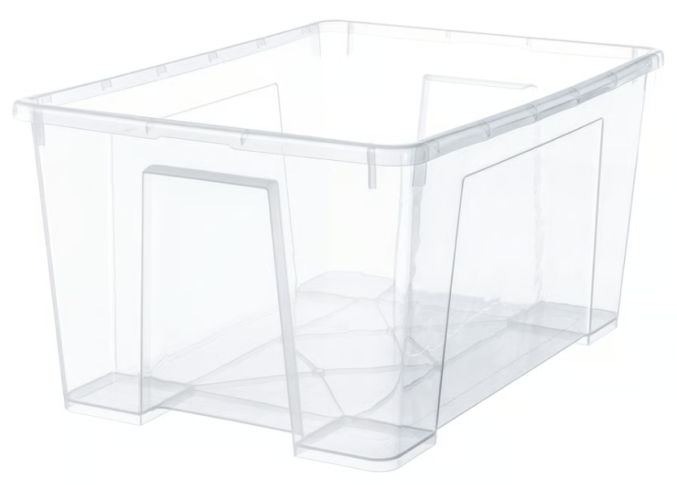
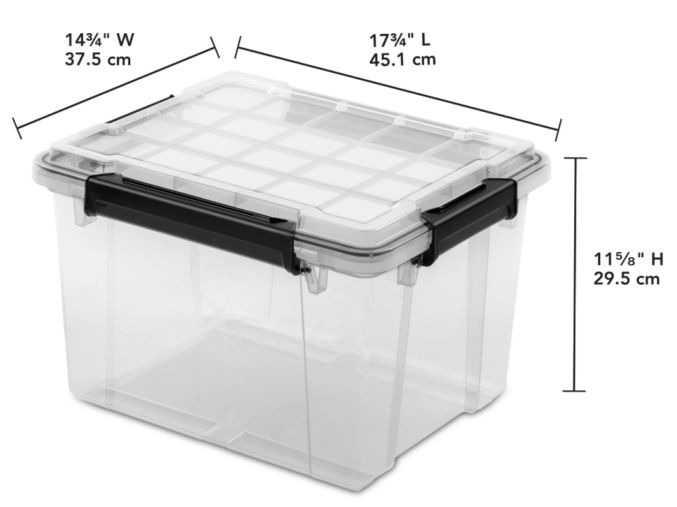
If you place 3 of these bins on one shelf, they might protrude a bit from an 18″-deep by 48″-wide shelving rack. If that bothers you, you can buy these 34-quart Sterilite gasket boxes that are slightly smaller.
Having shelves with wheels makes it easy to move everything around.
But what do you do when you are renovating or remodeling your garage or if you need a temporary place to store your stuff for about 6-12 months. You can put everything in a self-storage unit, but for a 20’x20′ garage worth of stuff, you’re looking at paying hundreds of dollars a month if you are in the San Francisco Bay Area. You can buy a shed and put it in your backyard, but a large one would cost you around $1500, and you may not necessarily have the space for a large one in your backyard. Plus, you’d have to spend a lot of time assembling it, and it’s more of a permanent solution rather than a temporary one.
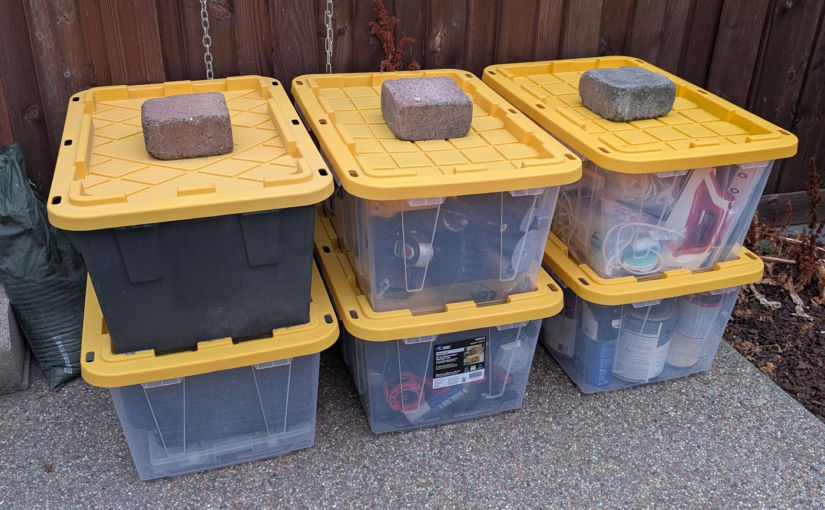
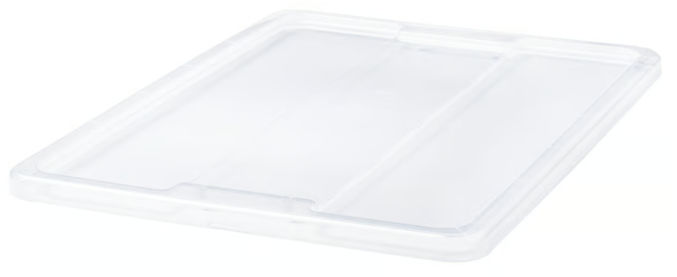
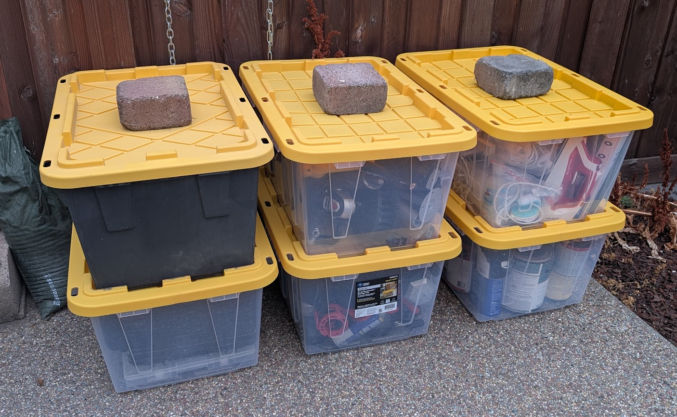
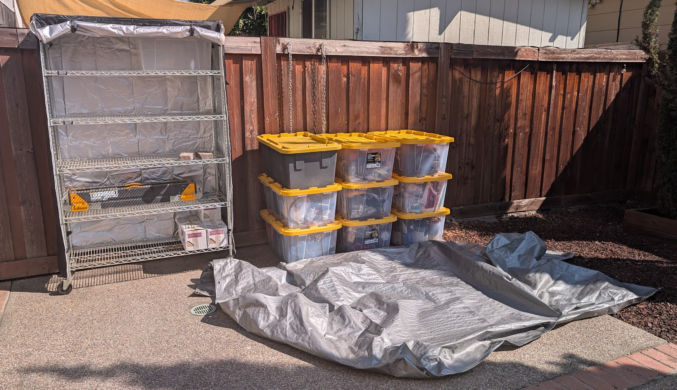
One low-cost option is to simply put your stuff in heavy-duty plastic storage containers with lids and stack them up in your backyard. Since they come with a lid, you wouldn’t need a shed because they are waterproof. If you’re worried strong winds could blow the lids off, just place something heavy on them, like a concrete paver.
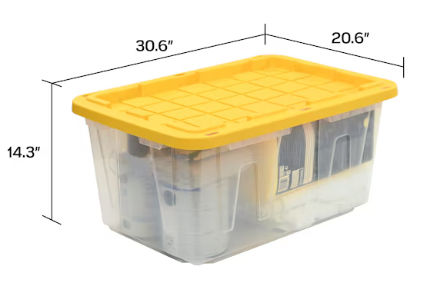
The 27-gallon plastic bins are a good size as they’re not too big to carry and they’re not too small to fit somewhat large items.
The transparent kind is nice because you can see what’s inside and don’t need to necessarily label each bin. If you do want to label the bins, you can buy a label maker. This Brother P-touch PT- D610BT can print up to 1″ labels, making it easy to read them from a distance.
As of this writing, the price for a 27-gallon bin is $14, so even if you needed 35 of them, you’re only paying $500 for them, and when you’re done using them, you can easily empty the contents and stack them inside each other for future use.
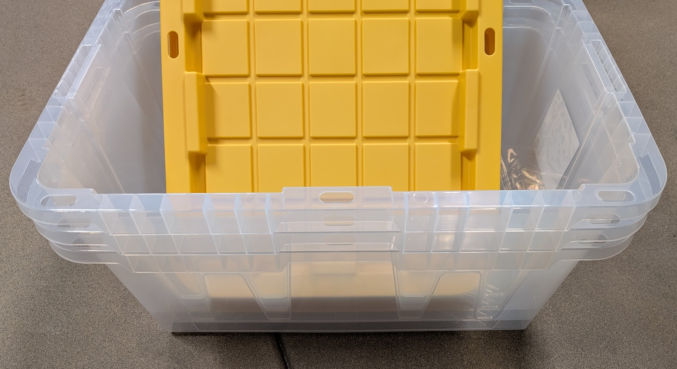
UPDATE: Costco Business Center has the same 27-gallon bins for $11. Both the bin and the lid are transparent, which is even better.
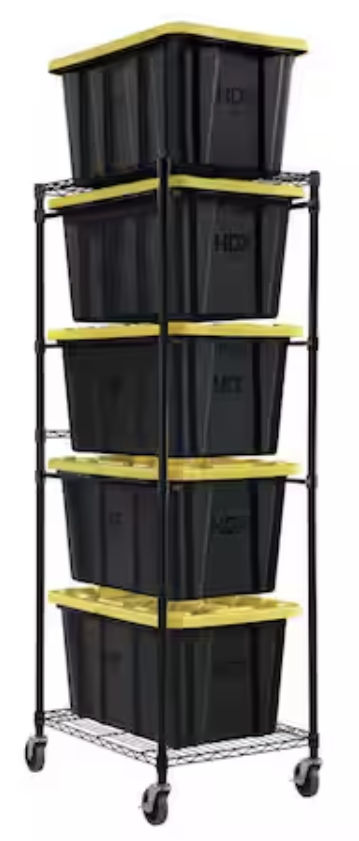
Stacking those storage bins is fine if you don’t need to access the contents often. But if you do need frequent access, you can buy a shelf designed for these 27-gallon bins.
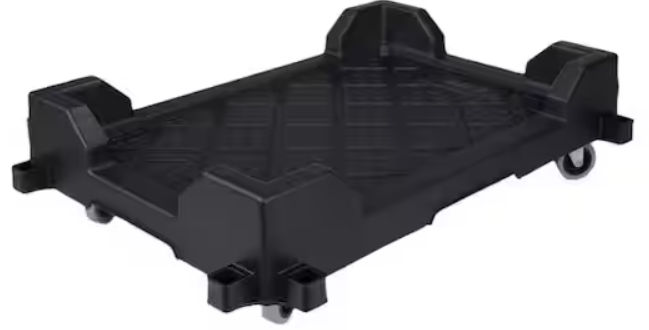
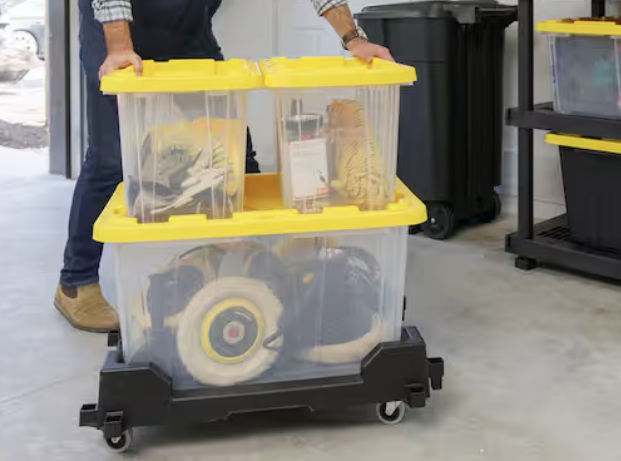
If you have a lot of stuffed bins, some of which may be heavy, you don’t want to have to carry each one. For convenience, you can just buy this 27-gallon storage tote taxi.
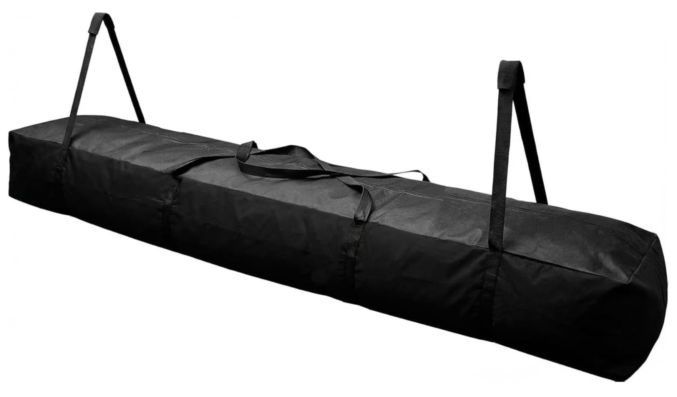
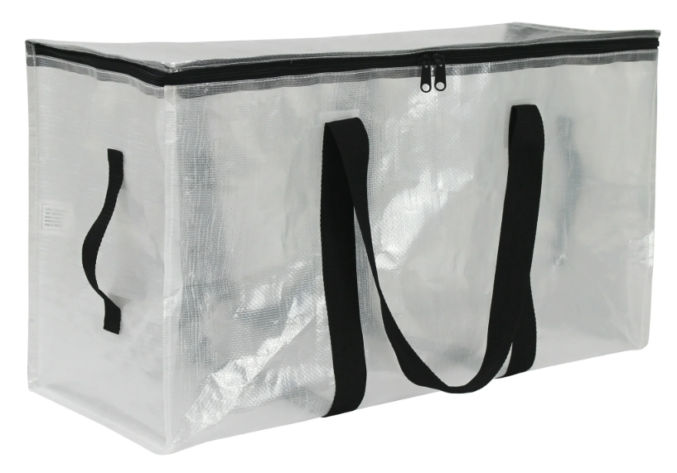
Now, you may have some long and narrow items that won’t fit in those 27-gallon bins. For these items, you can buy a long storage bag like the one below.
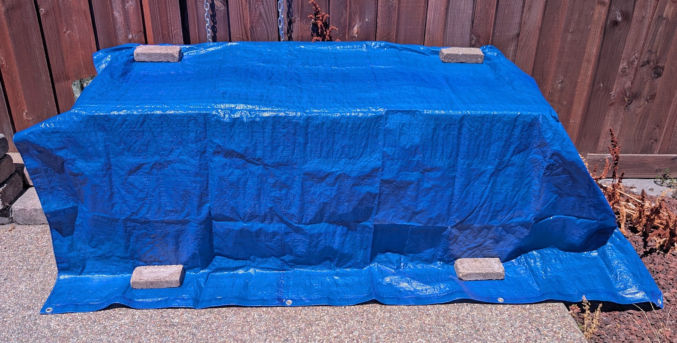
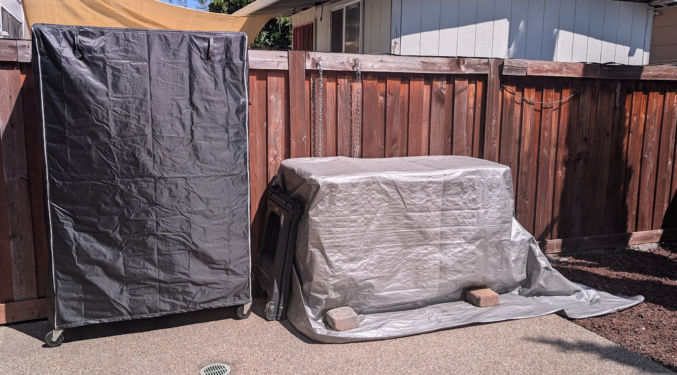
If you leave things exposed to the elements for a long time, they can become weathered and even break down. Thin plastic, for example, can become brittle from long exposure to the sun’s UV rays. To prevent this from happening, you can cover the bins with a heavy-duty tarp that is treated to prevent deterioration from UV rays.
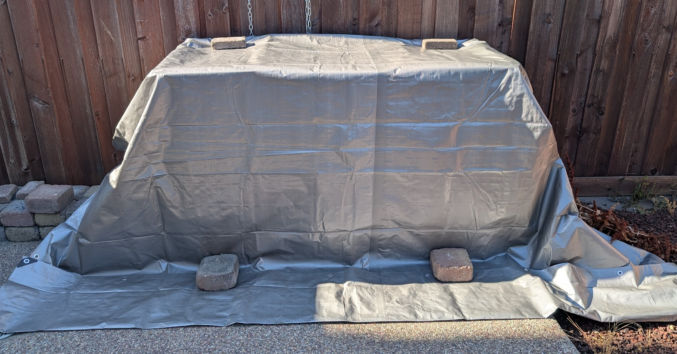
Or, you can buy a bigger tarp. The one picture below is 9mm thick (heavy duty) and from Harbor Freight.
But what if you have a bunch of shelving racks with uncovered bins in them? In this case, rather than disassemble the racks and buy lids for those bins, you can buy a cover designed specifically for shelving racks. There are many on Amazon with many different sizes. I bought this 72″ H x 48″ W x 18″ D one on Amazon. It’s waterproof and the zippers make it easy to open one side when you need to get something.
If you have to store a bunch of clothes, a cheaper storage option is to put the clothes in a cardboard box or a plastic tote bag, like this.
For just $5, these large, 20-gallon plastic totes are cheap and, since they’re designed for light items, like clothes, you can easily carry them without the need for a platform truck or dolly. They also come with a zipper. If you go with cardboard boxes, not only are they not waterproof, but you’d have to use tape to close them, which is extra work.
So there you have it. A cheap, easy, and organized way to temporarily store stuff in your backyard.
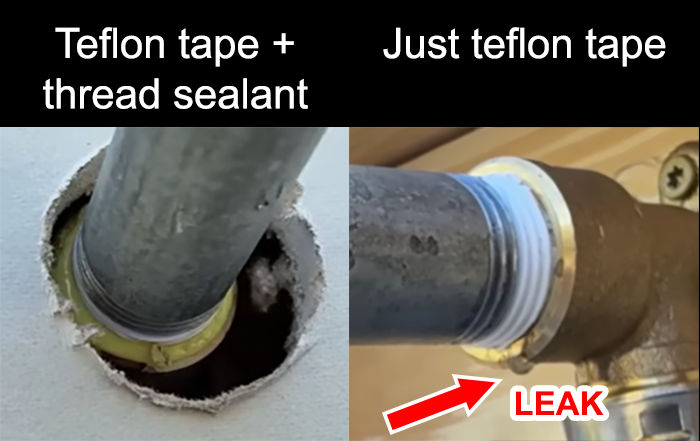
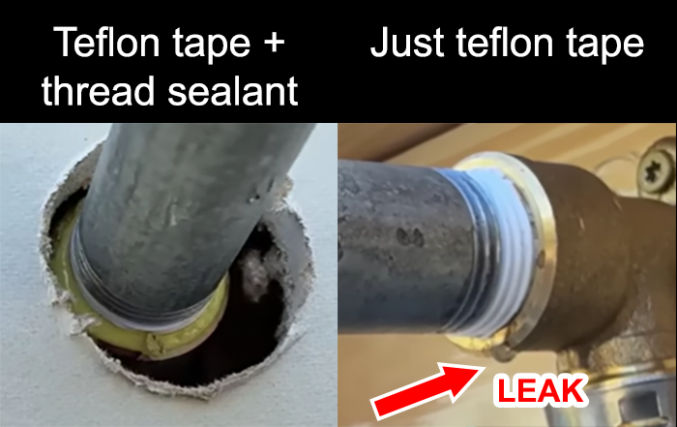
Most homeowners and, surprisingly, some plumbers, only use Teflon tape around pipe threads. While this often is sufficient to prevent leaks, it is not the best practice. For more reliable results, always use a combination of Teflon tape followed by thread sealant.
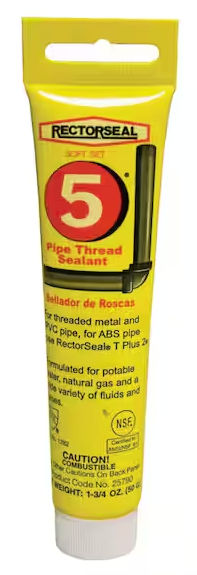
One of the most popular thread sealants is RectorSeal #5.
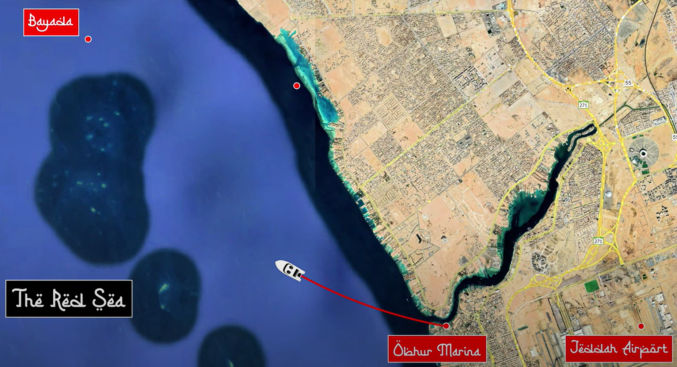
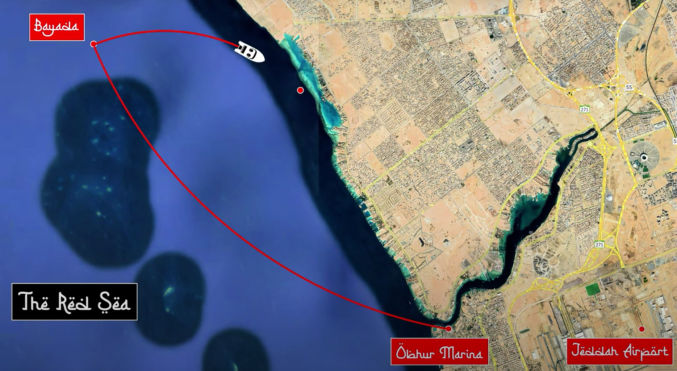
A few months ago, I charted a small yacht for a 6-hour trip from Jeddah, Saudi Arabia to Bayada in the Red Sea. Since I had a great time, I highly recommend it for anyone visiting Jeddah. Unfortunately, planning such a trip and making a reservation isn’t easy due to the limited marketing and communication efforts by businesses there. So, this post will detail my experience along with recommendations so if you do decide to go on this trip, you’ll have a better experience. I’ll share my experience in chronological order.
Yacht Reservation
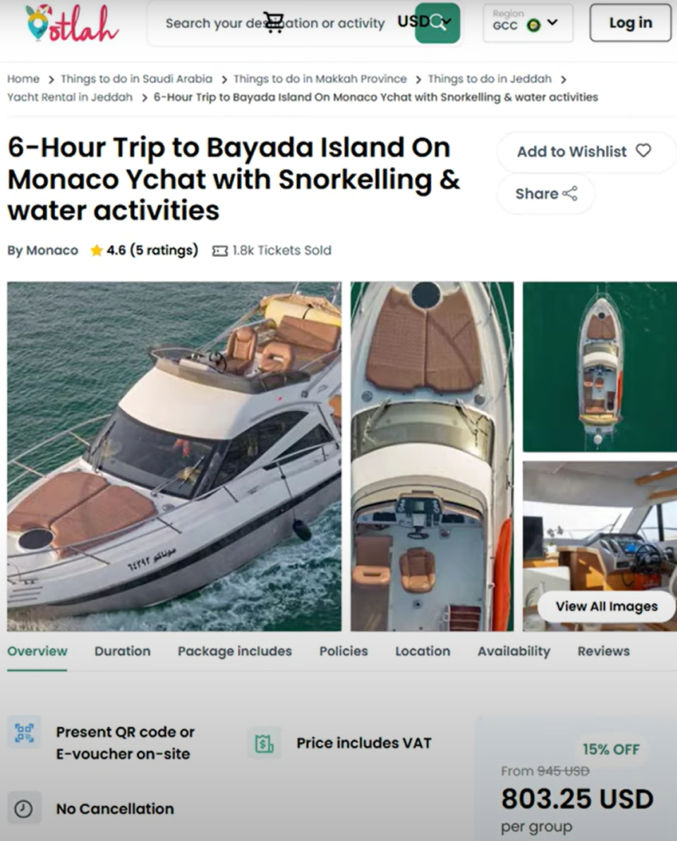
I live in the San Francisco Bay Area. Since I was visiting Saudi Arabia for just one week, I wanted to make sure I had a reservation for the Red Sea trip. I found a tour company on Otlah.com, an online UAE-based vacation marketplace. Below is one of the trips available.
The trip details, the yacht, and the price all looked good, but the communication was bad. There was no way to ask questions until after I paid for the non-refundable trip. With no better option available at the time, I crossed my fingers and booked the trip. On the confirmation page, which was shown just briefly before I get redirected to some other page, showed some contact information. Luckily, I was able to quickly take a screenshot, so I was able to contact the trip provider, who confirmed they had my reservation.
Yacht Out of Service
While, in Jeddah, two days before the scheduled trip I got a message from Otlah, the middleman, saying that the trip provider said the yacht was out of service because they just discovered an issue required a part that would not be available for a week or two. Otlah offered some other boats, but they were ugly and I don’t think they even had an on-board restroom. I decided to get a refund from Otlah and find another yacht at the marina in Obhur, Jeddah. Fortunately, I was staying with local relatives who were able to help with this. We went to the marina and the gatekeeper told us which boats were available, their cost, and other details.
Second Yacht Reservation
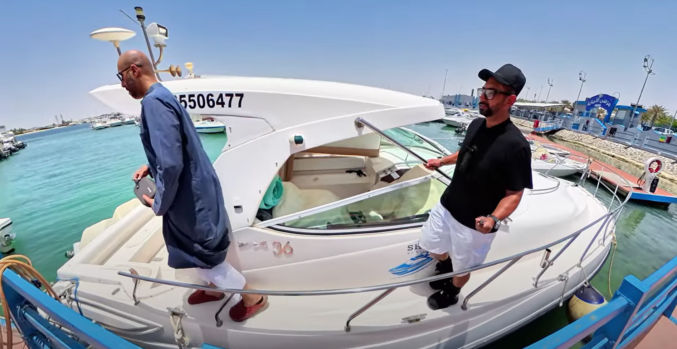
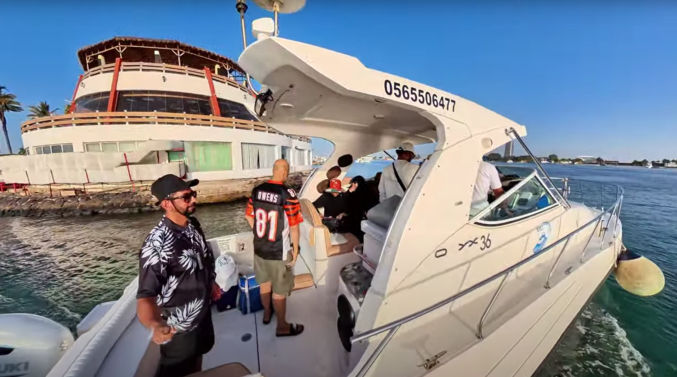
Below is the photo of me checking out the one and only yacht available for the dates we wanted.
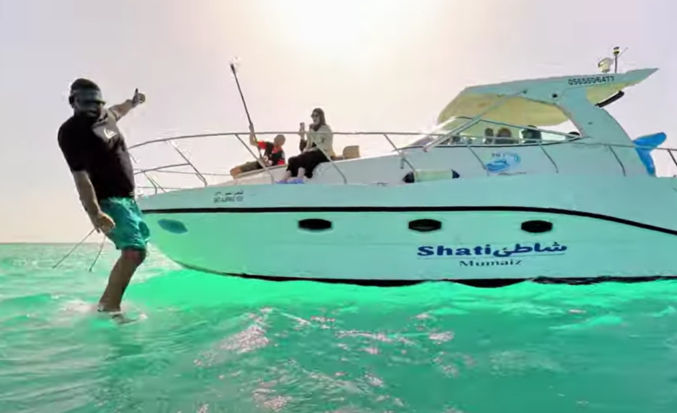
The yacht was not as nice as the one on Otlah.com, but it had one thing that made it better – a Seabob water scooter, which could be rented for an additional $100. The total cost for the yacht charter with captain and Seabob rental came out to about $900. I ended up choosing this yacht and provider, and I did not regret it. Here’s the provider’s contact information.
Sohaib Jifry (Abu Yaseen) 0-56-550-6477 (Saudi Arabia) 966-56-550-6477 (International) linktr.ee/sohaib119
There were 2 time slots per day: 7 AM to 1 PM and 1 PM to 7 PM. We chose the morning slot so the weather wouldn’t be so sizzling hot like it is mid-day and in the afternoon.
Going to Bayada in the Red Sea
Bayada is located just 40 minutes away from Jeddah by boat.
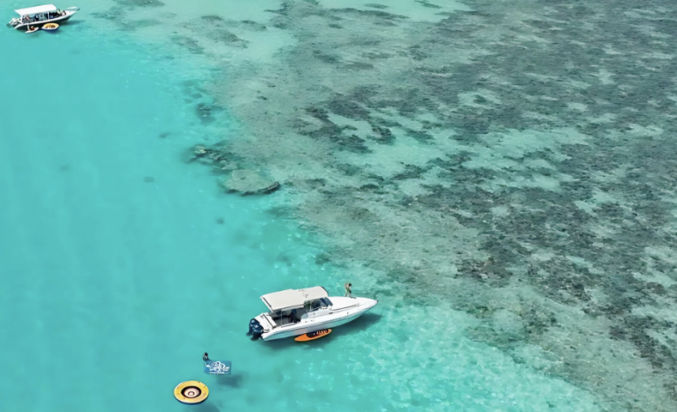
Many people call Bayada an “island”, but it’s not really an island in the traditional sense. Rather, it’s an area with land where the surface is a few feet below the water. You can stand on it, but you’ll be partially in the water. I didn’t stand on it, but others who did said it’s very pointy, so you should definitely bring water shoes with you.
We left Jeddah around 7 AM. Before entering the open sea, we had to stop by a government dock. Normally, we’d have to show our IDs or passports for all passengers, but for some reason they just let us go.
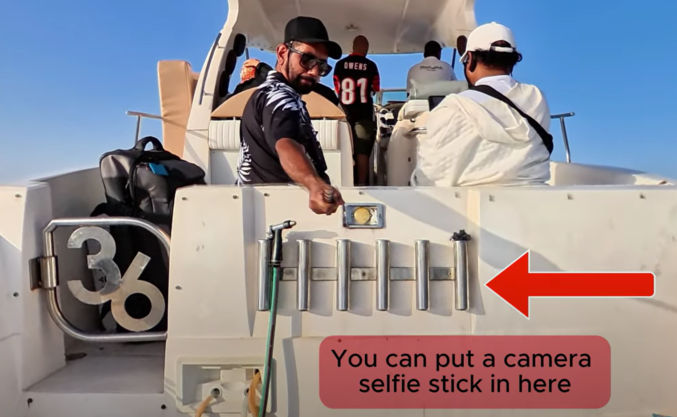
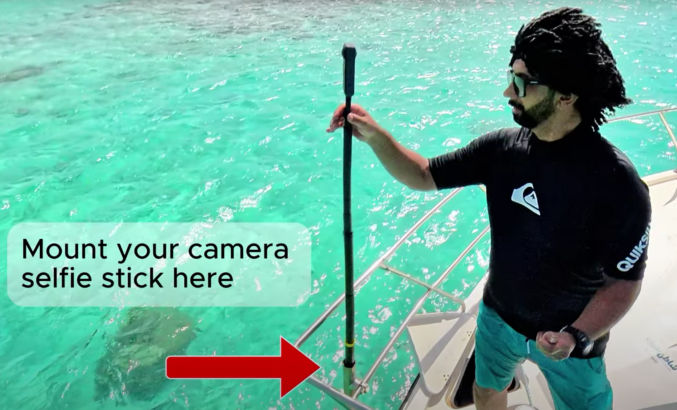
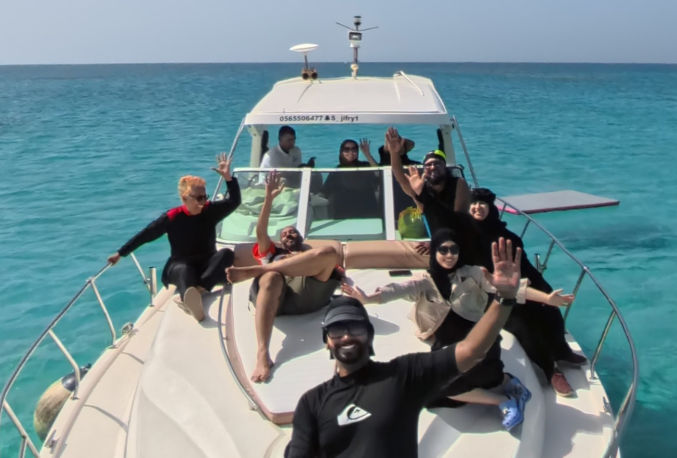
I brought the Insta360 X4 and X5 cameras with me to take 360-degree videos. Around the yacht, like on the back, as shown in the photo below, there are tubes, which I think are for putting a fishing rod. They were perfect for putting a selfie stick, so I wouldn’t have to hold the camera all the time.
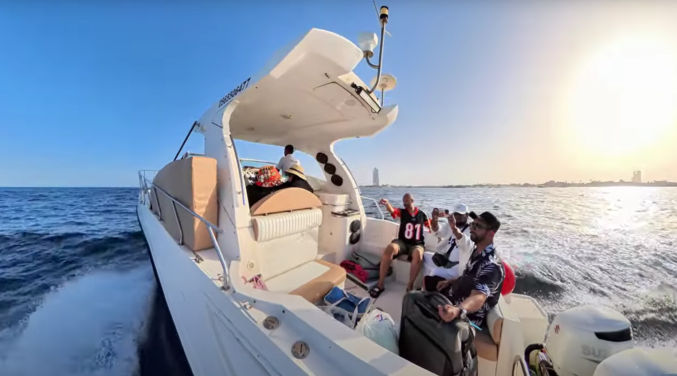
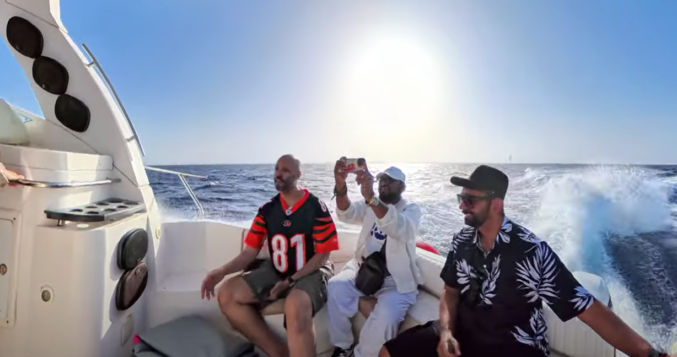
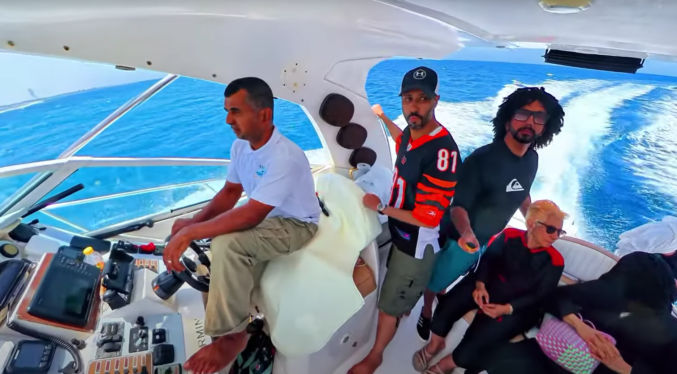
Even though it was already pretty hot int he morning, the wind kept us cool as we zoomed to Bayada, passing other (slower) boats beside us. The ride was a bit bumpy due to the waves, but the cushioned seats made it painless.
The yacht came with speakers with Bluetooth support. We were able to connect our phones to it to play our own music.
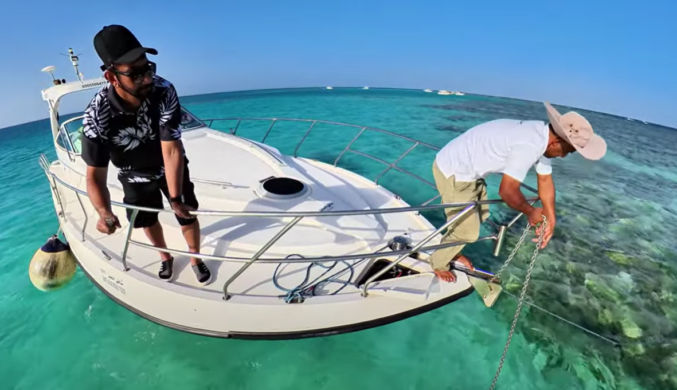
When we got to Bayada, a few other boats had already arrived. Our captain anchored our yacht to what appeared to be underwater rocks. This was necessary to prevent drifting back to Jeddah. Note that despite the anchor, the yacht still rocked slightly due to the waves. If you get sea or motion sickness, be sure to take Dramamine the night before the trip.
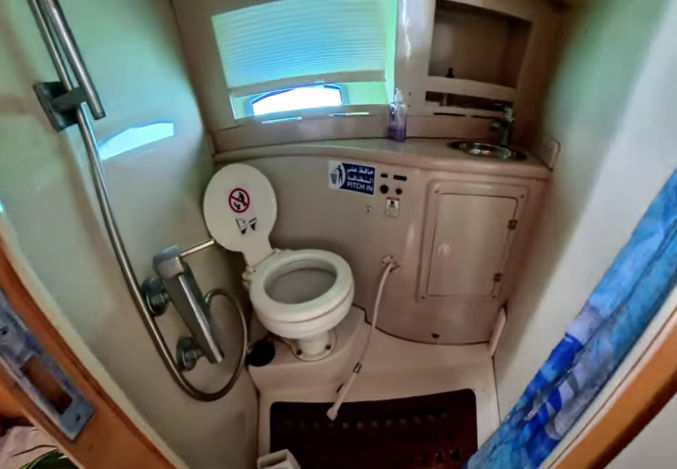
In the lower deck of the yacht, there was a master bedroom, a second bedroom, a tiny kitchenette, and a tiny bathroom with toilet, sink, and shower. This is important in case you need to use it during the 6-hour trip.
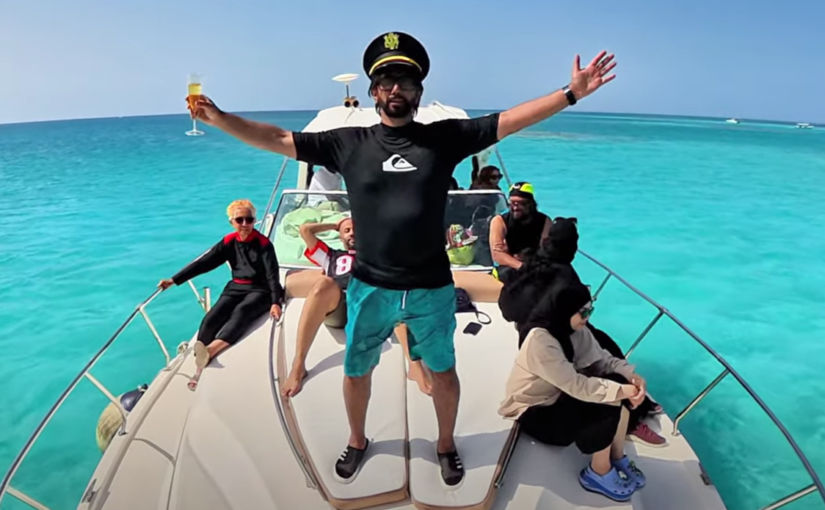
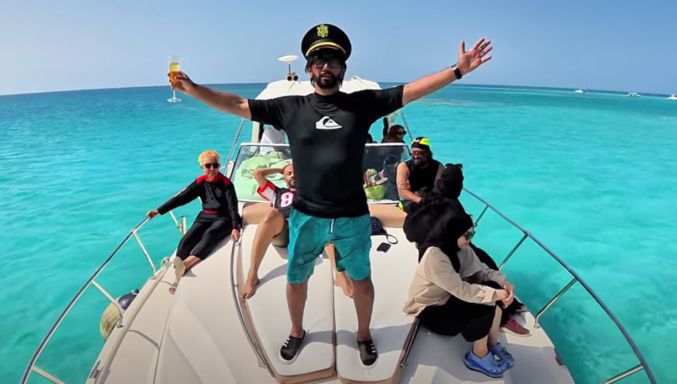
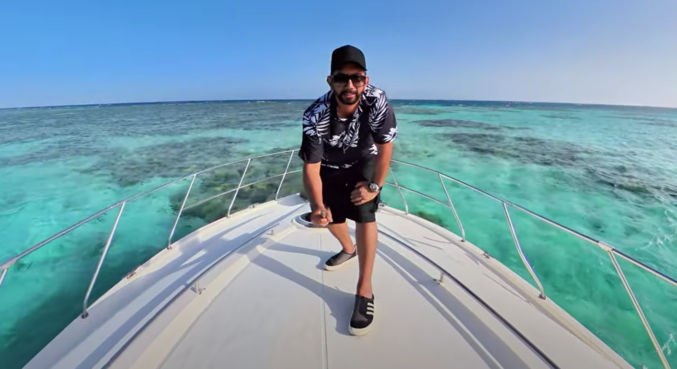
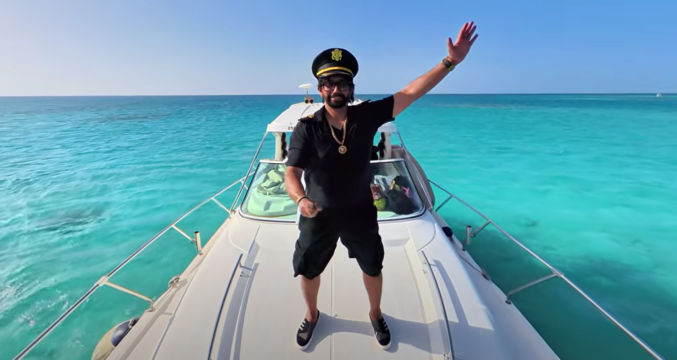
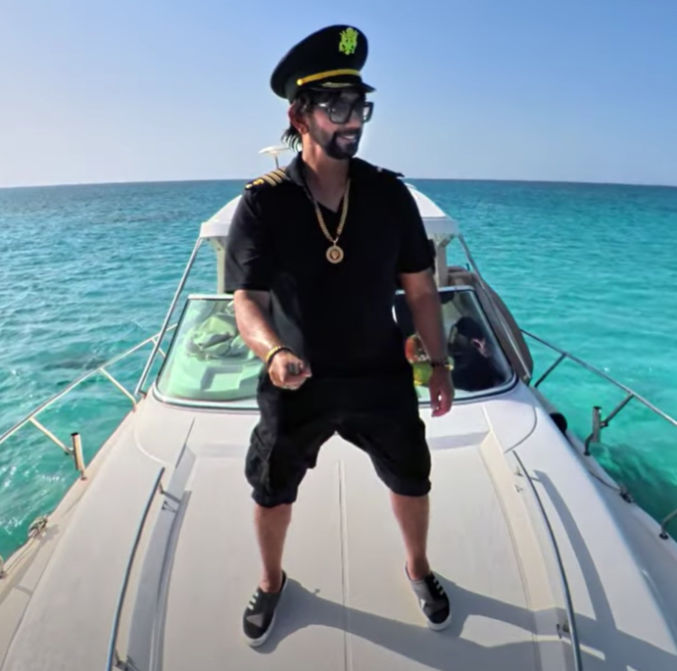
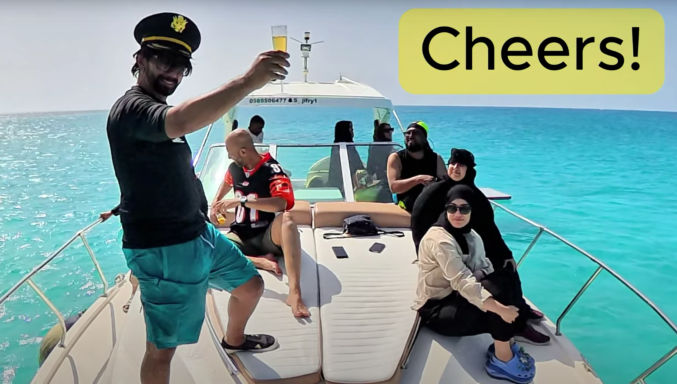
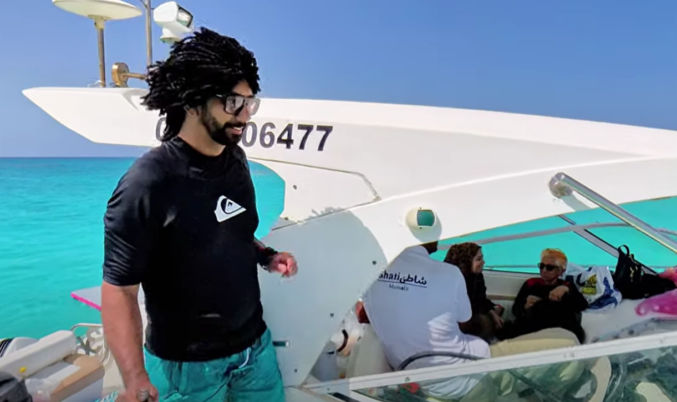
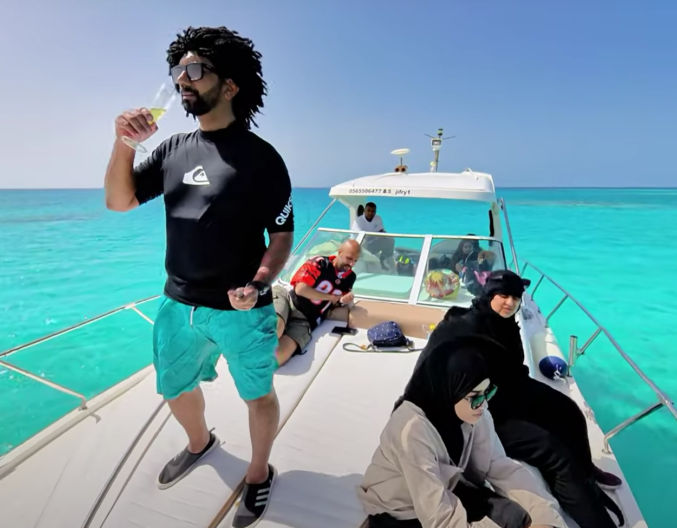
For the trip, I brought a captain outfit just for fun.
At Bayada
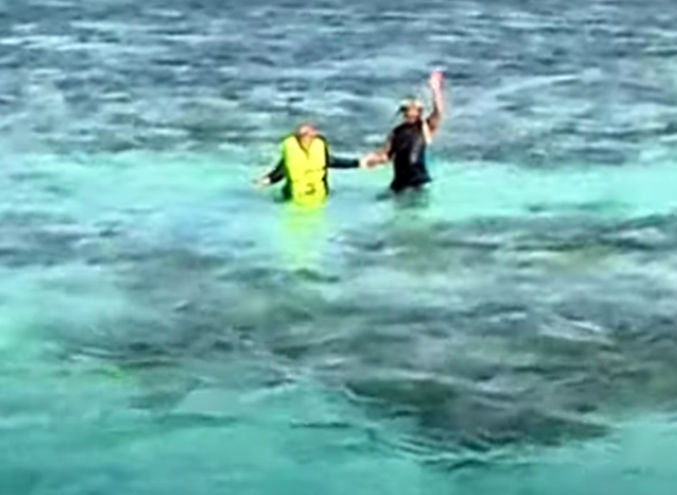
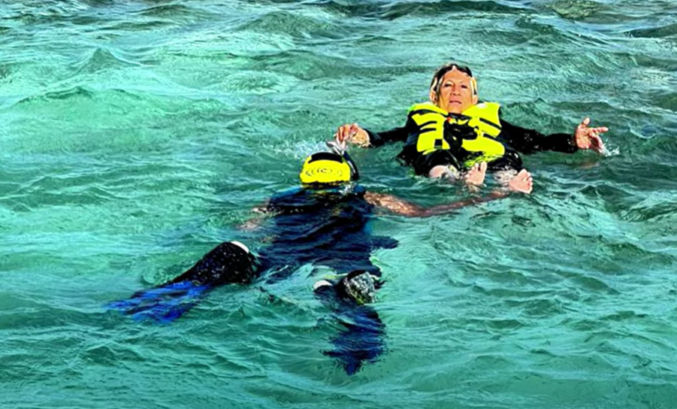
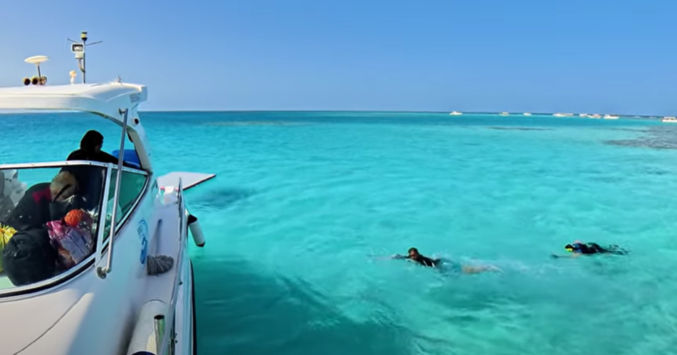
When going in the water, even though it looks like a massive swimming pool, it’s a sea, so you should wear a life jacket unless you are an experienced open-sea/ocean swimmer, which most people aren’t. The waves appeared gentle, but the current was strong enough to quickly cause fatigue. This deserves emphasis.
WARNING 1: WEAR A LIFE JACKET!
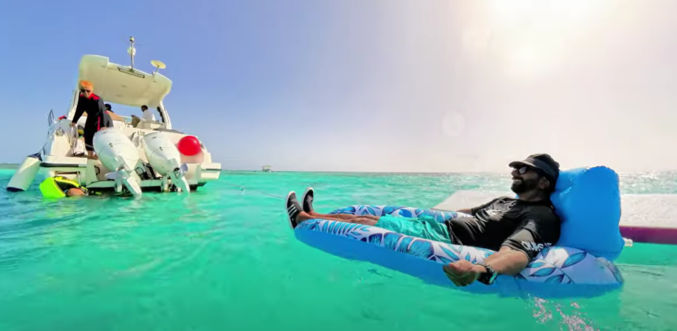
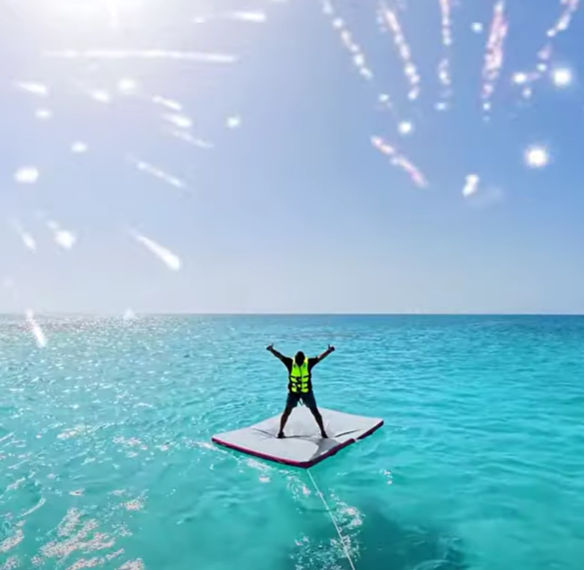
Since I wanted to relax in the water, and I didn’t know what water toys would be available on the yacht, I brought an inflatable lounge with me. I also brought a battery-powered inflater, but our captain inflated the lounge for me using his heavy-duty inflater, which he also used to inflate his raft.
The inflatable I brought was very good. My body and legs were partially in the water, which felt good, and the back rest was sufficiently firm. I paid $20 for it on Amazon.
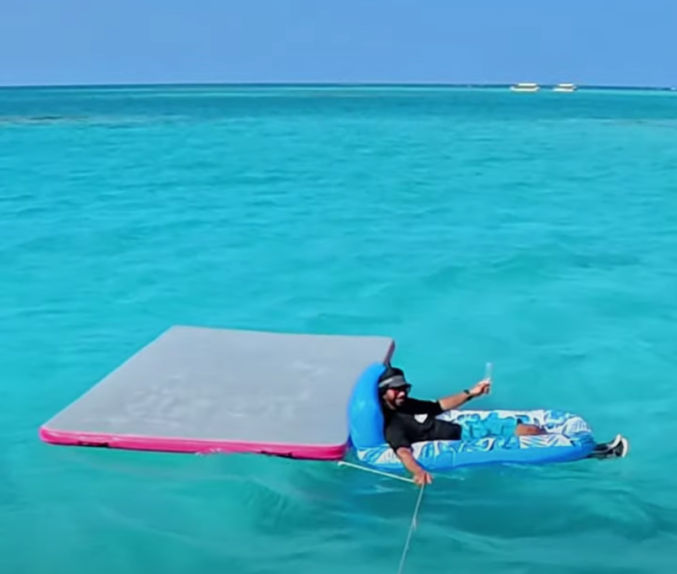
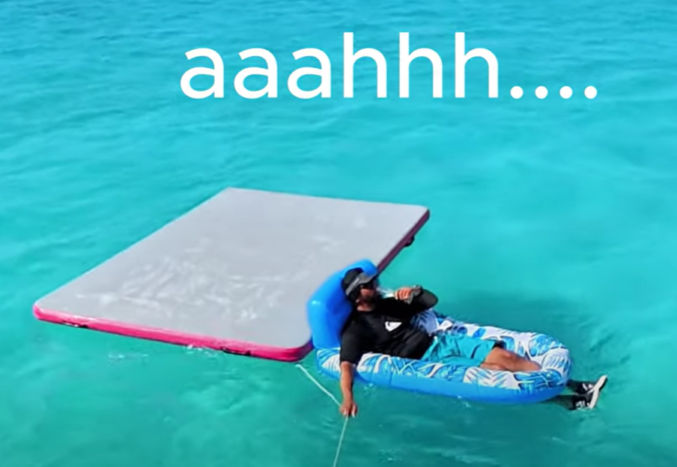
WARNING 2: All such inflatables should be tied to the yacht to prevent drifting out to sea. If you don’t tie them to the yacht, the inflatable, along with you, if you are on it, will definitely drift out to sea!
Since I had not tied my inflatable lounge to the yacht, but the raft was tied to the yacht, I just held on to the rope that was tied to the raft.
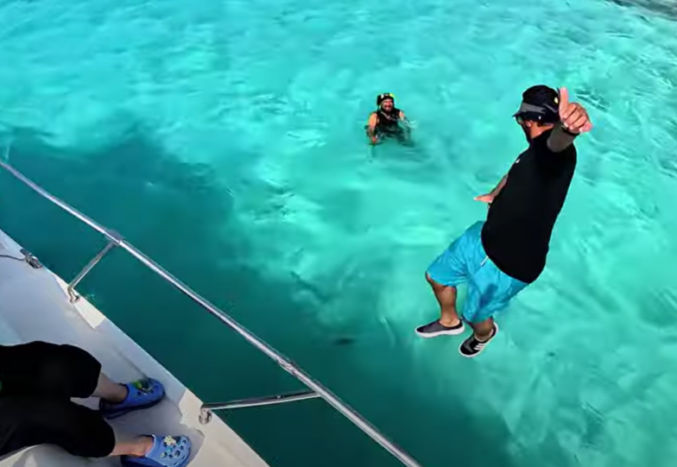
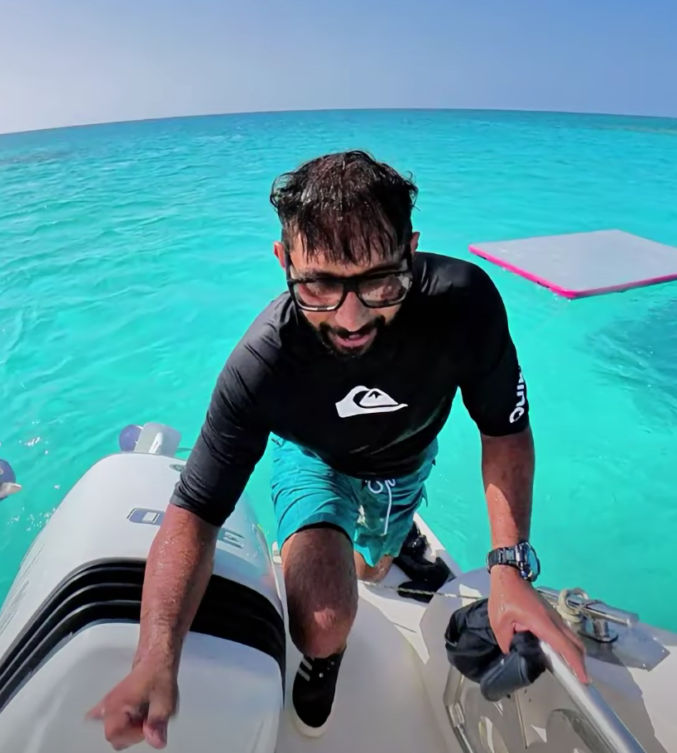
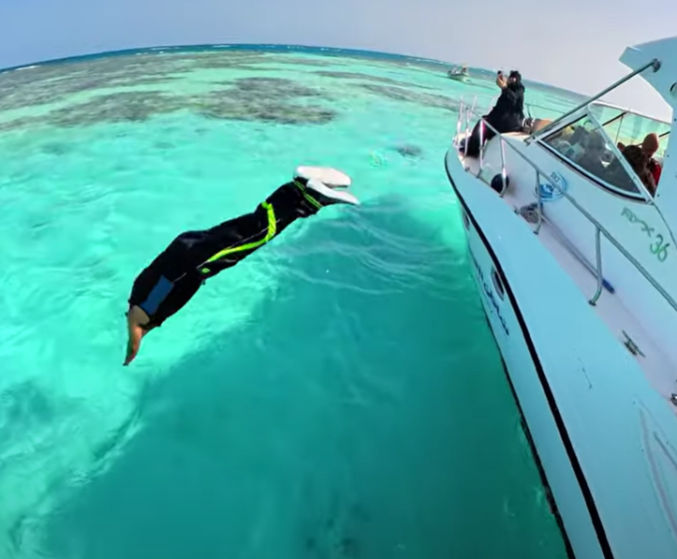
I also jumped into the water from the deck. Unfortunately, the railing made it difficult to do so, so I only did it once. I wish the yacht had a plank like a jumping board.
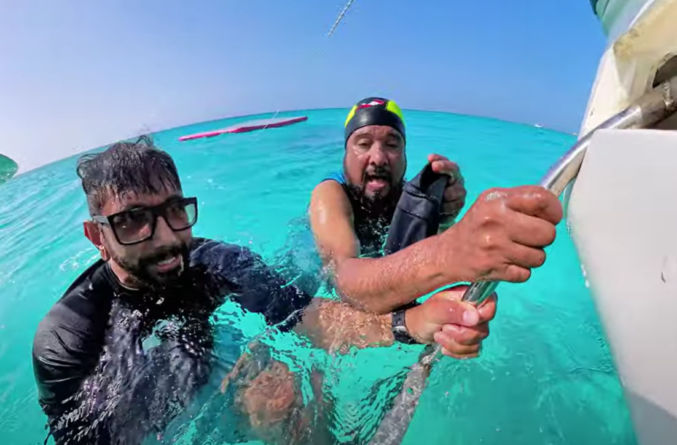
Even though we didn’t land far from the boat, swimming back to the boat was very tiring, especially without a life jacket.
By the time we reached the yacht, we were exhausted and out of breath!
If you decide to go in the water, no matter how you do it, make sure to test it first slowly by swimming around near the stairs. To be safe, wear a life jacket and hold on to a rope in case you realize you need to pull yourself back to the boat.
This guy (Mustafa), who came with us, was a pro. He used to dive often. If possible, bring an experienced swimmer with you on the trip in case someone needs help in the water. Again! The Red Sea may look like a big swimming pool, but it’s anything but.
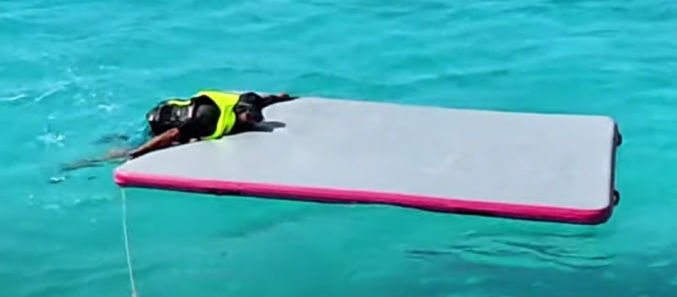
If you have an inflatable raft, like the one pictured below, realize that it is very difficult to get on it in the water.
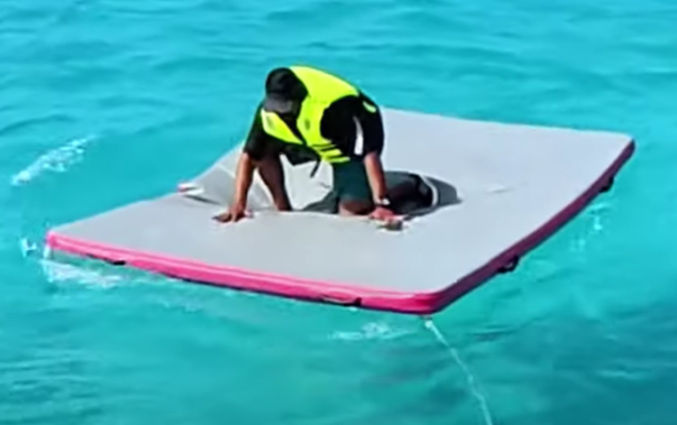
It’s also very hard to stand on it in the water.
But it’s not impossible.
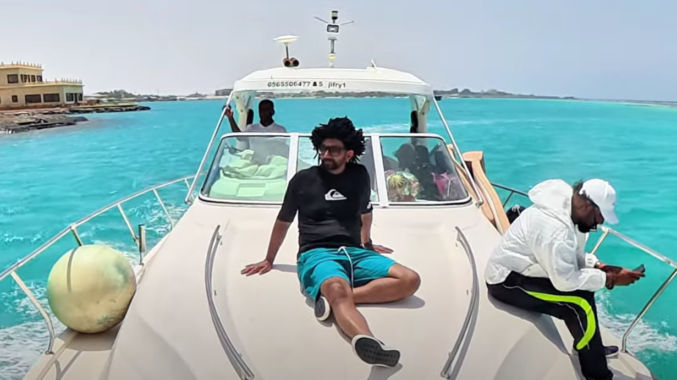
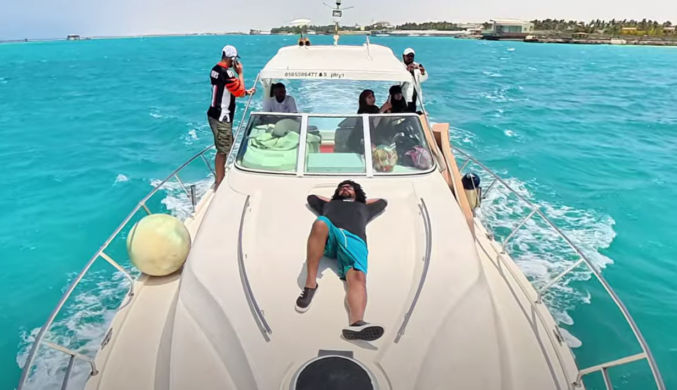
The yacht comes with cushions for lounging on the front. Make sure to stay hydrated by drinking plenty of healthy drinks.
If you don’t want to sit on the front deck and you want to avoid the sun, you can sit under the roof near the captain’s seat is.
At the front of the yacht was another fishing pole holder. I used it to hold my camera selfie stick.
This allowed me to take shots like this
and this
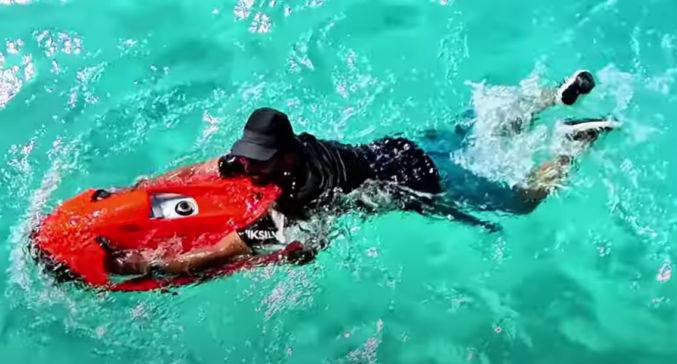
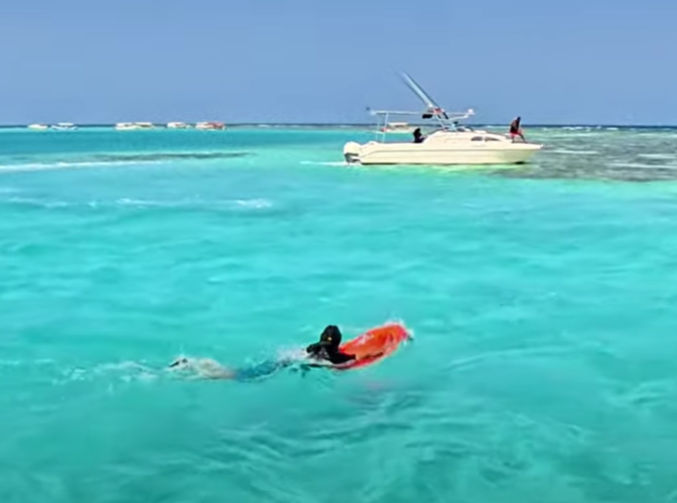
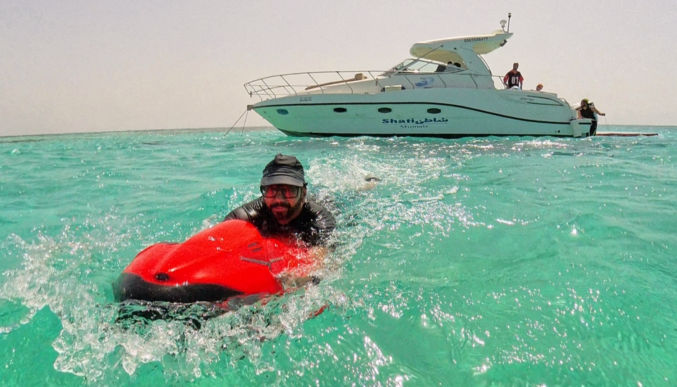
For me, the most fun thing to do was to ride a Seabob, pictured below. You grab on to both handles and push the button with your right hand to have the Seabob propel you through the water. The feeling is refreshing and exhilarating as you feel the water flow over your body and you effortlessly cruise around the water.
If you wear a hat, make sure to hold on to it when the boat is moving, otherwise it could fly off into the water.
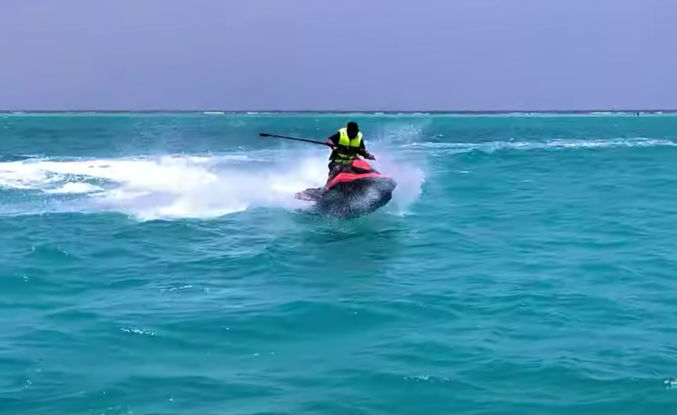
After Bayada, we went to a private place near the shore to ride a jet ski.
While on the trip, make sure to spend some time to relax and enjoy the sea breeze, whether your sitting or laying down.
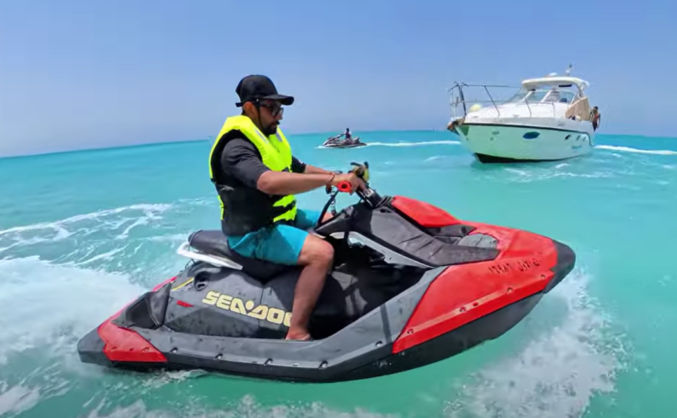
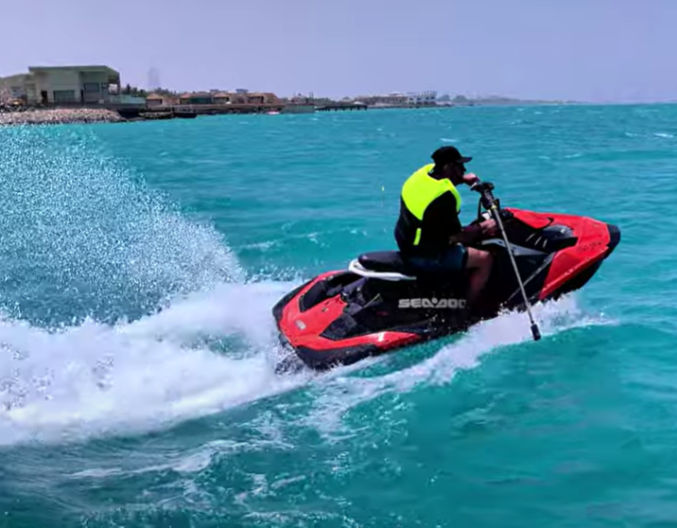
The jet ski I rented was very lightweight and fast.
I strapped my camera selfie stick to the handle using ratchet straps so I could get 3rd-person video footage, like the one pictured above.
I couldn’t go to fast because the waves made my ride very bumpy.
After the jet ski ride, we headed back to the marina and reached it at 1 PM.
Overall, the trip and experience was amazing and totally worth the cost. I’m glad I was able to capture almost all of it on video, which you can watch below.