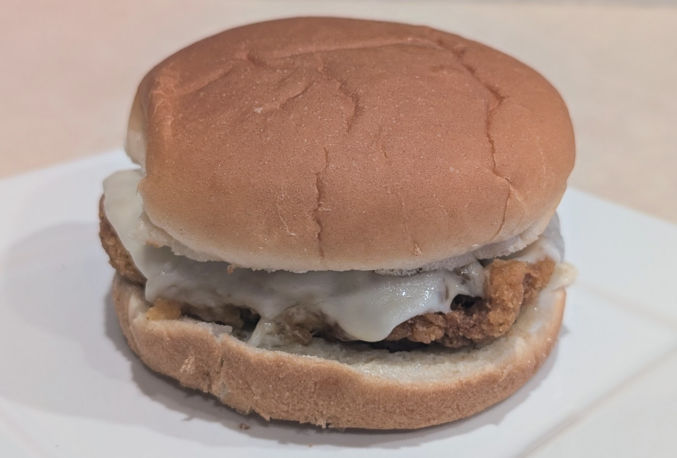
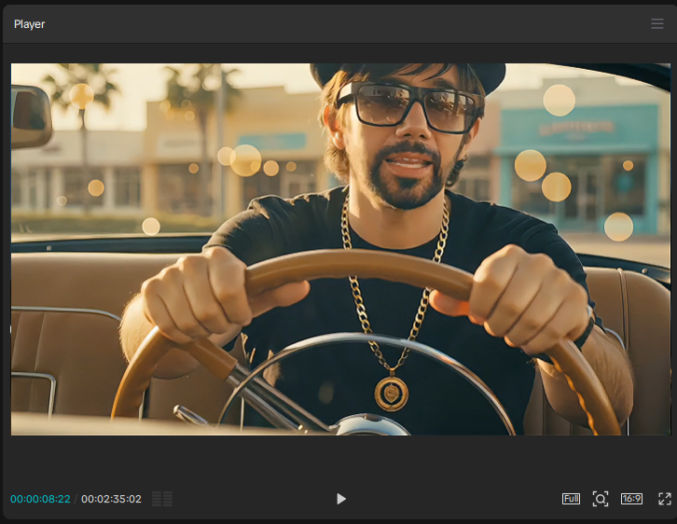
In this post, I’ll explain how to make a music video using AI like the one below.
Get a song
The first step is to get a song. Here are some options:
- Buy a song, e.g., on Amazon
- Download a song from YouTube, e.g., using a YouTube music downloader
- Create a song using AI, e.g., using Suno or TopMediAI
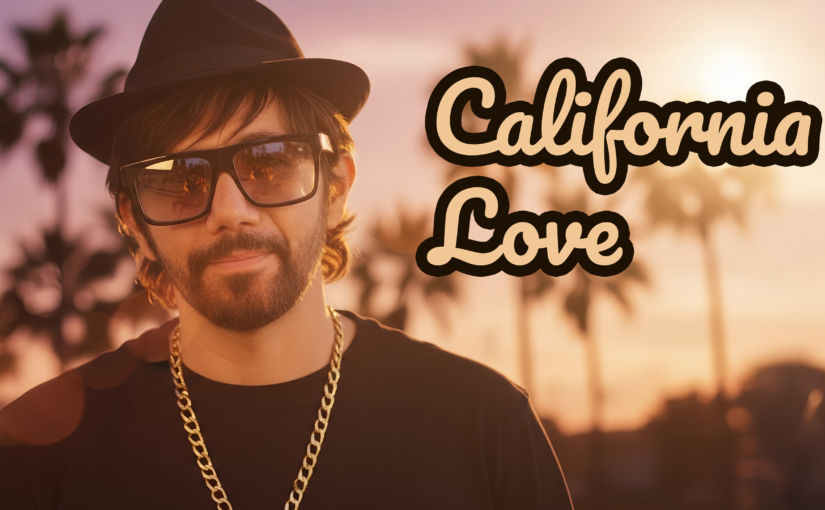
I chose the song “California Love” and I had it in mp3 format.
Optionally, separate vocals from backing track
Sometimes, when you upload a song to generate a lipsync video, the tool can’t distinguish between the vocals and the backing track, resulting in imperfect lip movements. For example, using this song segment
we see that the lipsync results near the end are inaccurate.
If you created the song using Suno, TopMediAI, or any other AI music generation tool, you may be able to cleanly separate the vocal track. Look for “get stems”. Otherwise, you can try to separate the vocals from the backing track using UVR Online.


Here’s how the same lipsync video looks using this vocal track separated using UVR Online.
In this case, the lip movements at the end look accurate, but the beginning looks imperfect, which is why it’s better to get the vocal track from the source.
Get a photo of your singer
In the video above, I wanted to be the singer, so I found a clear, front-facing photo of myself. I then removed the background. Make sure to have a clear photo for better results.


Generate AI prompts for different scenes of the music video
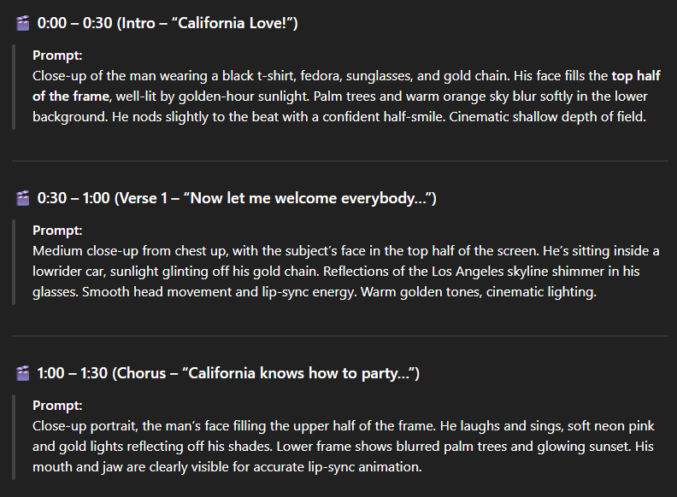
When it comes to generating AI prompts, I find it easier to use AI (I use ChatGPT) to generate the prompts. Later, we will use AI to generate a lip sync of the singer singing the song. Unfortunately, at the time of this writing, AI is not good enough to lip sync images of subjects where their faces are too small, so for the AI prompts, we want to tell ChatGPT to show a close-up of the subject such that their face occupies 1/3 or 1/2 the image height.
Here’s an example prompt to generate a list of prompts.
Give me 20 prompts to generate 20 images using AI with the following criteria:
- the generated images should be relevant to the theme or lyrics of the song “California Love” by 2pac, ft. Dr. Dre.
- the singer in the generated images will come from an uploaded reference image
- the singer should be shown close up from the waist up so that an AI lip sync tool will produce better results
- the singer should be either facing the camera or at most facing 45 degrees from the camera
ChatGPT may ask for more information or inputs, like the image of the singer or the lyrics to the song.
Here is example output from ChatGPT.
It’s important to ensure the face of the subject is clear so the lip-sync video generation results are good. Here’s a comparison of video results from images with a small and large subject face.
Notice how the videos where the subject is not close up show facial distortion. The videos with the subject close up show much less distortion. The closer the subject (extreme close up), the less the distortion, e.g.,
Generate still images using the prompts and the singer image
I like to use OpenArt and Google Nano Banana to generate the images. In OpenArt, go to
- Image > Create Image
- Model: Choose the “Nano Banana” model (I prefer this model for this purpose)
- Prompt: enter one of the prompts from the previous step
- Omni Reference: upload the image of the singer from the previous step (you can optionally upload more than one image, e.g., a front-facing image, a side-facing/profile image, etc)
- Output Size: I prefer 16:9
- Upscale output: x2 (if you choose x4, the image will be too large for TopMediAI – the lipsync tool – so I choose x2)
- Number of images: 1 (you can choose more than one, but you’ll pay more. I prefer to start with one, and if the results are okay, I’ll regenerate more images to get a variety)
Here’s an example of the interface.

After you do this for each prompt, you should end up with an array of images.

Note that you will likely need to tweak some of the prompt text and regenerate images until you get results you like.
Organize files
Since you’ll be working with many files, you’ll want to organize them so you don’t get lost and make mistakes. I like to put all files in a folder like this
“California Love” (folder)
- california-love.mp3
- img-01.jpg
- img-02.jpg
- img-03.jpg
- …
Split the song in a video editor
I like to use Capcut for video editing. Import the audio file and all image files to Capcut.

- Add the audio file to the audio track
- Play the video (audio only at this point) and place a marker where you want different scenes to appear
- Listen to the audio and move the marker so that it is located between words or sentences.
- Split the audio track at the marker
- Repeat for as many scenes (clips) as you want

Add an image to each audio clip
- On a video track, add an image for each audio clip such.
- Set the duration of the image clip to match the duration of the audio clip by dragging either end of the image clip to the left or right.
- Play the video in the preview window to see if you like the image sequence for the associated music.

Export the audio clips
If you like the preview in the previous step, export each audio segment in mp3 format. I use the left and right arrow keys to jump the playbar to the start or end of each segment and then I hit the “i” key to set the start point and the “o” key to set the end point so that I only export the segment that I want. The other segments will be grayed out.
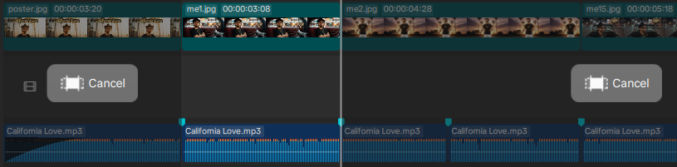
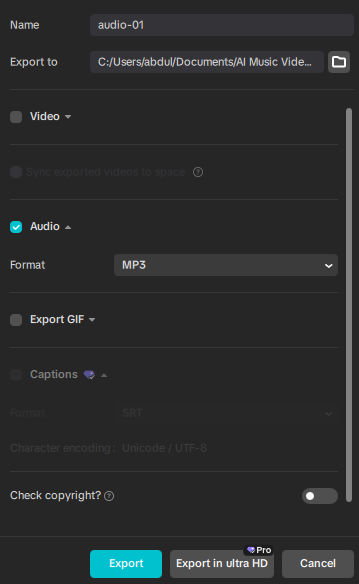
Click the “Export” button and check only the “Audio” checkbox. Name each export with a number corresponding to its order in the timeline.
When done, your folder structure should look like this:
“California Love” (folder)
- audio-001.mp3
- audio-002.mp3
- audio-003.mp3
- …
- california-love.mp3
- img-01.jpg
- img-02.jpg
- img-03.jpg
- …
Create a lip-sync video from each image clip
There are many AI lip-sync tools, like HeyGen. HeyGen is used 3D modeling, which is good, but the output is more for talking rather than singing. As such, only the subject’s head moves. For the video above, I used TopMediAI. Though it only uses 2D modeling, it does an impressive job at animating an entire image, including the background, the subject’s head, and the subject’s body.
- Log in to TopMediAI
- Music AI > Music Tools > Singing Photo Maker
- Drag/upload audio segment 1 (audio-01.mp3)
- Drag/upload image 1 (img-01.jpg)
- Click the “Create” button

When generation is done, preview the lip sync video. If it’s good, save the video as “video-01.mp4” and repeat for all other images. When done, your file structure should look like this:
“California Love” (folder)
- audio-001.mp3
- audio-002.mp3
- audio-003.mp3
- …
- california-love.mp3
- img-01.jpg
- img-02.jpg
- img-03.jpg
- …
- video-01.mp4
- video-02.mp4
- video-03.mp4
- …
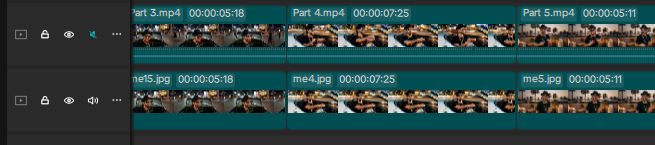
Add the lip-sync videos to the video timeline
- Import all lip-sync videos to Capcut
- Drag each lip-sync video to a new video track above the track containing images, making sure the video matches the image.
- Optionally add transitions, e.g., fade in/out audio or still images, crossfade between video clips, etc
- Disable the audio in the lip-sync video track so that only the audio from the music track is heard.
- Preview the entire video
If everything looks good, export the video. Click the “Export “button, check the “Video” checkbox, and set parameters (4K resolution, etc).

B-roll
Many videos include B-roll, which is filler content. In my music video above, my B-roll includes video footage of various iconic locations in California. To create this footage, I did the following:
- Asked ChatGPT to give me a list of the top 20 most iconic landmarks in California
- Asked ChatGPT to give me an image and video prompt for each of those 20 landmarks
- Used OpenArt > Image > Google Nano Banana to generate an image using the image prompts from the previous step. Generating images is much cheaper than generating videos, so I prefer to generate images first. If I like an image, I use it as a reference to create a video.
- Used OpenArt > Video > From Image to create a video from the images and video prompts generated in the previous steps.
- Added the videos to the timeline in Capcut.
If you want to create B-roll footage using the same character, the following process produced good results.
- Go to OpenArt > Video > Elements to Video
- Select the Vidu Q2 model (you can use other models, like Google Veo 3, but they can be way more expensive)
- Upload your character and optionally some other reference images
- Enter a text description of the video scene
- Choose other settings (aspect ratio, duration, resolution)
- Click “Create”
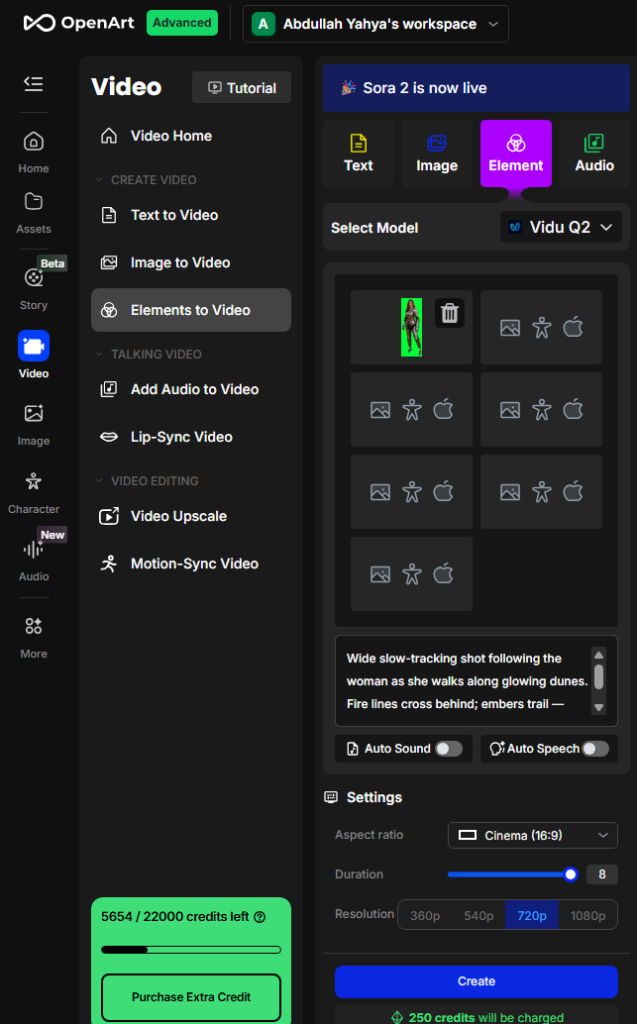
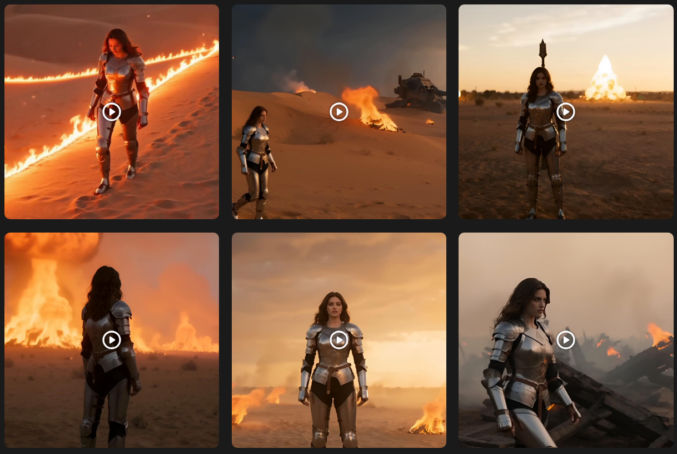
For example, using this character image

and this description text:
Wide slow-tracking shot following the woman as she walks along glowing dunes. Fire lines cross behind; embers trail — cinematic motion, 8K realism.
I was able to create this video
and many other ones using the same character.