How I Converted a Half-Bathroom into a Full-Bathroom
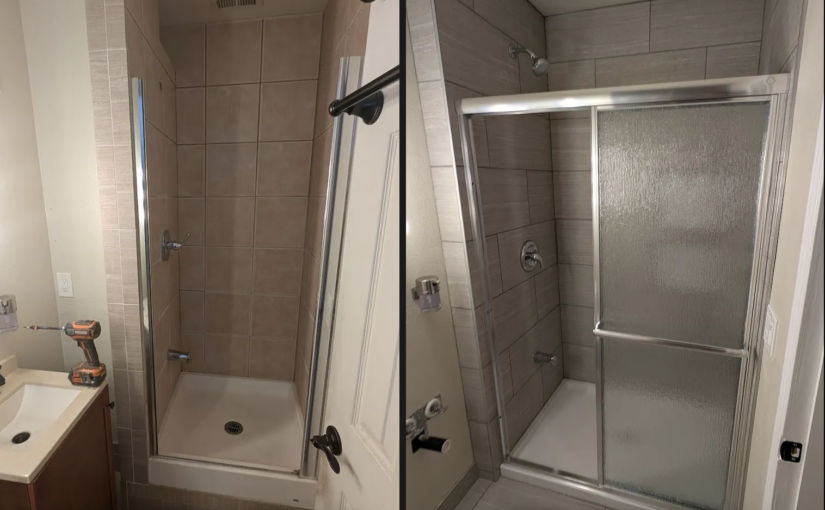
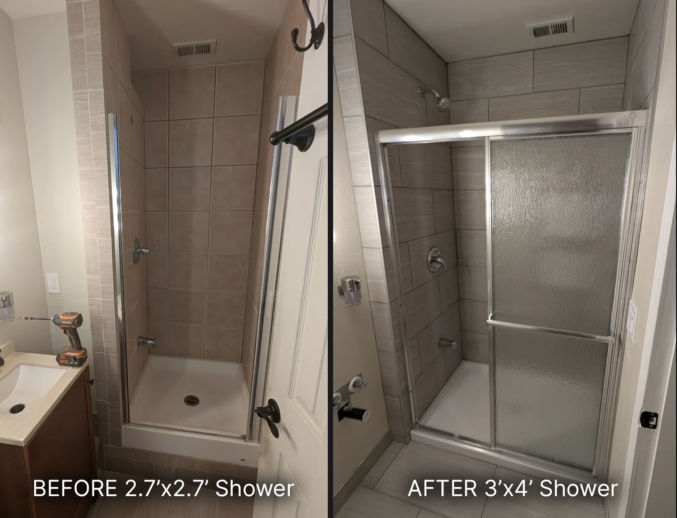
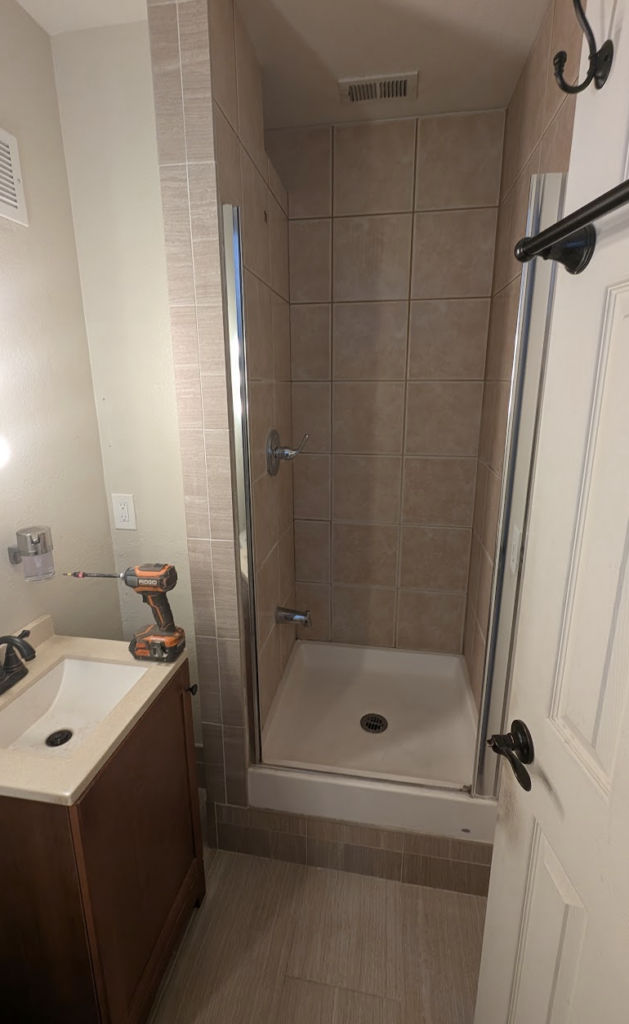
I got a permit to convert a half-bathroom into a full bathroom. The half-bathroom actually had a 2.7’x2/7′ shower in it, but it wasn’t permitted and was too tiny to shower in. I also didn’t like that the shower was raised above the floor because the previous owner didn’t want to bury the drain pipe in the concrete slab.
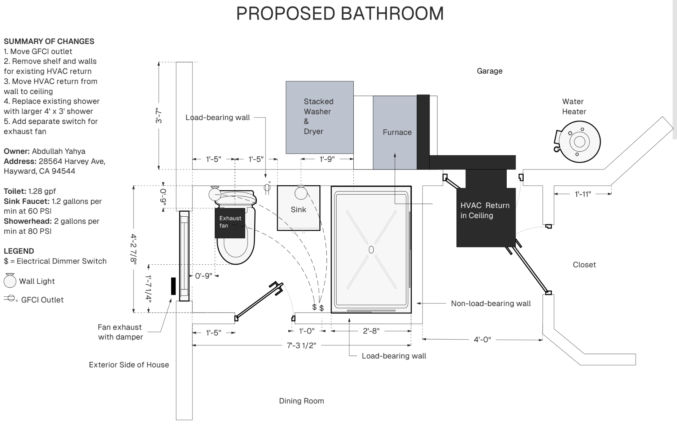
Getting the permit was easy since the permit type was “OTC” (Over The Counter), which gets approved in a day instead of months. I didn’t need perfect code-compliant technical drawings. I was allowed to just sketch the changes I was proposing. I decided to use a 2D CAD web app called Rayon.
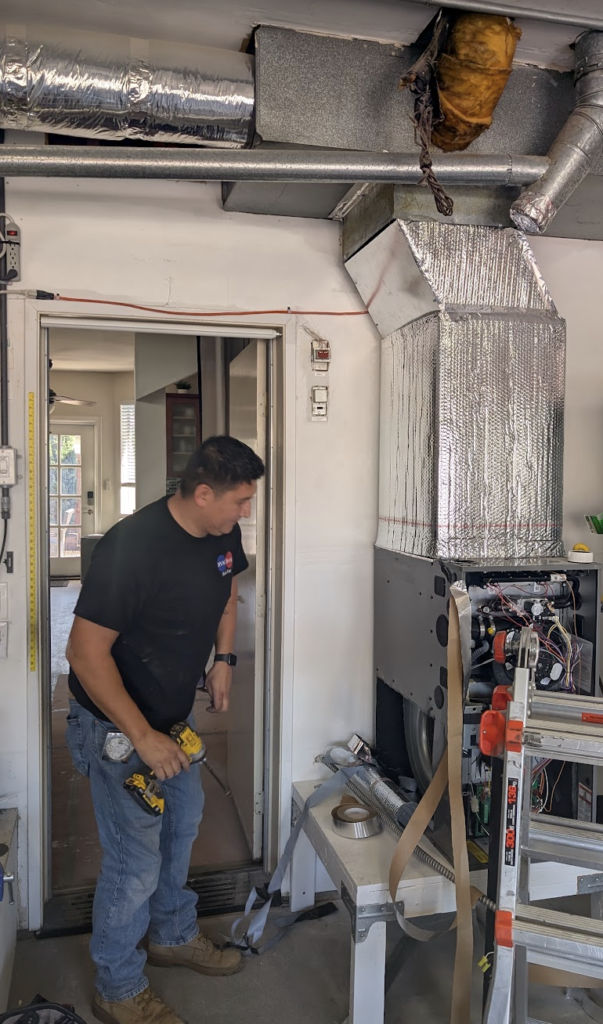
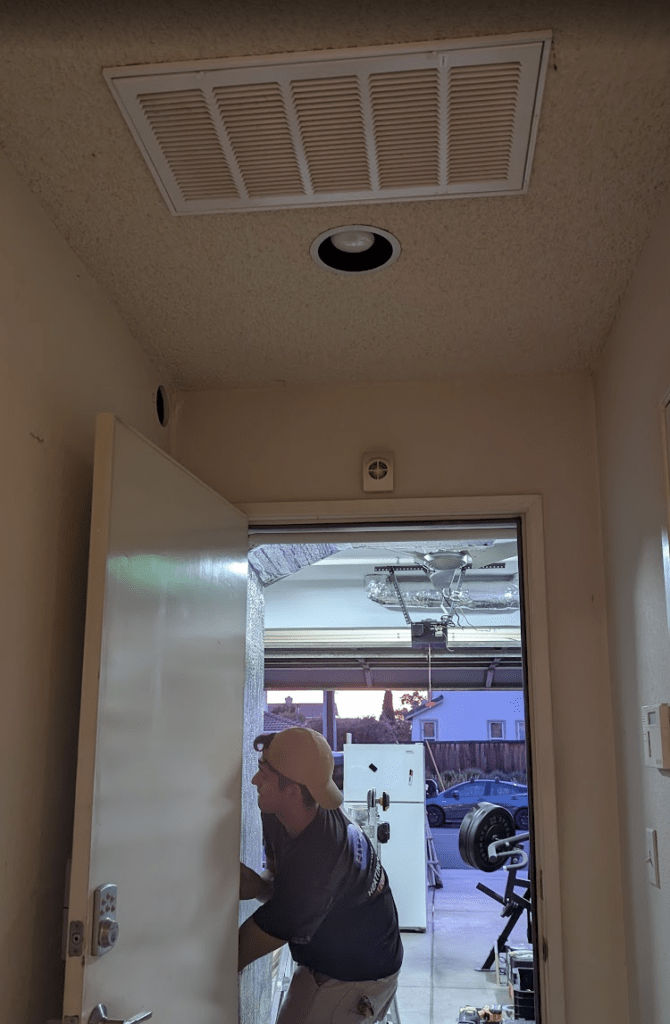
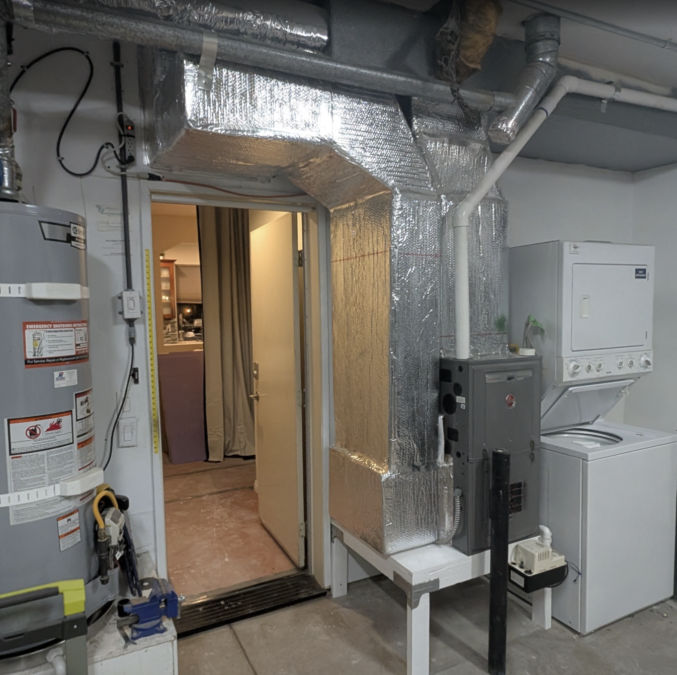
In order to install a 3’x4′ shower, I needed to move the furnace return ducting out of the way. An HVAC technician ended up moving it to the ceiling in the hallway. This required a separate permit, a mechanical permit. I ended up paying about $600 for the bathroom remodel permit and $400 for the permit to move the furnace return duct. Here are photos of the bathroom remodel.
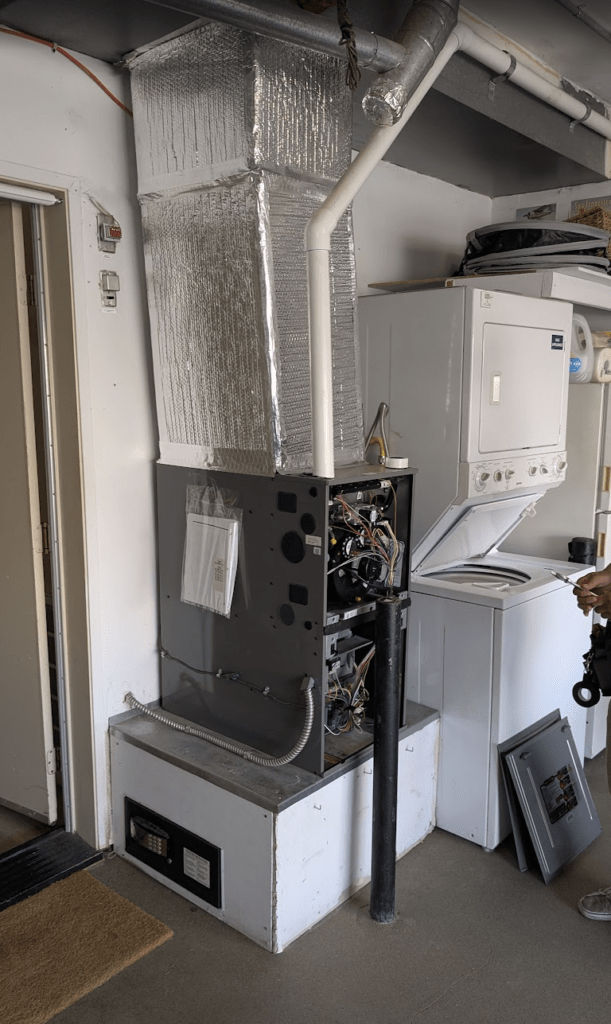
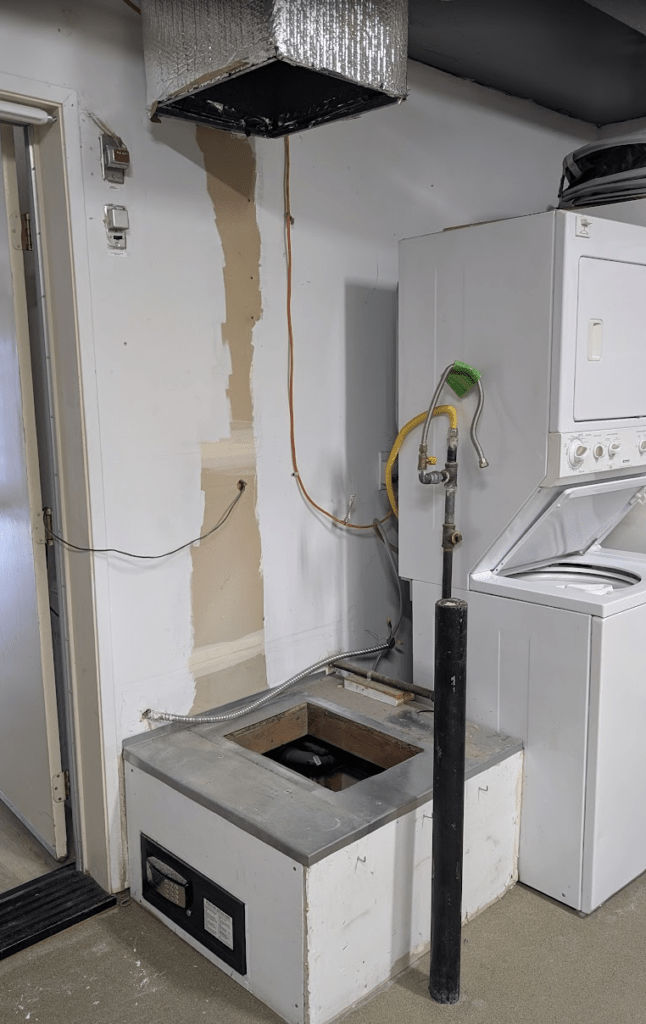
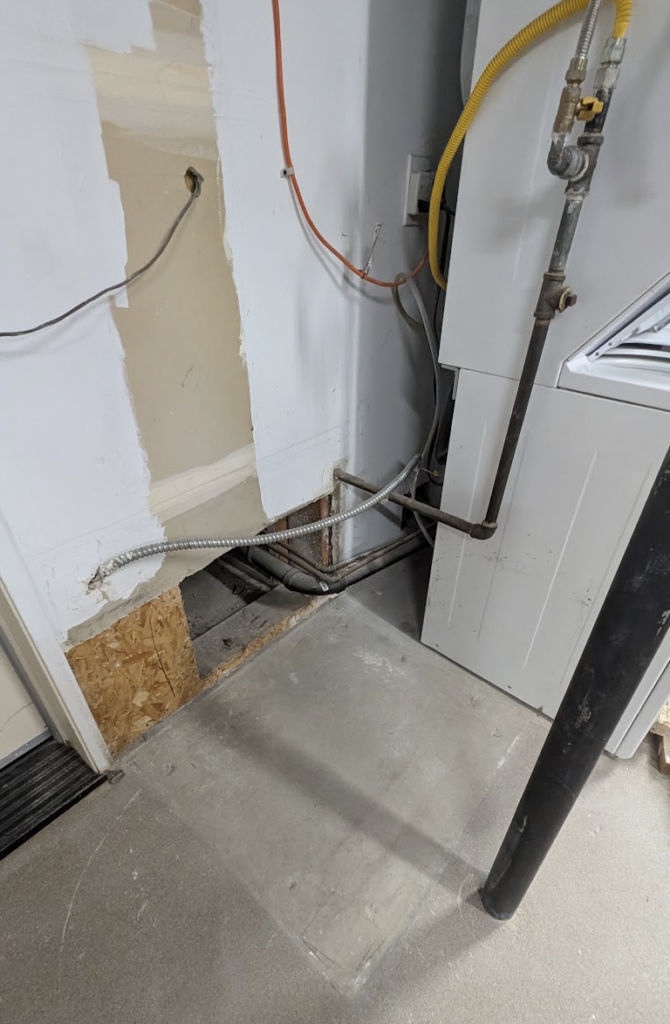
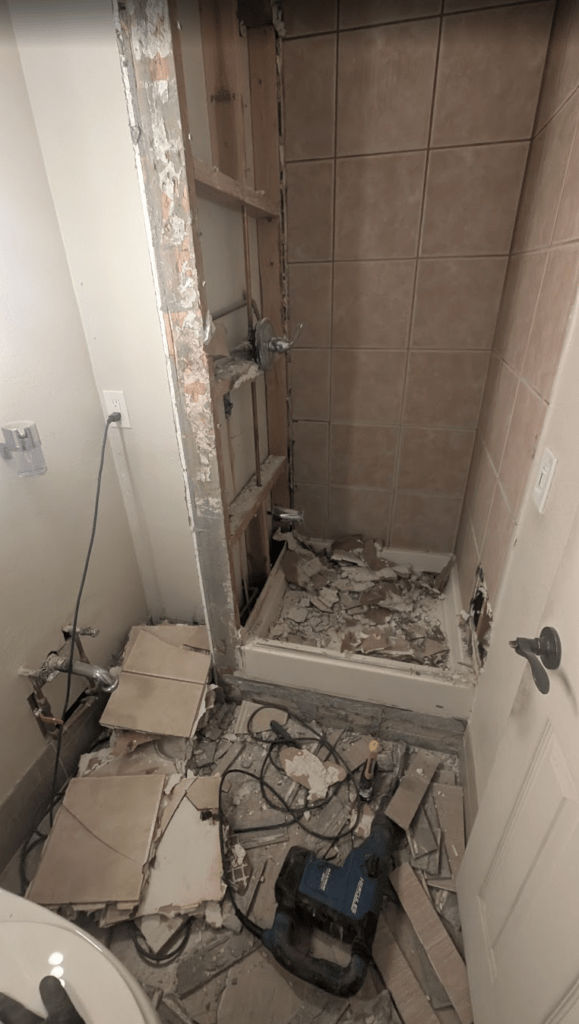
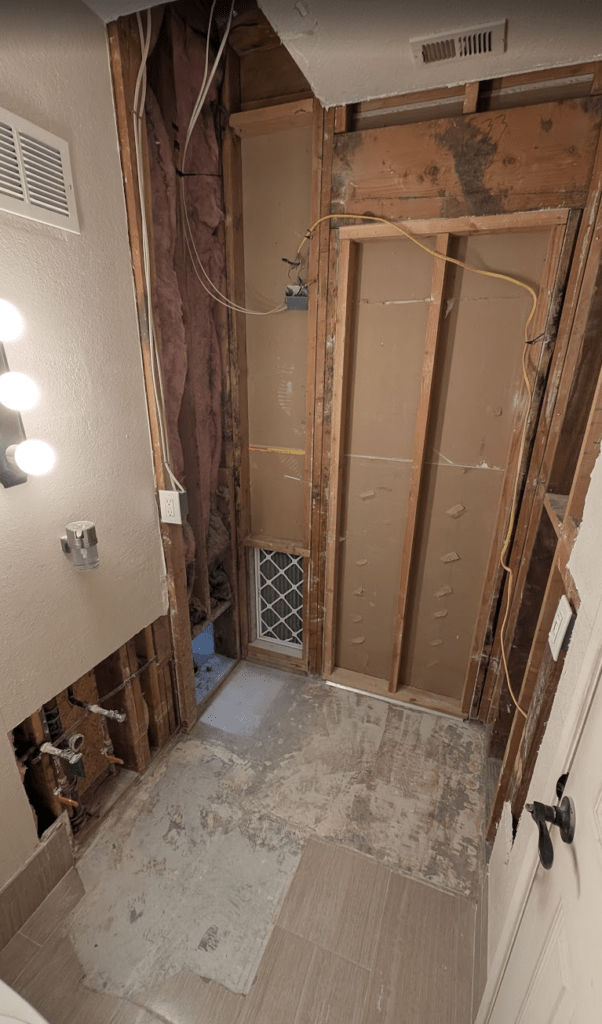
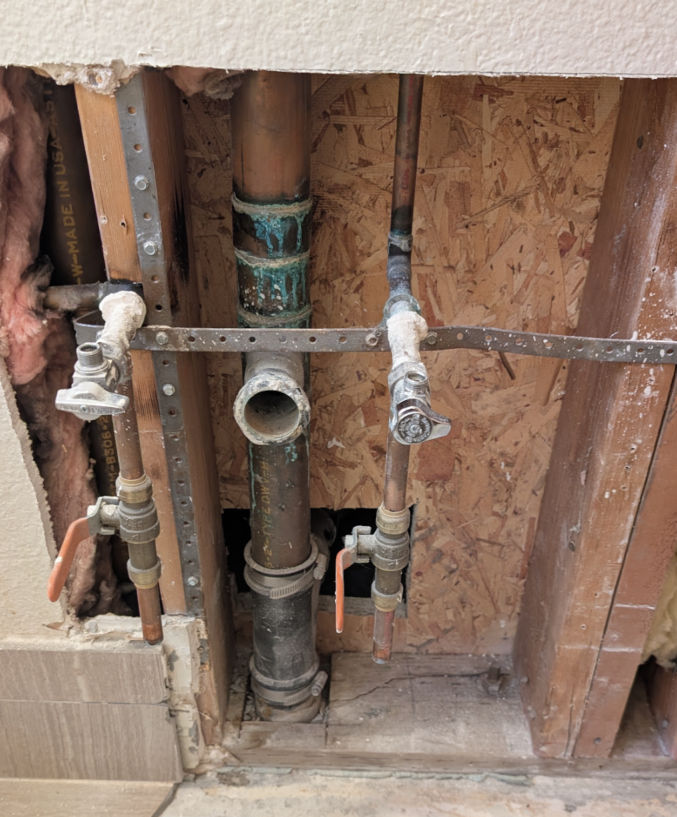
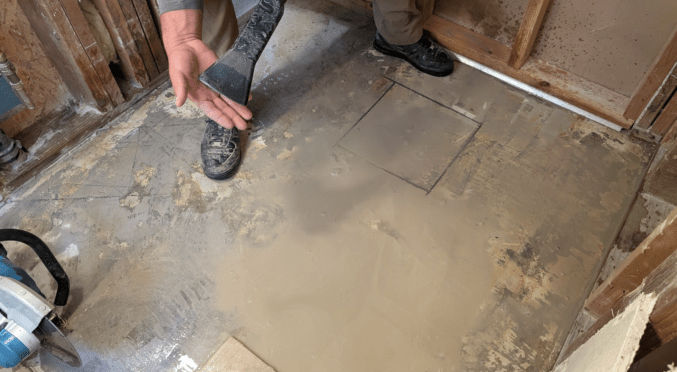
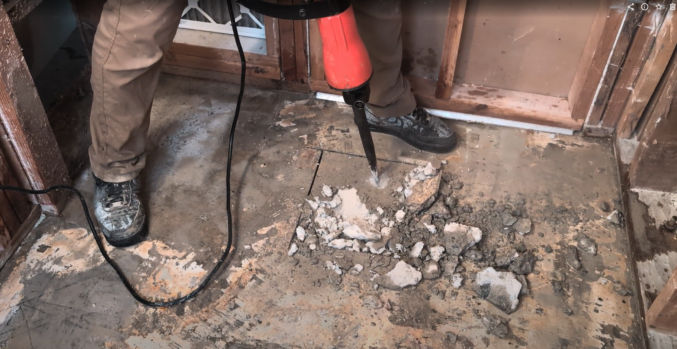
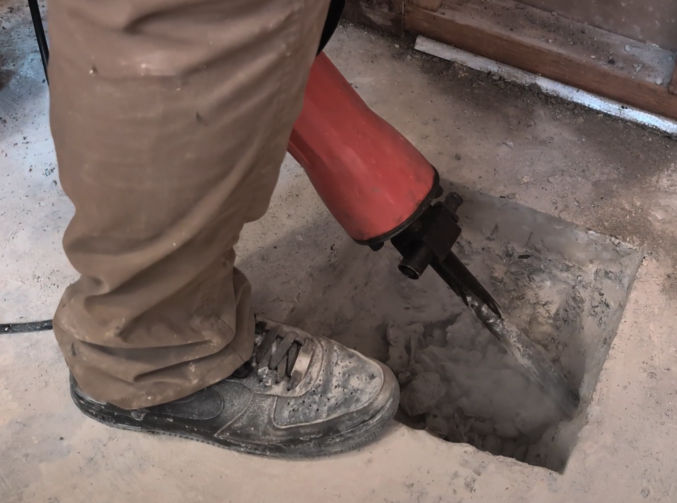
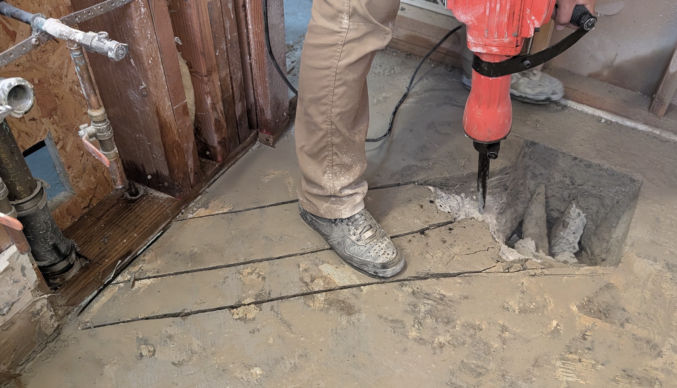
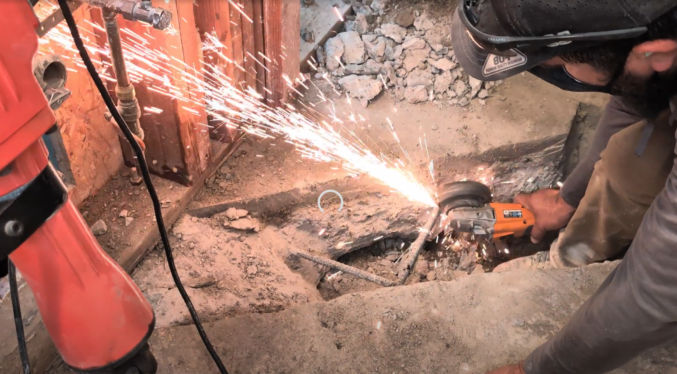
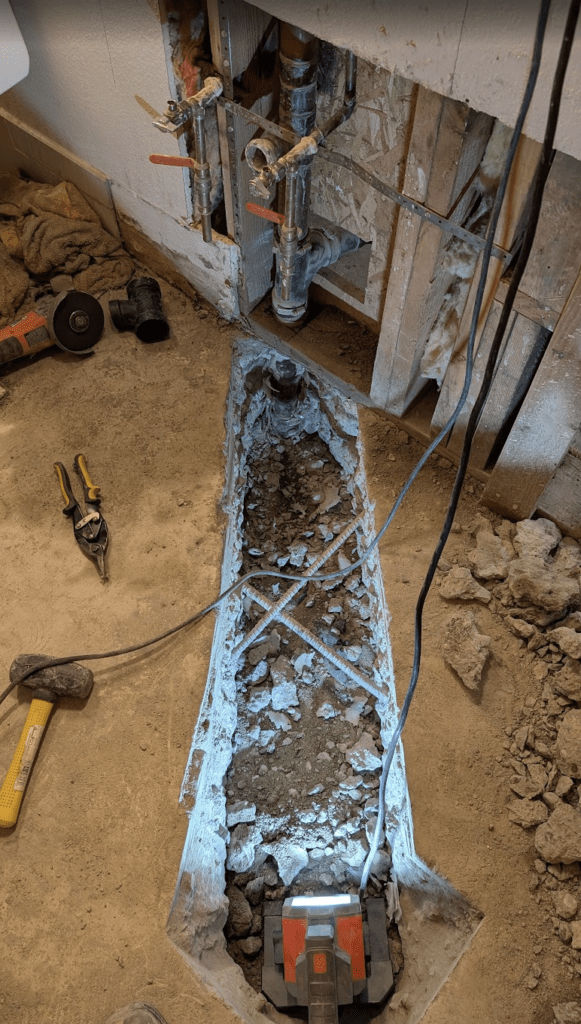
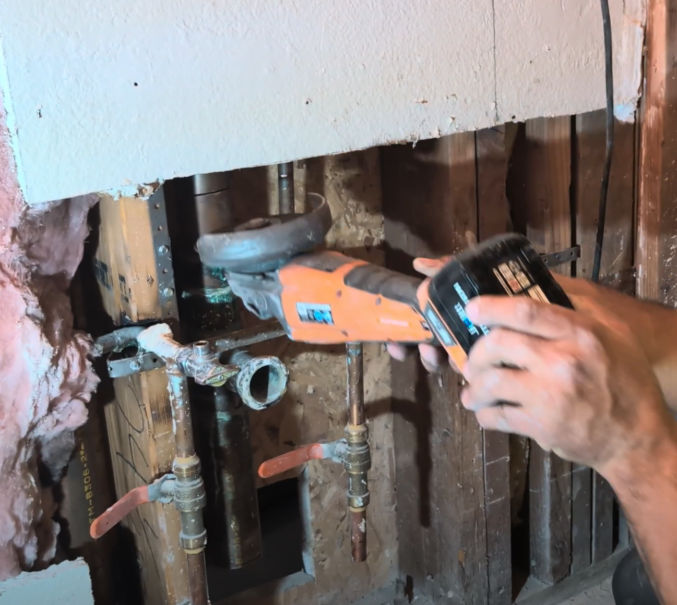
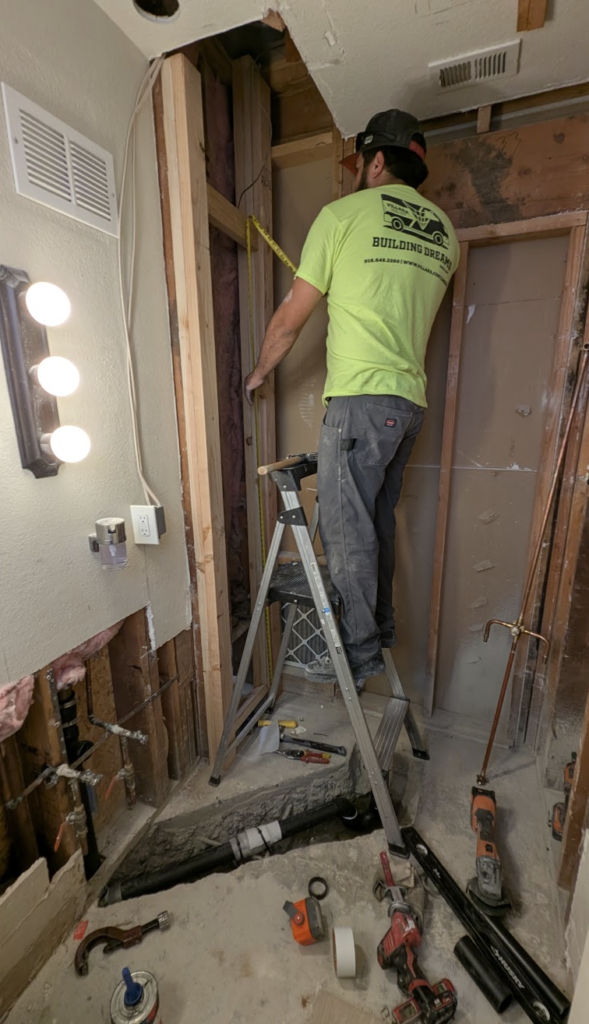
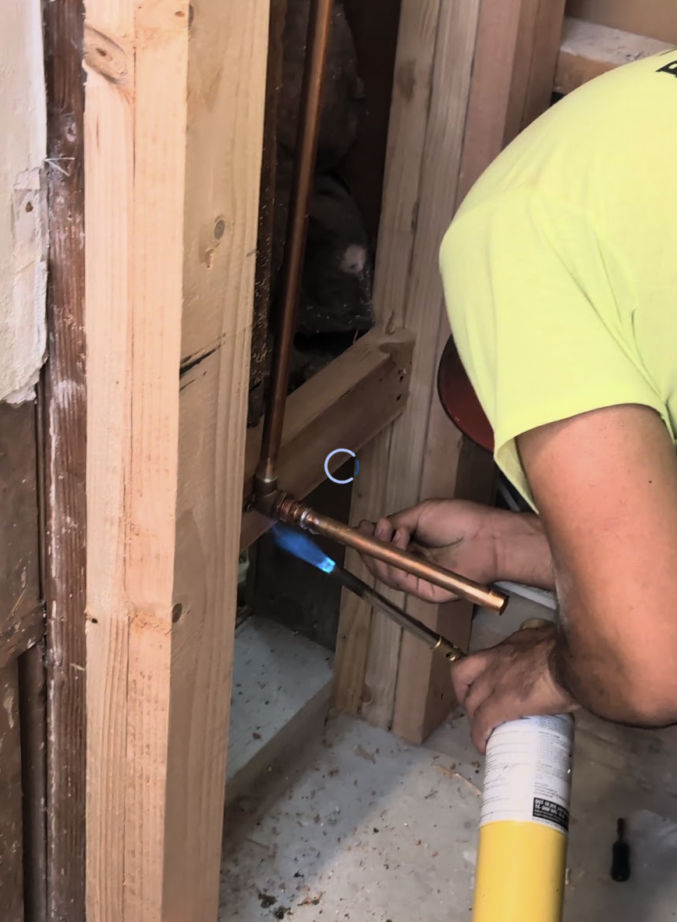
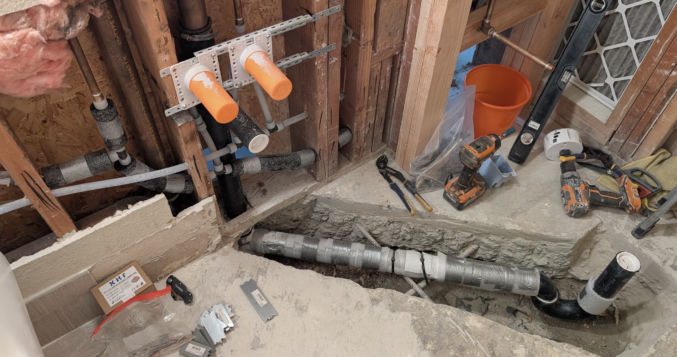
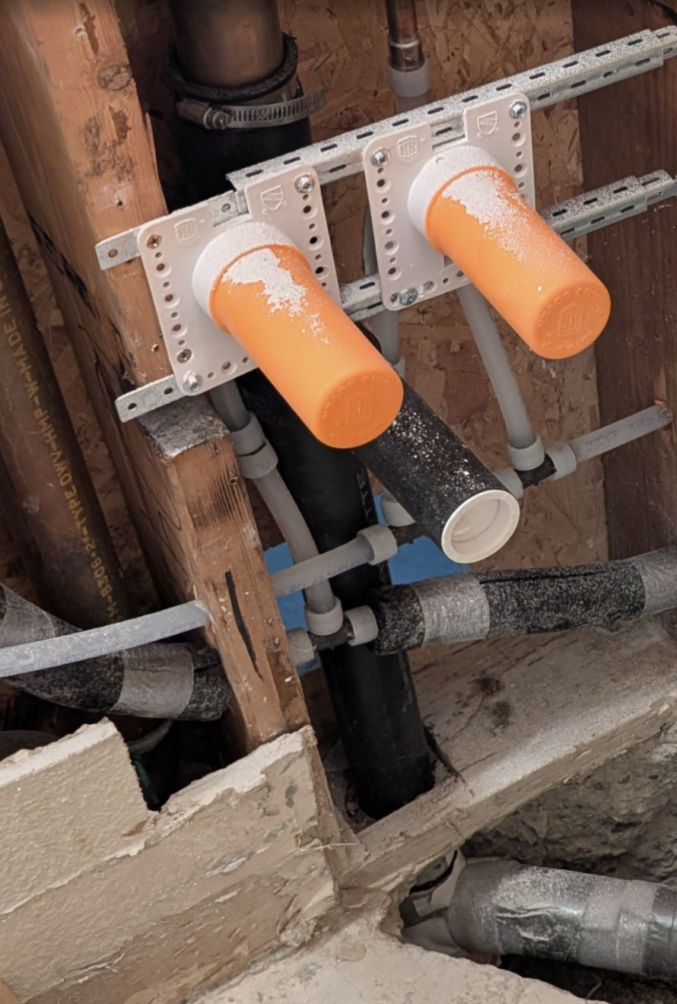
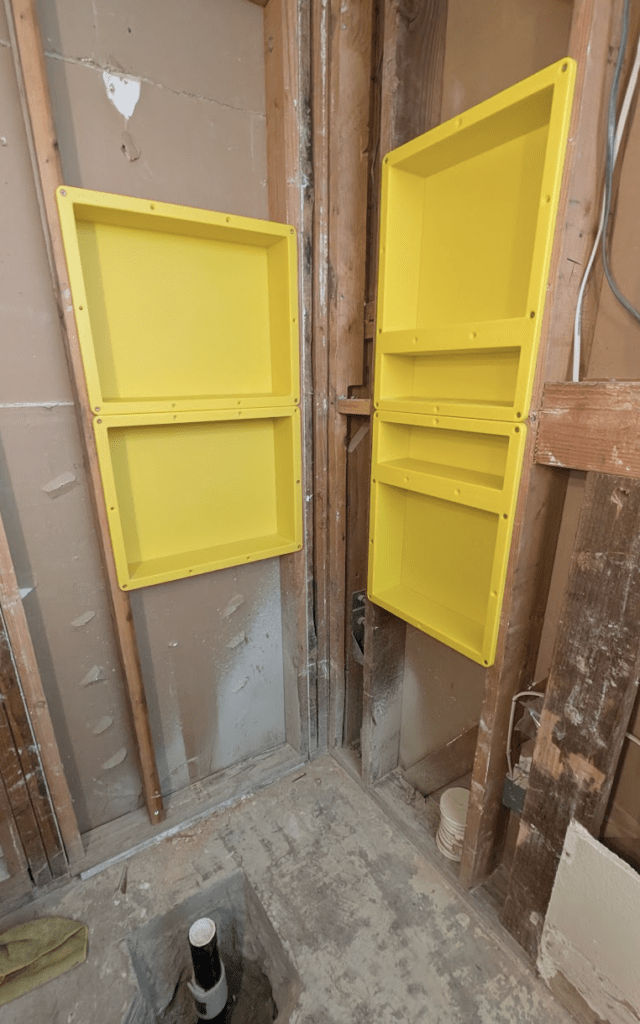
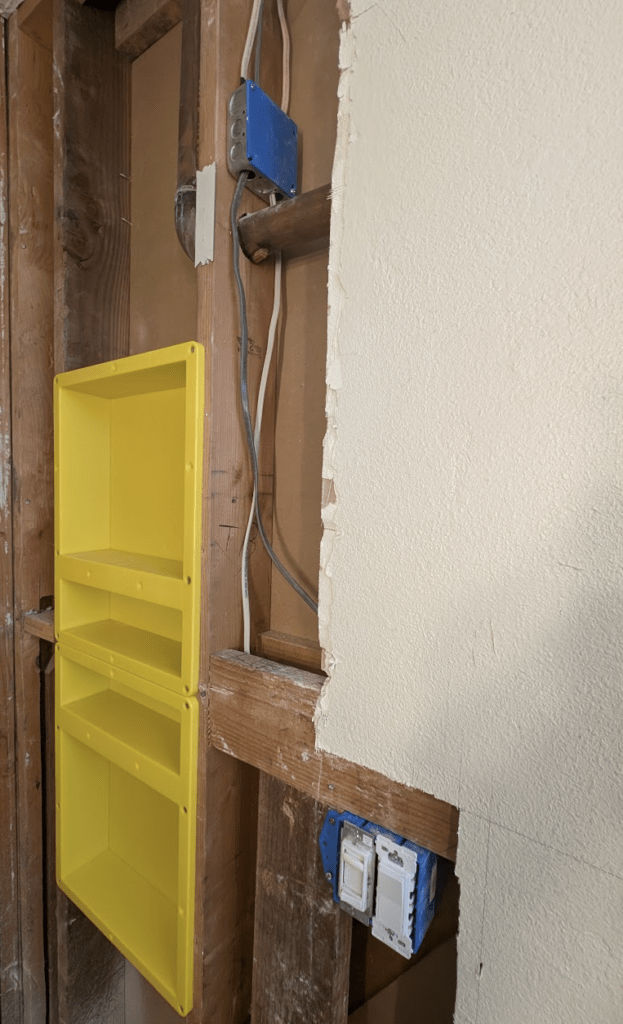
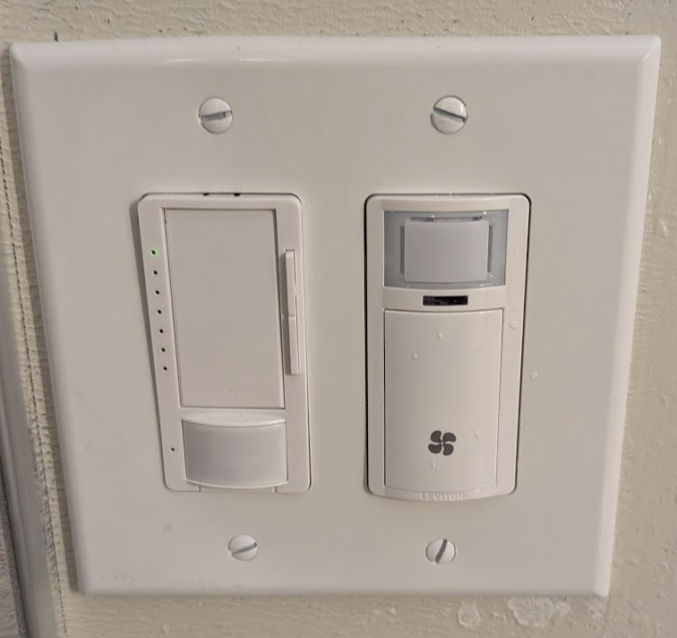
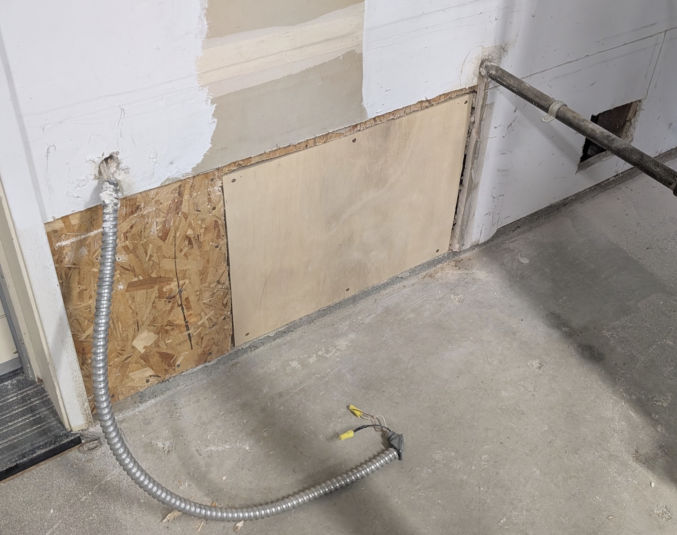
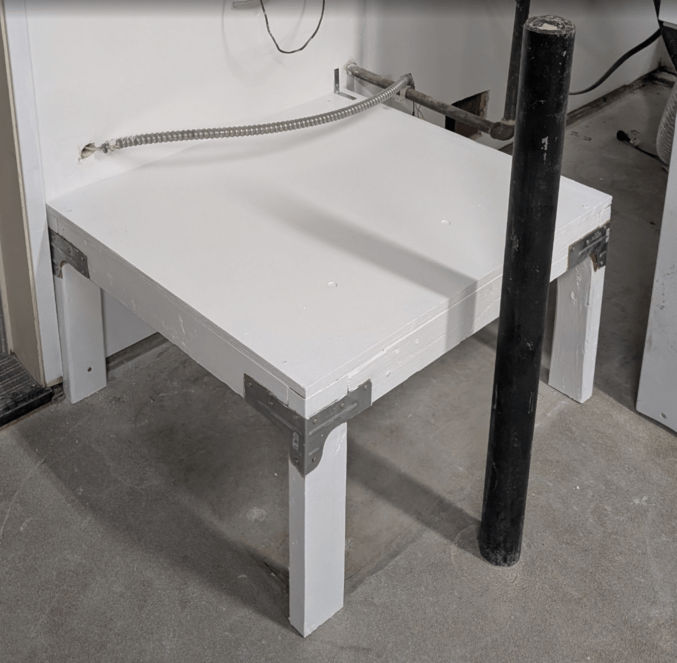
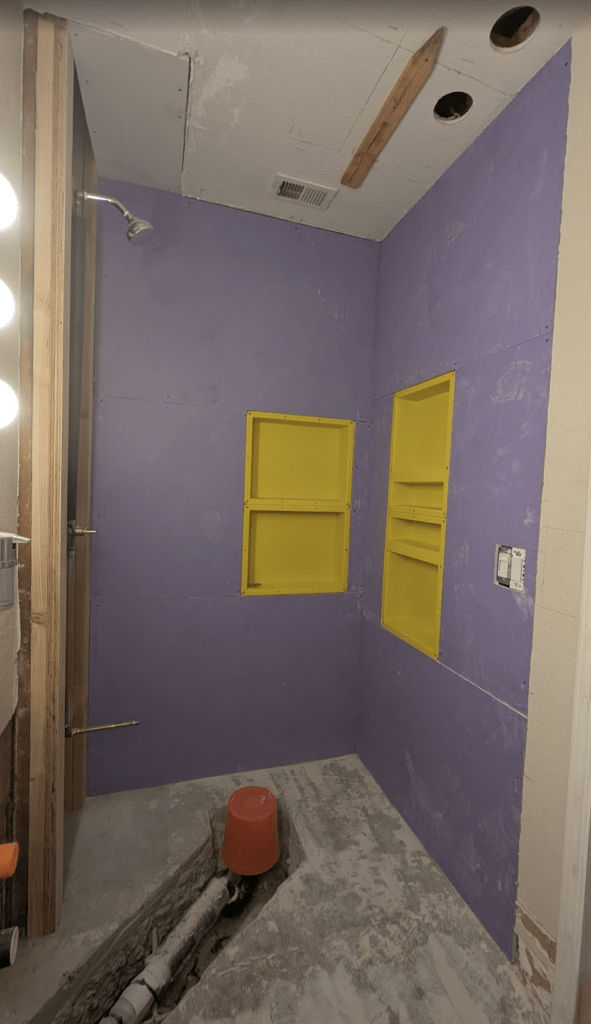
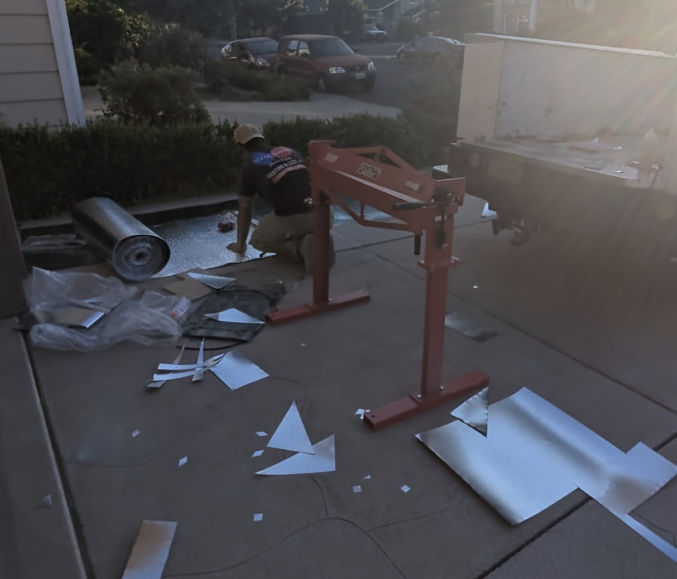
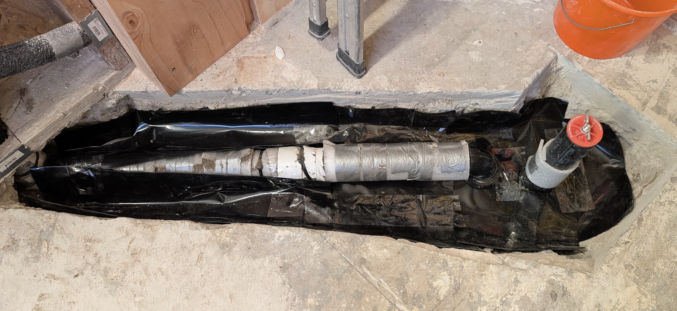
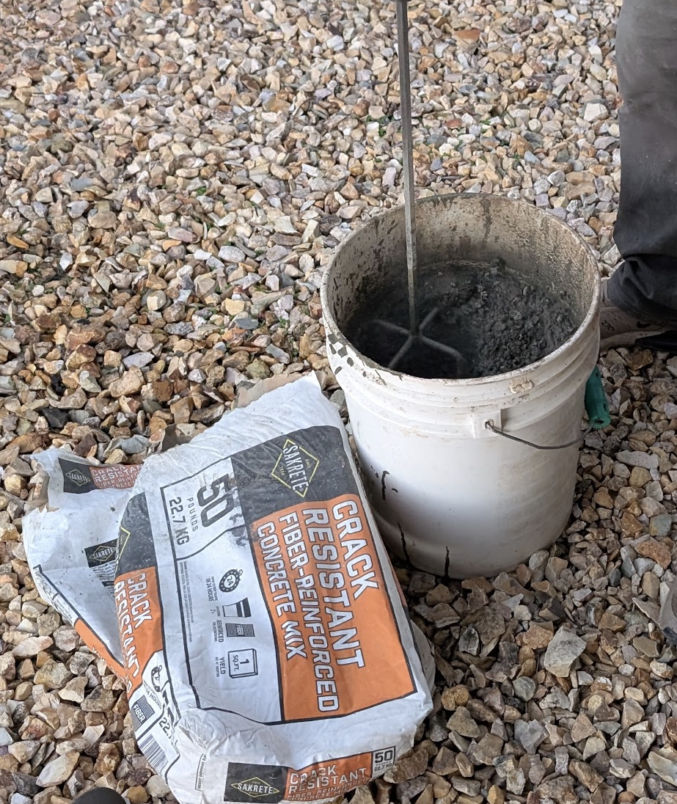
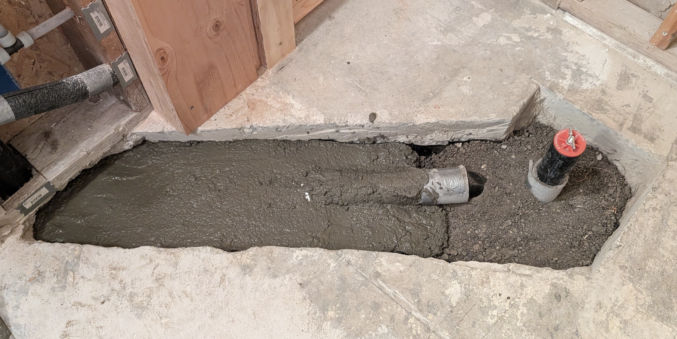
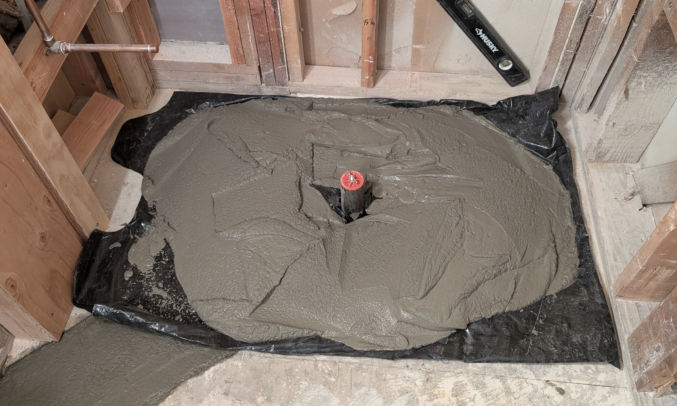
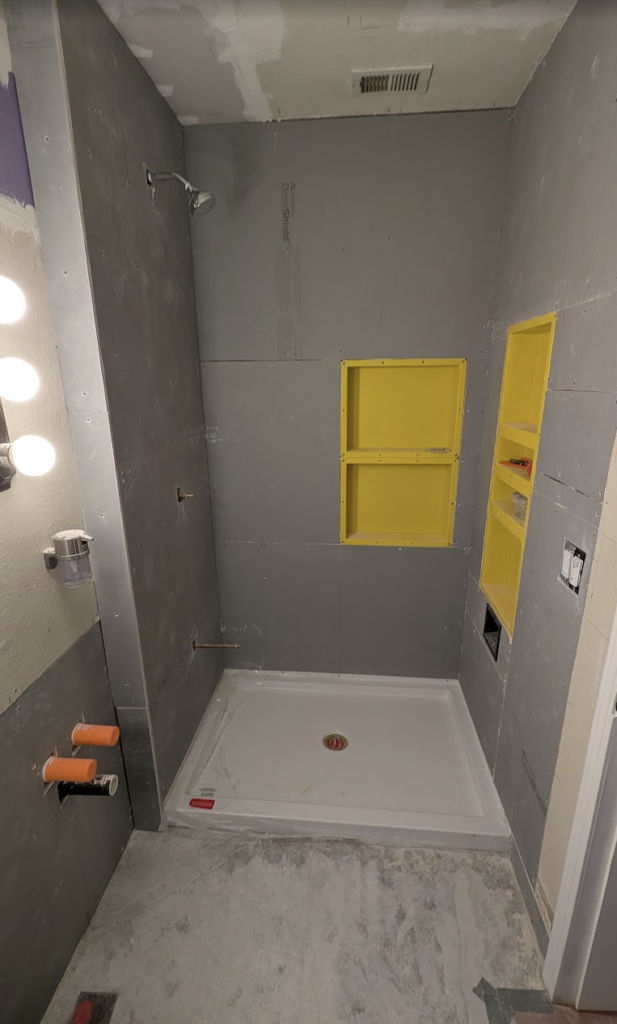
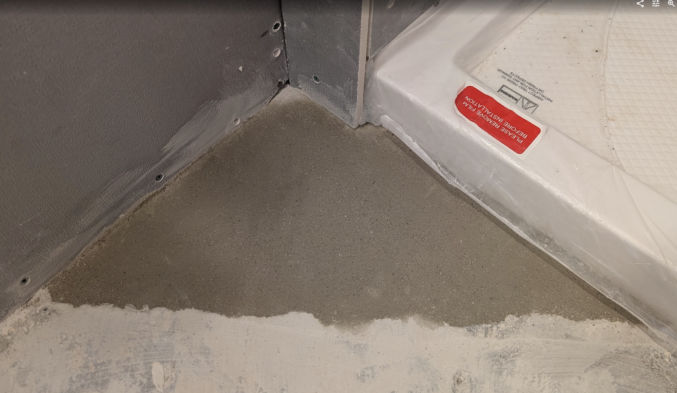
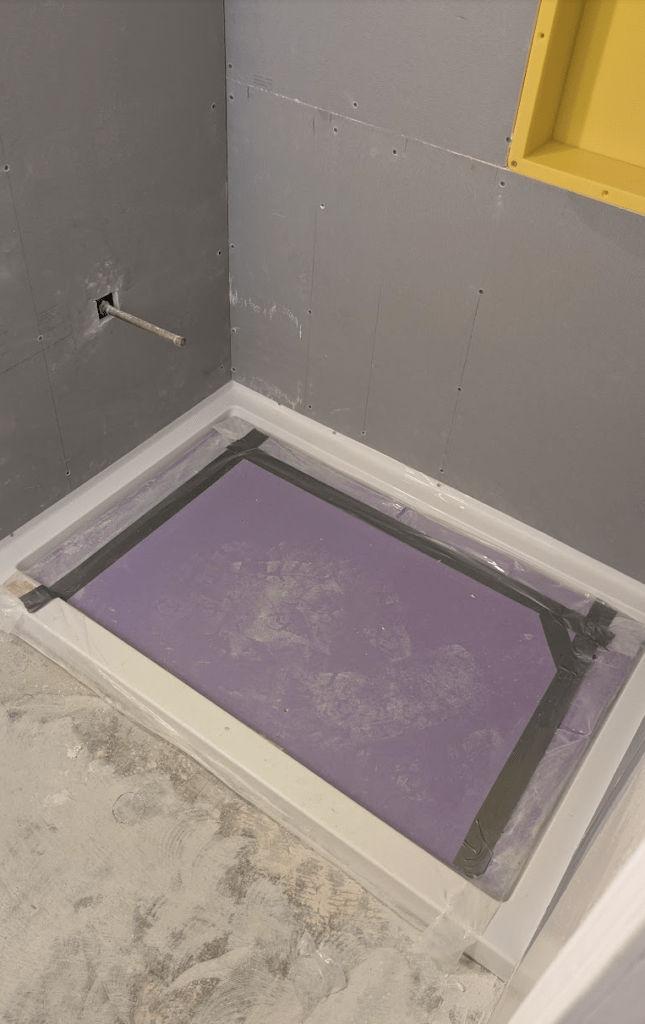
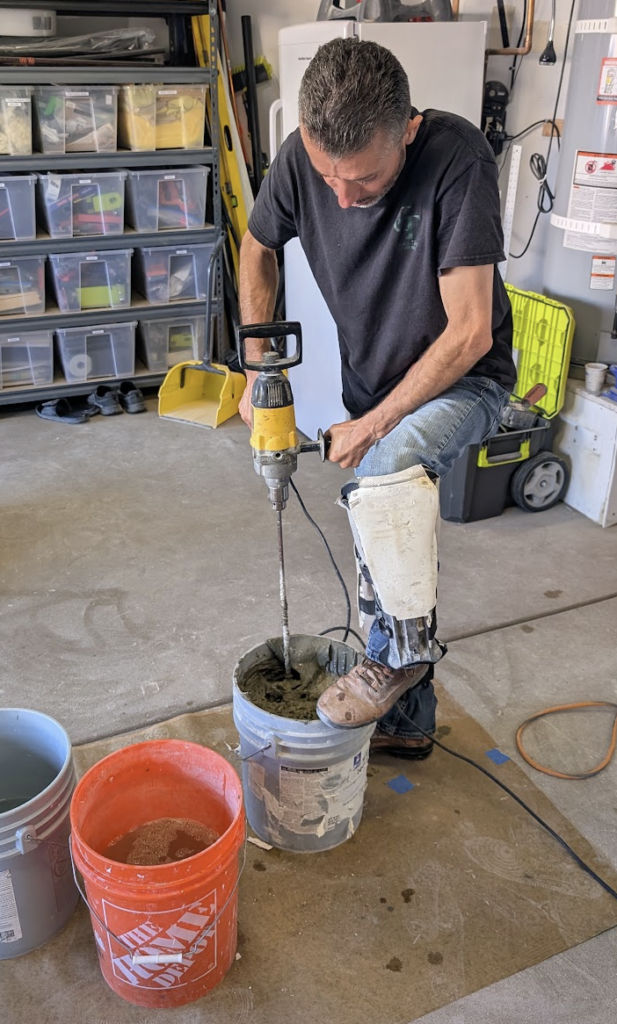
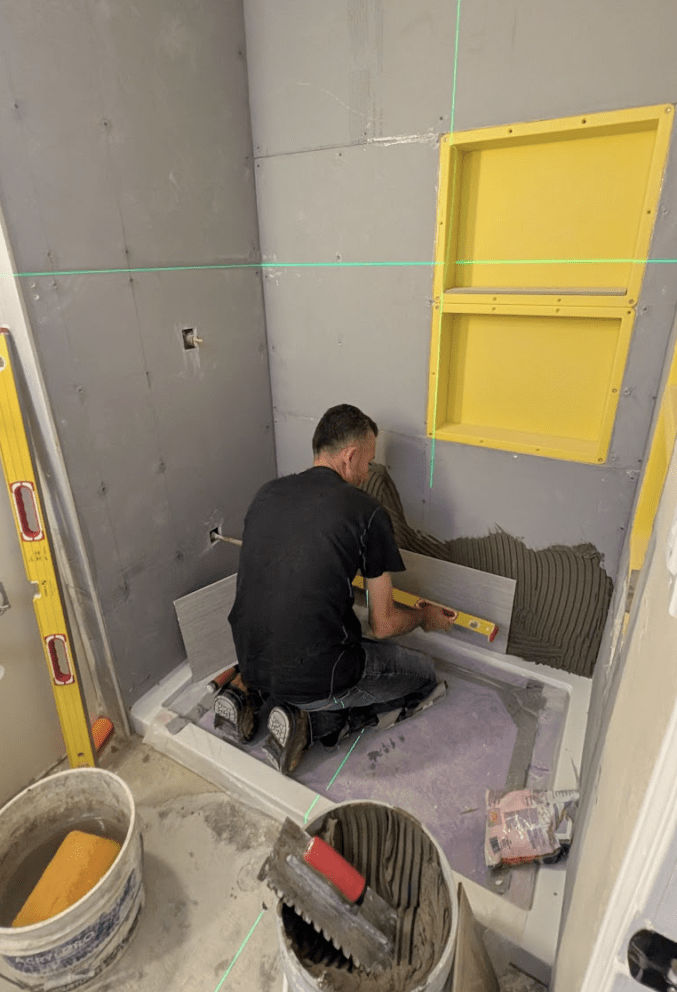
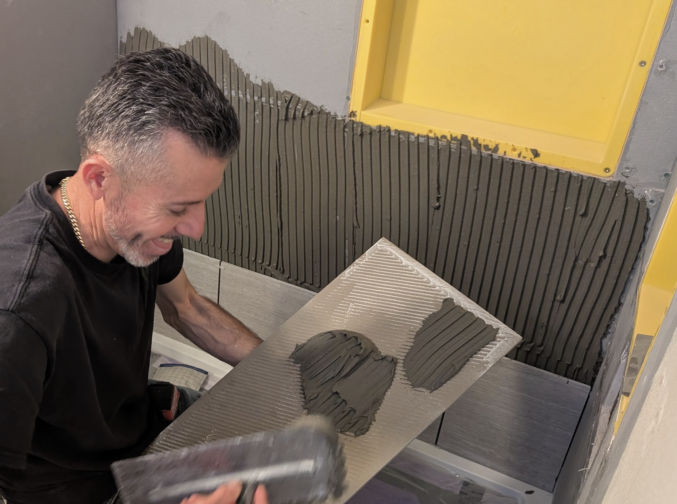
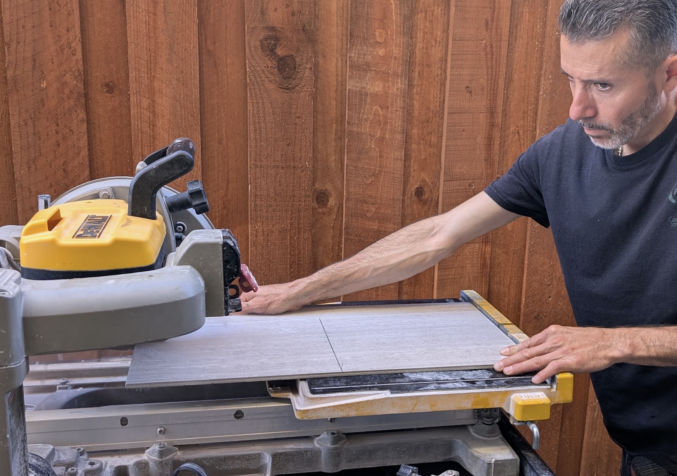
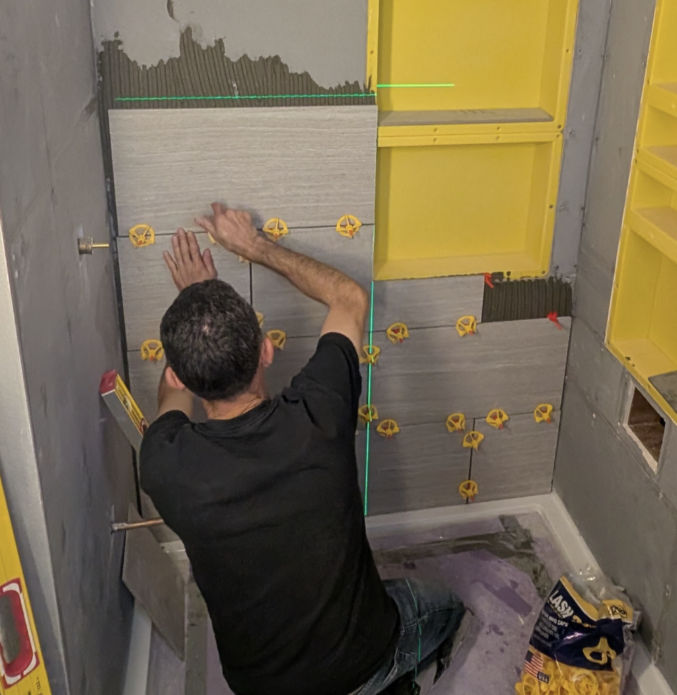
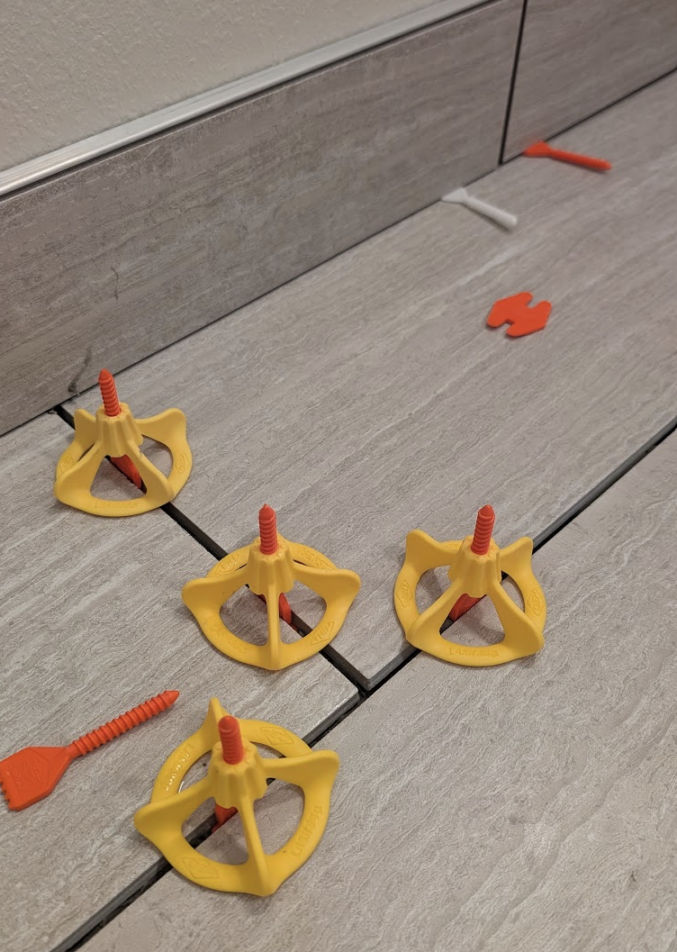
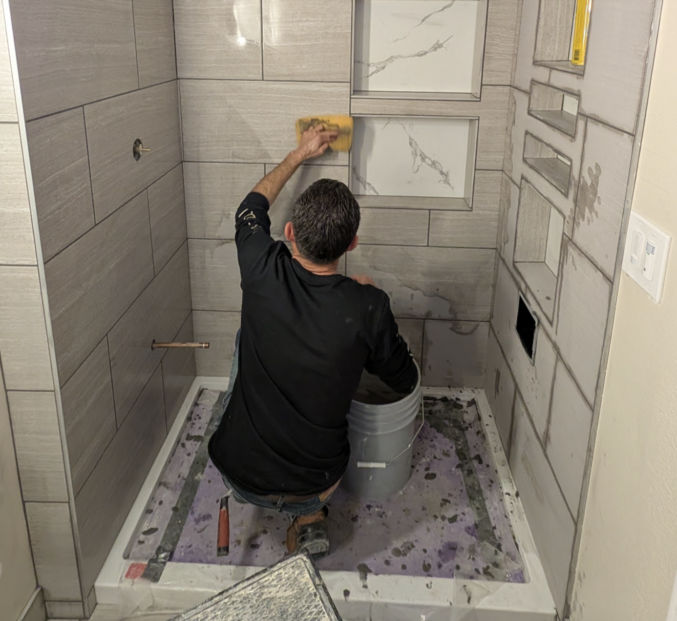
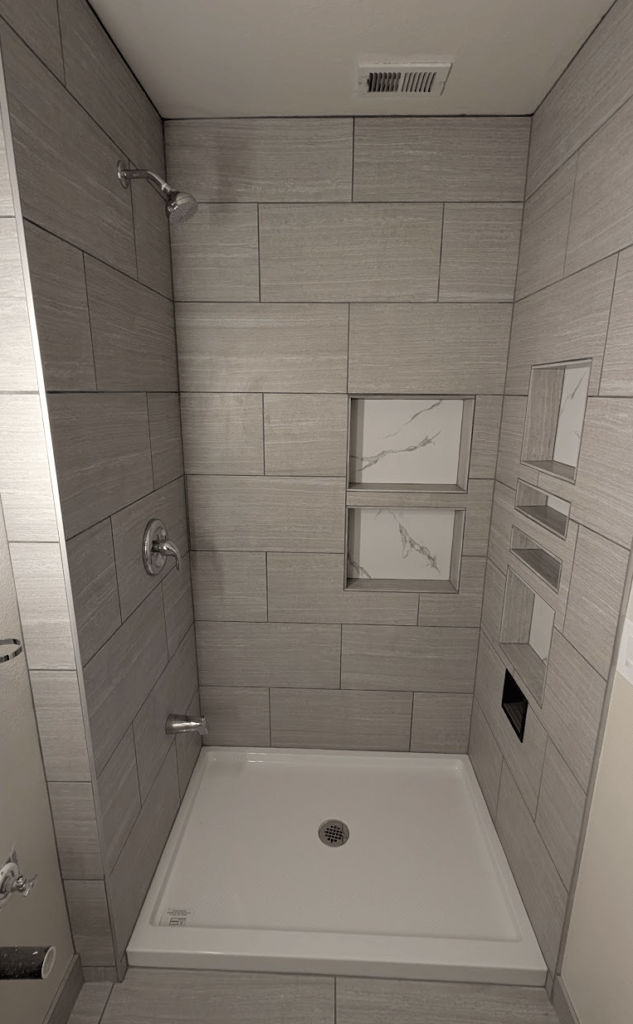
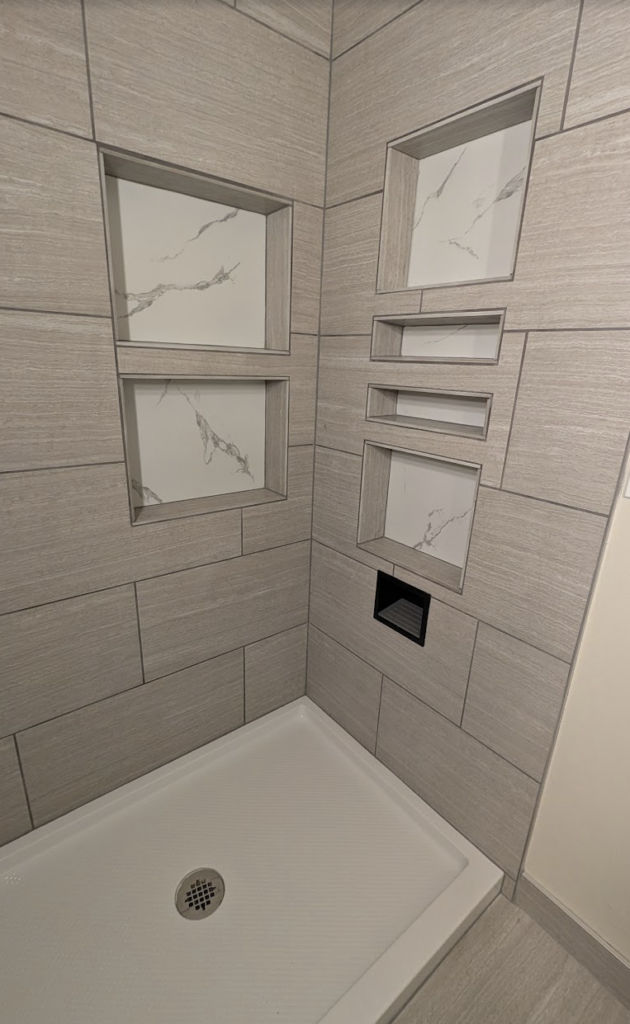
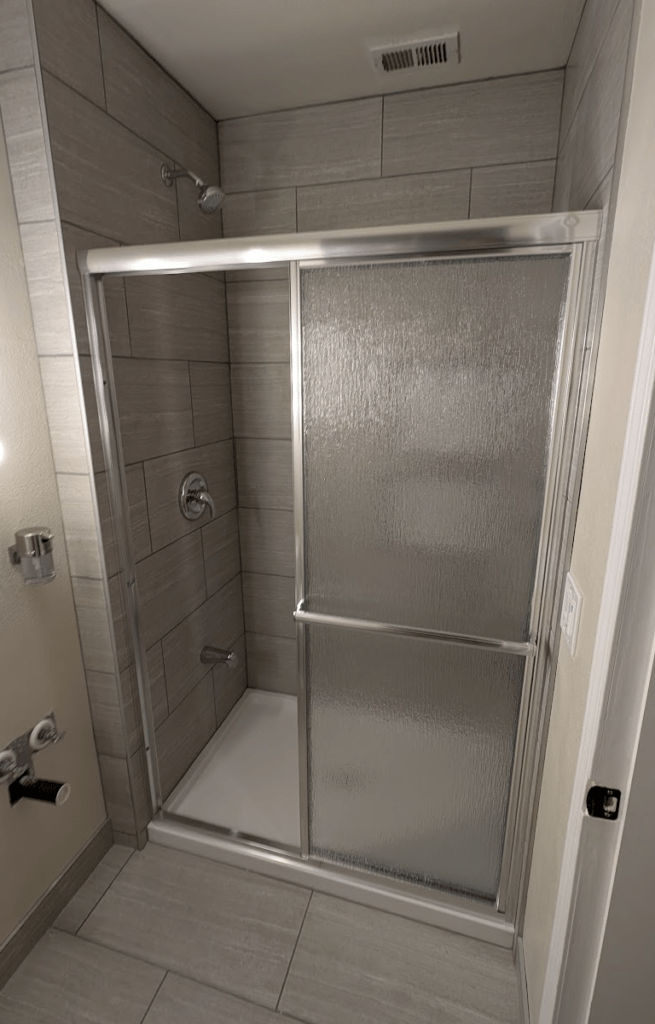
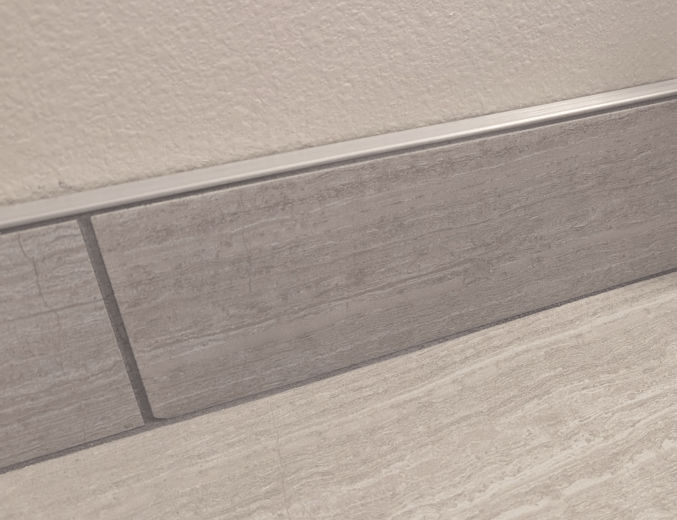
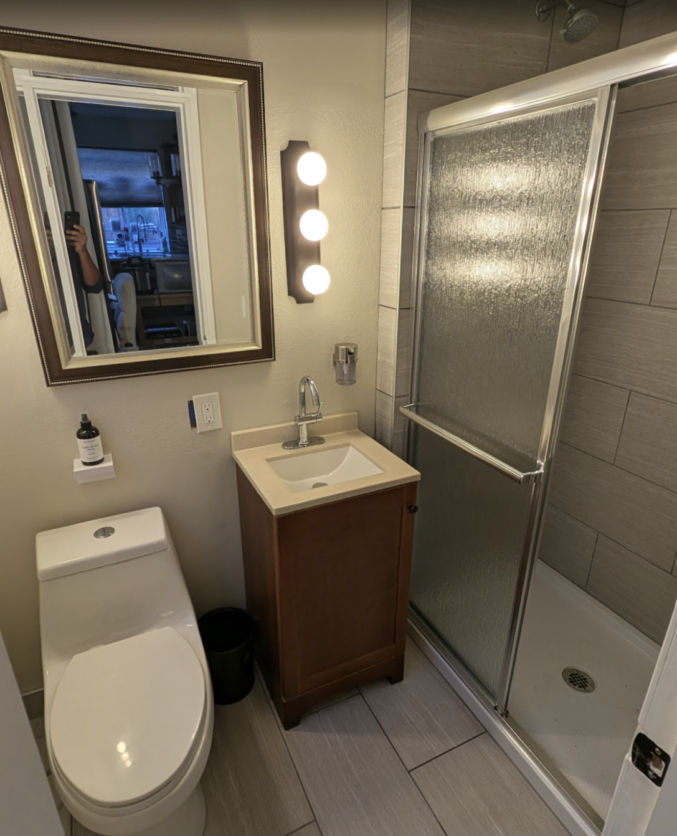
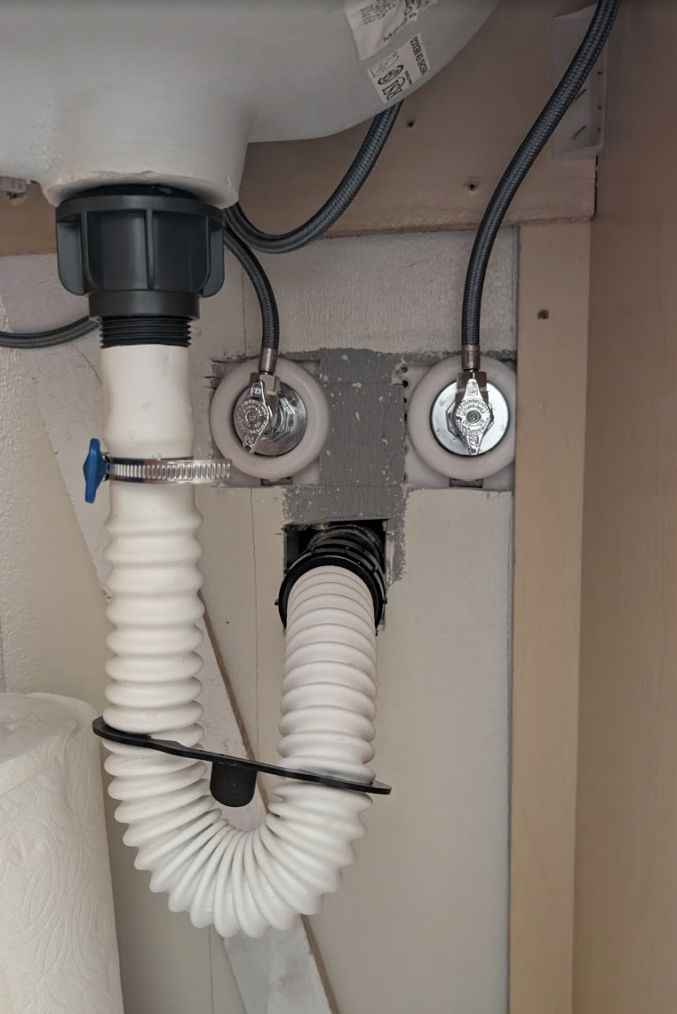
Before the remodel, showing the old, tiny, useless showerThe furnace. The return duct was below the furnace. After removing the furnace, you could see the opening where return air flow passed.After removing the furnace stand, you could see the opening in the wall where return air flowed through. I needed to move this duct to make space for a larger shower.To demolish the old shower, I used a jackhammer with a chisel bit.With the walls removed, you can see the return air filter in the hallway wall, which later was moved to the hallway ceiling.Plumbing for sink. On the left is the drain pipe for the washing machine in the garage. I wanted the new shower to be level with the floor instead of raised, so I needed to cut the concrete slab to run the drain pipe in it. The shower drain would tap into the existing sink drain. I marked the slab where I needed to make cuts using a saw. After cutting the concrete with the saw, I used a jackhammer to break the concrete. The saw cuts prevent the jackhammer from breaking concrete outside the cuts.I used an angle grinder to cut rebar in the concrete.We cut the old copper drain pipe with an angle grinder so we could put a new ABS pipe with a tee for the shower drain pipe.Since the width of the bathroom (4′ 7″)was longer than the length of the shower pan (4′), I had to fur out the wall by adding two 2x3s. This worked in my favor because it provided space to install the shower supply line plumbing.The new ABS shower drain pipe sloped a bit for drainage and was temporarily secured to the rebar using zip ties. I wrapped the pipes in foam so if I later need to cut the concrete to work on the pipe, the concrete won’t stick to it. Since I was going to add a kitchenette in the garage for the JADU, I added supply lines for it so I wouldn’t have to reopen the bathroom wall to add them later.We used rubber couplings with worm clamps to connect the old and new pipes.For renter convenience, I installed a bunch of shower nooks. I should have installed the metal kind that doesn’t require tiling, because the effort and cost of tiling these nooks were high.Per code, I had to separate the light switch from the exhaust fan switch.The light switch has to turn off automatically when no motion is detected and the exhaust fan has to turn on and off automatically when moisture is/isn’t detected. California building codes are SO PICKY!!!I covered up the hole in the wall where the furnace return air flowed. I also built a new furnace stand using sturdy metal brackets.I installed mold-resistant drywall, but the inspector said I had to replace it with Denshield.The HVAC technician reinstalled the furnace on my new stand and opened the side panel of the furnace for the return air to flow through the side instead of the bottom.The HVAC technicians cut insulation and metal sheets to build the new return air duct.The furnace return air now flows into the ceiling…I also put plastic to serve as a vapor barrier and to make concrete removal easy in case I ever need to cut the concrete to work on the drain pipe.I then poured concrete in the trench.Before installing the shower pan, we put a layer of plastic and a bed of concrete. The plastic would make it easy to remove the concrete in case we make a mistake. The concrete serves as a solid foundation for the hollow shower pan.I replaced the purple mold-resistant drywall with Denshield as required by the inspector. To make the top surface of the trench smooth with the existing concrete foundation, I poured a bit of cement (not concrete) and smoothed it using a rotary sander.Before installing tile, I placed a sheet of drywall on the shower pan so if a tile falls, it wouldn’t damage the pan.I hired a tile contractor to install tile in the bathroom. Here, he’s shown mixing mortar.The tile contractor used a laser level and started placing mortar on the wall.For straight tile cuts, he used a manual tile cutter. Otherwise, he used a wet tile saw.He used spacers between tiles and screw-on levelers to ensure adjacent tiles are level.For the baseboard, I had the contractor cut floor tile into 3″-wide x 24″-long strips instead of buying bullnose tile. I then had him install metal edge trim.The last step was to put grout in the joints.Overall, I was very happy with the results, including the tile and grout color.However, to save money and time, and for a better appearance, I should have just bought the no-tile metal shower nooks like the black metal footrest.I installed a sliding shower door.The baseboard came out really nice as well.Here’s how it looked after reinstalling the toilet and sink.For the sink drain and p-trap, I used a flexible drain. Much easier to install and more reliable than the rigid plastic ones.