
Everyone knows that the problem with baking or air-frying chicken breast is that it often comes out too dry. Most people prefer chicken breast over other parts (legs, thighs) because it contains less fat, but it’s the fat content that makes chicken legs and thighs more juicy. You can dip chicken breast in barbecue sauce, but many such sauces aren’t healthy. One option that I found to work really well is Tzatziki. Not only is Tzatziki very healthy, but it also makes air-fried chicken breast, including dry ones, tasty and moist. Here’s my recipe for making this.
Ingredients
- Boneless, skinless chicken breast (I get the Good & Gather brand at Target)
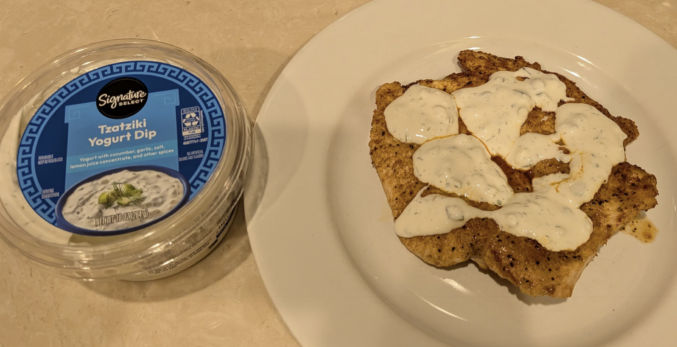
- Tzatziki
- Chicken seasoning
- Canola or olive oil
Instructions
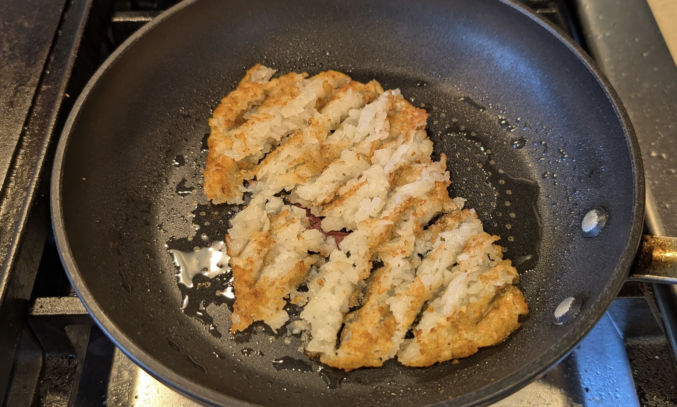
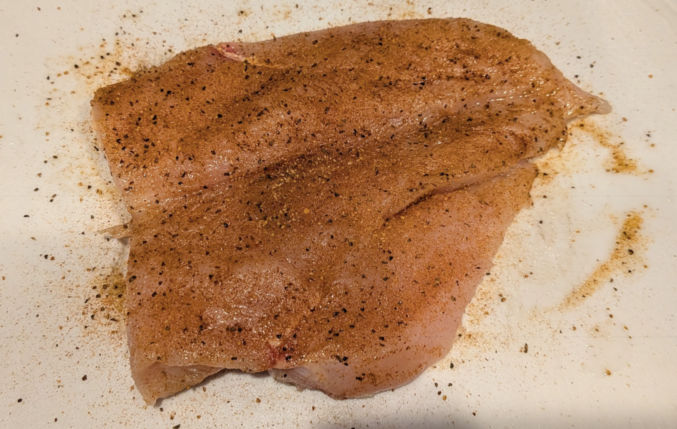
- Slice the chicken breast in half (I like to slice 95% of it so it’s still connected)
- Massage oil on both sides
- Sprinkle seasoning on both sides
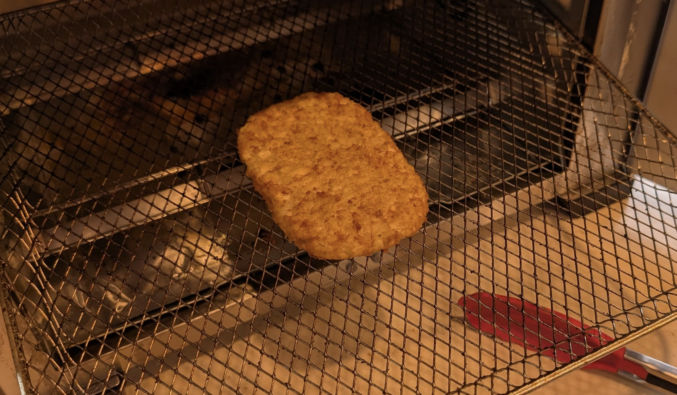
- Air fry it till the internal temperature reaches 165 degrees. (In my t-fal air fryer, that’s about 13 minutes, flipping half way)
- Remove from air fryer
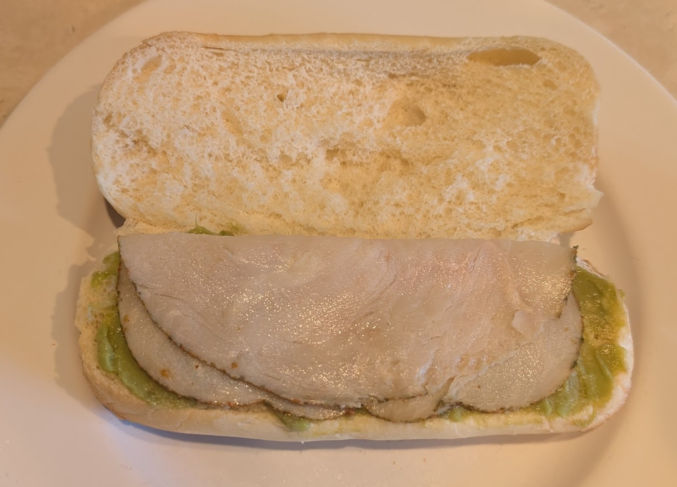
- Using a spoon, put Tzatziki over the top half until it’s mostly covered.
- Enjoy
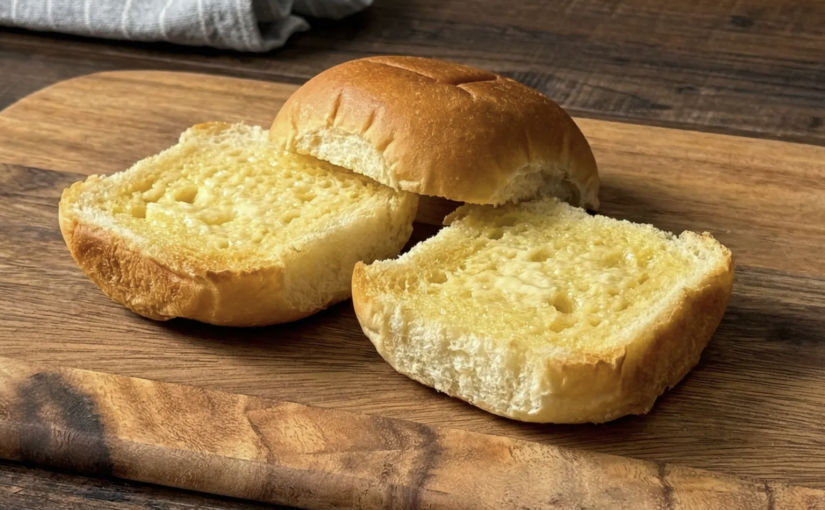
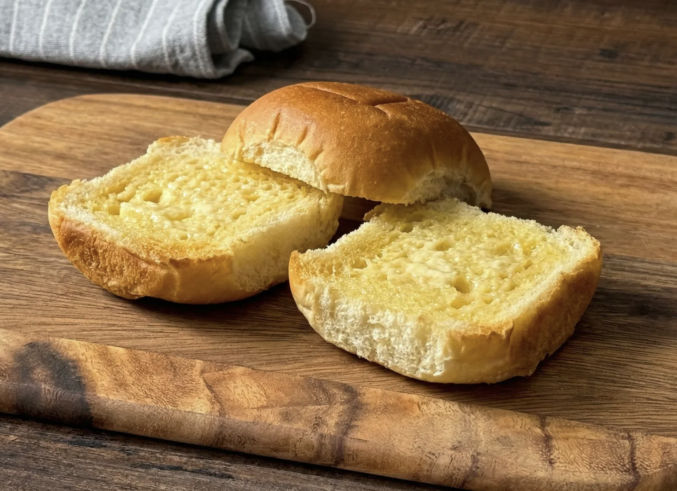
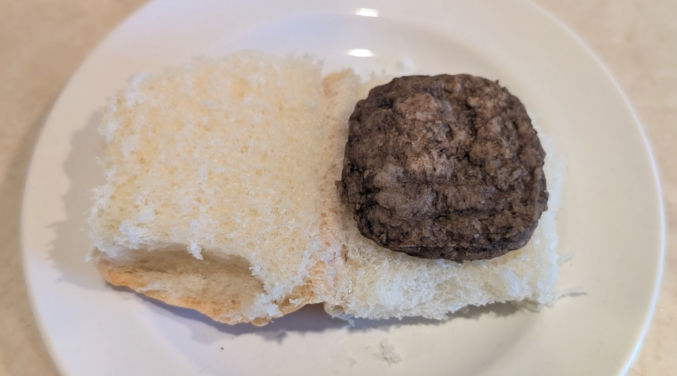
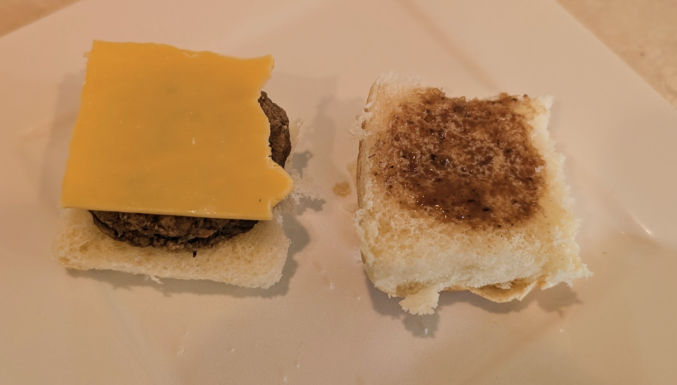
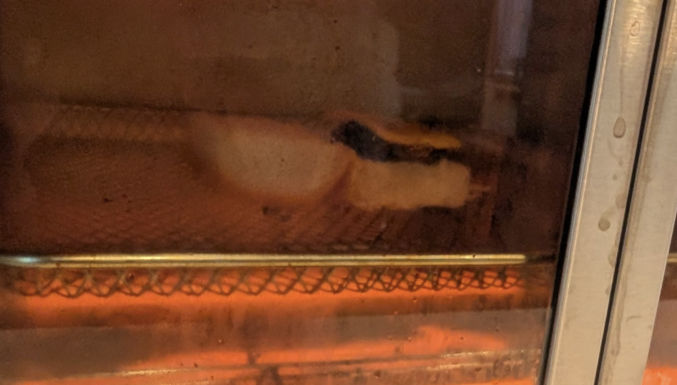
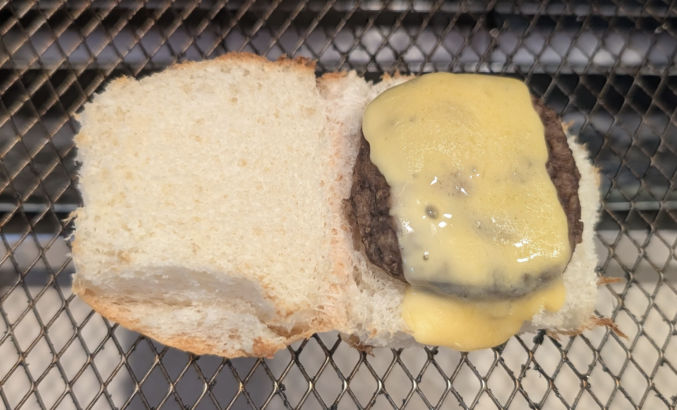
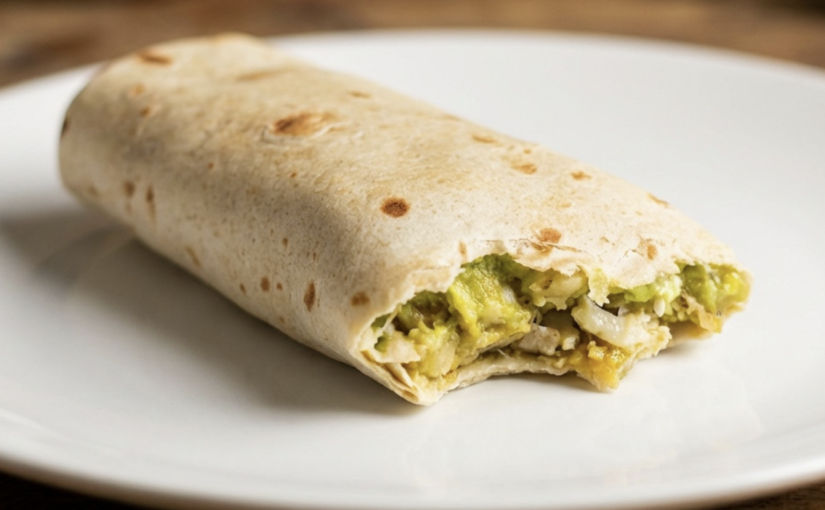
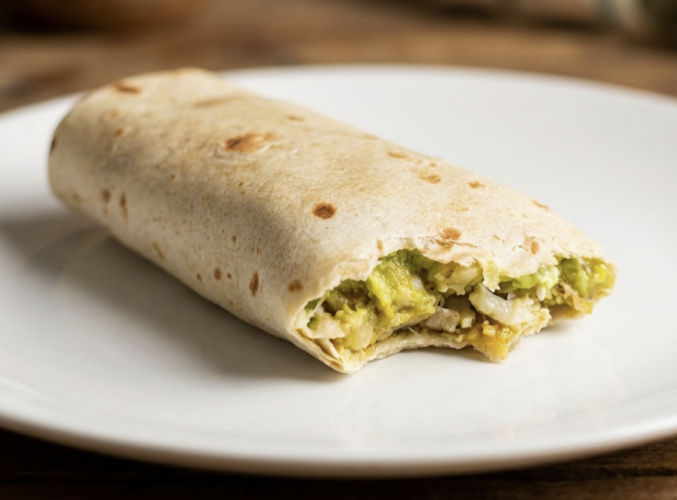
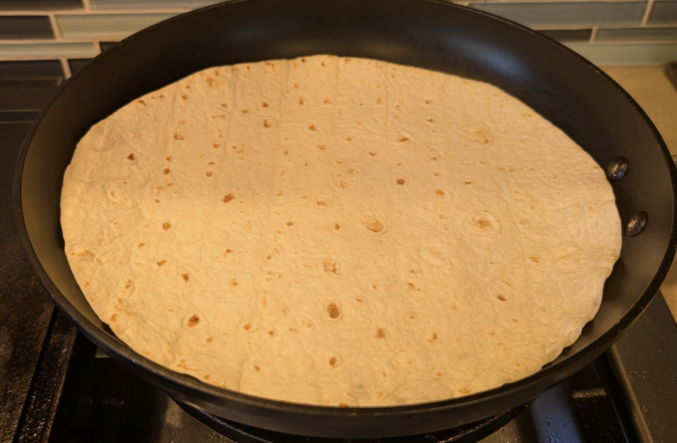
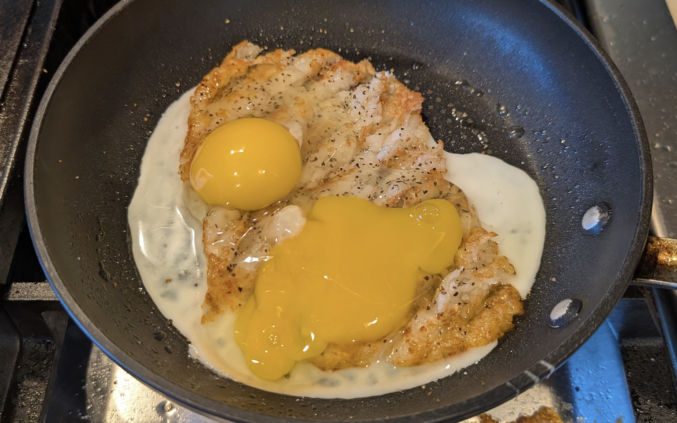
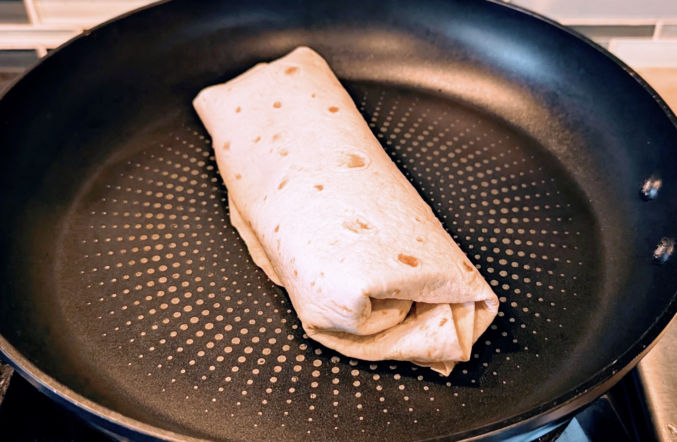
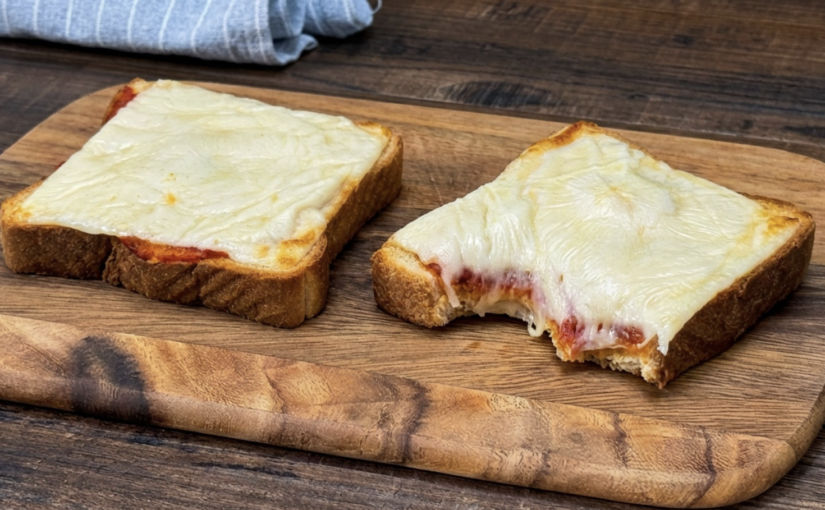
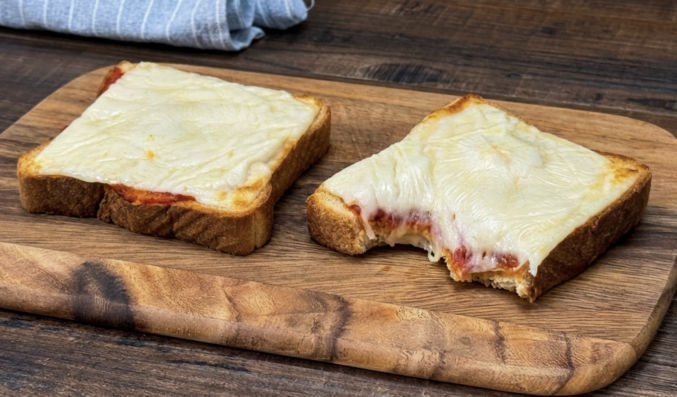
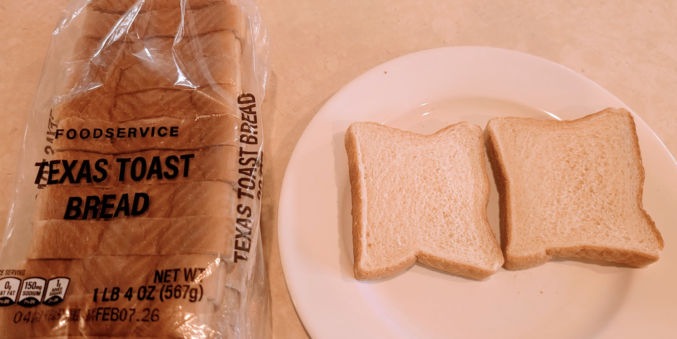
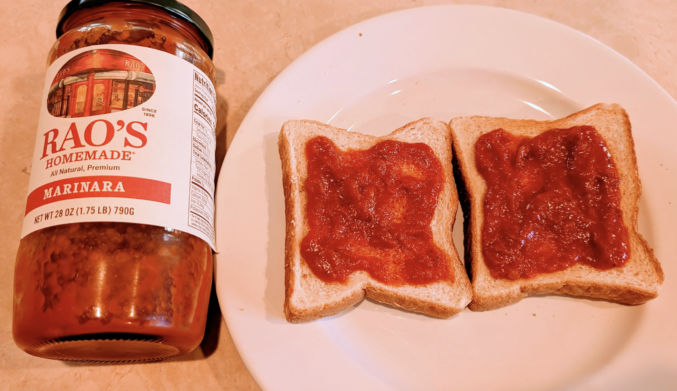
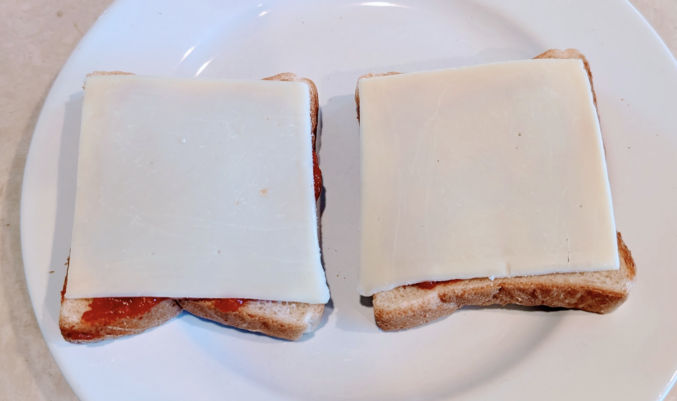
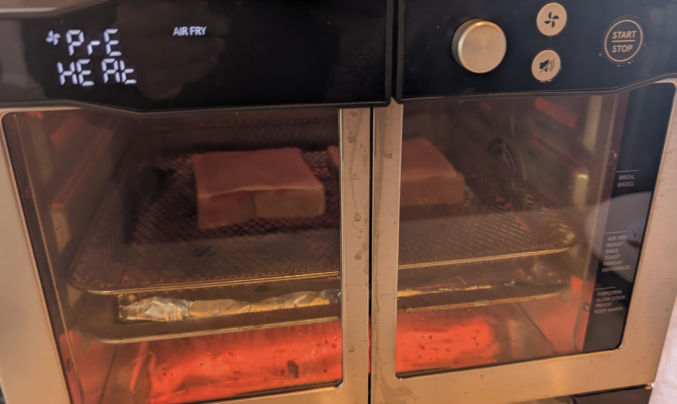
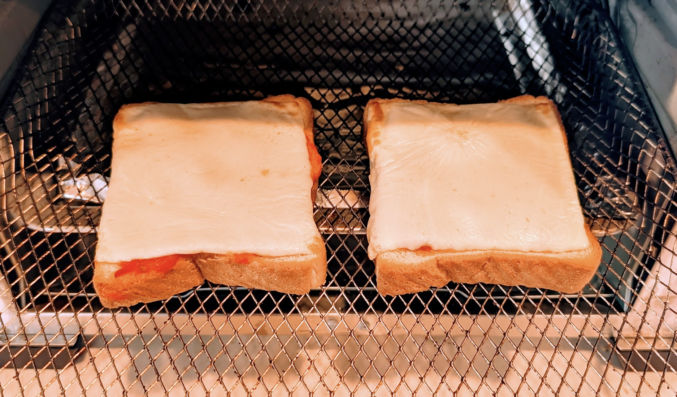
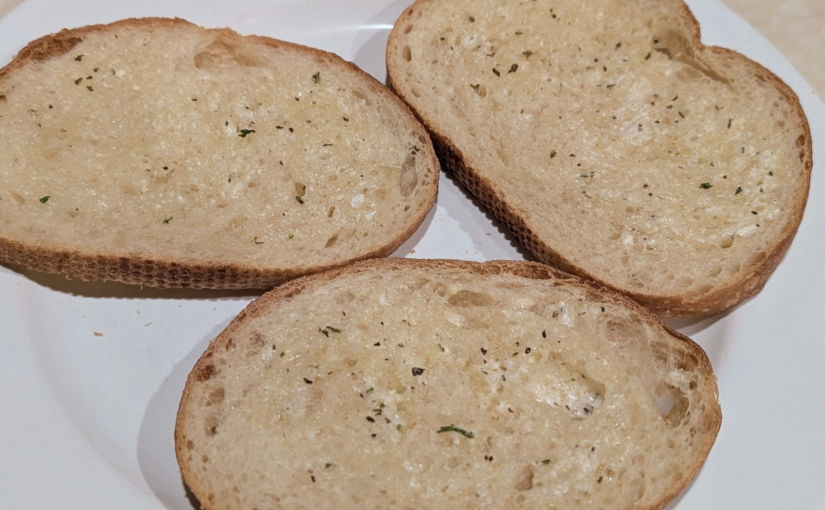
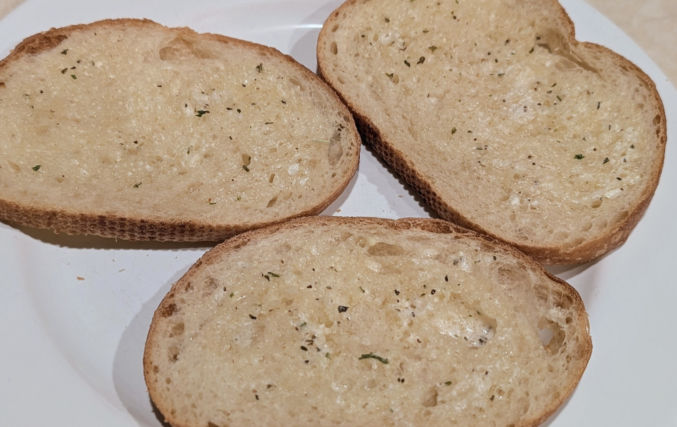
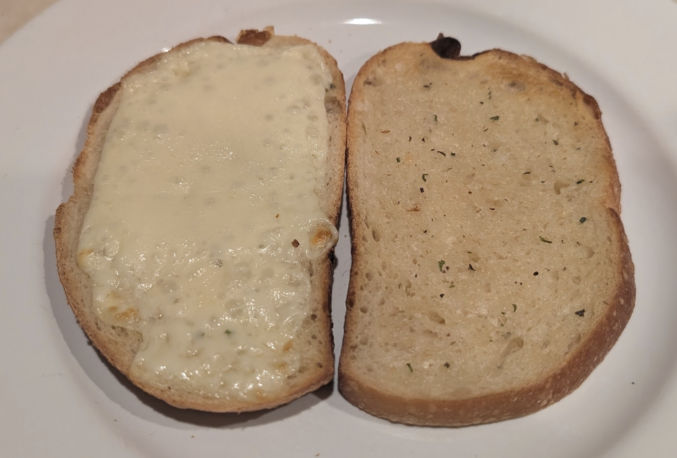
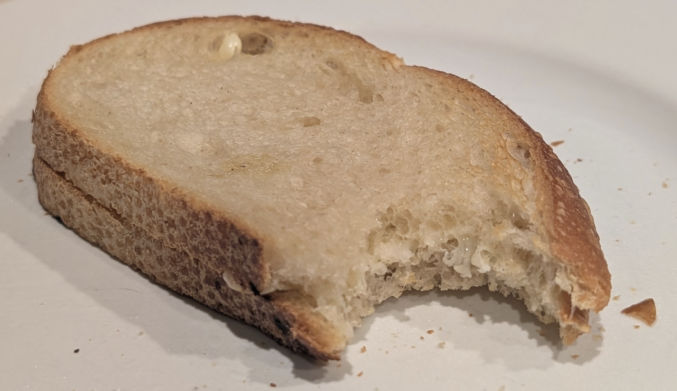
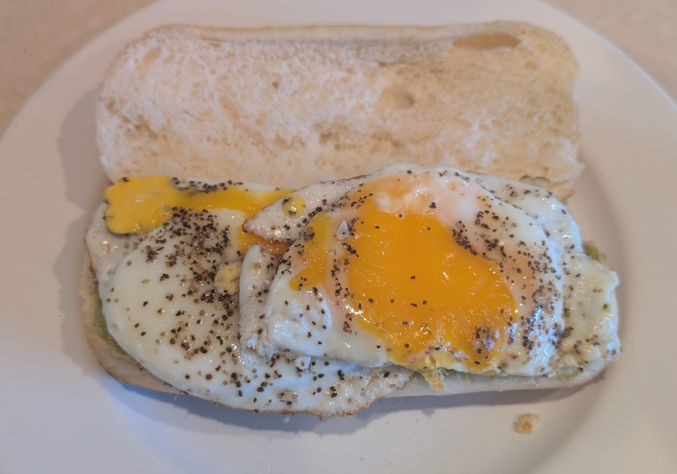
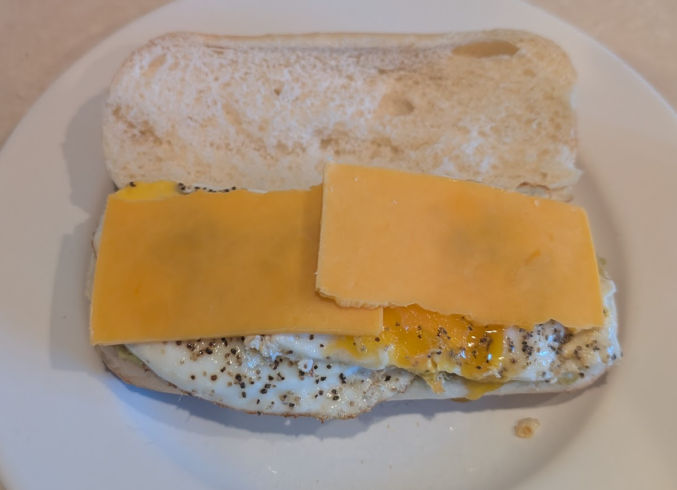
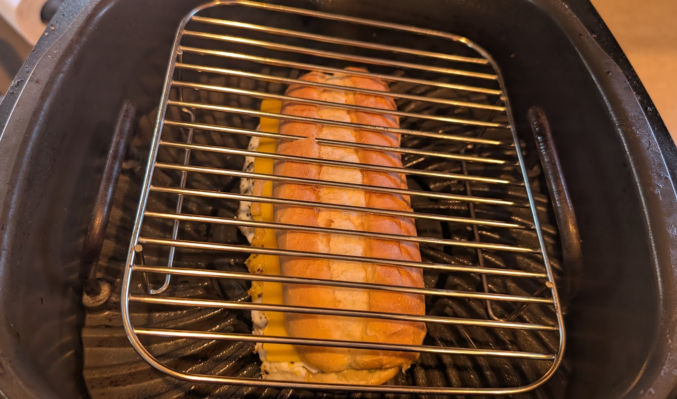
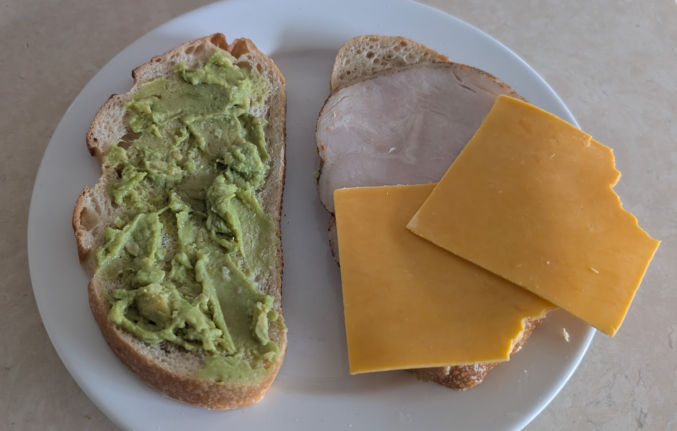
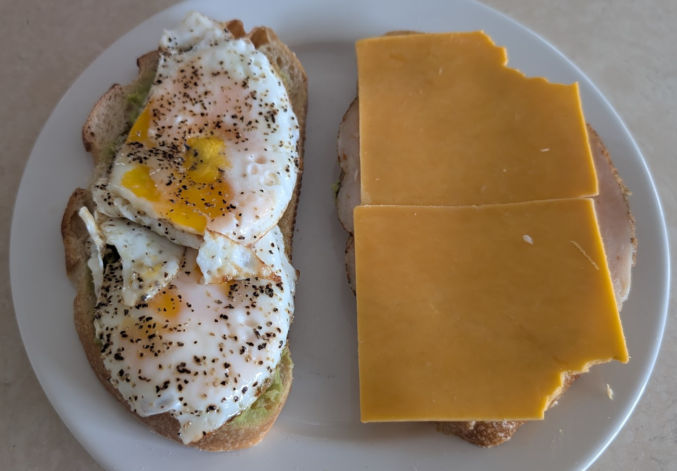
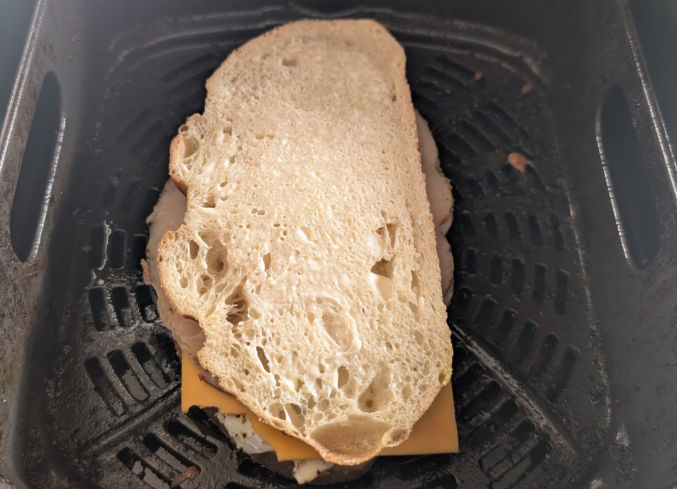
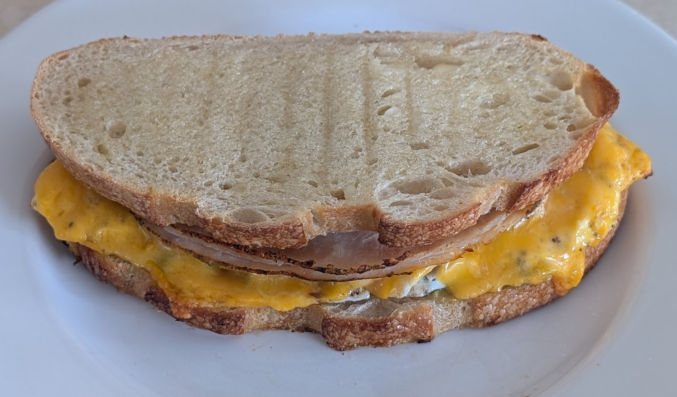
Photos

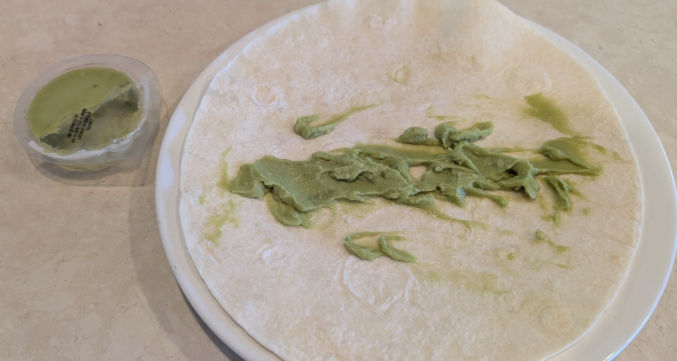
Alternatively, for a lower- calorie option that still tastes good, replace Tzatziki with avocado salsa.