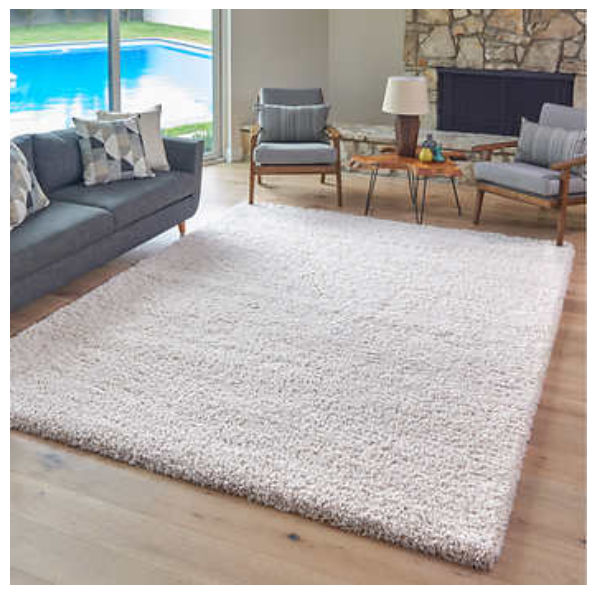
Trying to find a thick, plush rug with high pile can be difficult with so many options but inaccurate advertising. Here’s my experience and recommendations for comfy carpet.
Thomasville Shag Rugs
Basically, all of the Thomasville Shag rugs are good, if not the best. They are definitely the best value.
Thomasville Bali Shag Rug I felt this rug at Costco and it’s definitely thick, soft and super dense.
Thomasville Marketplace Luxury Shag I personally have this rug. It’s definitely high pile and soft but not as soft at the Bali Shag rug. I like the edges of this rug more than the Bali shag rug, though.
Thomasville Marketplace Savoy Shag Rug I haven’t felt this rug but it’s got a lot of good reviews and is by Thomasville.
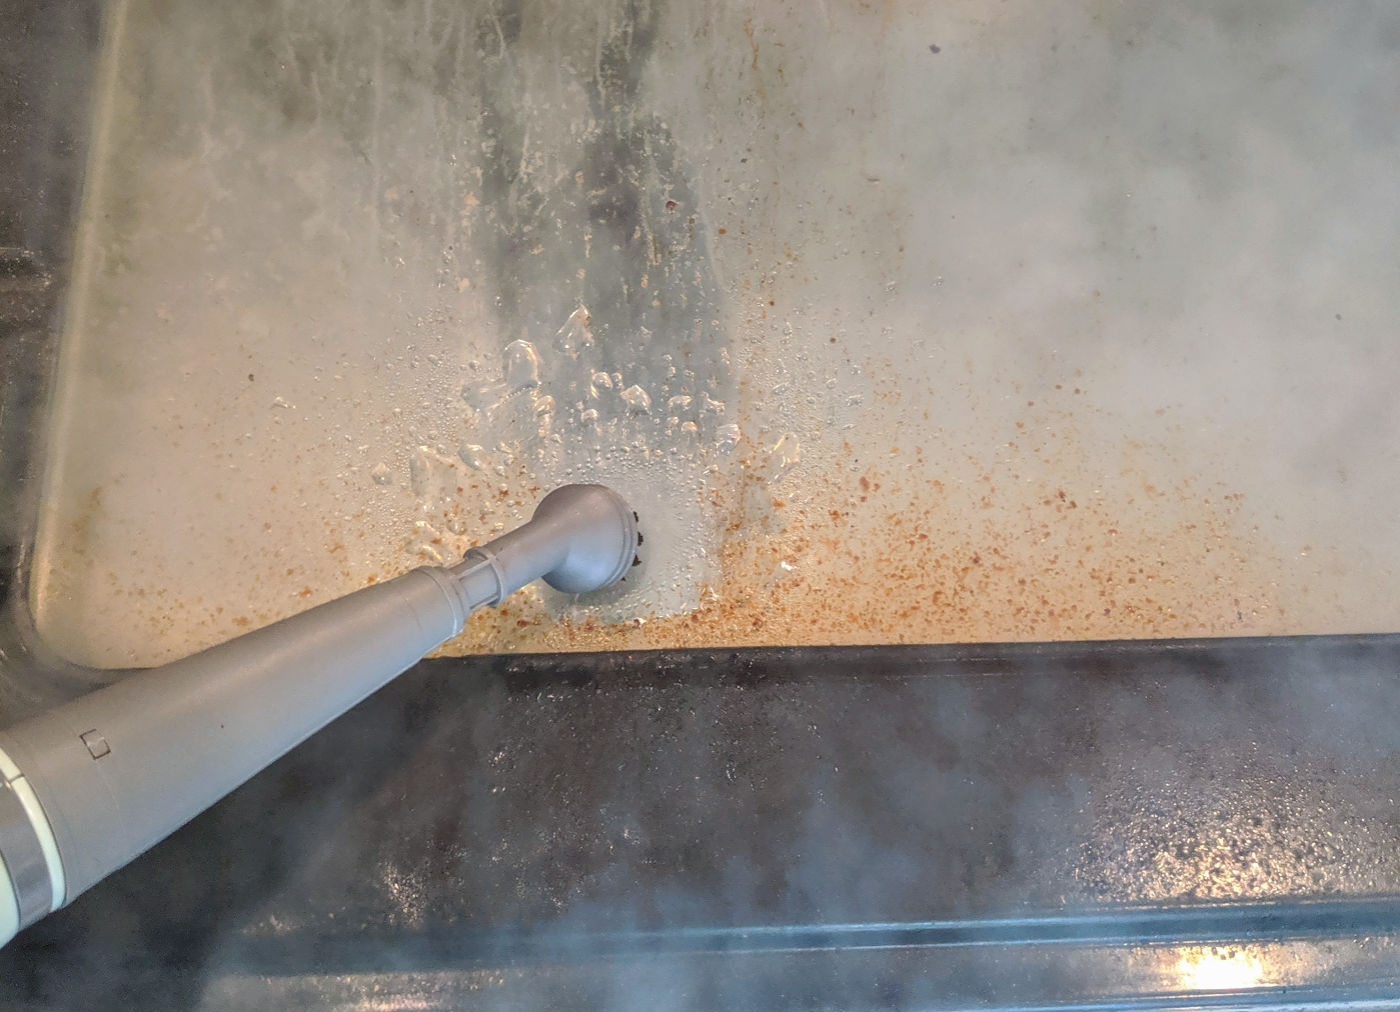
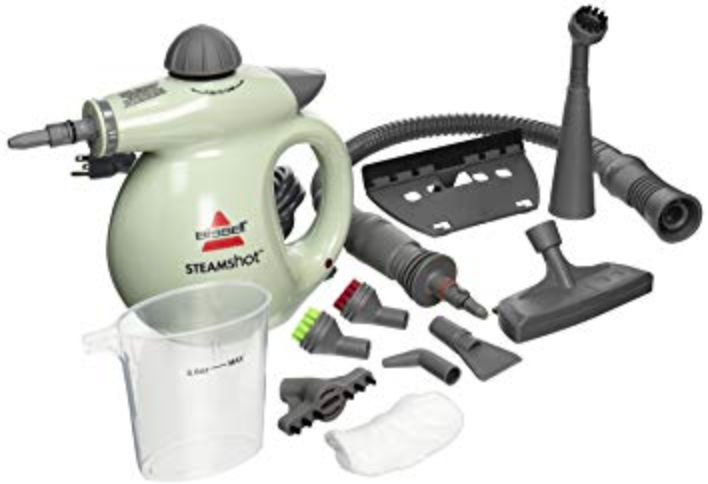
Oven windows can get really dirty with baked-on grease. This makes it really hard to clean. Instead of manually scrubbing and wasting your time and energy, I found that using a steamer works pretty well. I use the Bissel Steamer.
You will it with water, wait for it to heat up, attach the hard bristle brush attachment, then pull the trigger to release steam as your gently melt and scrub the grease off.
The steam, which is really hot, will detach the dry grease from the glass but you’ll still need to remove the grease off the glass. For that, I use Clorox or Lyson disinfectant wipes. In general, these wipes are great for cleaning glass.
Now, when I make roasted tomatoes and turn on the oven light, I can actually see through the window again 🙂
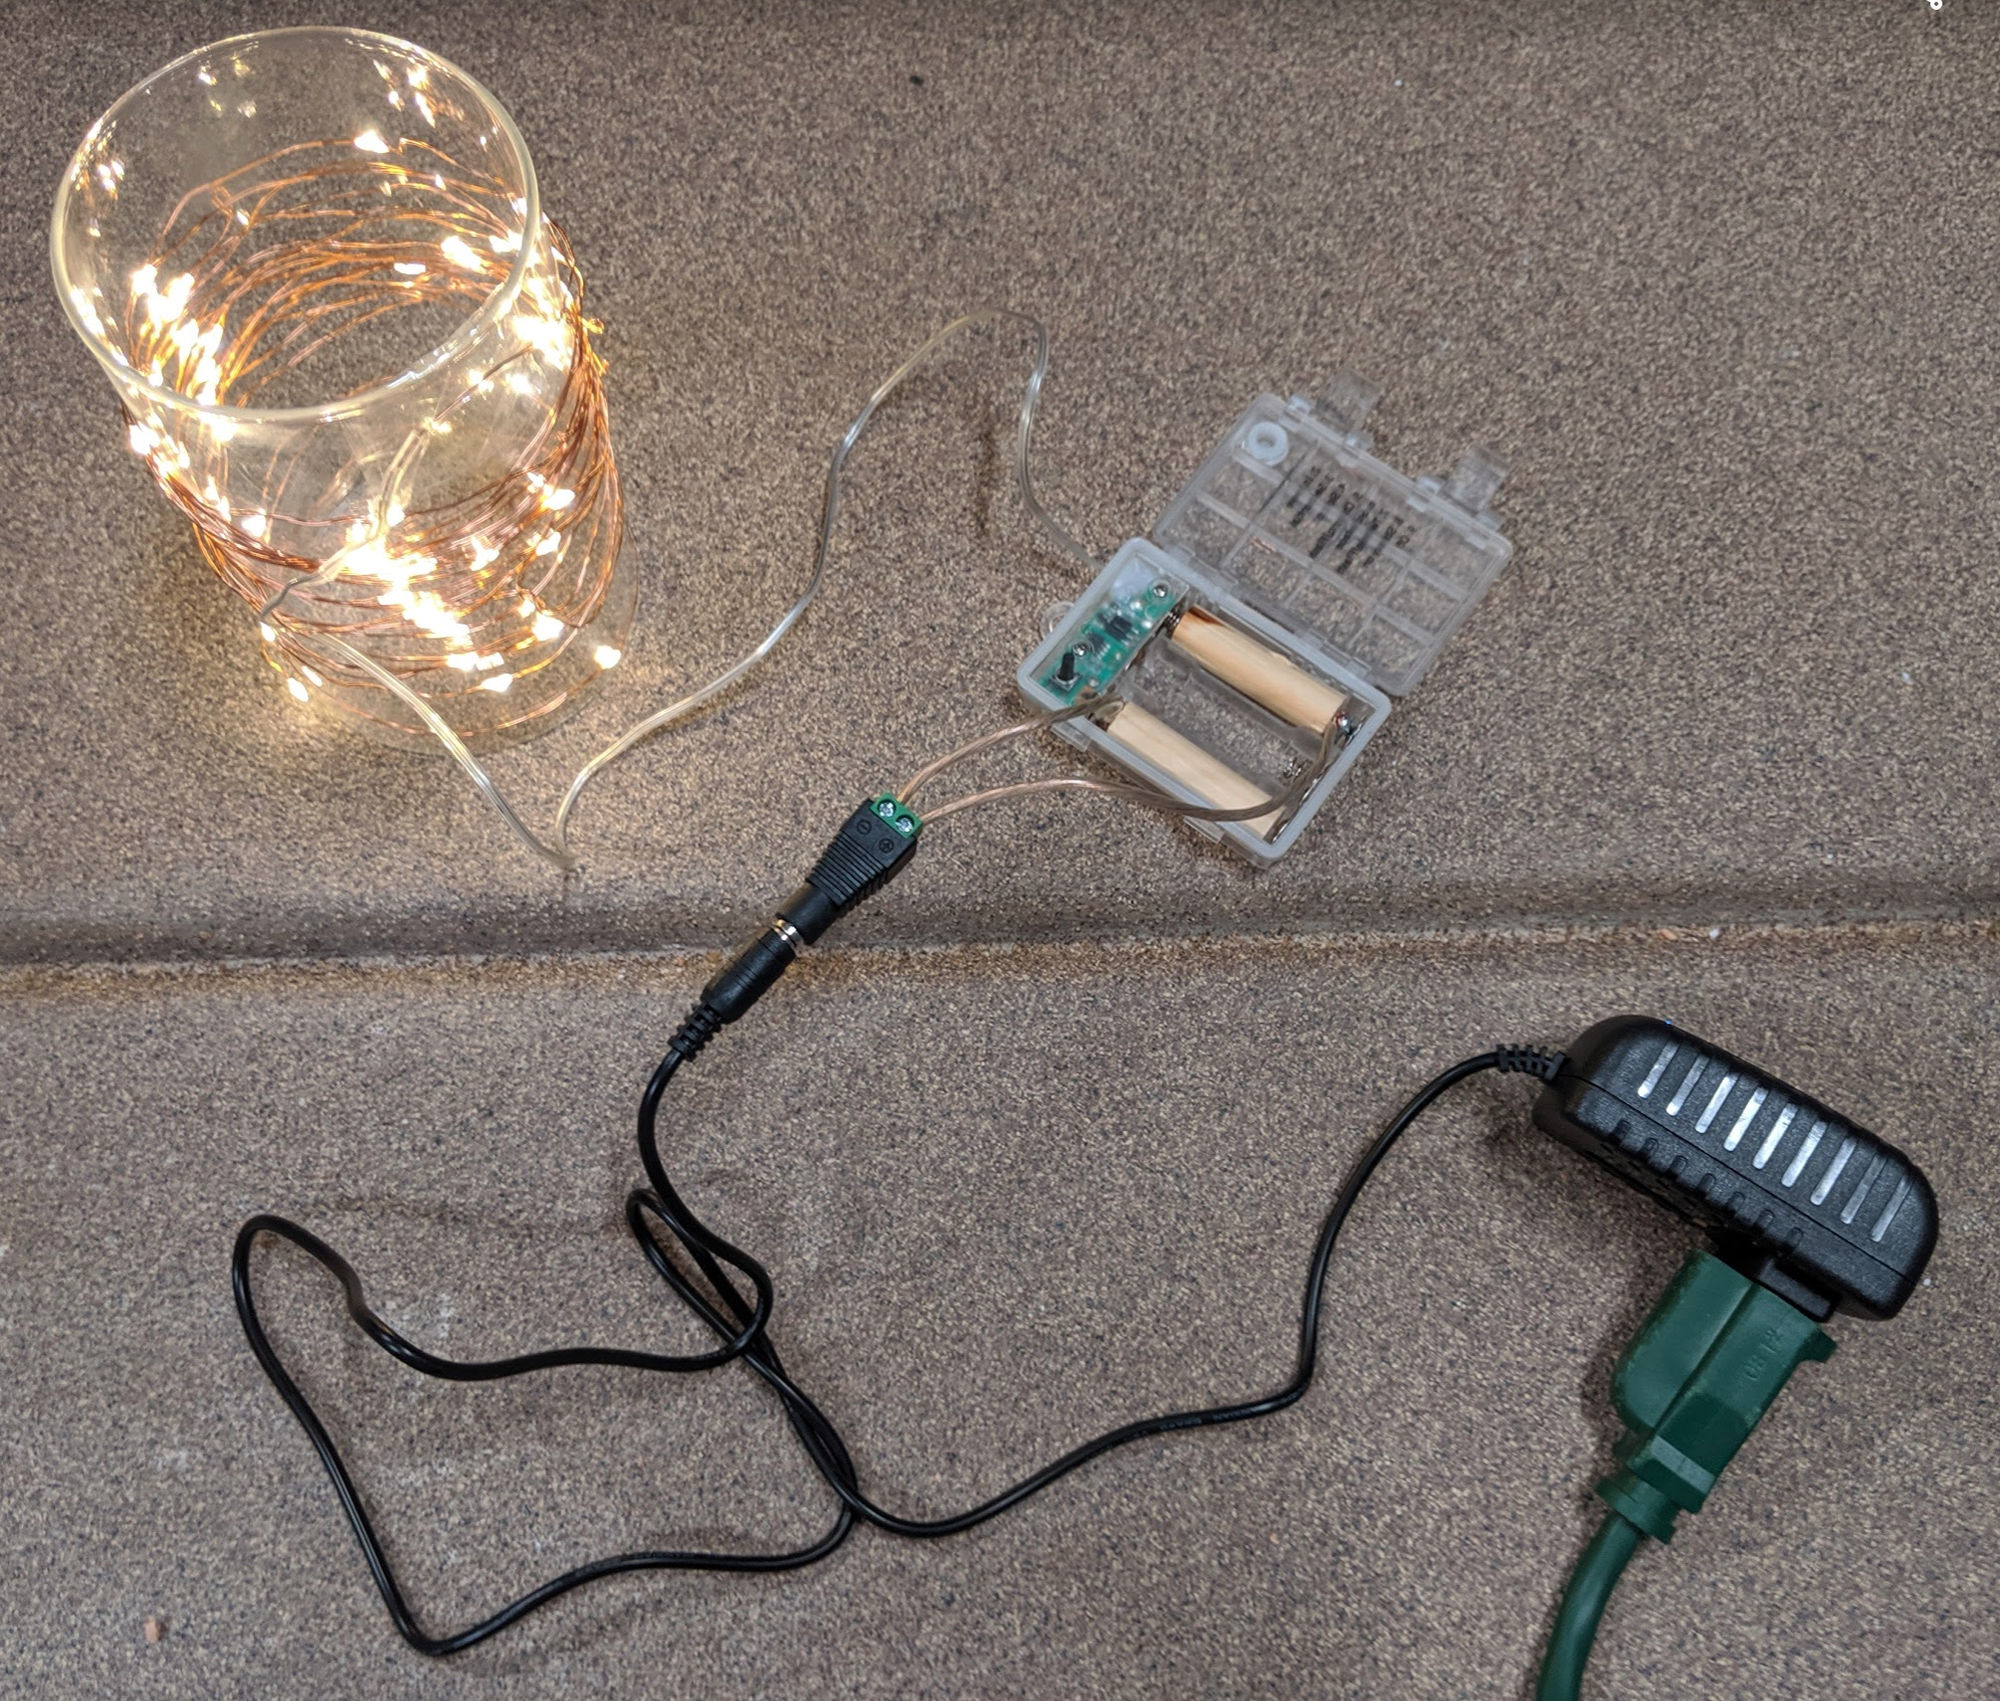
I have some fairy lights used to light up some lanterns at home.
The lights are battery powered. I’m using rechargeable batteries but it’s still a hassle replace the batteries when they die. I decided to replace the batteries with a DC power supply which I can just plug in to an ordinary electrical outlet. I could then use a smart outlet to programmatically turn on the lights whenever I want.
To convert the batteries to use a DC power supply, here’s what I did.
Since the lights take 3 AA (1.5V) batteries, the total voltage I need the DC power supply to provide is 4.5 V. I an AC (120V) to DC (5V) power supply on Amazon with barrel to wire connector adapter for $9.
1/2″ diameter round wood dowel from Home Depot (3 ft for ~ $3)
Speaker wire
I cut the wood dowel to the length of a AA battery. Drill a hole in one end. Partially screwed in a screw. Stripped the end off of a bit of speaker wire. Wound up the end of the wire around screw and screwed the screw in.
I then identified the positive and negative terminals in the battery pack and inserted my fake batteries in them. The wires from each fake battery were then connected to the corresponding positive and negative terminals to the DC power supply. Everything works.
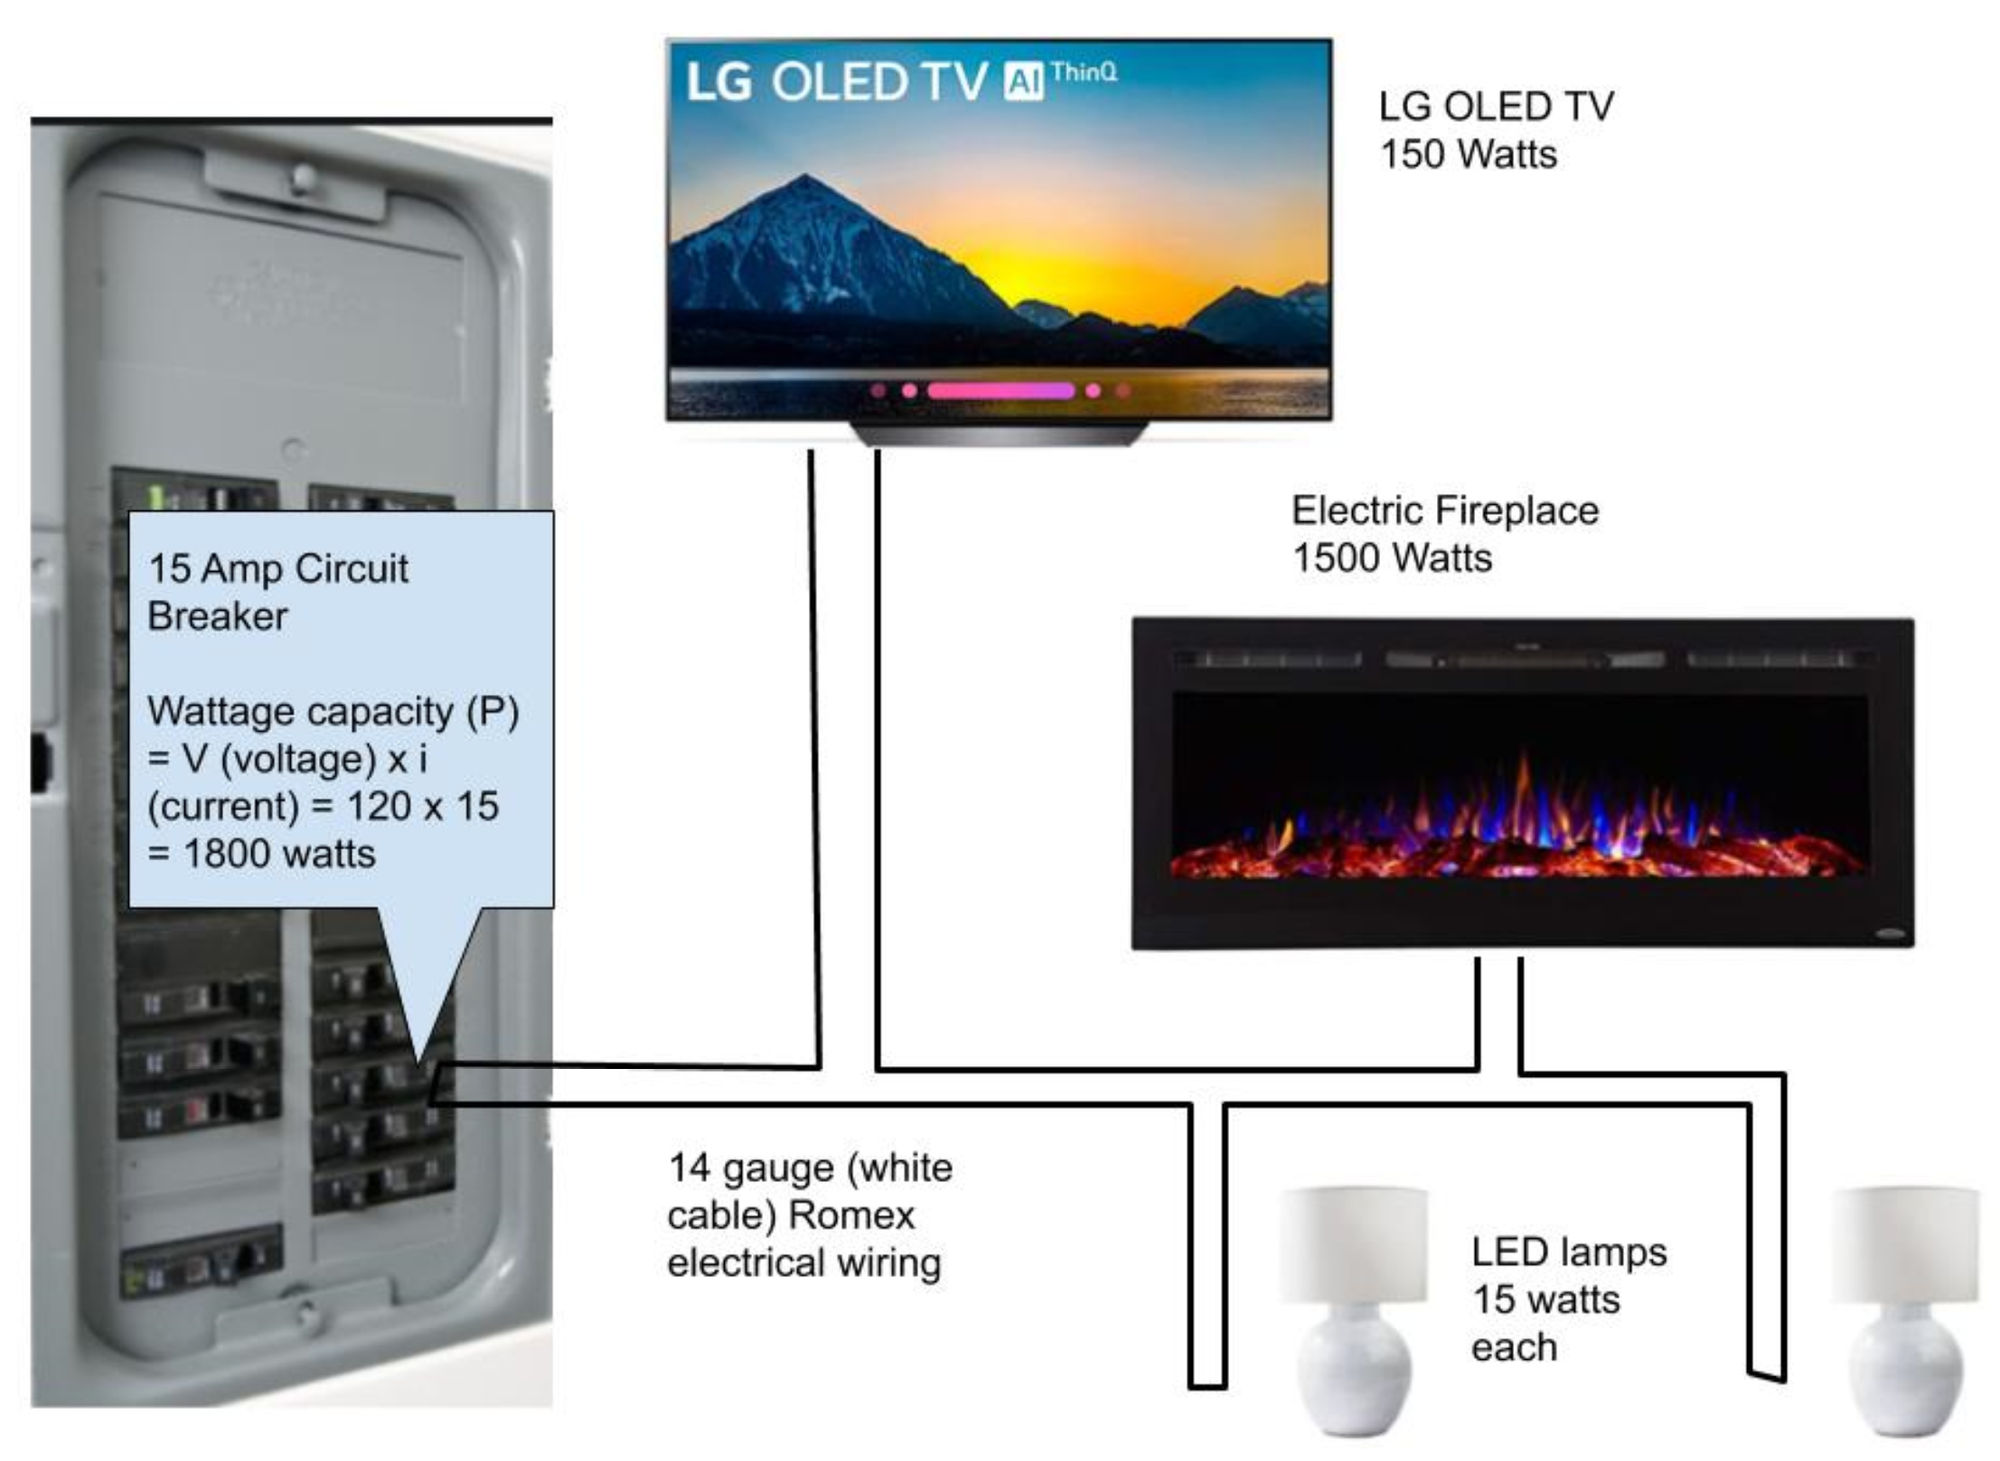
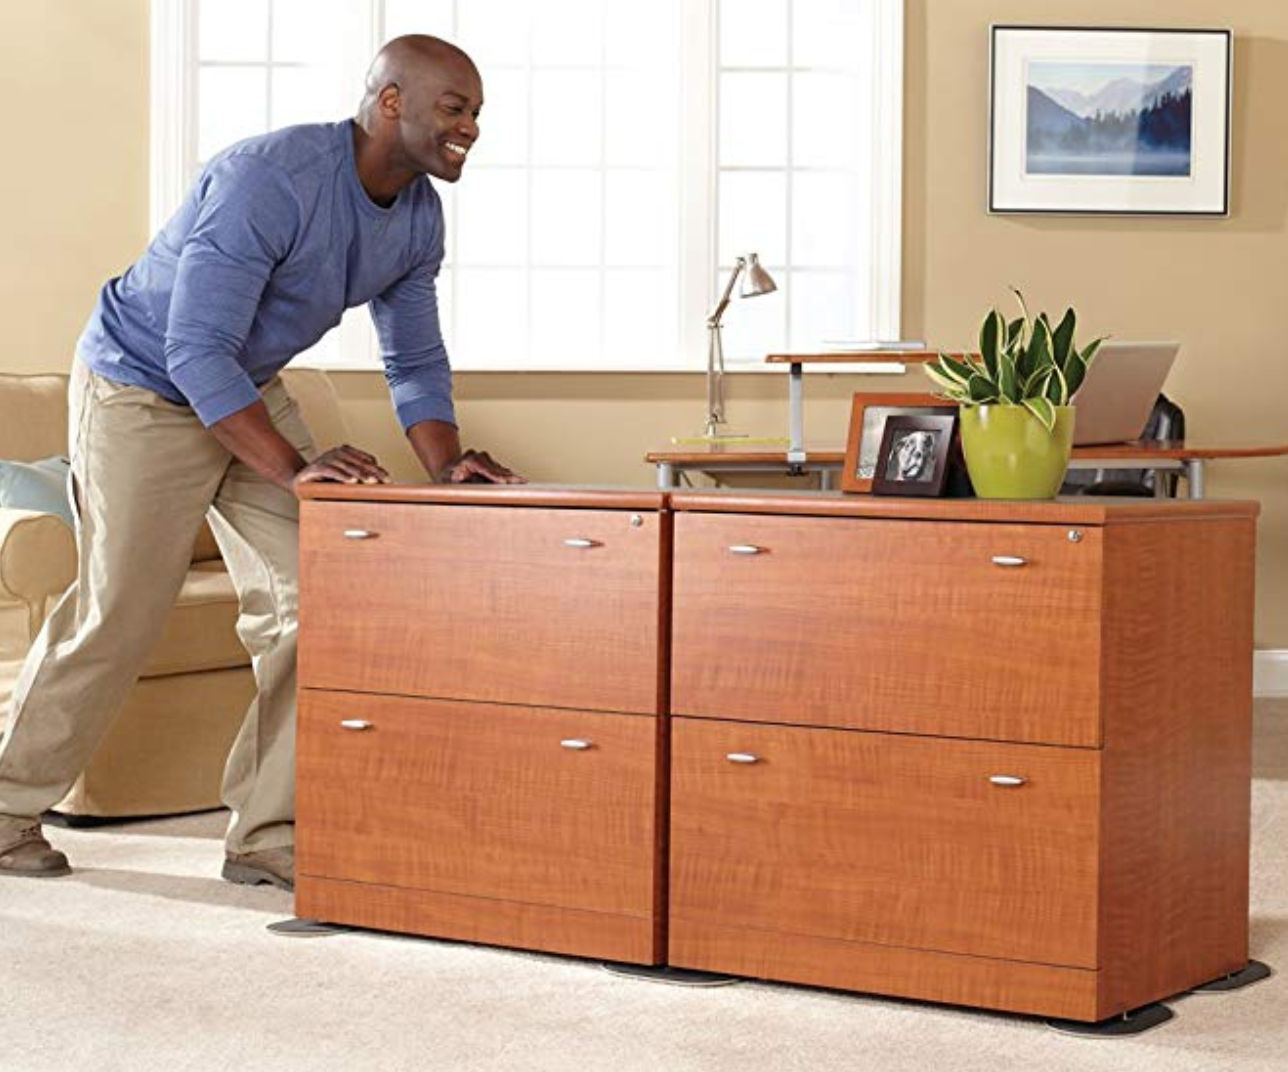
I need to install an electric fireplace but I’m not sure if the circuit can handle the load with other devices on. Here’s an explanation of device load, electrical wiring and circuit breakers.
In a typical residential home, you’ll have two types of circuits:
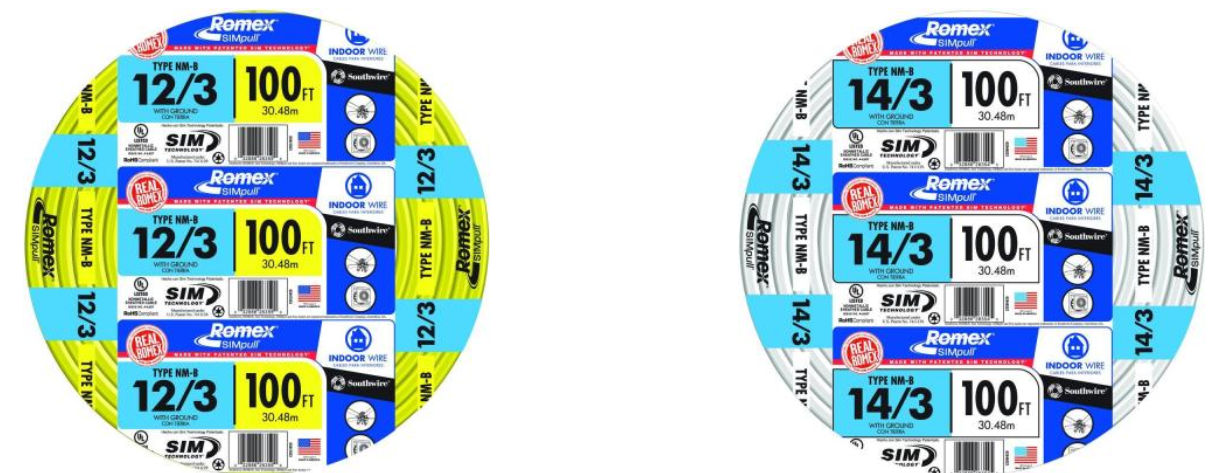
15A (amp) circuit using 14 gauge (thin) electrical wire (usually white) connected to a 15A circuit breaker. Based on the formula P (watt) = V (volts) x i (current), the max wattage this circuit can handle before tripping the circuit breaker is 120 V x 15 A = 1800 W. This circuit is usually used for general lighting.
20A (amp) circuit using 12 gauge (thick) electrical wire (usually yellow) connected to a 20A circuit breaker. This circuit can support a total load of 120V x 20A = 2400 W. This circuit is usually used for kitchen devices.
You can’t just replace a 15A circuit breaker with a 20A one since the wires going into the 15A circuit breaker are likely 14 gauge (thin) wires. If these wires carry a load greater than 1500 watts, the wire can burn, catch on fire, and burn the house down. When installing new circuits, just always use 12 gauge wiring even if connected to a 15 amp circuit breakers.
In the example above, I have these devices
electric fireplace (1500 W)
LG OLED 65″ TV (150 W)
2 x LED lamps (2 x 15 W = 30 W)
Total power consumption = 1500 W + 150 W + 30 W = 1680 W. Since this is less than 1800 W (the max wattage for a 15 A circuit), I should be okay, although it would be preferable to put the fireplace on a 20A circuit.
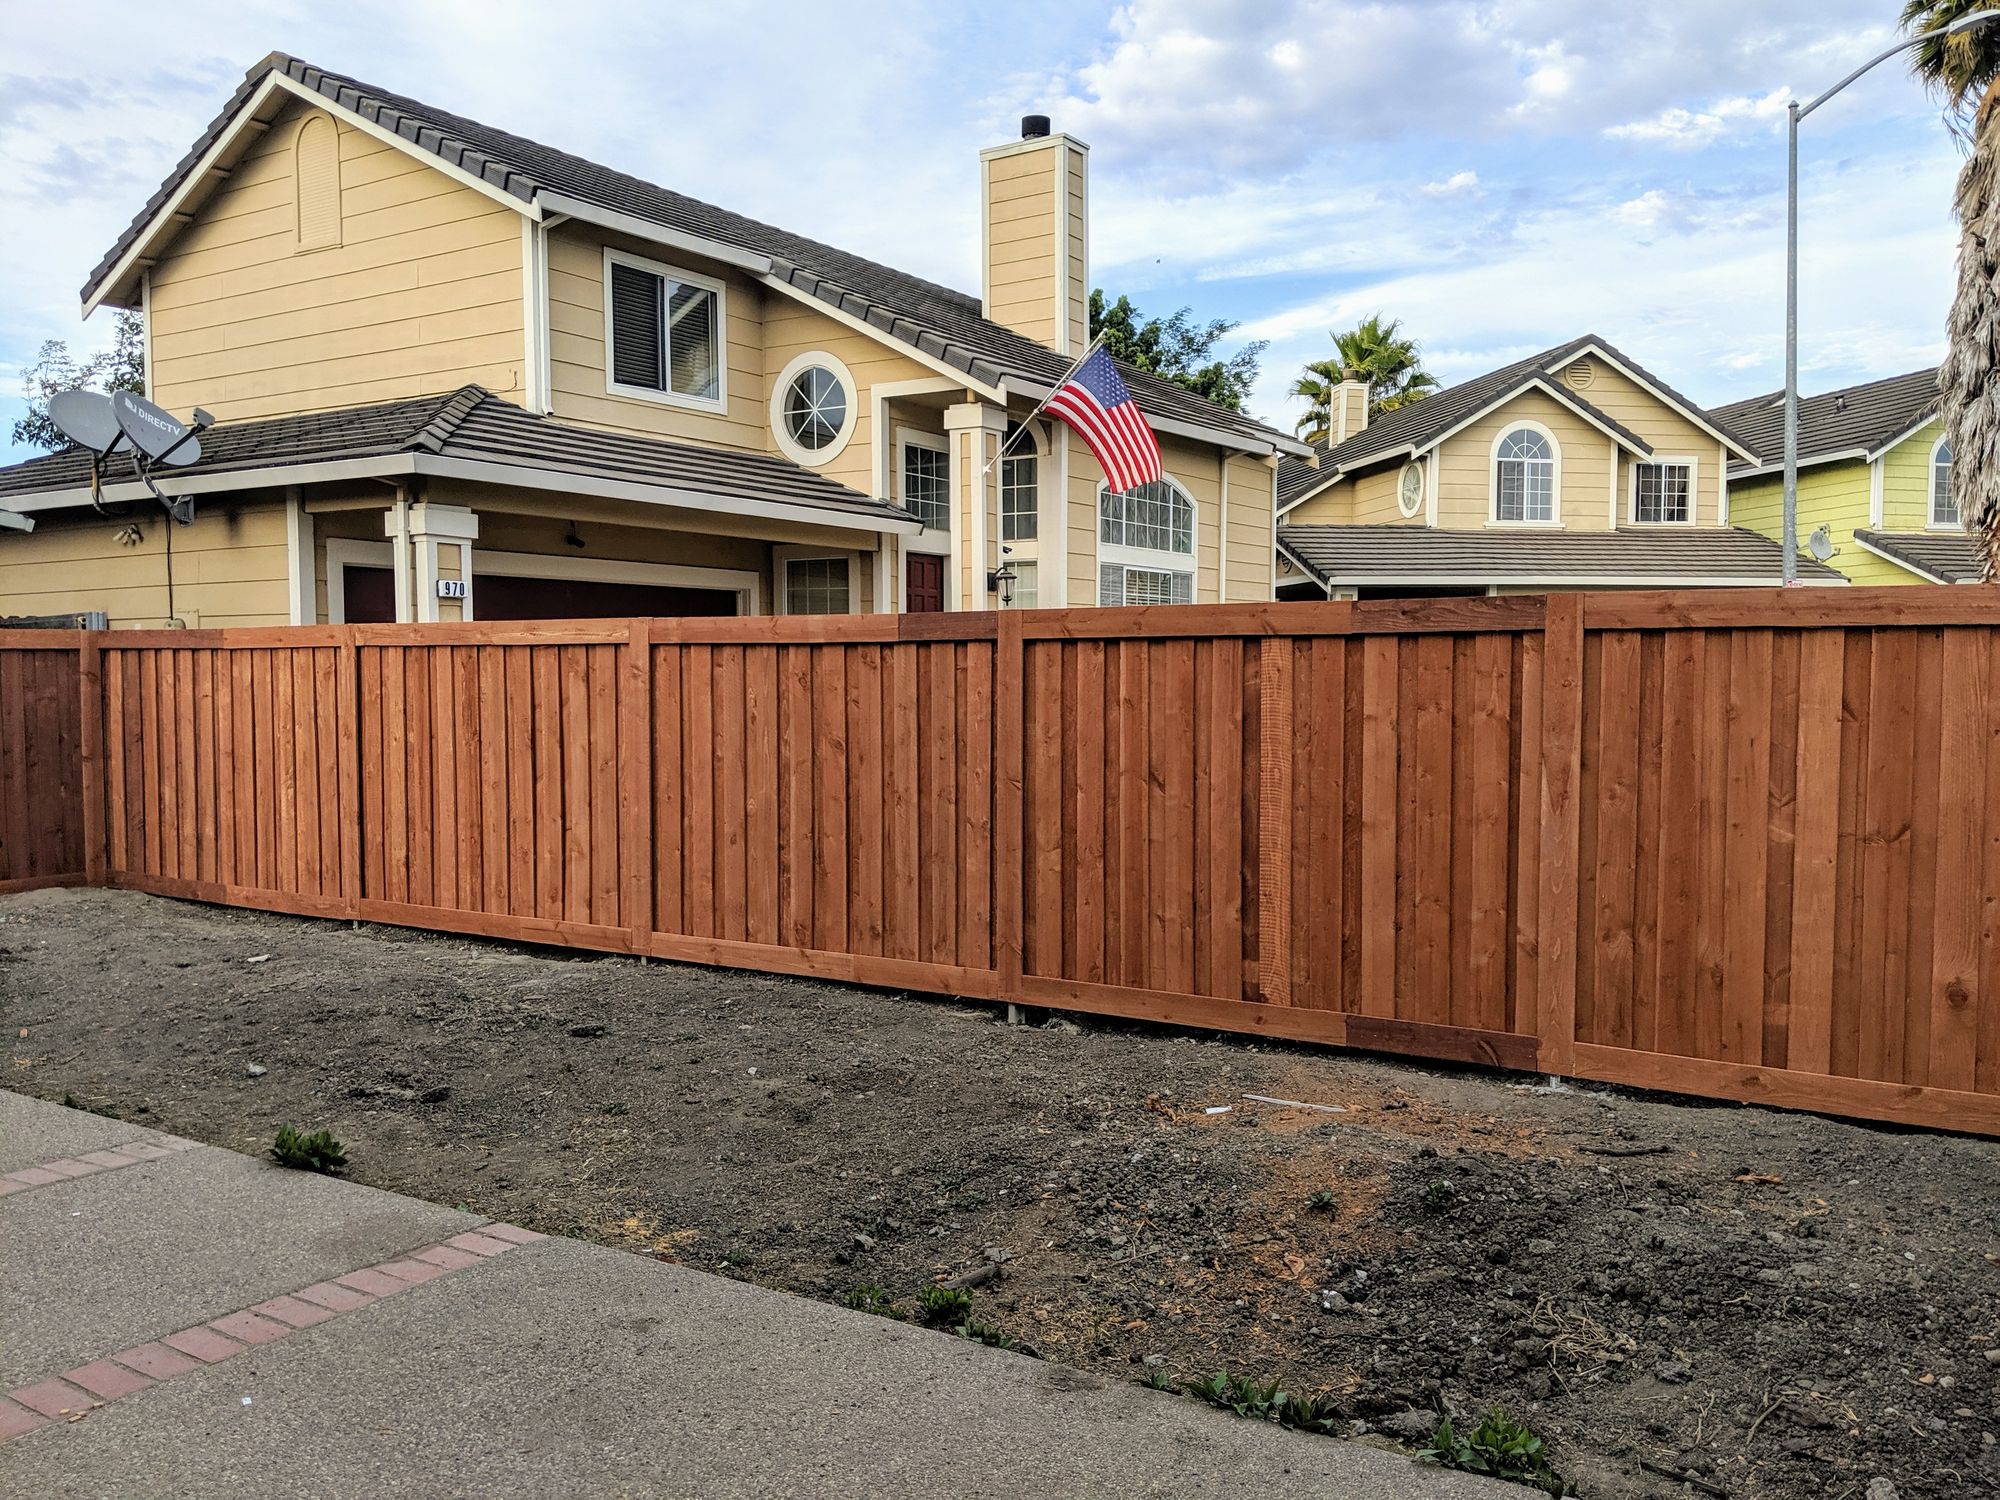
Many people use pressure-treated wood posts but though they are cheaper, they do have downsides includng:
they can rot and decay
they can warp and bend, especially if you leave them out in the sun and don’t finish the fence right away
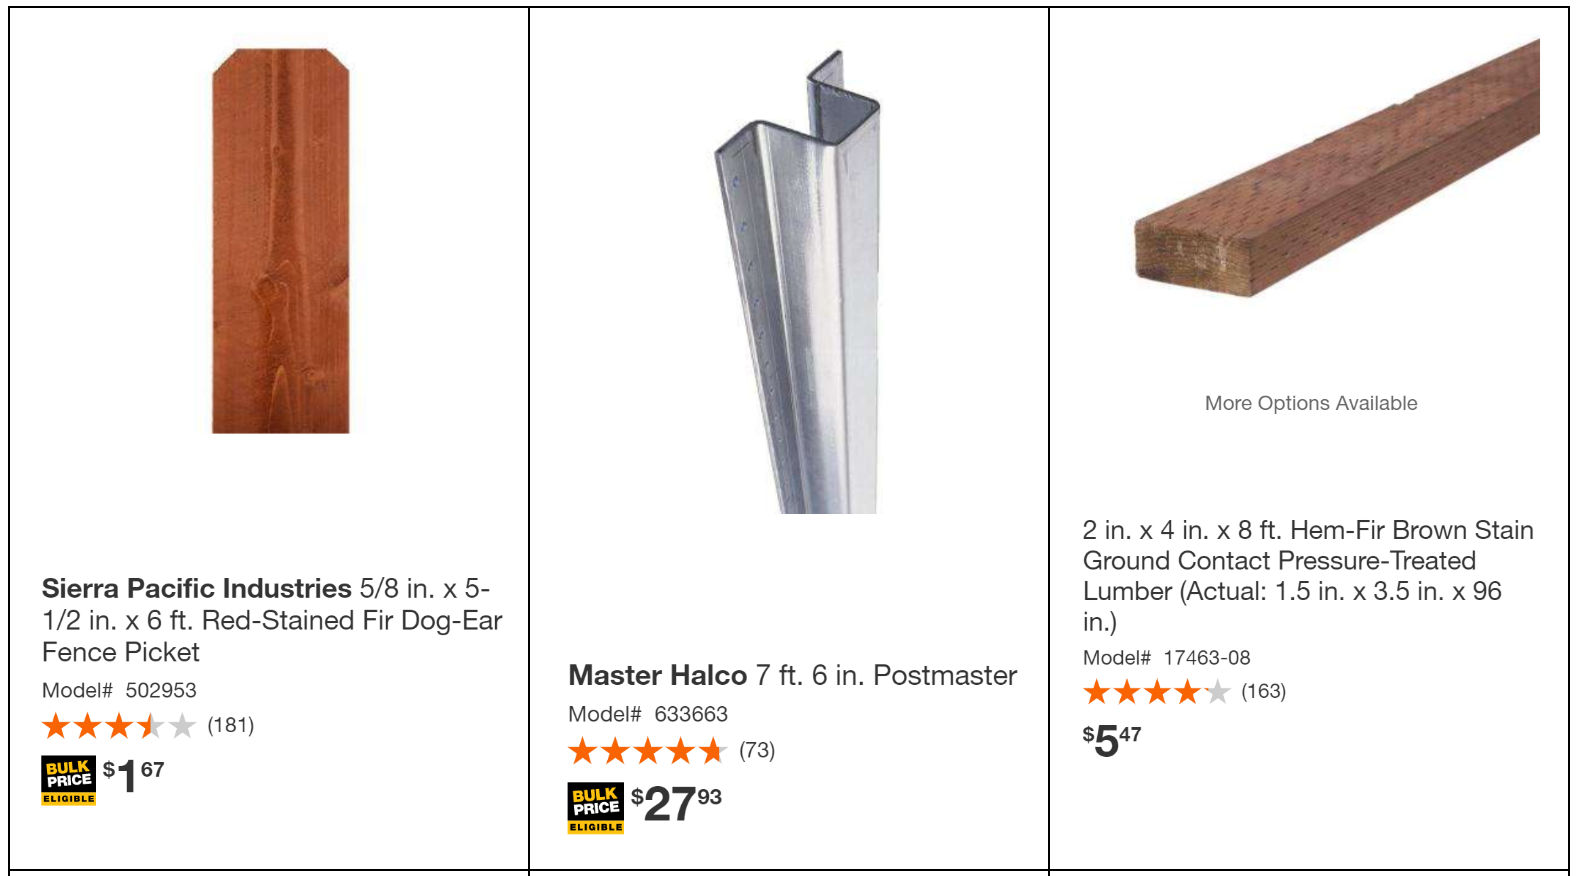
attaching 2x4s to them require toenailing or toescewing nails and screws at an angle or using metal brackets for 2x4s
if you attach 2x4s to the post and later decide you want to move them up or down, it’s a hassle
Steel posts have holes all along the length on both sides so screwing 2x4s into them are very easy. This saves a lot of time and money from not having to buy a bunch of brackets. Furthermore, there’s no worry about it warping due to the elements.
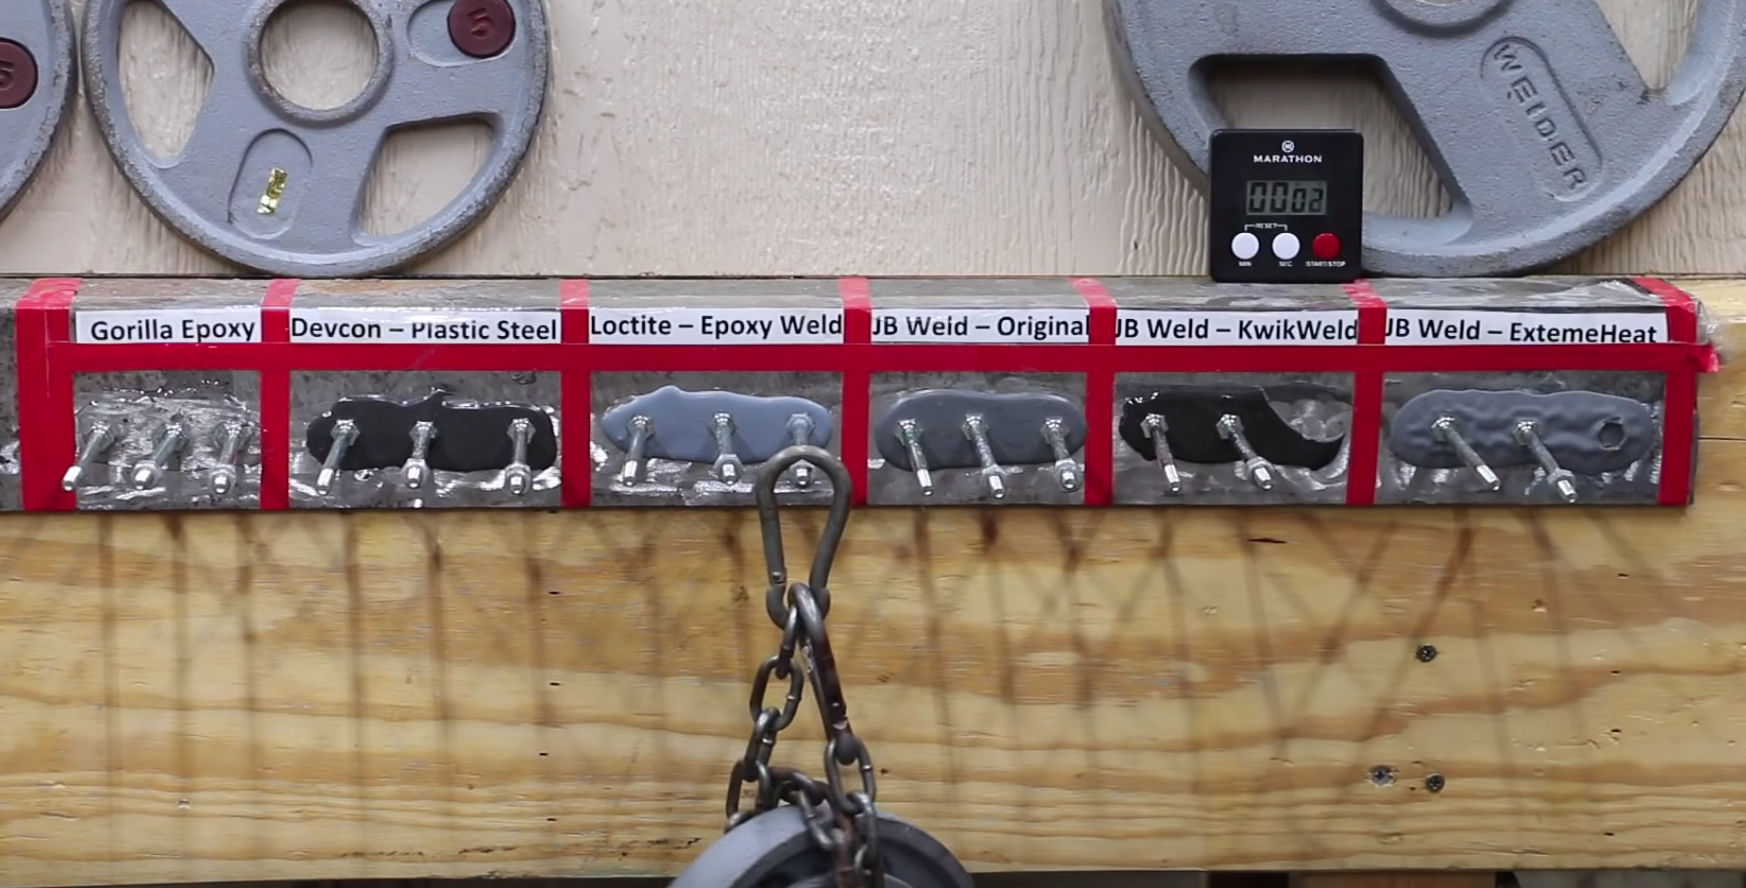
Here’s an interesting video comparing the bond strengths of various epoxies. Overall, the JB Weld – Original wins the test. Don’t get JB Weld – KwikWeld or ExtremeHeat as they are weak.
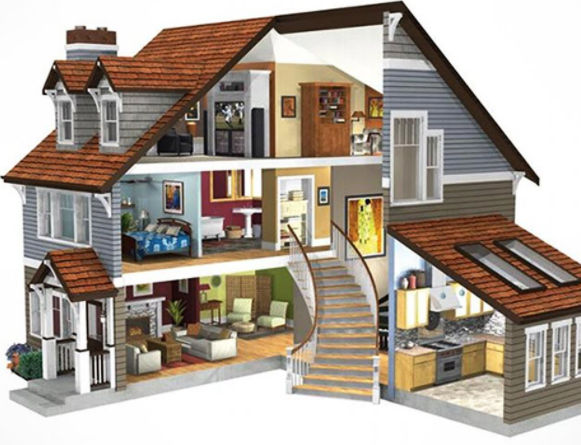
If you need to only create 2d house floor plans, I personally have found Lucidchart to be easy to learn and intuitive to use.
If you need to create 3d house floor plans, I have found Live Home 3D to offer the best features for the price. At $10 (on sale), you can easily create 2d and 3d home plans. You download and install the program which allows for faster 3d rendering. My typical workflow to design a house is as follows:
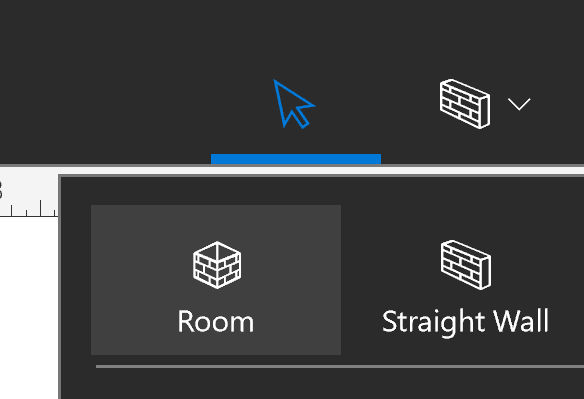
1. Create a room by clicking the Room button
2. Draw a room (2d) by dragging the shape of a rectangle
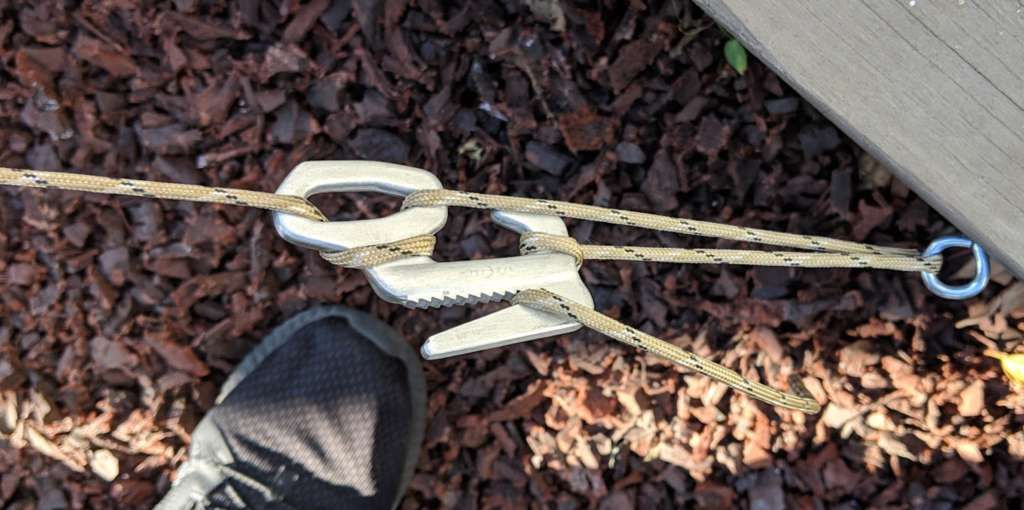
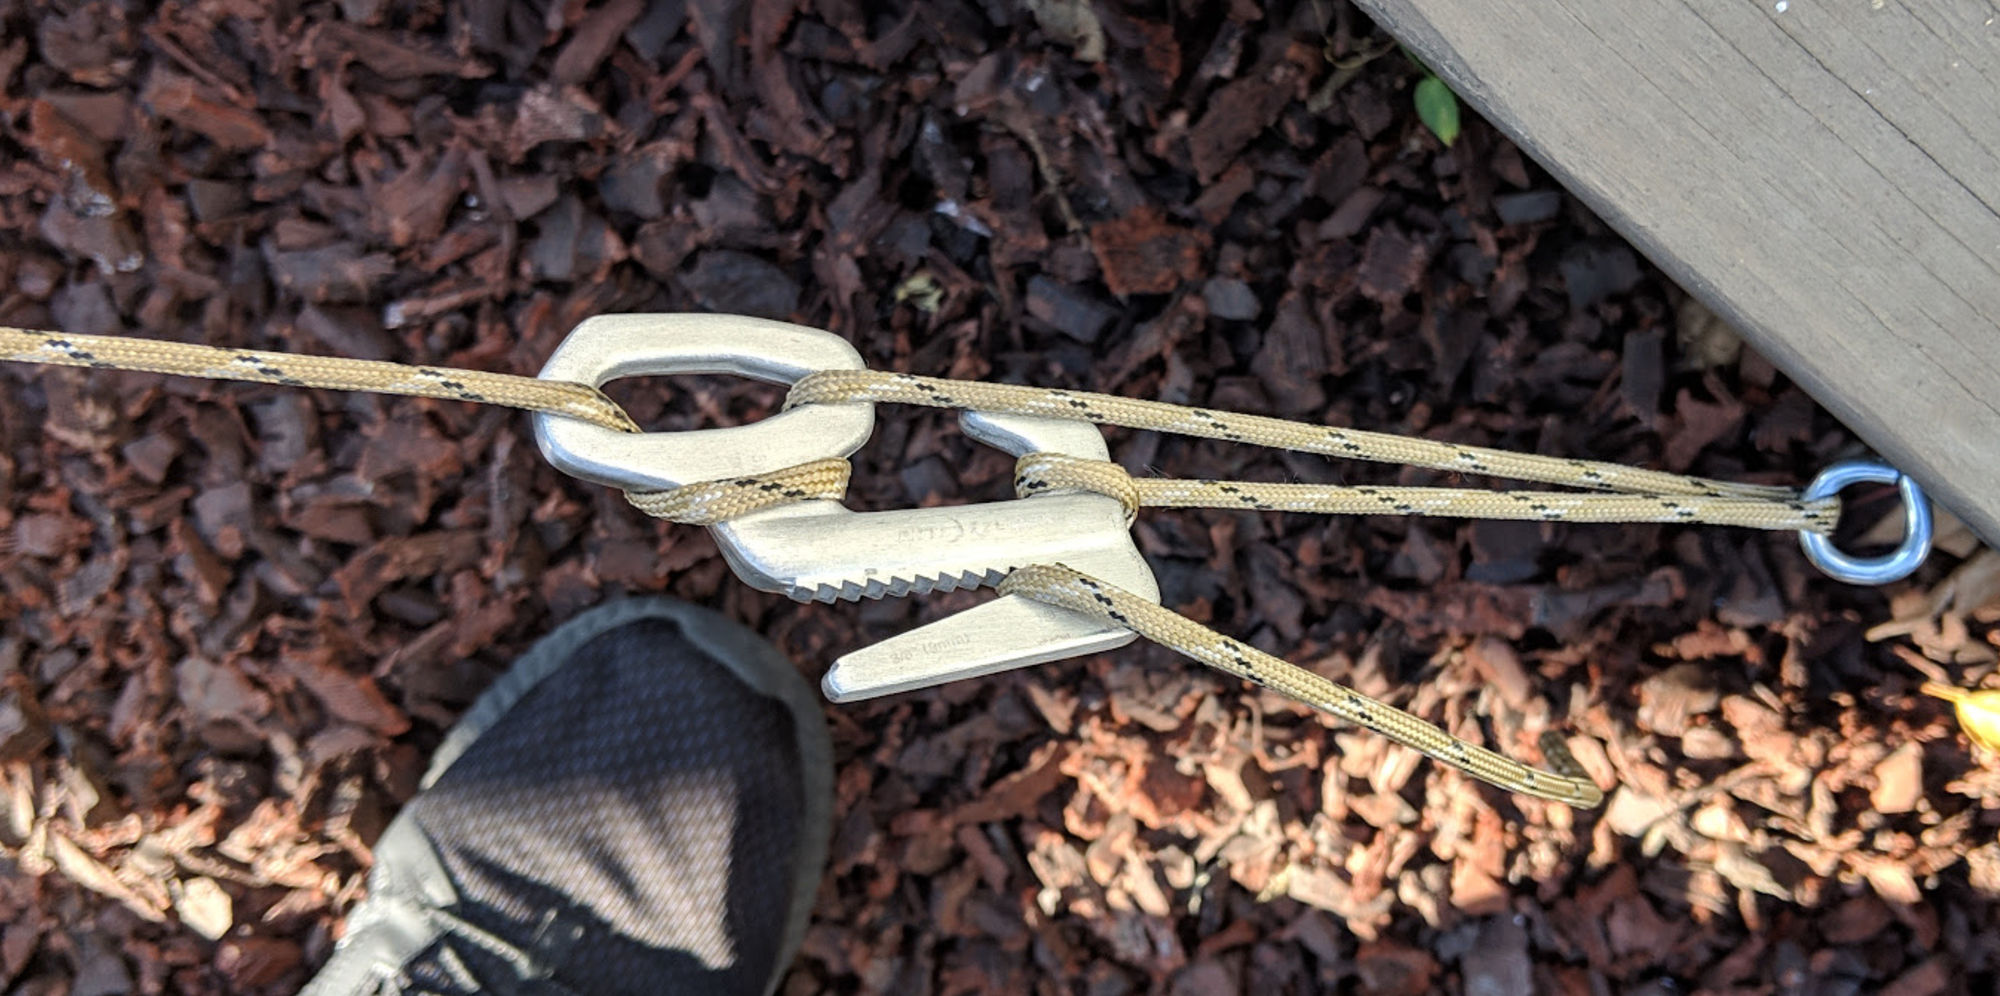
When you need to tighten a rope to hold something in place, e.g. a tent, cargo in a pickup truck, a leaning tree, bed sheets, etc, you might think you’ll need to tie a knot. Not only is it difficult to tie a knot without losing tension in the rope, it’s a hassle and often difficult untying the knot. Ratchet straps are easier to use but are overkill for non-heavy duty situations. A simpler solution is to use a figure 9.
Here, I used a figure 9 to hold a leaning tree in place.
You can purchase Figure 9s at REI. One brand is Nite-ize but there’s also generic ones on Amazon for less.
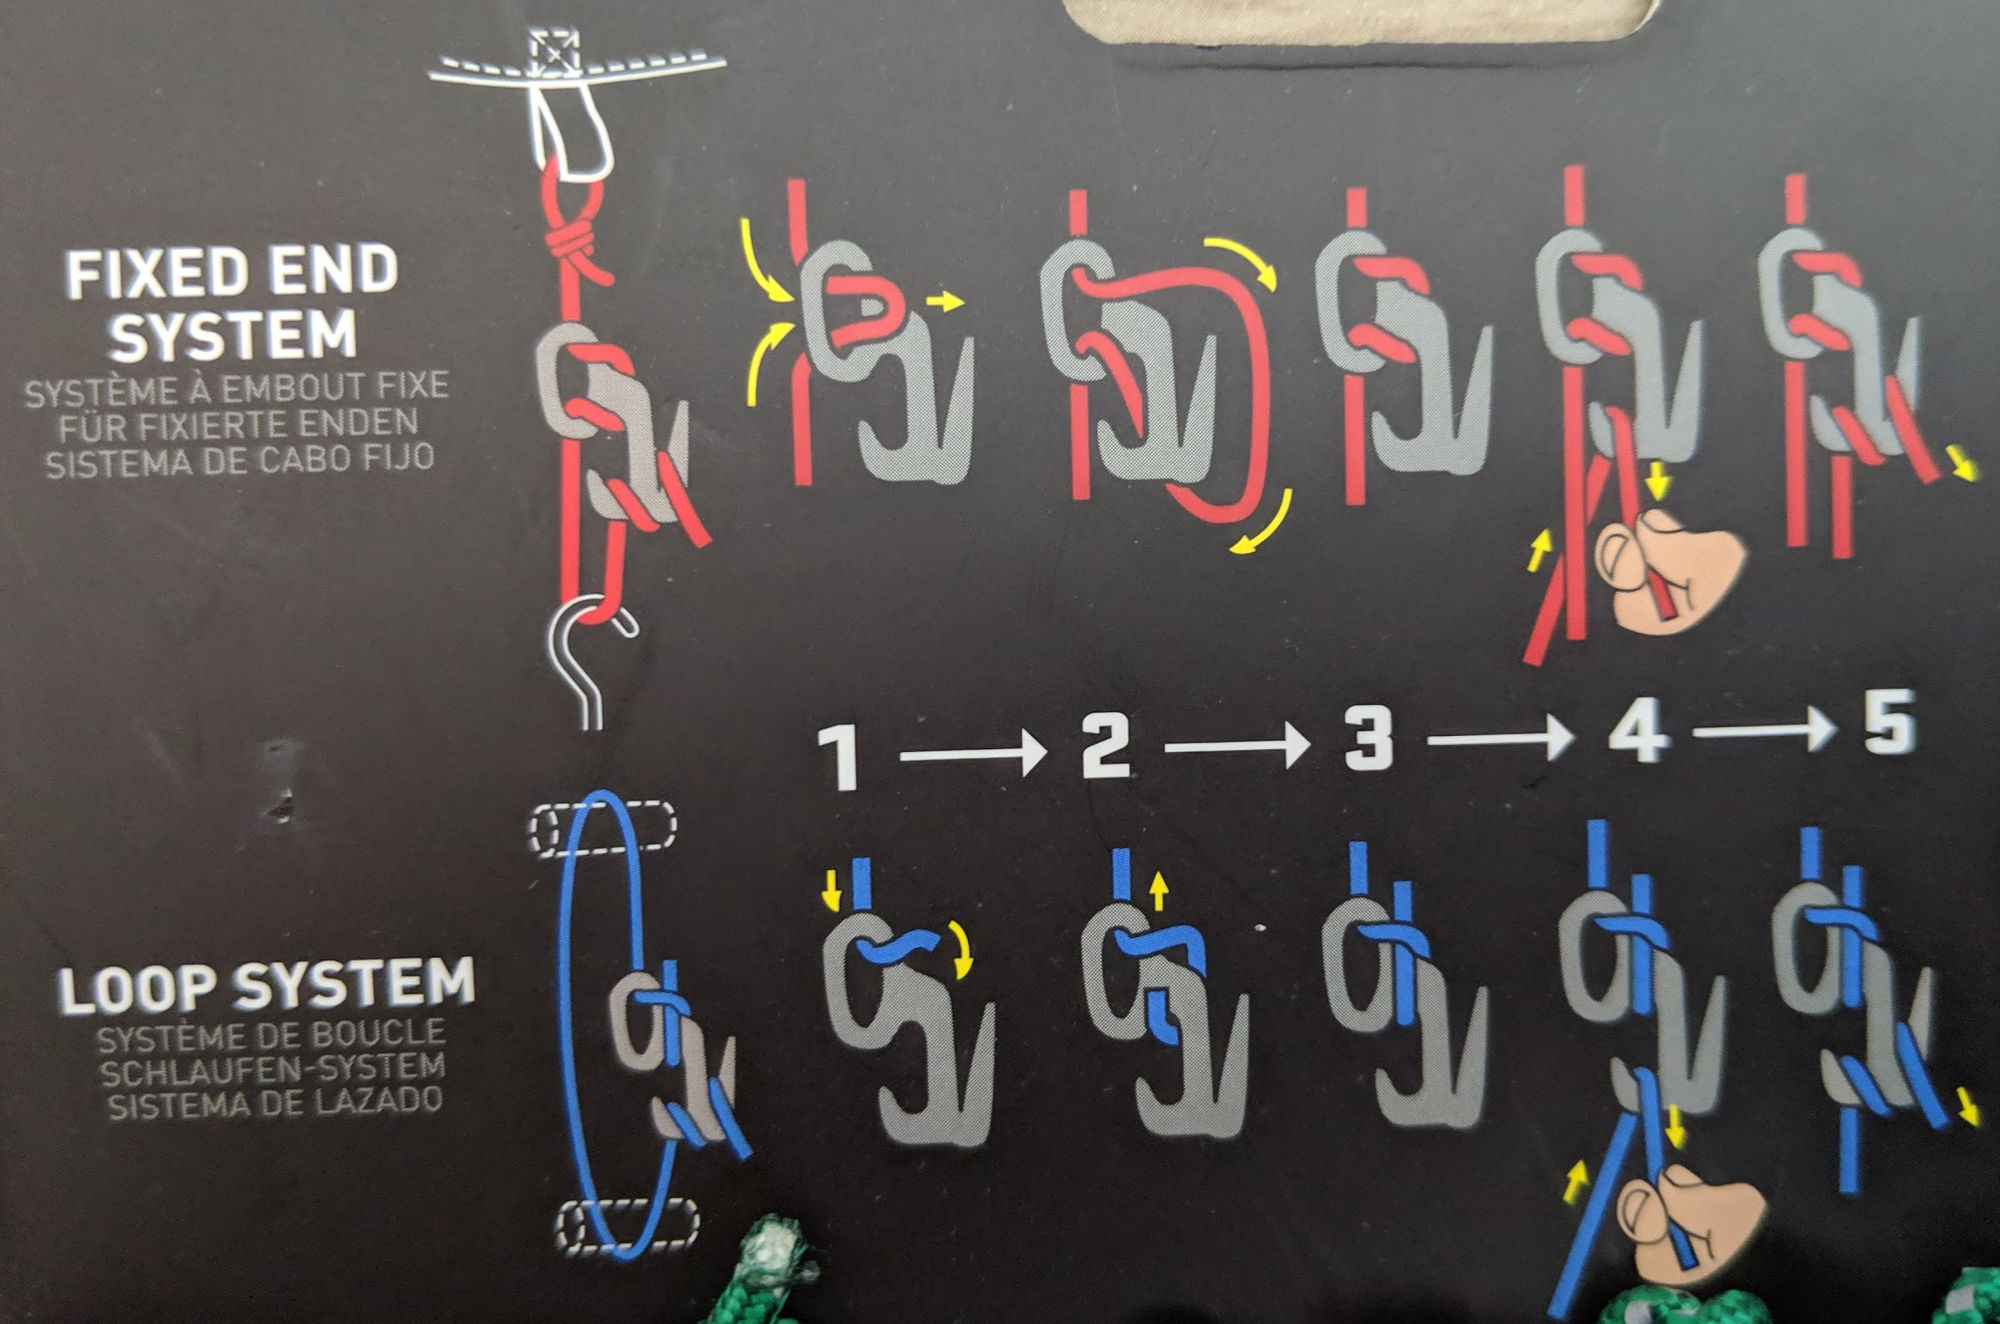
This are two ways to tighten a rope using a Figure 9.