Use an Alpine Butterfly Bend.

Use an Alpine Butterfly Bend.
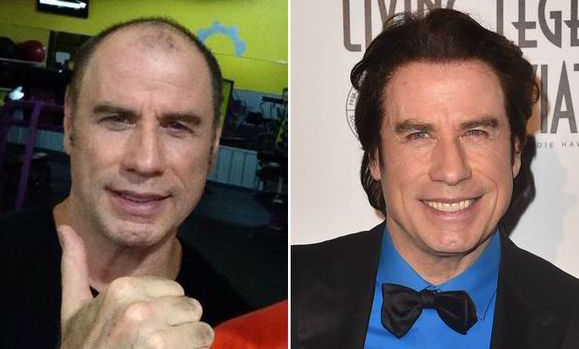
Of all the ways to address hair loss, the most natural and permanent but most expensive solution is by getting a hair transplant. It has become extremely popular and no longer limited to the rich and famous. Following are different types of hair transplant options to consider before you spend thousands of dollars.
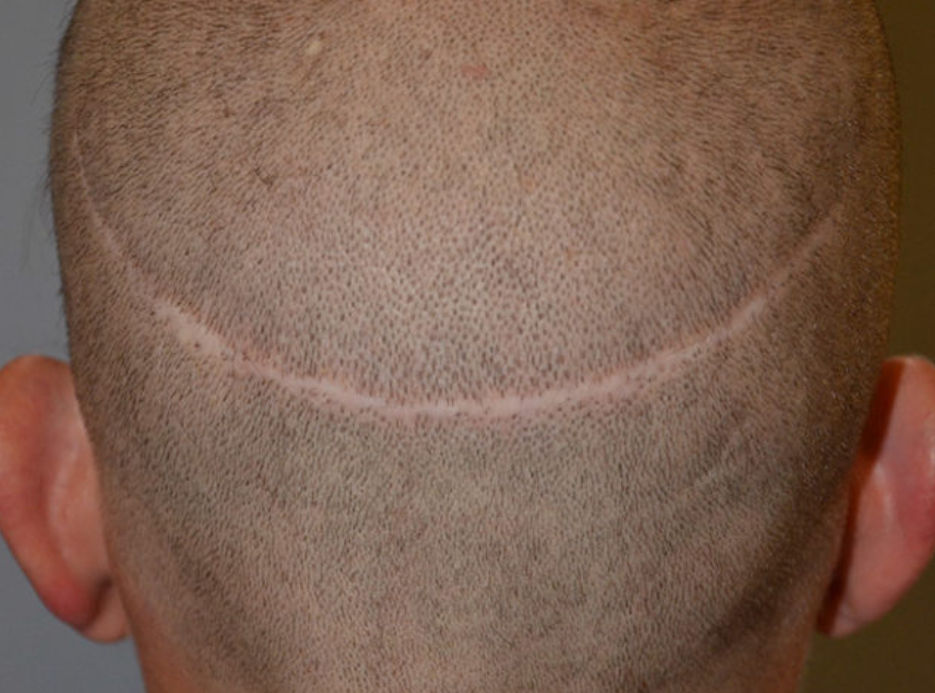
This method involves cutting a rectangular strip of scalp from the back of your head then stitching the opening closed. The hairs on the strip and separated and transplanted one by one to the recipient (bald) area. This method is the quickest and so it’s likely the cheapest but it will leave a noticeable scar on the back of your head unless you wear your hair long to cover it up.
This method involves using a punch tool to extract individual hair follicles from the back of your head. After sufficient follicles have been removed, they are transplanted one by one to the recipient area. As a result of using a punch tool, you will not see an obvious scar like in the FUT method but you will see minor dot-shaped scars if you have short hair.
This method is the same as the regular FUE method except it uses a sapphire blade which allows for creating smaller holes in the scalp into which hair will be transplanted. The smaller holes allow for creating holes that are closer to each other resulting in higher density.
Implanter size: 1.0 – 1.5 mm using sapphire blade
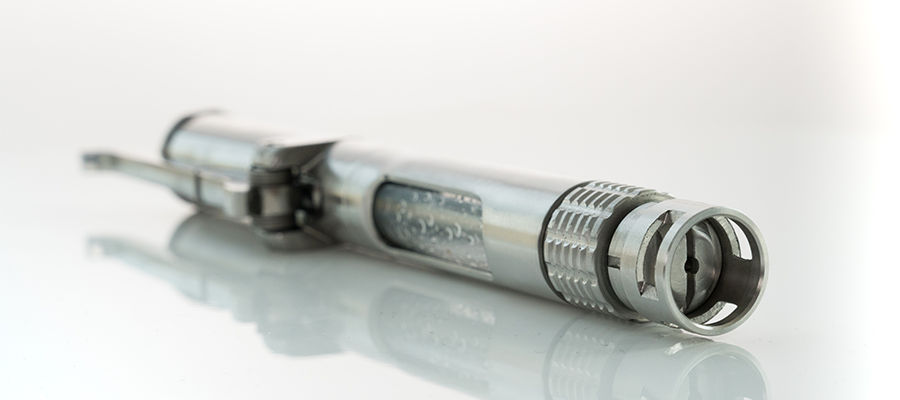
Unlike the FUT and FUE methods, where all follicles are removed before they are transplanted one by one to the recipient area, with the DHI method, each follicle is removed and immediately transplanted thereby reducing the amount of time the follicle remains outside the body. Furthermore, the tool used to implant the follicle is a choi pen.
Implanter needle size: 0.8-0.9 mm
Among its advantages indicated by some hair restoration experts are as follows;
This method involves only extracting a portion of each hair follicle from the back of the head. As a result, there are no scars. Also, one follicle results in two hairs – a hair in the donor area and a hair in the recipient area. In this way, the number of hairs is multiplied (doubled).
PL-FUT is better suited if
Implanter needle size: 0.5 up to 0.6 mm
HASCI claims to have a better preservative solution to preserve the follicles.
In an article by Dr. Gho titled Donor hair follicle preservation by partial follicular unit extraction. A method to optimize hair transplantation the abstract reads
There are different stem cell pools located in the hair follicle. Objective: To try to determine whether follicular units can survive a partial extraction and whether this partial extracted follicular unit can regenerate new hairs. Methods: From five individuals, between 100 and 150 grafts were harvested from the occipital area of the scalp. Suitable grafts were implanted into the recipient area. Hair growth and characteristics in the donor area and the recipient area were observed at different intervals. Results: After 3 months, between 92.1% and 104.1% (mean 97.7%) of the partial follicular units in the donor sites survived and produced hairs with the same characteristics. After 1 year, 91.1–101.7% (mean 95.9%) of the implanted partial follicular units regenerated hair growth with the same characteristics as the hairs in the donor area. Conclusions: We revealed that extracted partial longitudinal follicular units transplanted to the recipient area can be used as complete follicular units to regenerate completely differentiated hair growth with the same characteristics as in the donor area. We also revealed that the partial follicular units in the donor area can survive and produce the same number of hairs with the same characteristics. This technique enables us to generate two hair follicles from one follicle with consistent results and preserve the donor area.
In the article by Dr. Gho titled Improved hair restoration method for burn the abstract reads
Background: Extracted partial longitudinal follicular units can be used as complete follicular units to regenerate completely differentiated hair growth. The partial follicular units that remained in the dermis in the donor area can survive and produce hairs. This technique enables us to multiply hair follicles in vivo, while preserving the donor area and therefore is suitable in persons, who have a relative small donor area compared to the recipient area, as in scalp burns.
Objectives: With this study, we try to determine if partial longitudinal follicular unit transplantation (PL-FUT) can be used for facial and/or scalp burns.
Materials and methods: Four burn victims (age 22–39 years, mean 27.75 years) were treated in the face (eyebrows, and beard) and/or on the scalp with PL-FUT. The grafts were harvested with hollow wave-tipped needles with an inner diameter of 0.6 mm from the occipital area of the scalp. The suitable longitudinal partial follicular units were impregnated with a preservative medium, and implanted into the recipient area. Hair growth in the donor area as well as the recipient area was observed before treatment, and at intervals of 1 week, 3 months and 1 year after the treatment.
Results: After evaluation of the donor area, sometimes a few little white spots were visible, but almost all hair follicles in the donor site re-produce hairs after 2 years. All treated patients had satisfactory or very satisfactory cosmetic results in the treated area.
Conclusions: Longitudinal partial follicular unit transplantation (LP-FUT) may represent the first reliable patient-friendly method to generate two hair follicles from one hair follicle with consistent results and preservation of the donor area. Therefore, this method is very suitable for people with facial and/or scalp burns.
This method is patented and only offered at Hair Stem Cell Clinic.
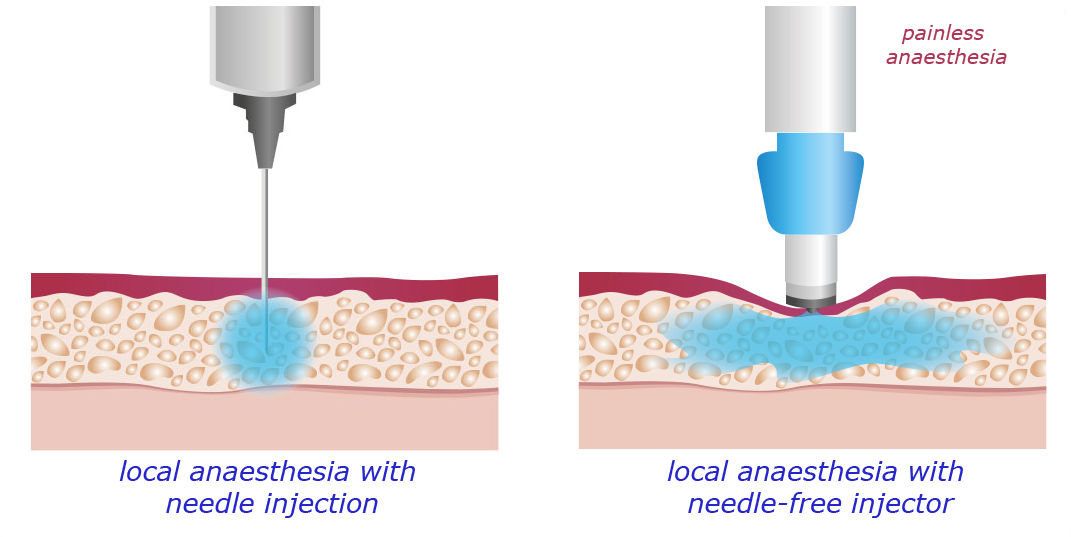
Getting a hair transplant may seem like a painful experience because thousands of micro holes are made in your scalp using needles. However, the process is painless due to the local anesthesia that numbs your scalp. But, traditional local anesthesia is applied using a needle which can be extremely painful. To administer local anesthesia, a doctor would give you around 10 injections in the donor area and 10 in the recipient area. Fortunately, there is a new, painless method for administering local anesthesia using a needle-free, pressure-based injector called Dermojet.

Hair transplant costs in the US and Europe are very expensive. You can easily spend $10,000 to $15,000 for 2000 – 2500 follicles. Turkey has become the hair transplant capital of the world. You can get a quality hair transplant for 3000 euros which will transplant 4000 hairs.
Though most people get a hair transplant to fill in a bald spot on their scalp, you can also get a hair transplant to fill in your beard, mustache and eyebrows.
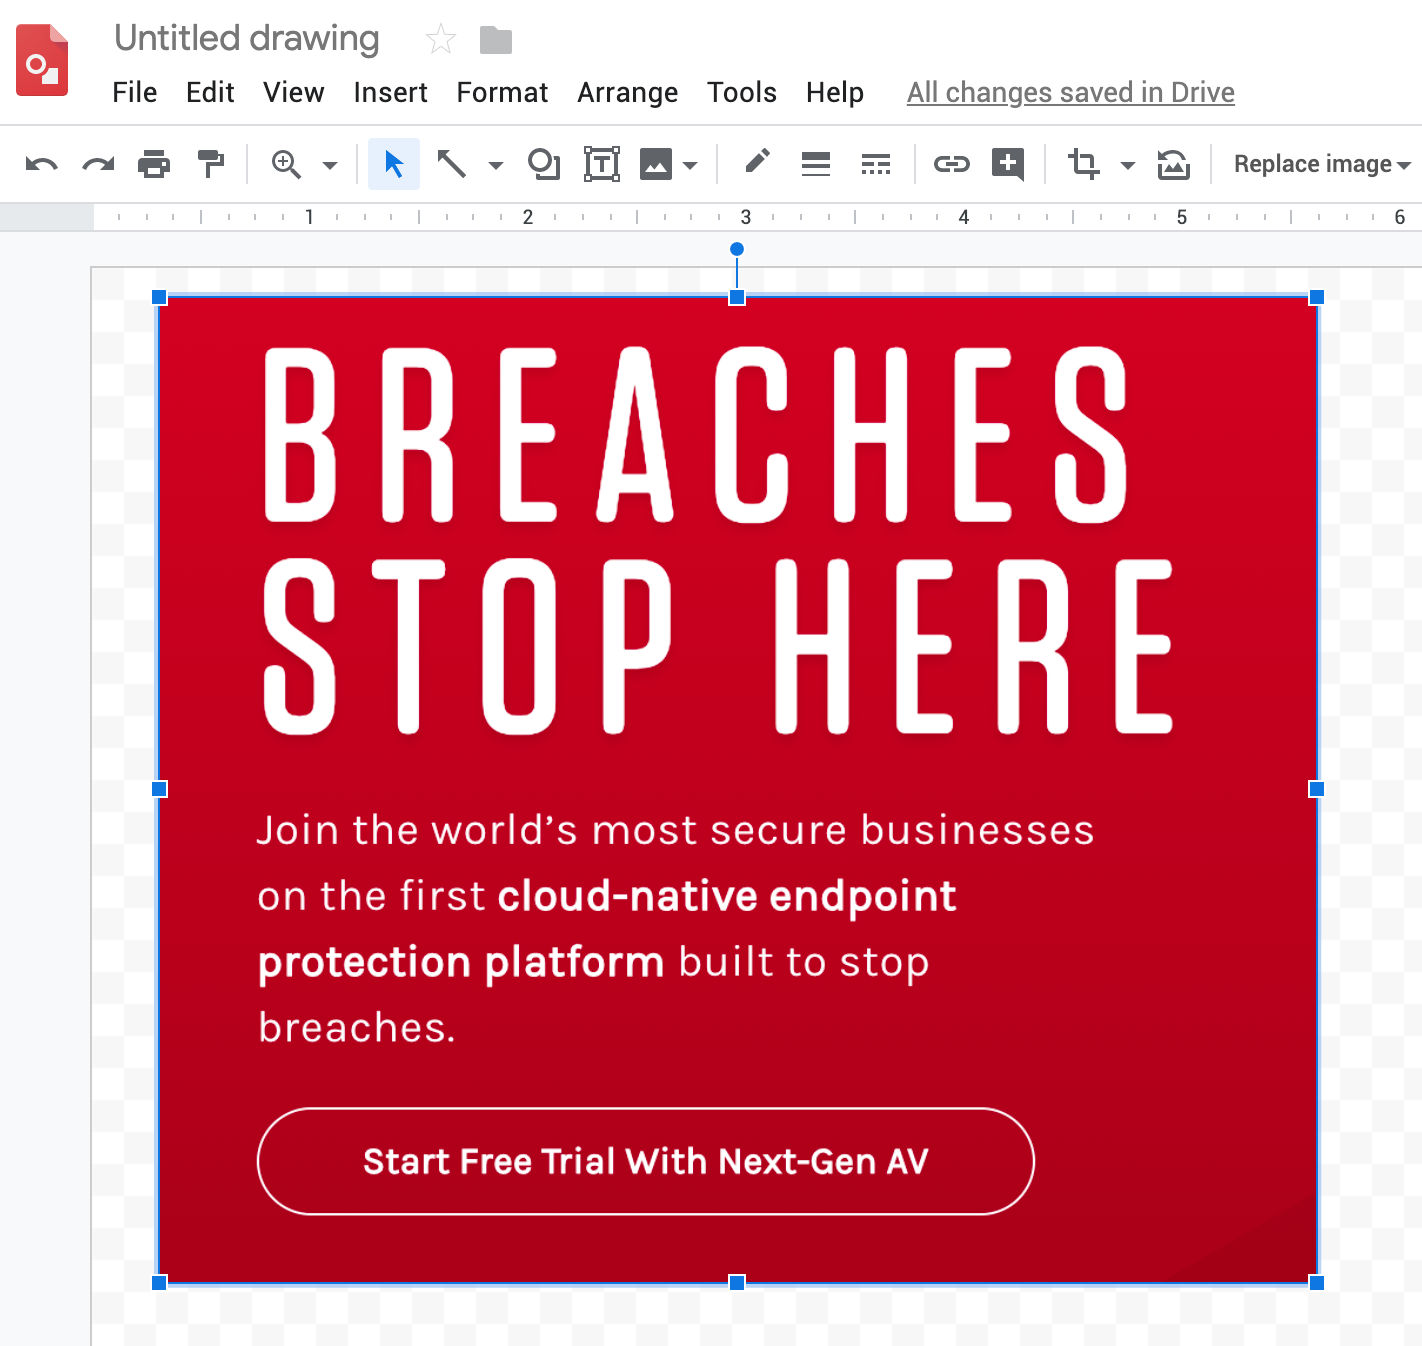
When reviewing websites, you often want to point at certain elements and add comments about them. This can easily and freely be done using Google Drawings.
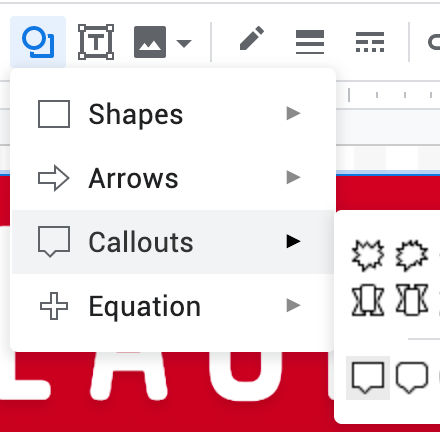
3. Click one of the Callout buttons
4. Click and draw near the element in the screenshot where you want to add a comment
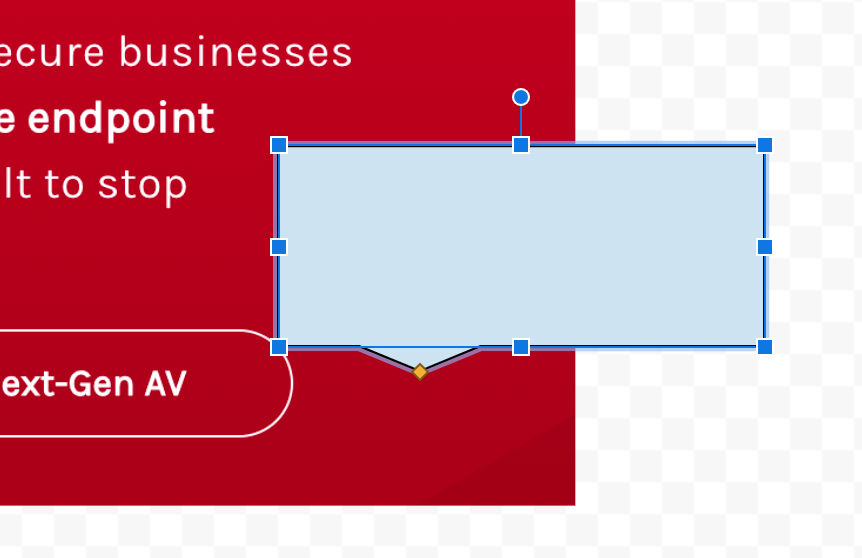
5. Drag the orange point at the tip of the arrow and drag it towards the element you want to draw attention to

6. Click in the callout box and type your comment then optionally adjust the size of the box

I recently set up a Heroku app using the Apache and PHP buildpack. The Apache configuration on Heroku was most likely the default which, if it receives a request to a URL without a trailing slash, e.g.
it’ll redirect to
That alone is fine. However, I was getting redirected from https to http, which was not fine. This is likely due to the presence of a load balancer in front of the Heroku app server with SSL/TLS being terminated at the load balancer. When a request to an https URL without a trailing slash like
the request was secure to the Heroku load balancer but from the load balancer to the Heroku app server, it must have been insecure, e.g.
At that point, Apache would redirect to
and the user would end up going from https to http. To resolve this, and as a best practice, just force https on all URLs. This is easily done on Heroku using a .htaccess file with a redirect rule, in case your chosen server is Apache.
Say we have an API client with three methods, getItem(), updateItem(), and deleteItem(), each of which returns a Promise. There are only two functions you need to worry about: then() and catch().
Each call to then() creates another step in the Promise chain, and if there’s an error at any point in the chain, the next catch() block will be triggered. Both then() and catch() can either return a raw value or a new Promise, and the result will be passed to the next then() in the chain.
If a function doesn’t return a Promise but rather a callback, like Node’s fs.readile function,
https://nodejs.org/api/fs.html#fs_fs_readfile_path_options_callback
then you can convert the call to a Promise as follows. The new function, called readFilePromise, converts the original function, called readFile, into a Promise.
To use the new promise function, do this.
If you have a function that needs to return a Promise, like fs.readFile, but handle certain cases synchronously, you can use Promise.resolve() and Promise.reject() to create Promises out of ordinary values, like this.
Promise.all is a convenient method for running an array of Promises concurrently, i.e. all at the same time. For instance, say we have a list of files we want to read from disk. Using the readFilePromise function we created above, it would look like this:
Here’s another example
And another example (from Kyle Simpson)
In the example above, we can use the new Promisified function in the chain as follows. We can also create a new Promise that returns a Promise of an ordinary value to keep the chain going.
Hook both ends of the ratchet strap to something.

Fold the ratchet as shown in the picture below. Then insert the open end of the other strap “through” the ratchet cylinder.
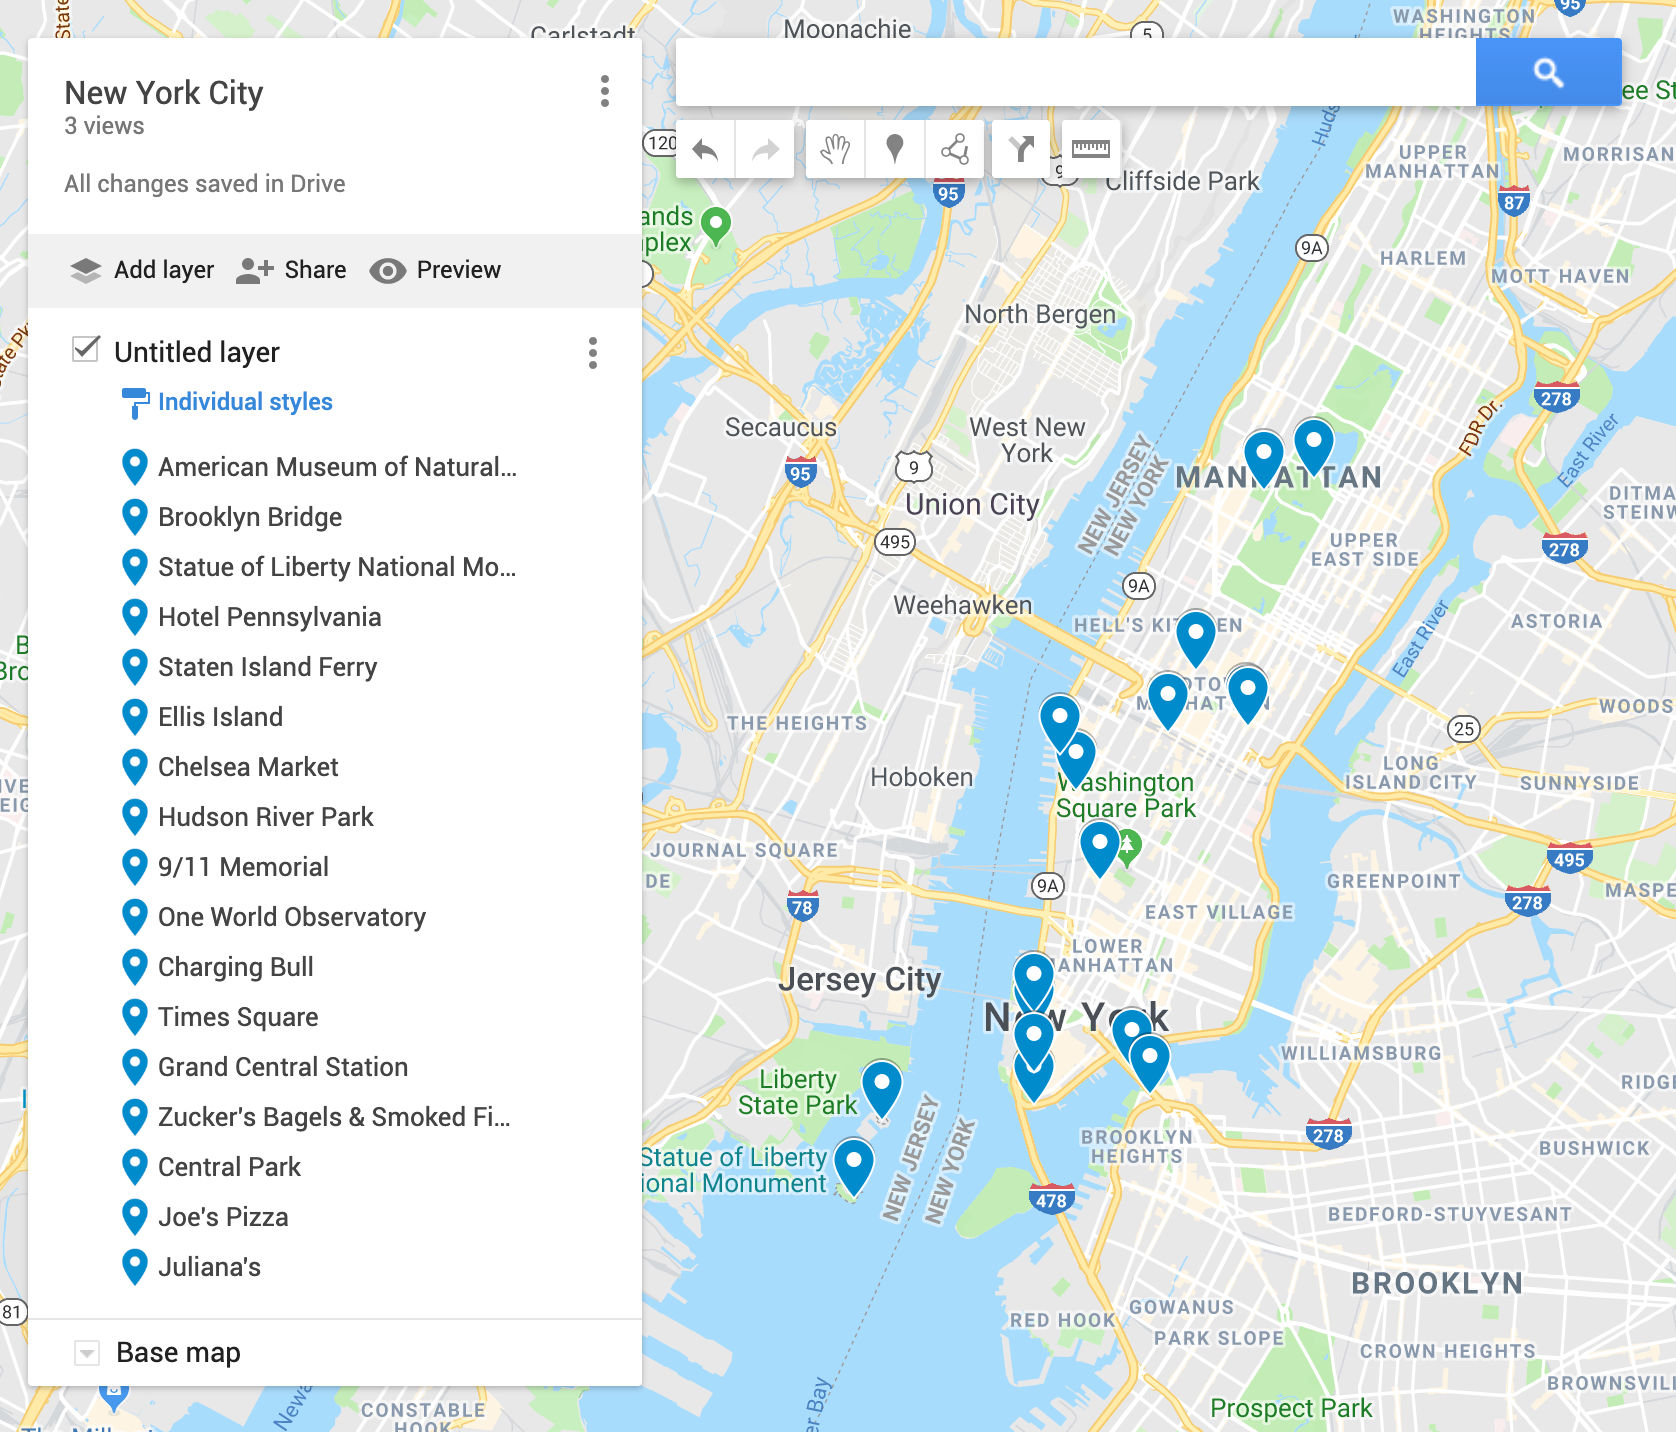
Continue reading How to Use a Ratchet StrapWhen traveling, it’s super handy to be able to see a map of just the places you want to visit. This can easily be done with Google Maps. In addition, with Google Maps you can zoom in and out and get directions to each place of interest. Here’s how to create a custom Google Map with your choice of places.
1. Go to maps.google.com and log in
2. Click the hamburger menu icon and then “Your Places”
3. Click the “Maps” tab
3. At the bottom, click “Create Map”
4. In the search bar, enter the name or address of a place then click the search button.
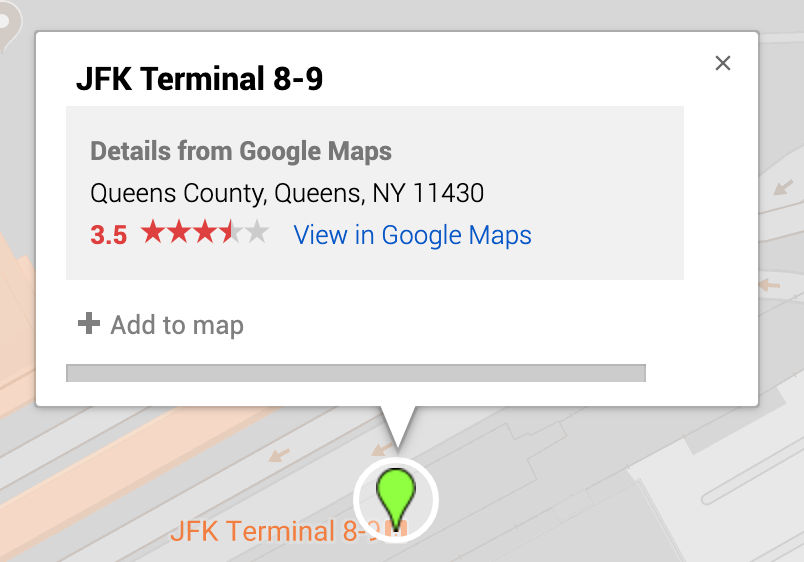
5. Google Maps will place a balloon on the map where the place it along with a description box.
6. In the description box, click “Add to map”
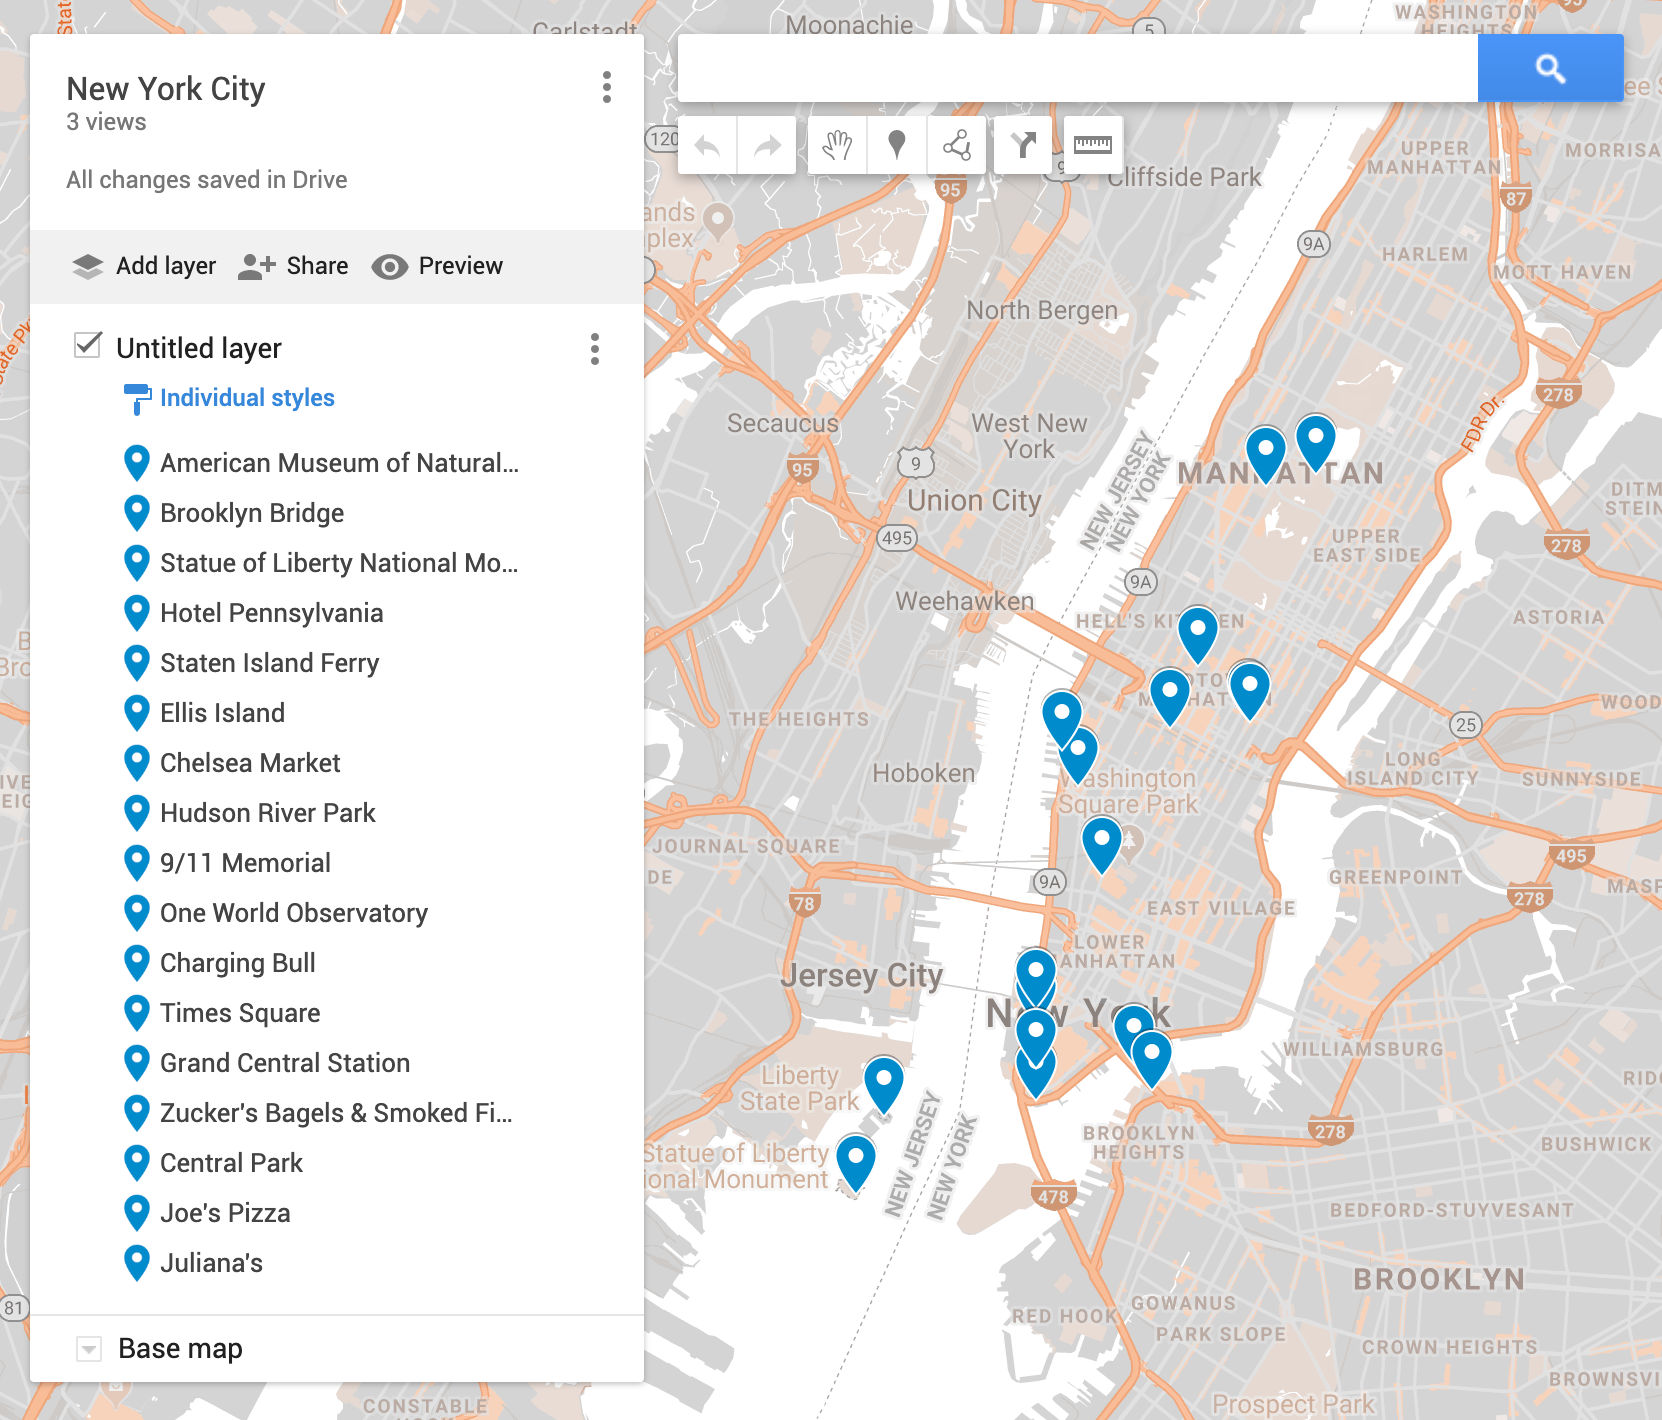
7. Repeat steps 4-6 adding as many locations as you’d like
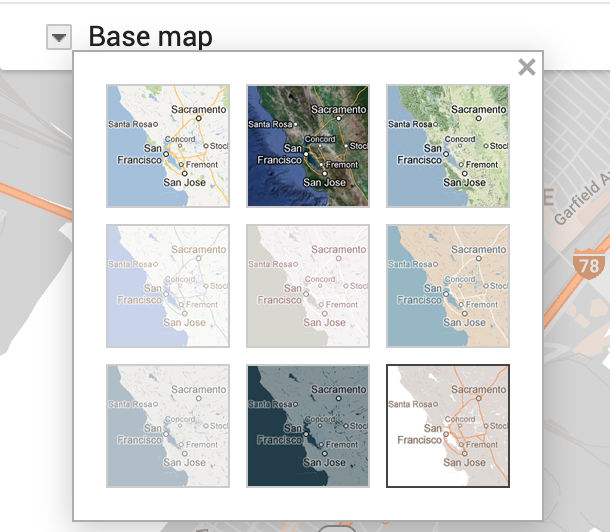
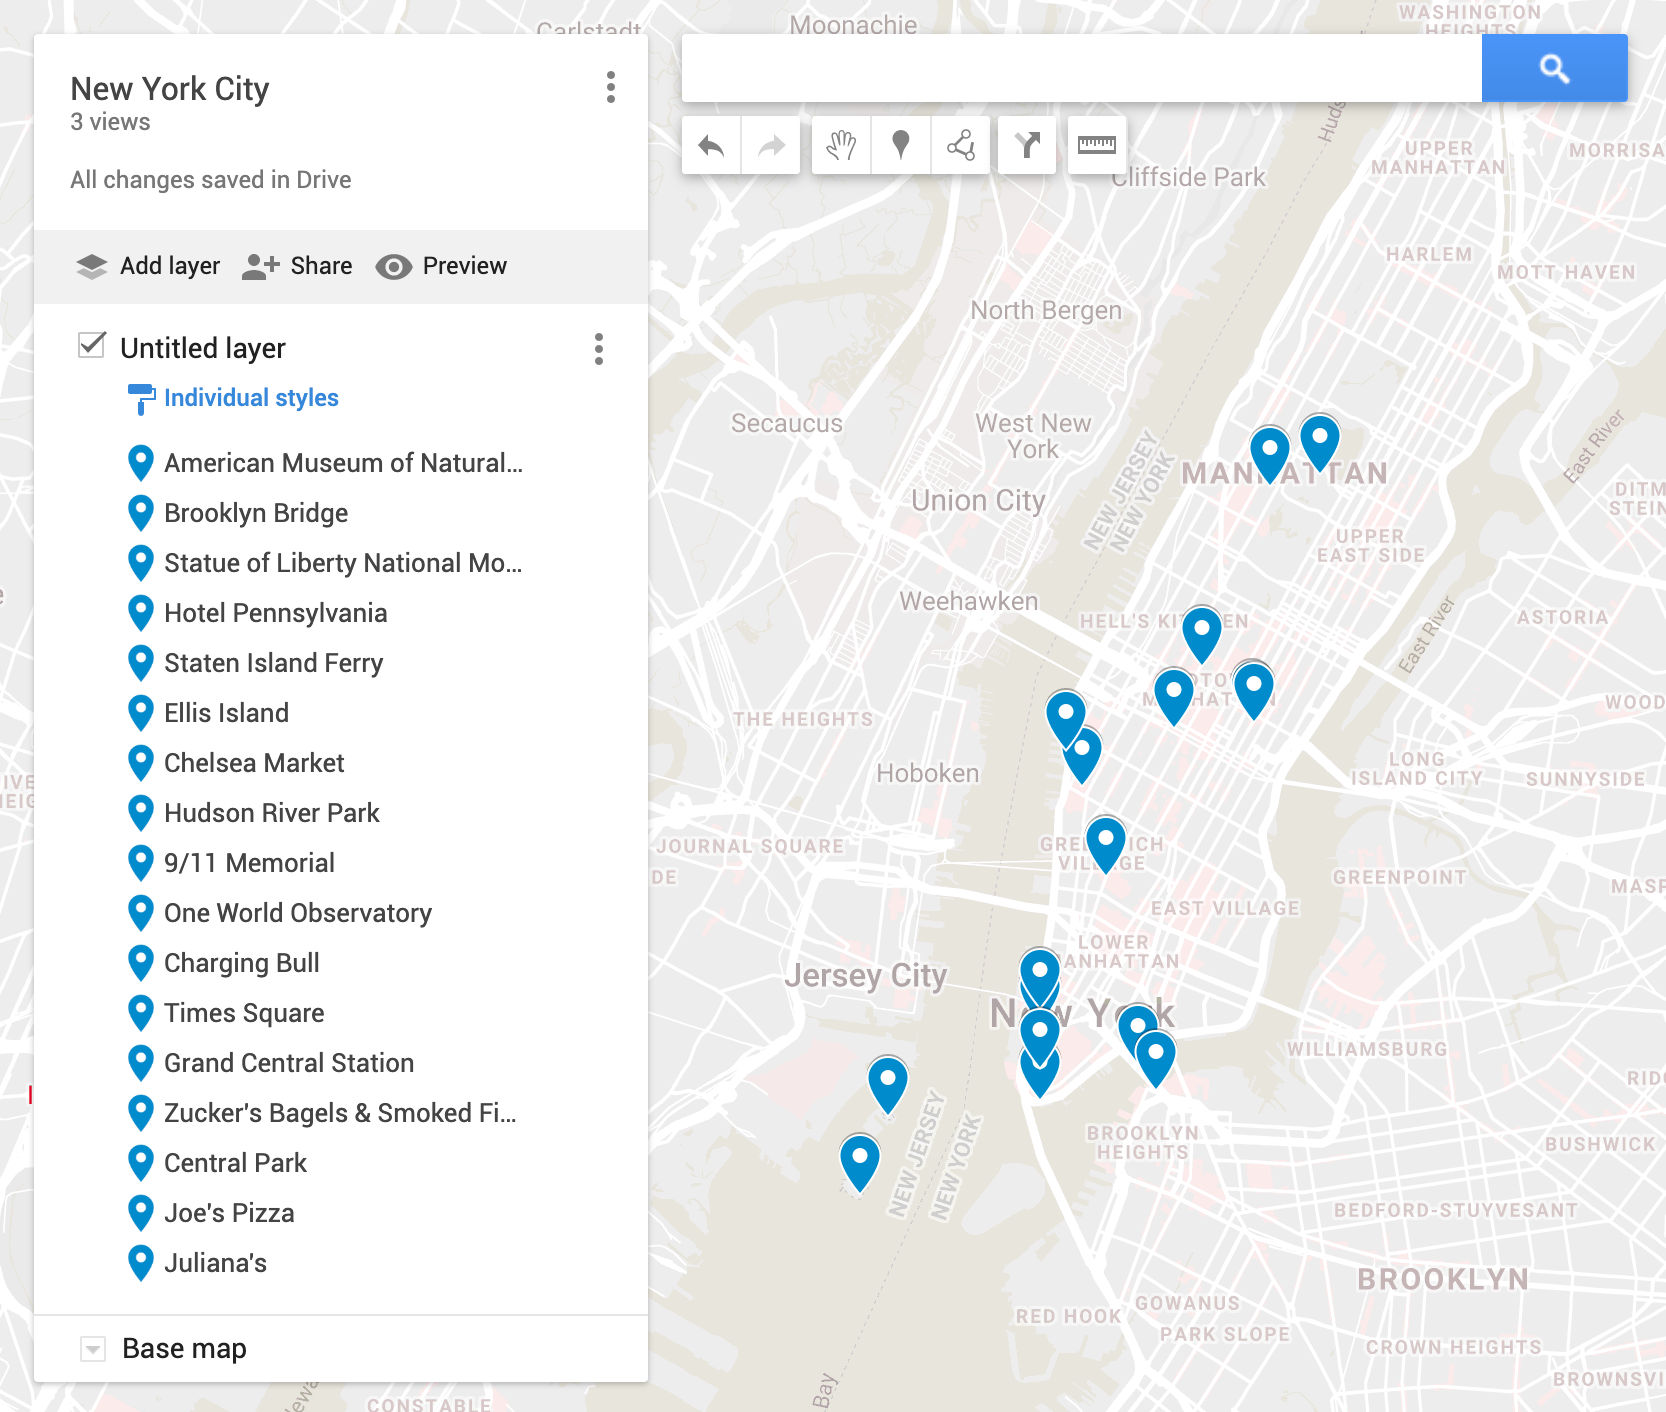
8. To make it easier to see the location, change the color and details of the base map.
9. To share or embed a map, click the hamburger menu icon and then “Share or embed map”
If you want to make your location markers stand out more, you can change their color and icon, e.g. from default blue to red.

To show routes, click the “Add directions button and then add an address for each location.

Or, click on the Draw a Line button and choose “Add driving route”.

You can then drag the blue route line to follow the paths or roads you want.

To add a picture to each location, click the camera icon. You can upload or add one or more pictures by URL from Google Images.

No matter what you eat or how much you exercise, the formula for losing weight is very simple. Burn more calories per day than you consume.
You can calculate how many calories you burn per day based on different types of activities.
https://www.calculator.net/calorie-calculator.html
To be safe, you can calculate your basal metabolic rate (BMR) which is how many calories you burn doing absolutely nothing and just doing the bare minimum to live (breathe, etc).
For me, my BMR is 1818 calories / day.
You can find nutrition facts for a wide variety of food at https://www.nutritionix.com
Total daily calorie consumption: 818
BMR: 1818
Net daily calorie gain/loss: 818-1818 = -1000 calories (-1/3 lb)