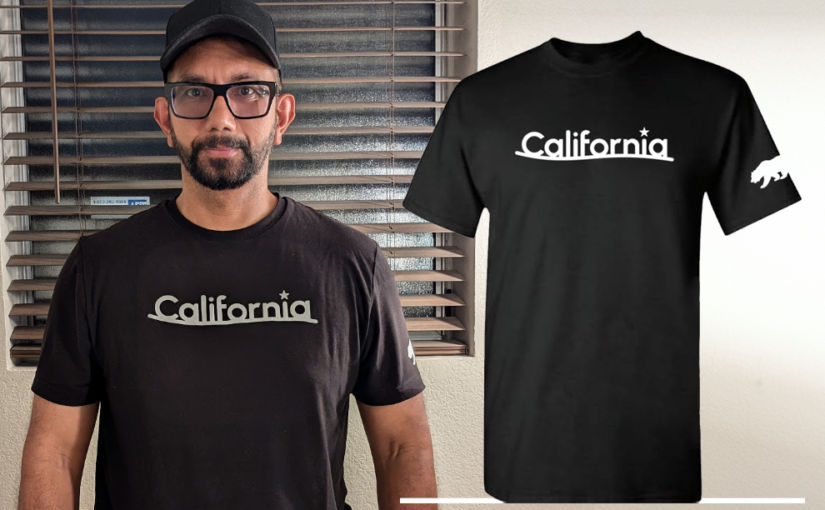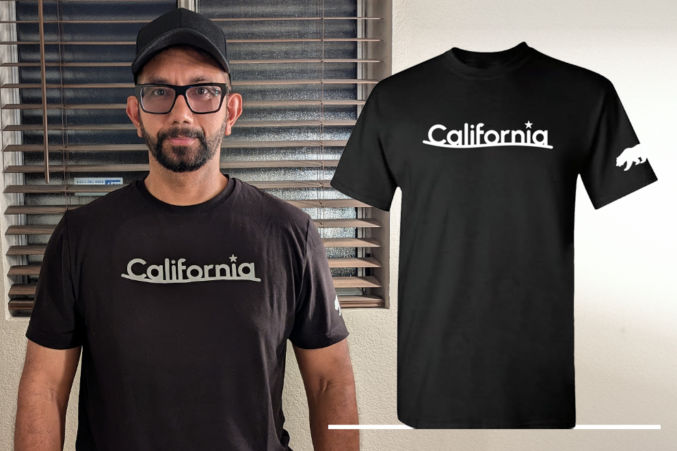
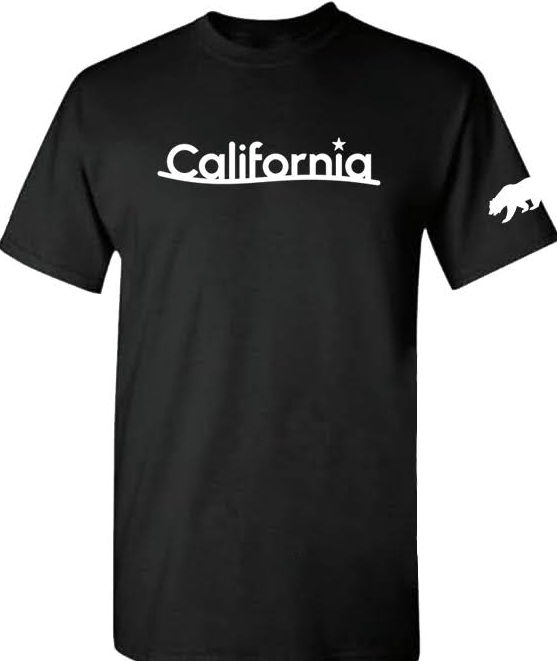
This tutorial will teach you how to create a custom-designed shirt at home using heat transfer vinyl. We will make a shirt that looks like this.
Equipment
I will be using the following equipment.
- Cricut Explore Air 2
- 12″-wide heat transfer vinyl (HTV)
- Teflon sheet
- 10″x10″ portable heat press machine
- Assortment of vinyl weeding tools
- Cricut® Heat-Resistant Tape (cheaper generic options on Amazon)
- Bath towel
- 65lb white cardstock
- Black t-shirt
- Cricut Design Space (software)
- Cricut® Lightgrip Adhesive Cutting Mat
- Transfer Tape for Vinyl 12″ X 20 Ft
Instructions
Find an image (SVG)
First, you need to design your shirt by finding some images. You want the images to be SVGs so that you can scale the image without losing quality. To make the shirt shown above, I searched Google for “visit California logo svg”.
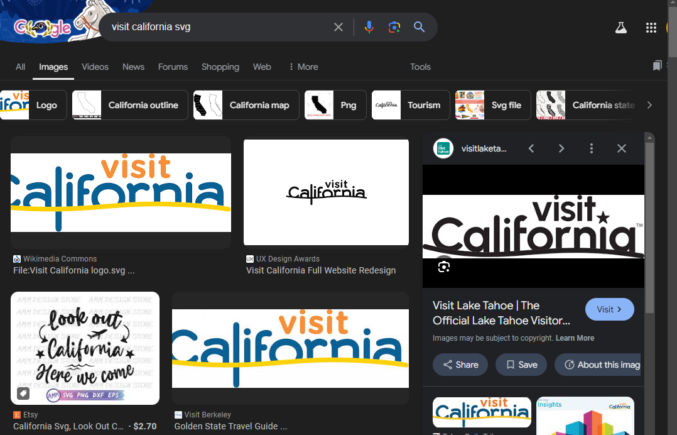
I found a “California” logo that I like, but I needed to edit it to remove the “visit” part.
I then searched for “california bear svg” and found a bear image that I liked.
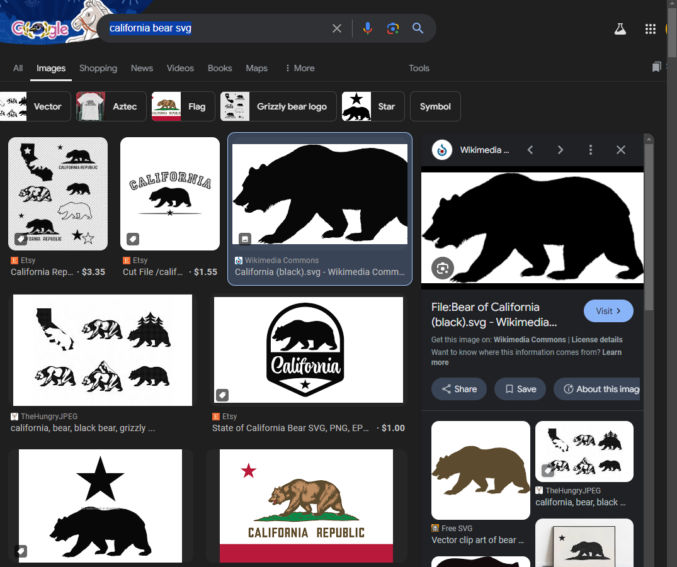
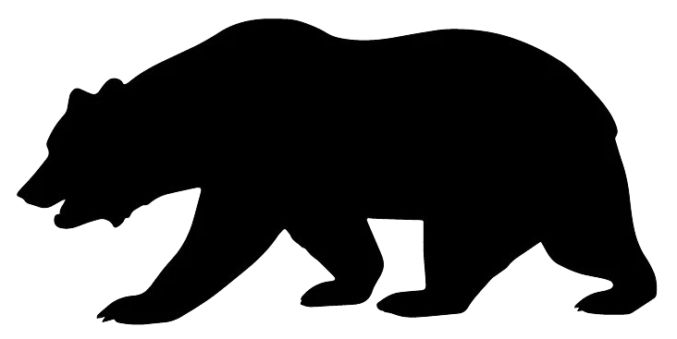
After doing some image editing, I ended up with these 2 images.

Determine printed image dimensions
Lay your shirt down and, using a tape measure, decide how wide each image will be. For the “California” logo that would go over the chest, I chose 9 inches.
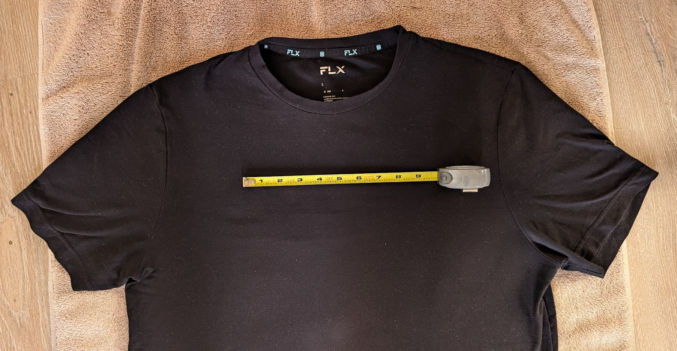
For the bear image that would go on the sleeve, I chose 5 inches.
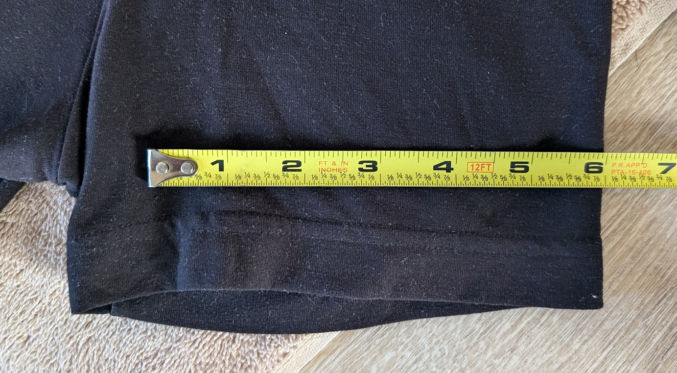
These dimensions are not final. We will preview the design using cardstock (thick paper) first before using vinyl.
Import the images into Cricut Design Space
Download, install, and open Cricut Design Space. Follow the guided setup. Then, click the Canvas tab and then the “Upload” icon to upload each image. For the “California” text, I uploaded a large PNG on a transparent background and then set the width to 9 inches.
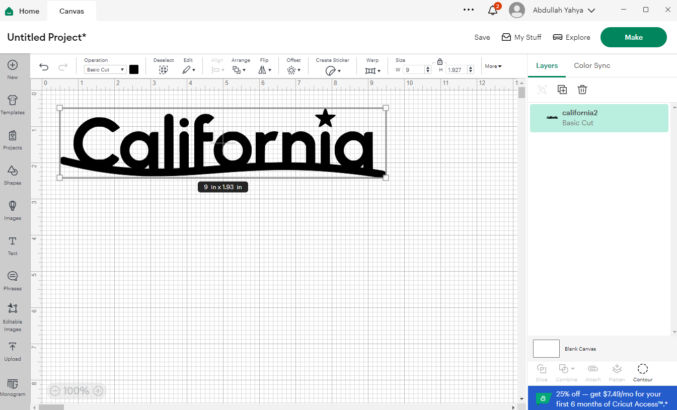
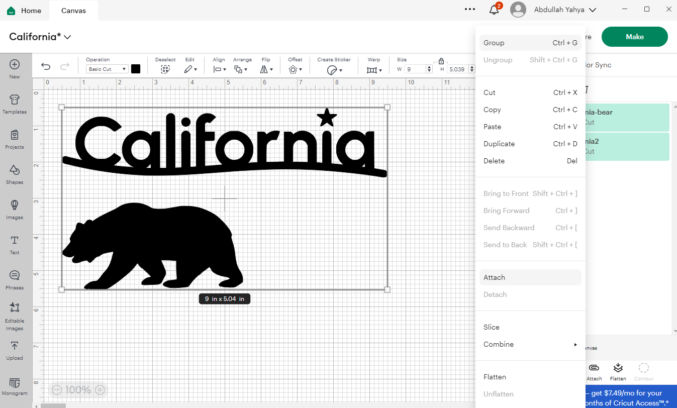
Do the same for the bear image. Since the Cricut Explore 2 machine can accommodate vinyl up to 12 inches wide and my video is 12 inches wide, I positioned the bear image below the “California” text.
After setting the width of the bear to 5 inches. I selected both image layers in the right column and chose “Attach” so that I could cut both images at the same time.
Cut images from the cardstock
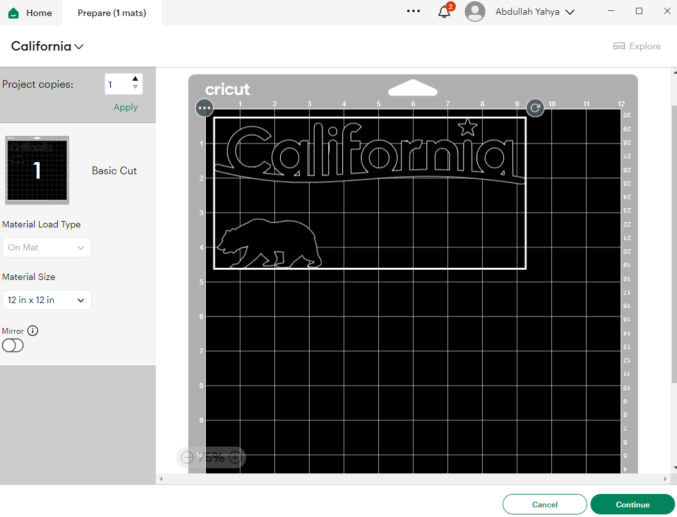
In Cricut Design Space, click the green “Make” button. You will see a preview of the images on the mat.
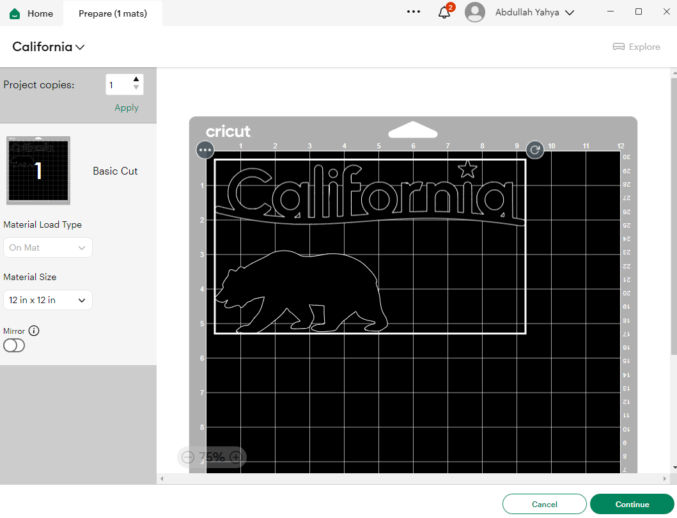
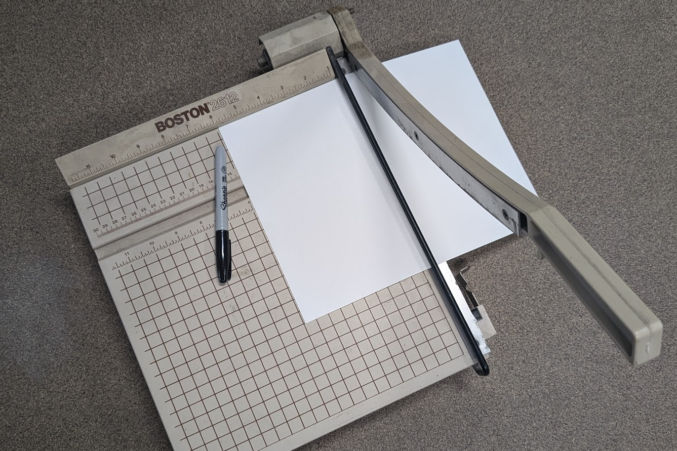
You will see a preview of the design on the board. To make weeding easier, cut a sheet of 65lb cardstock large enough to accommodate the design. In this case, I round up to the nearest inch, so my cardstock will be 10″ x 6″.
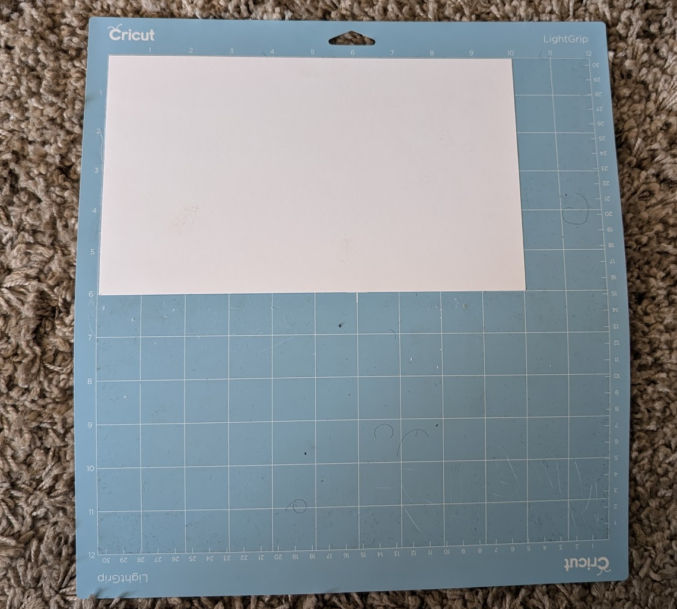
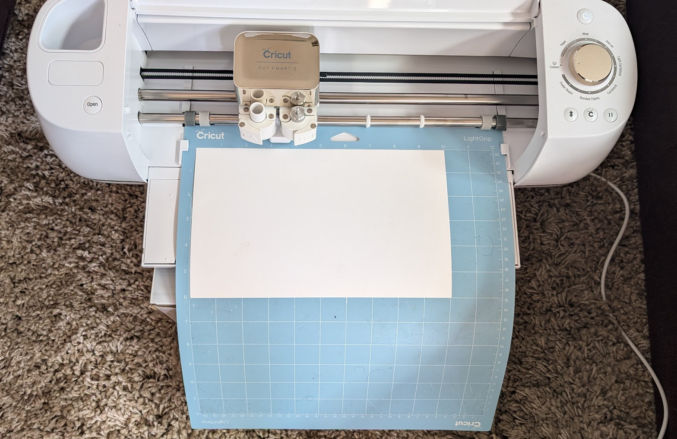
Then, place the cardstock on the lightgrip mat as shown in the preview above.
Click “Continue”. Connect the Cricut machine to your computer via bluetooth or USB. Once Cricut Design Space detects your machine, you will follow a 3-step process to cut the images on your chosen material.
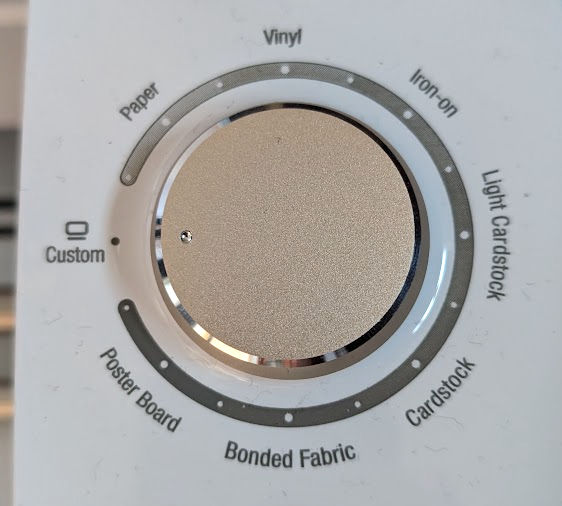
Make sure the dial on the machine is set to “Custom” because we will choose the material type in Cricut Design Space.
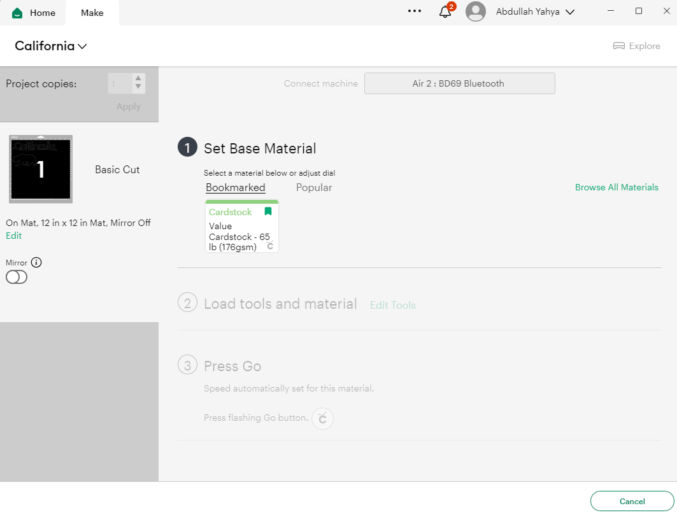
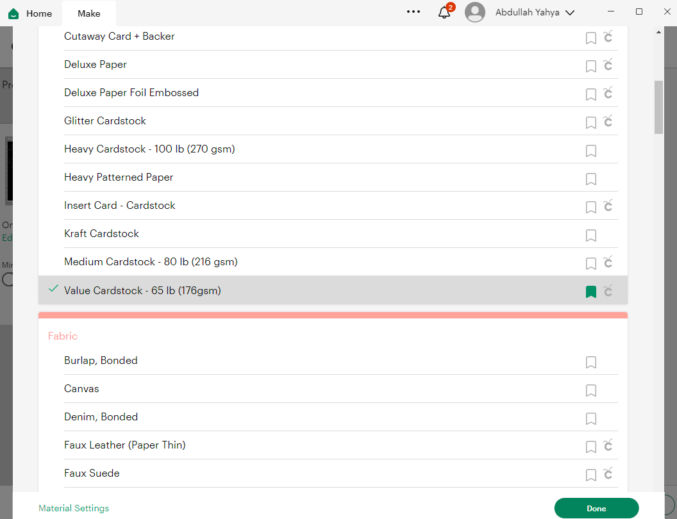
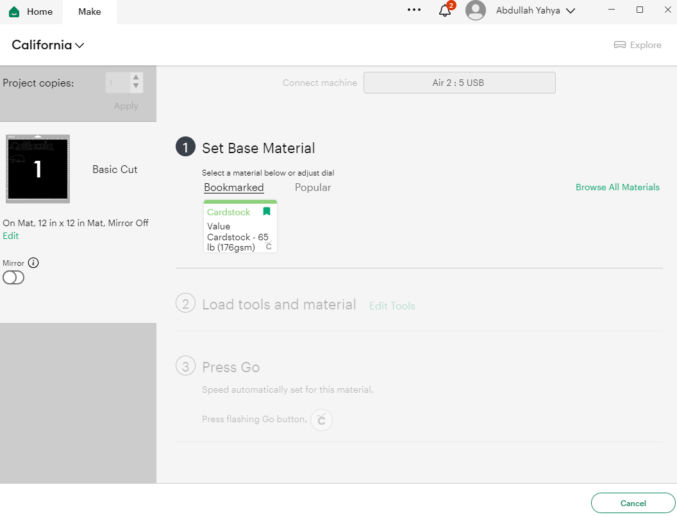
For step 1 (Set Base Material), click “Browse All Materials” and choose “Value Cardstock – 65 lb (176gsm)” since that’s the material we’re going to use first.
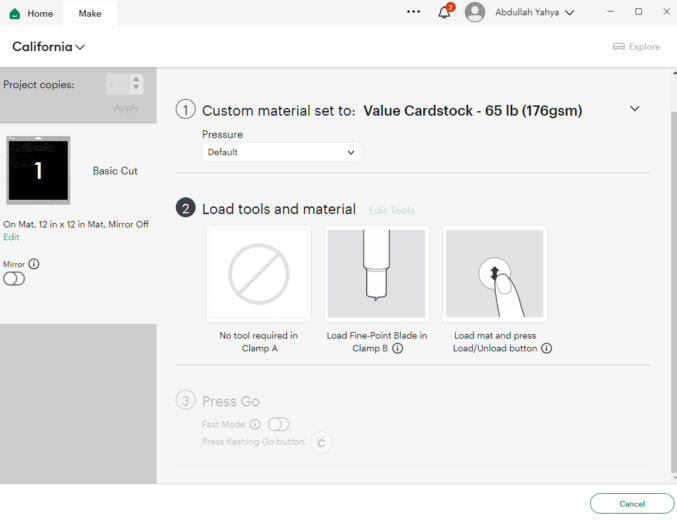
For step 2 (Load tools and material), make sure the correct blade is loaded in the correct clamp, load the material into the machine, and then press the flashing Load/Unload button on the machine.
When you press the “Load/Unload” button, the machine will grab and pull the mat a little to prepare it for cutting.
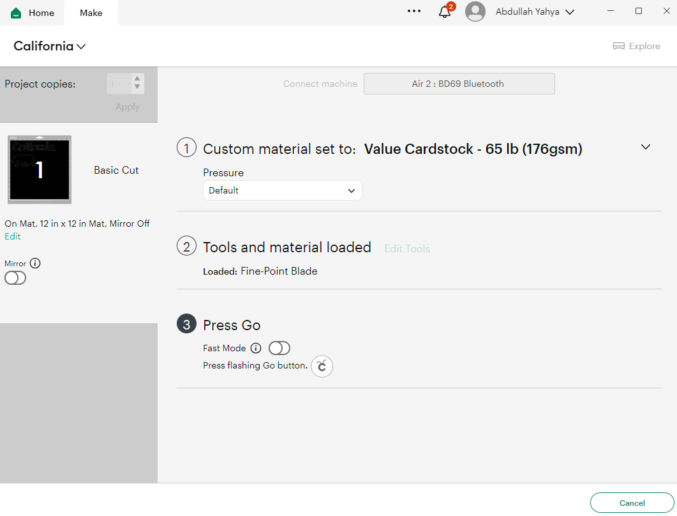
For step 3 (Press Go), just press the flashing “Go” button on the machine. Since we are printing on cardstock, where both sides of the cardstock are the same, we don’t need to toggle the “Mirror” option.
Once cutting is complete, click the “Load/Unload” button to unload the mat.
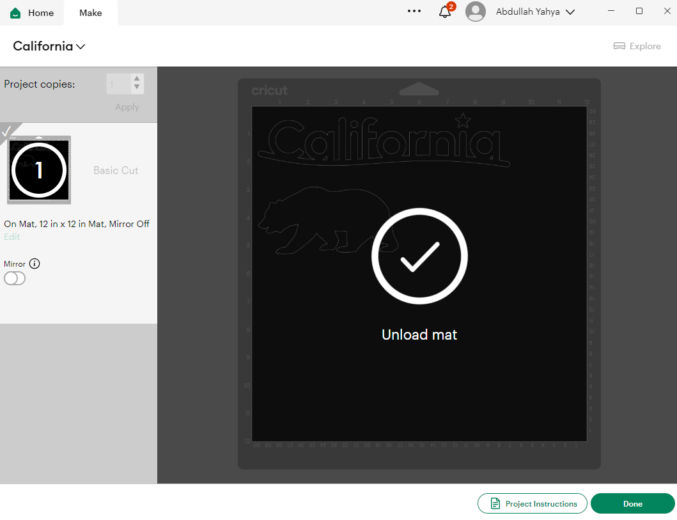
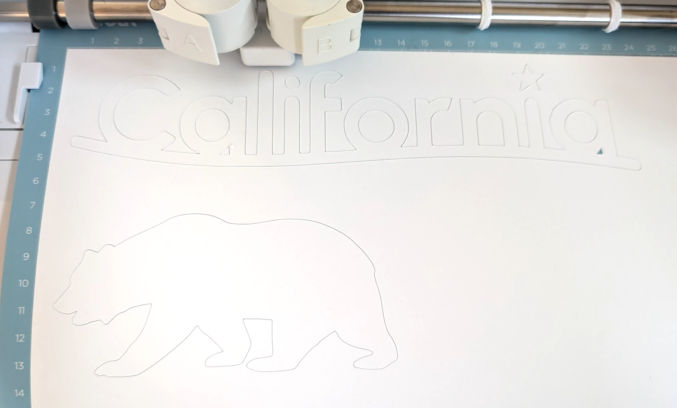
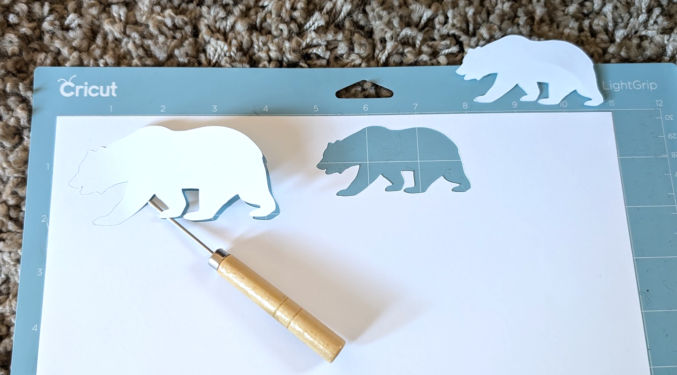
Notice the outline in the cardstock showing where the cardstock was cut.
Remove the cut images from the cardstock
Remove the cardstock from the mat and separate the cut images from the rest of the cardstock. Use a weeding tool, if needed.
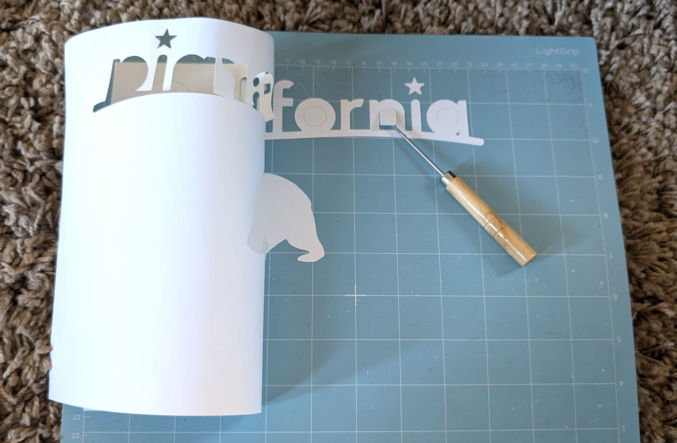
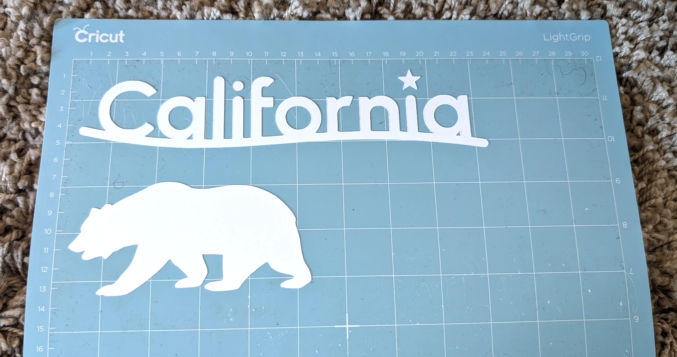
You should be left with this.
Preview cut images on a shirt
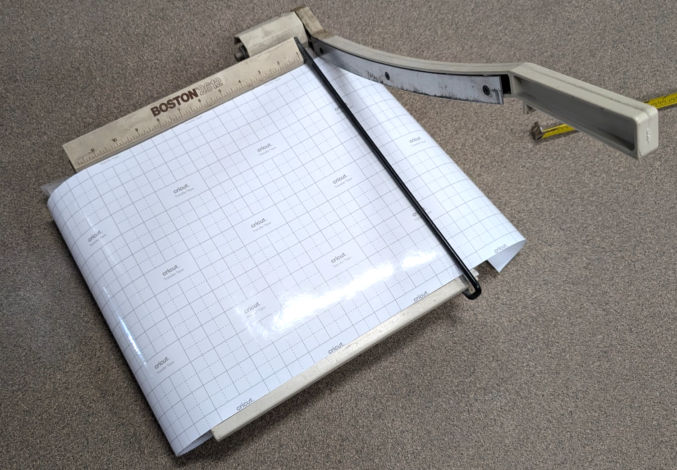
We’ll want to preview how the cut images appear on our shirt. To do this, cut the transfer tape in the size as the cardstock – in this case, 10″ x 6″. Cut straight lines as that will make it easier to center and position the design on the shirt.
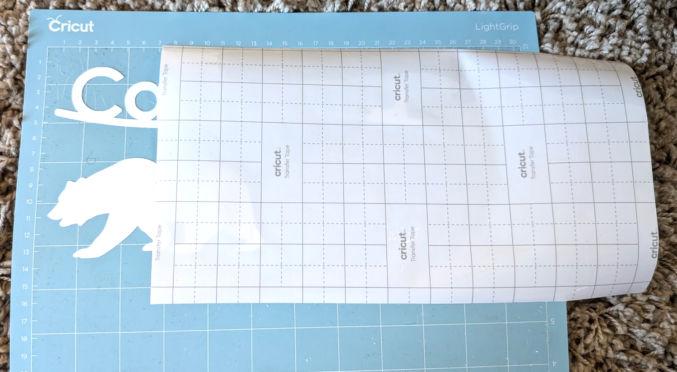
Remove the transfer tape from its backing.
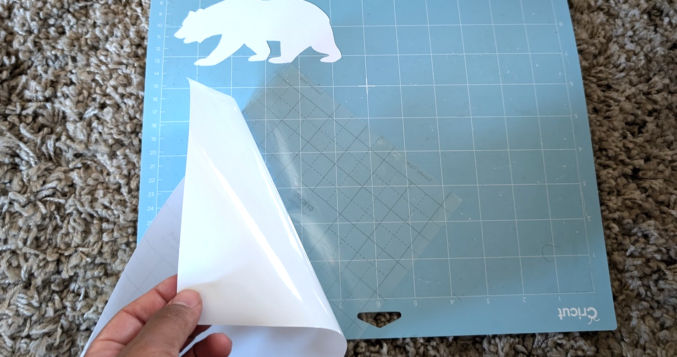
Place the transfer tape over the cut images and press it on the cut images.
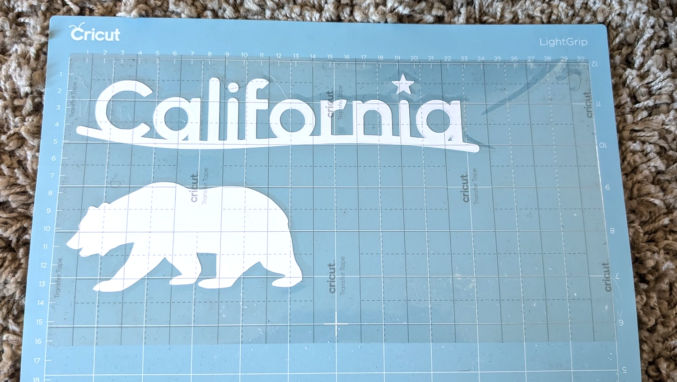
Remove the transfer tape using a weeding tool to keep the cut images stuck to the tape.
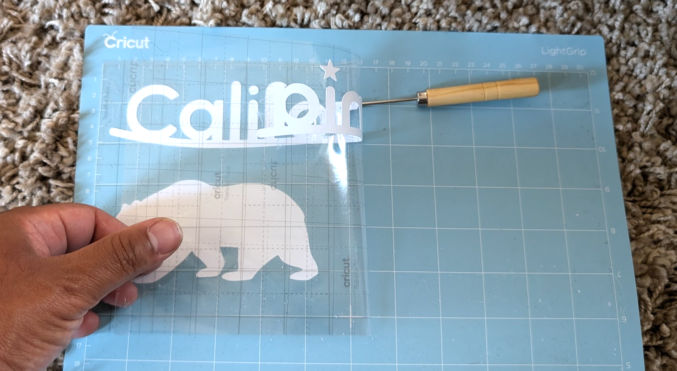
Cut the transfer tape around the individual images.
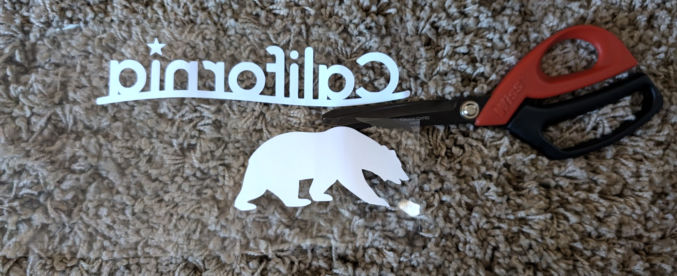
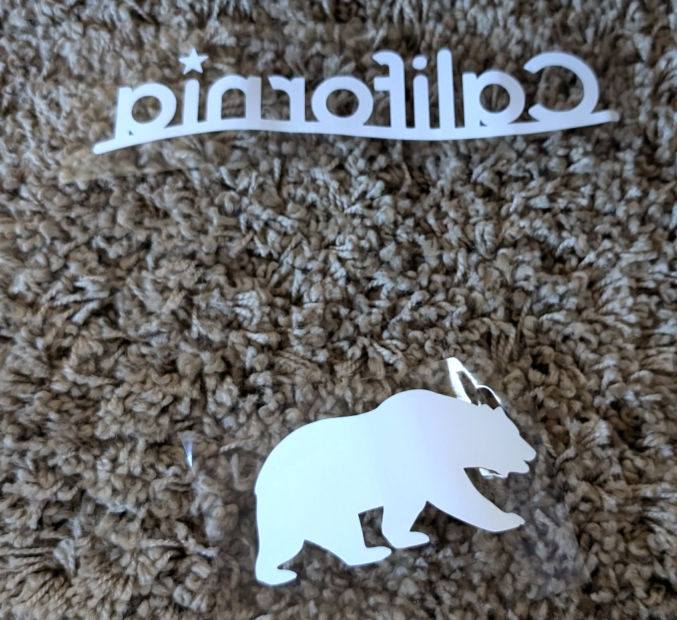
Wear your shirt and place the cut images on the shirt where you want them to go.
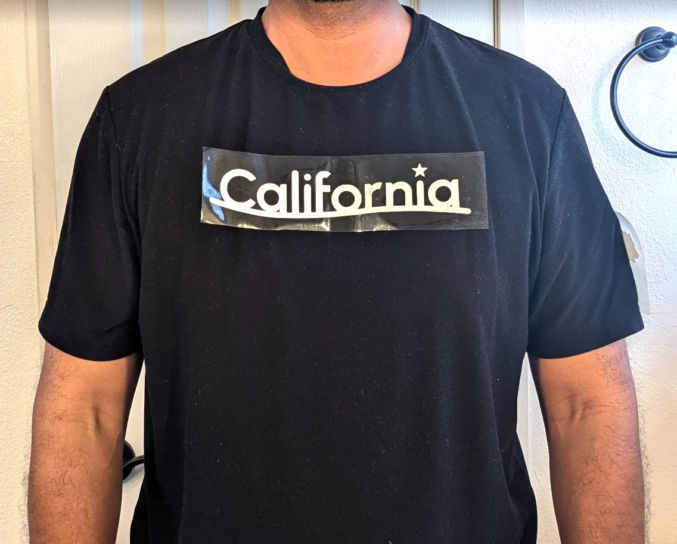
The size of the “California” text looks good to me.
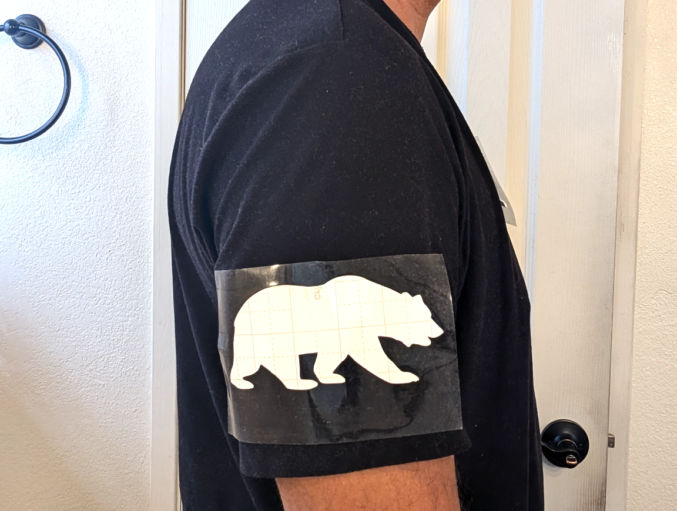
The size of the bear, on the other hand, looks way too big.
Iterate
Since the bear looks too big, I’ll reduce the size from 5″ wide to 4″ and 3″, repeat some of the previous steps, and see how that looks.
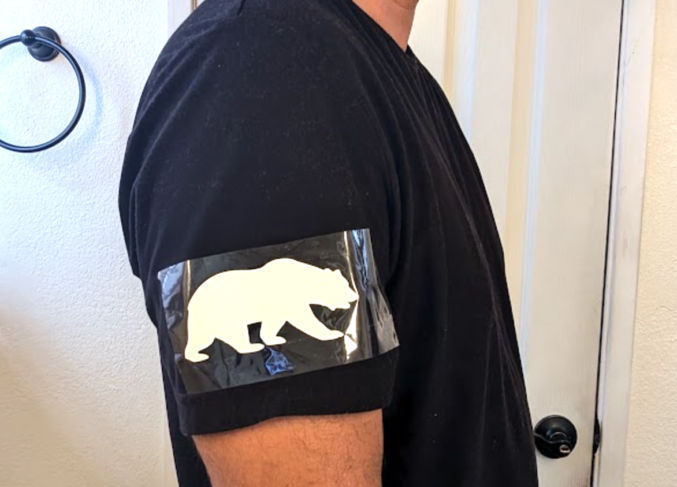
This is how the 4″-wide bear looks on the sleeve of the shirt. It still looks too big.
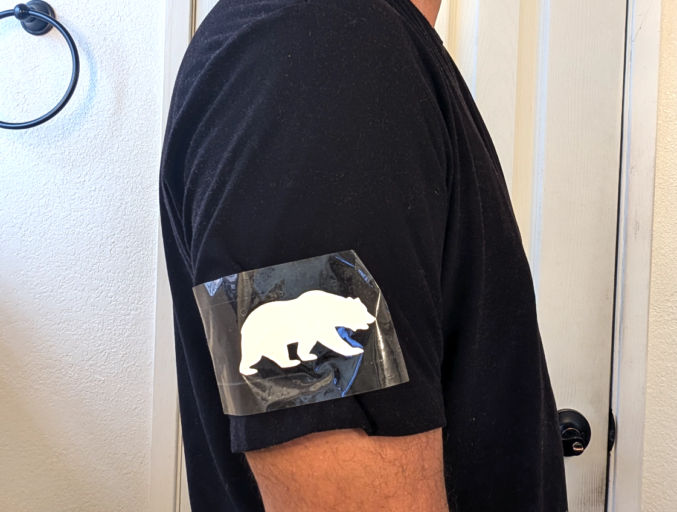
This is how the 3″-wide bear looks. I think that’s a good size.
Now that we have our images and final dimensions, we’re ready to cut the images on heat-transfer vinyl (HTV) and iron them on our shirt.
Prepare images
Follow the same steps as above except instead of a 4″-wide bear, make it 3″ wide.
Trim heat-transfer vinyl
The vinyl I bought is an 8-foot long roll that is 12 inches wide. Since our mat is 12″ x 12″, I cut it to make it easier to work with.
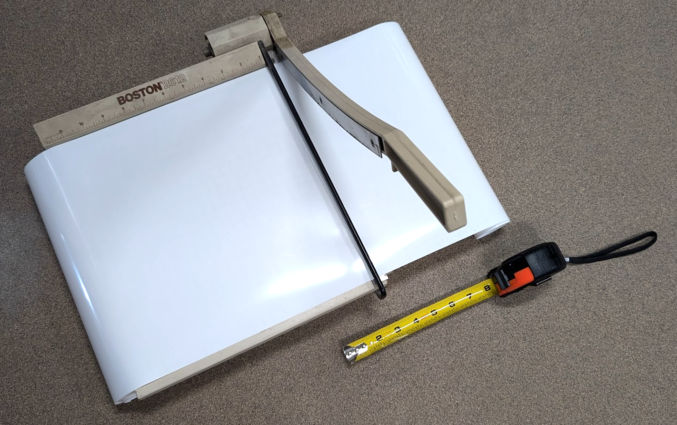
I actually have some leftover vinyl from a previous project, so I’m going to use that.
Cut images from the vinyl
In Cricut Design Space, click “Make” and then “Continue”.
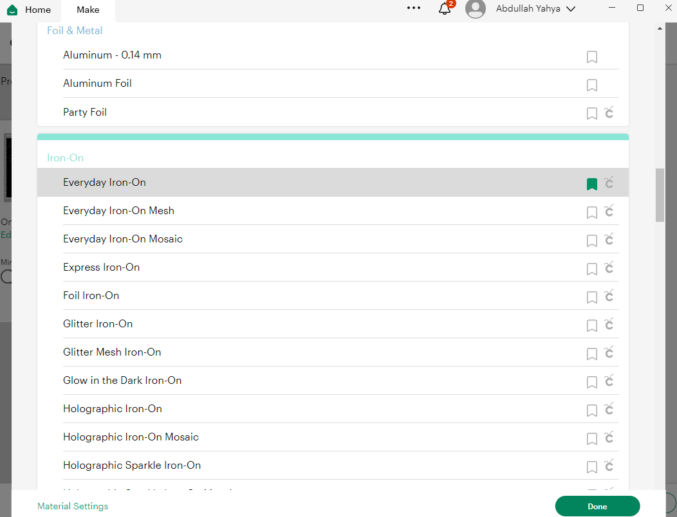
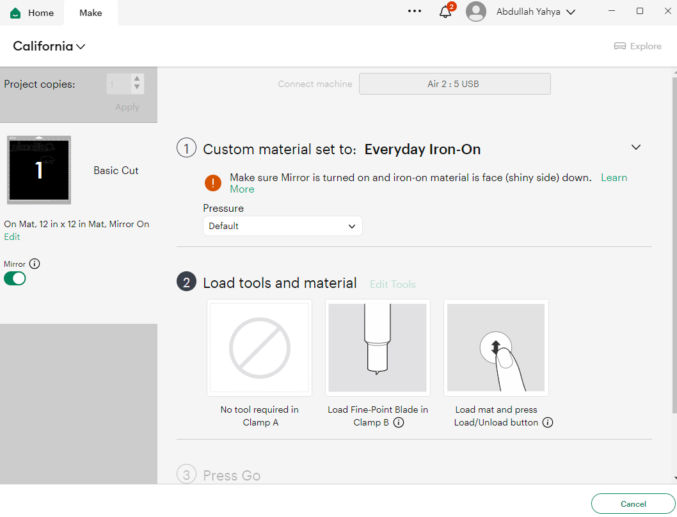
For step 1 (Set Base Material), click “Browse All Materials” and choose “Everyday Iron-on”
For step 2, you’ll notice 2 things:
- For iron-ons, the “mirror” must be turned on. This flips the images so that when they are ironed on, they appear correctly. Cricut Design Space automatically toggles this on for you.
- You need to place the iron-on material face (shiny side) down on the mat.
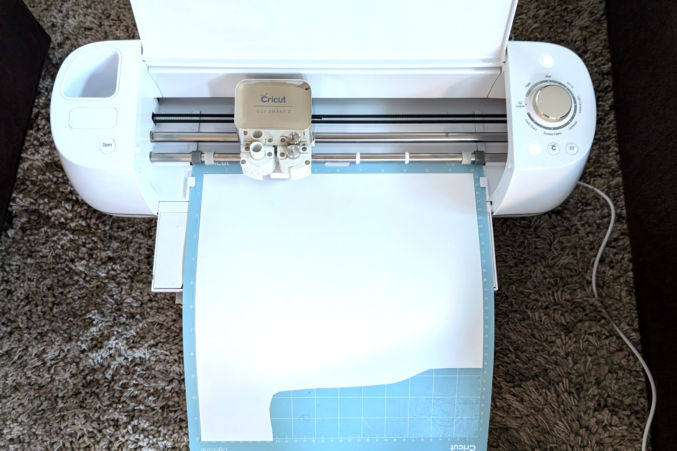
For step 3 (Press Go), go ahead and press go to start cutting.
Trim heat-transfer vinyl
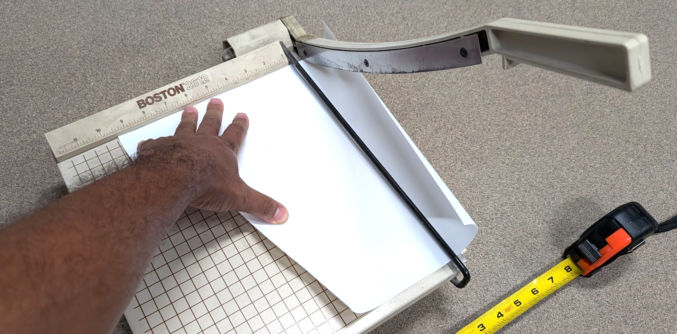
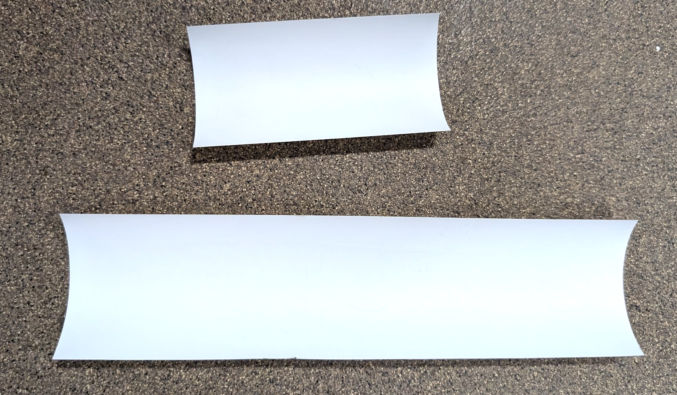
Remove the vinyl from the mat and trim away material from the designs. To make it easier to position and align the designs on a shirt, I like to cut straight lines around the designs so I end up with perfect rectangles.
Remove the dull side of the vinyl
Use a weeder tool, if necessary.
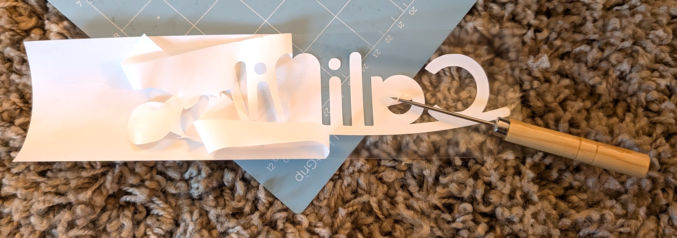
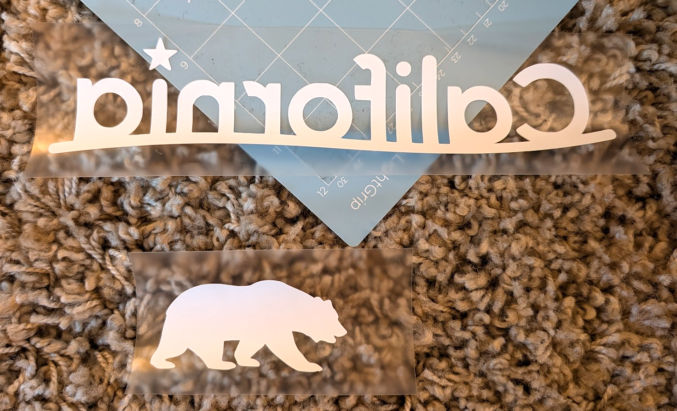
You should be left with your designs on a transparent liner.
Determine design placement on shirt
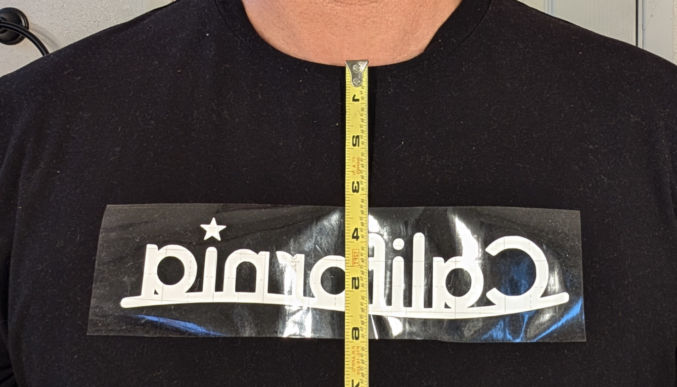
Measure where you want the designs to be on the shirt. I’m going to position the top part of the “California” text to be about 3.75″ from the top as shown below.
Turn on heat press
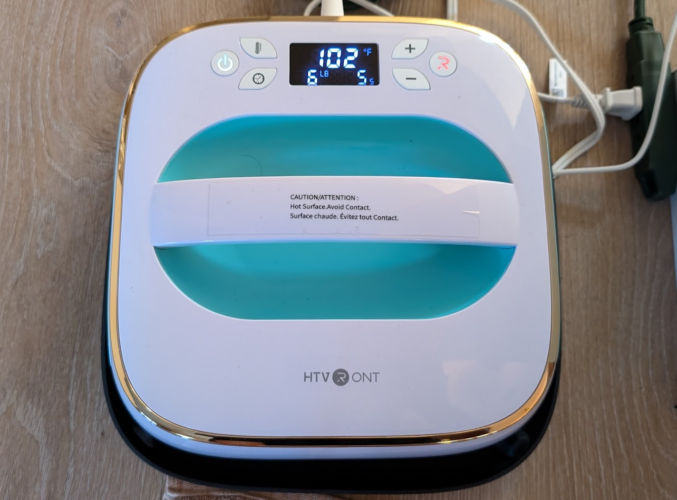
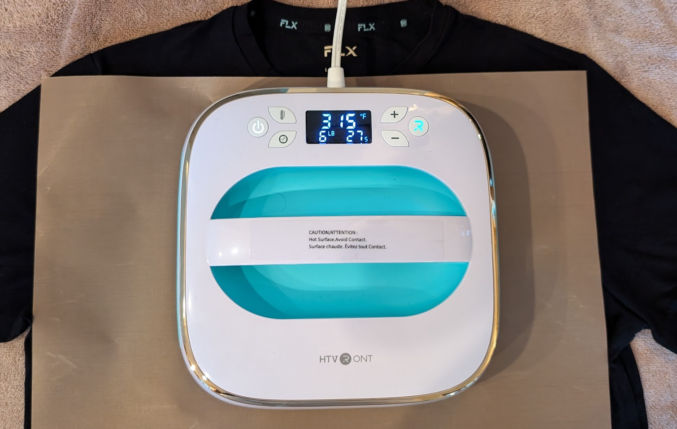
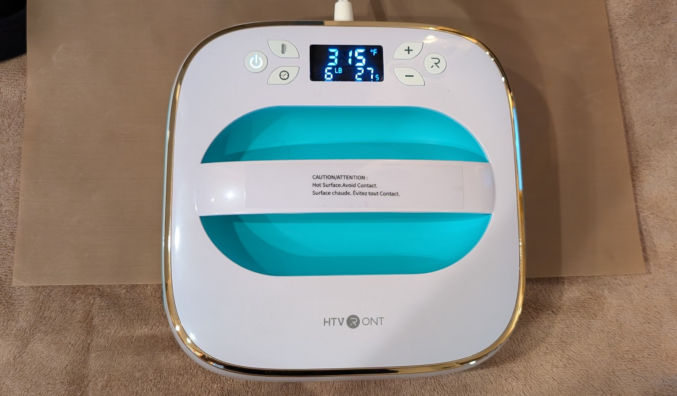
Turn your heat press on and set the target temperature to 315 degrees Fahrenheit. Set the timer to 5 seconds.
Press the designs on the shirt
Put the shirt on a bath towel on a hard surface like the floor.
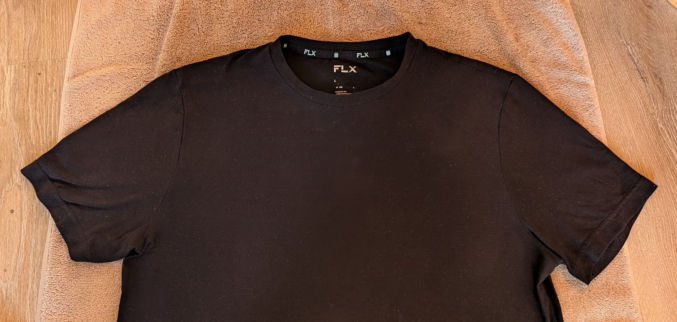
When the heat press is ready, place it on the shirt for 5 seconds where the design will go. This will remove wrinkles from the shirt.
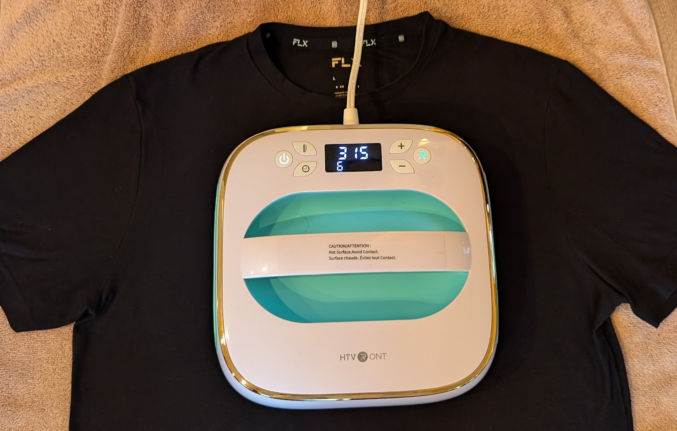
Set the heat press timer to 30 seconds
Place the design on the shirt exactly where you want it to go. Use this measurement guide to make it easy to center designs.
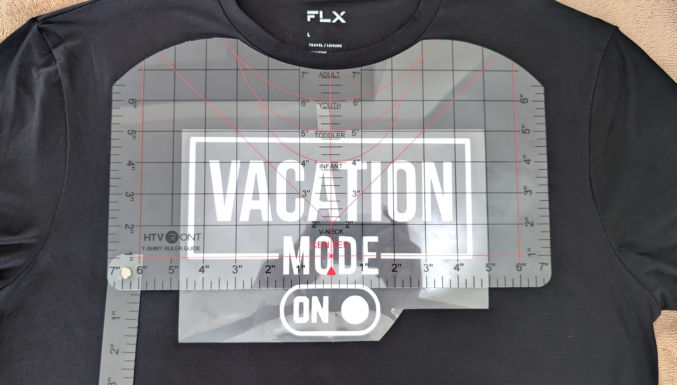
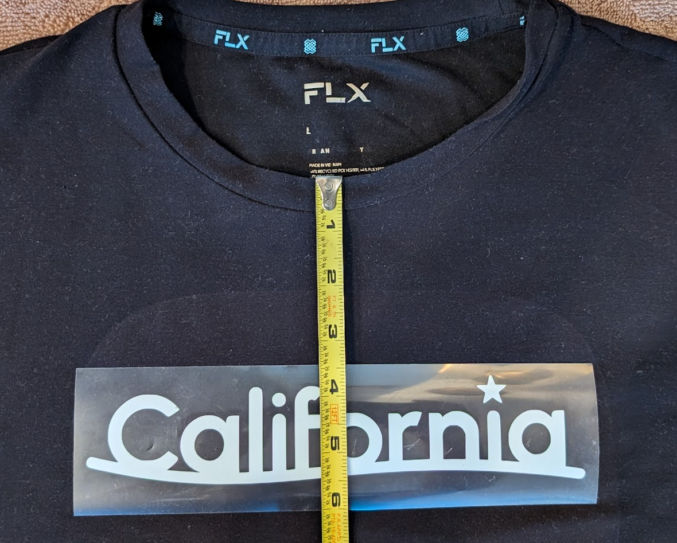
Optionally, secure the design to the shirt using heat transfer tape.
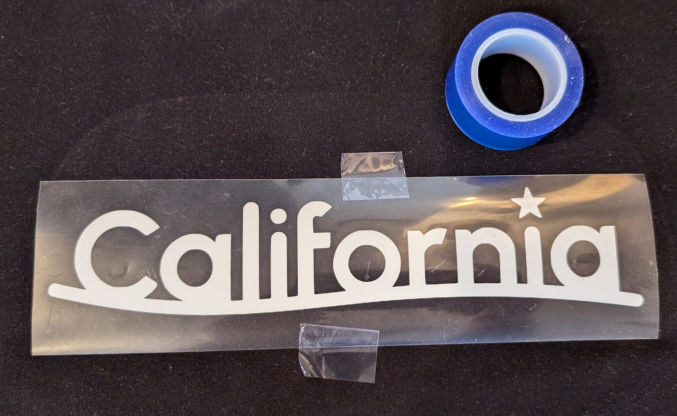
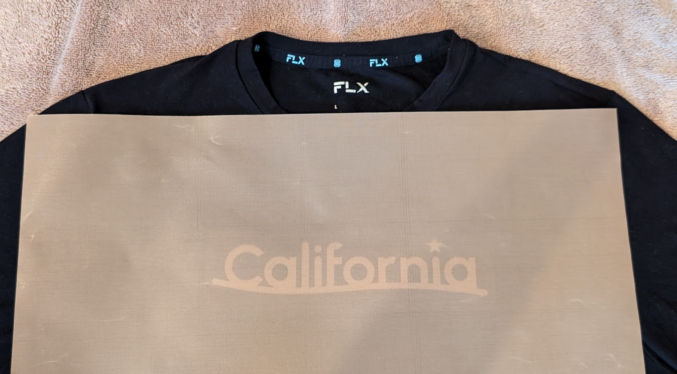
Place a sheet of teflon on the design to protect the shirt and the heat press.
Place the heat press on the design until the 30 second timer is up.
Wait one minute. Then, remove the transparent liner from the design. If the design comes off the shirt, then put the heat press back on and press firmly on it for another 30 seconds.
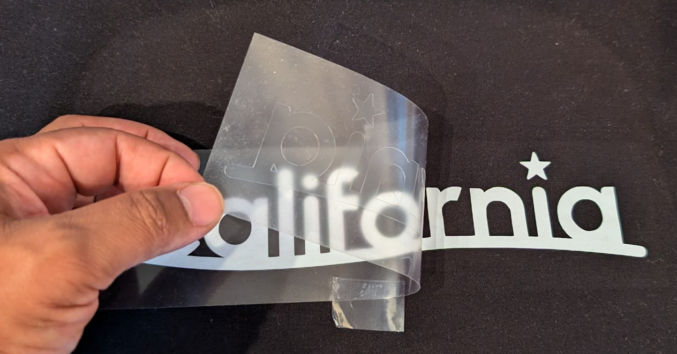
Once the transparent liner is removed, I like to put the teflon sheet over the design and apply the heat press once again for 30 seconds.
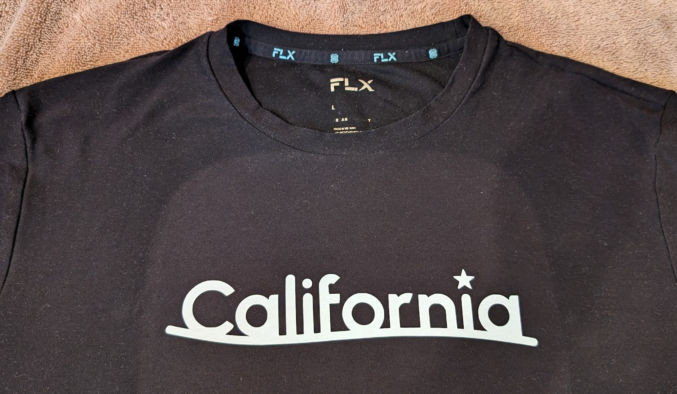
Now, let’s apply the bear to the sleeve. Lay the shirt down such that the seam is at the bottom and in the middle.
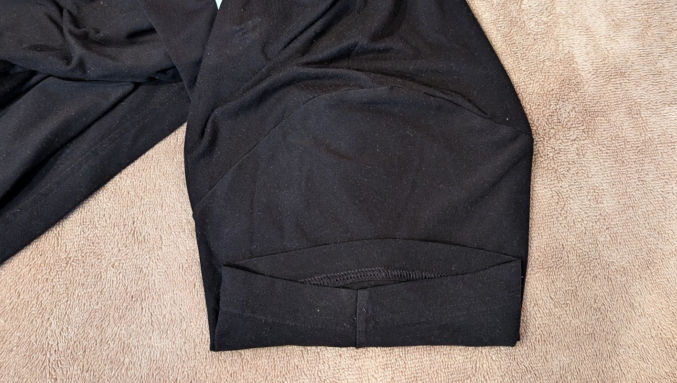
Cut a piece of cardboard and insert it into the sleeve as shown below. We need the surface of the top part of the sleeve to be flat. Otherwise, the design can be ruined due to the bump from the seam.
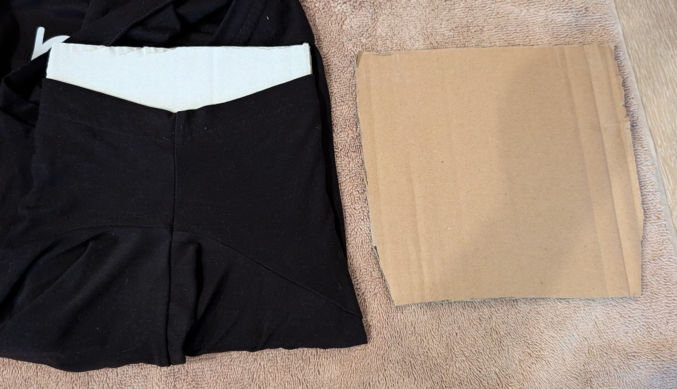
Remove wrinkles from the shirt by place the heat press on it for 5 seconds.
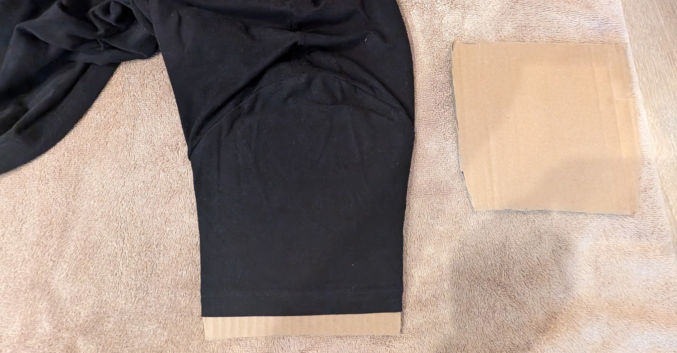
The brown cardboard could cause discoloration in the white design. Cover the cardboard in the sheets of teflon first as shown below.
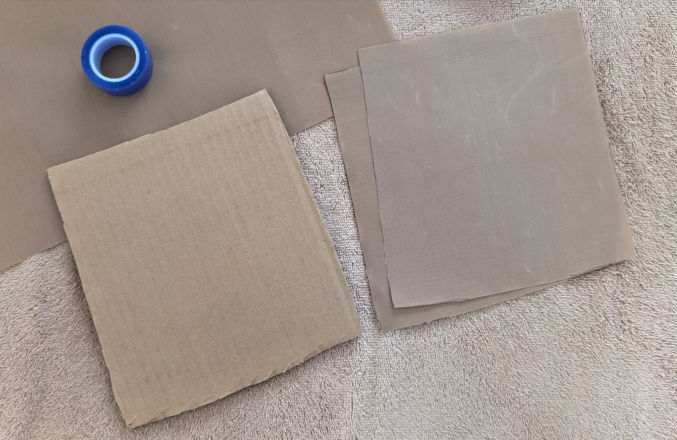
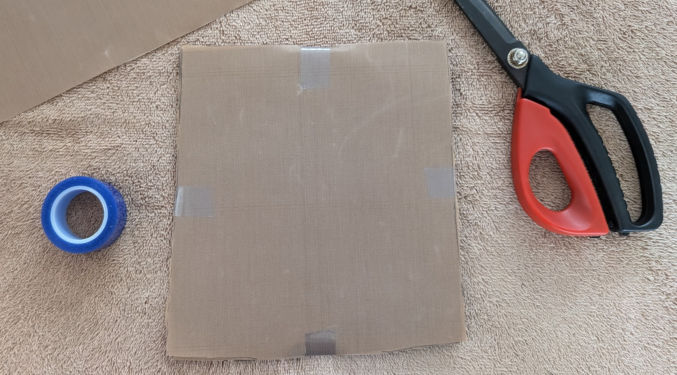
Secure the teflon to the cardboard using heat-resistant tape.
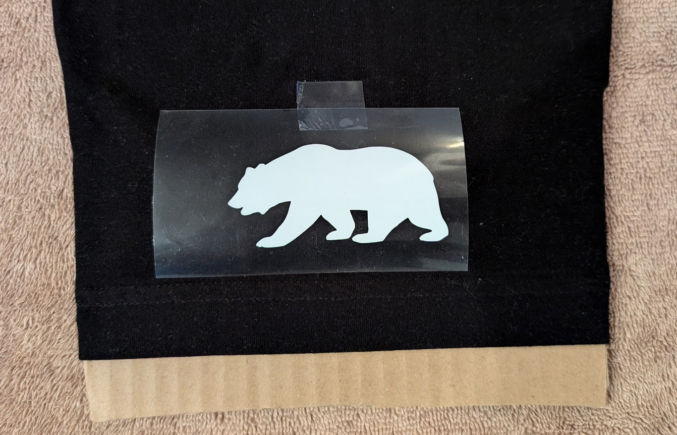
Place the design on the sleeve where you want it.
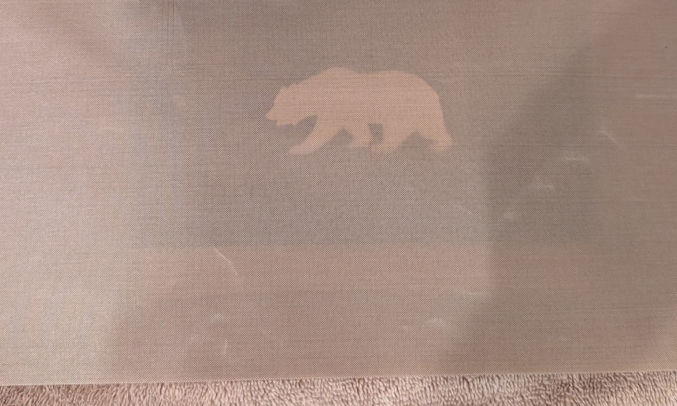
Put a sheet of teflon on the design.
Press the heat press firmly on the design for 30 seconds.
Wait one minute. Remove the transparent liner.
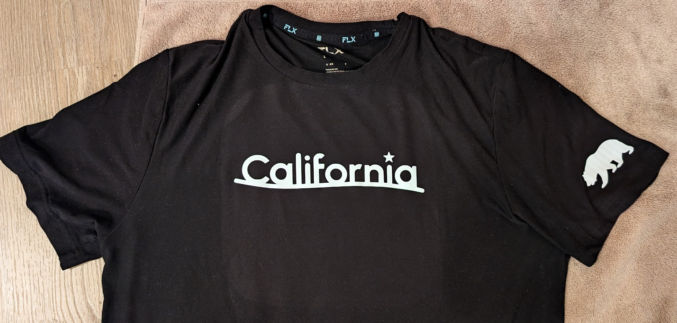
Optionally, place a teflon sheet on the design and apply the heat press again for 30 seconds.
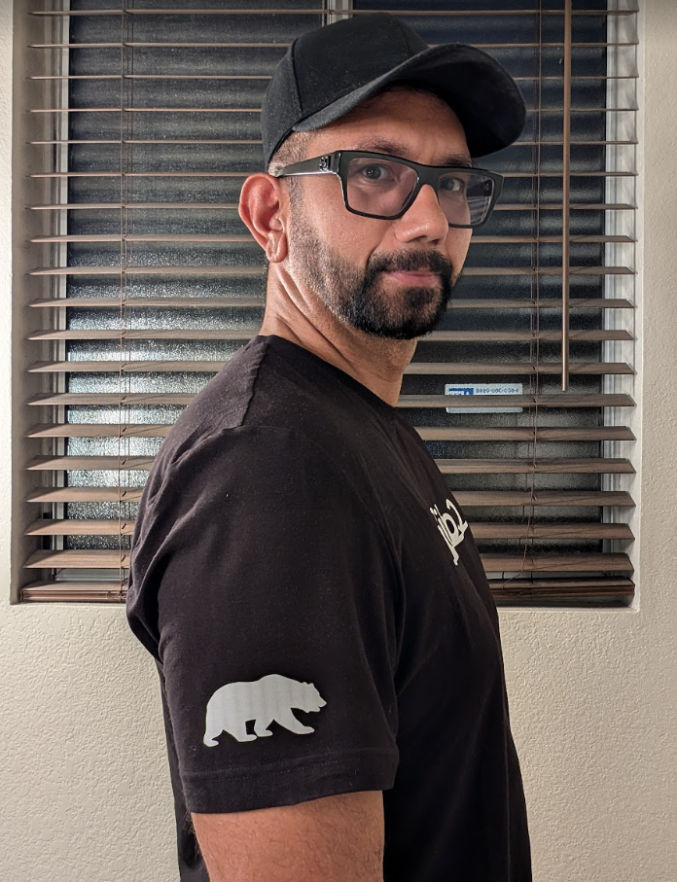
The finished product

Removing vinyl
If you make a mistake, this video will show you how to remove vinyl from your shirt.
Some other shirt designs
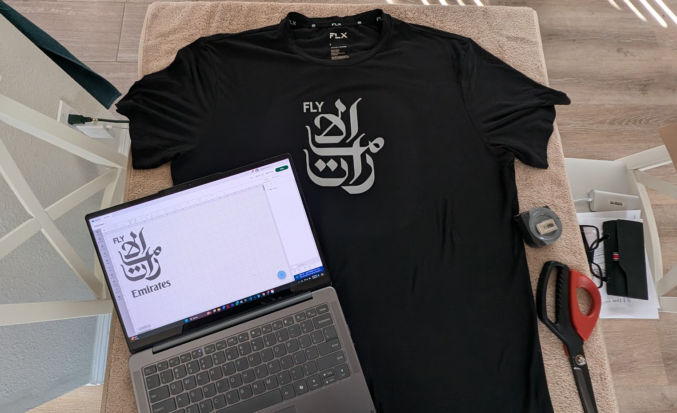
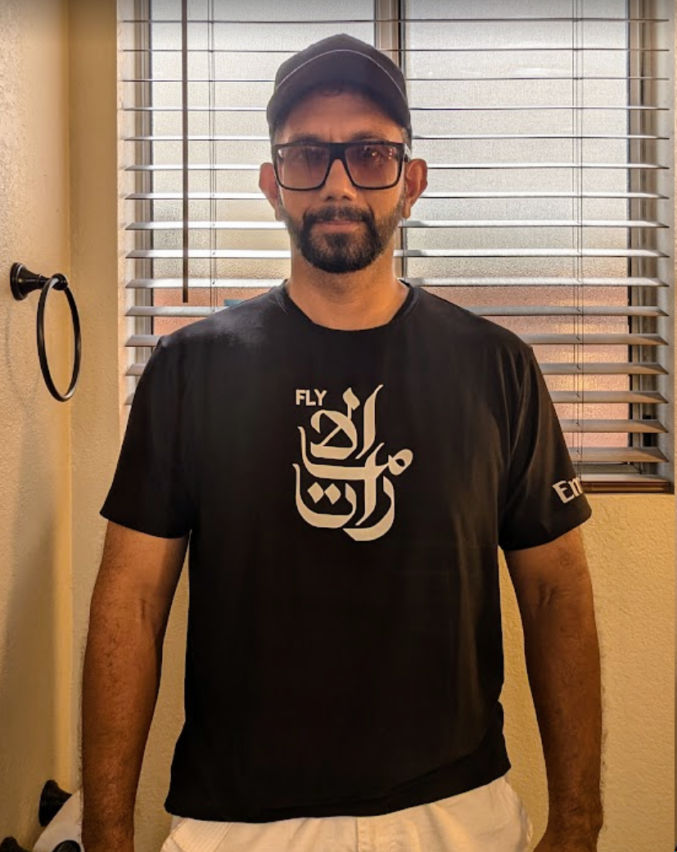
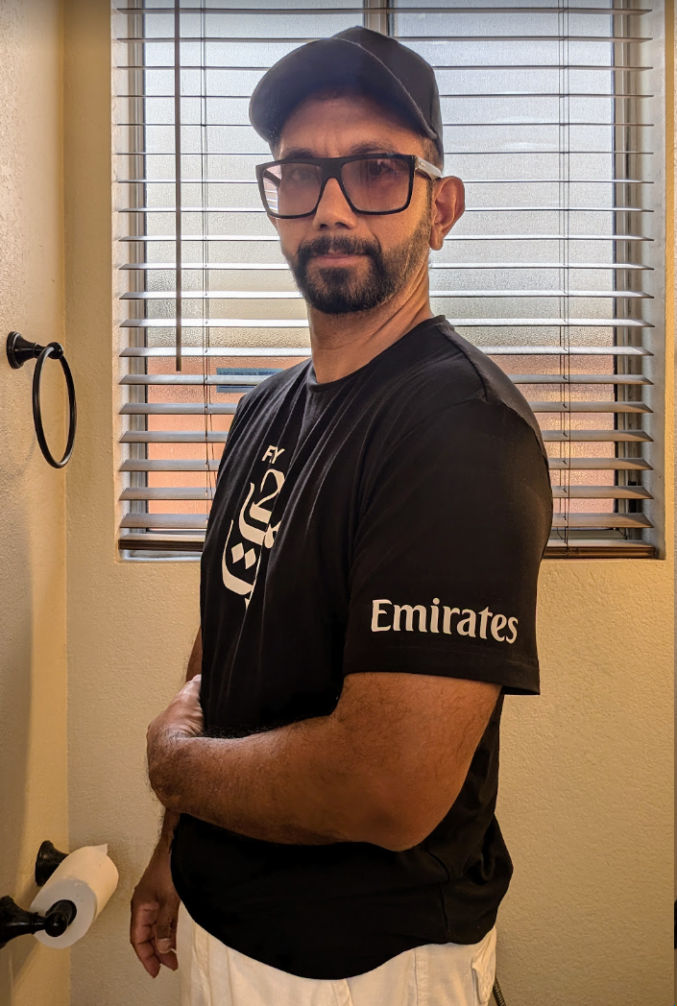
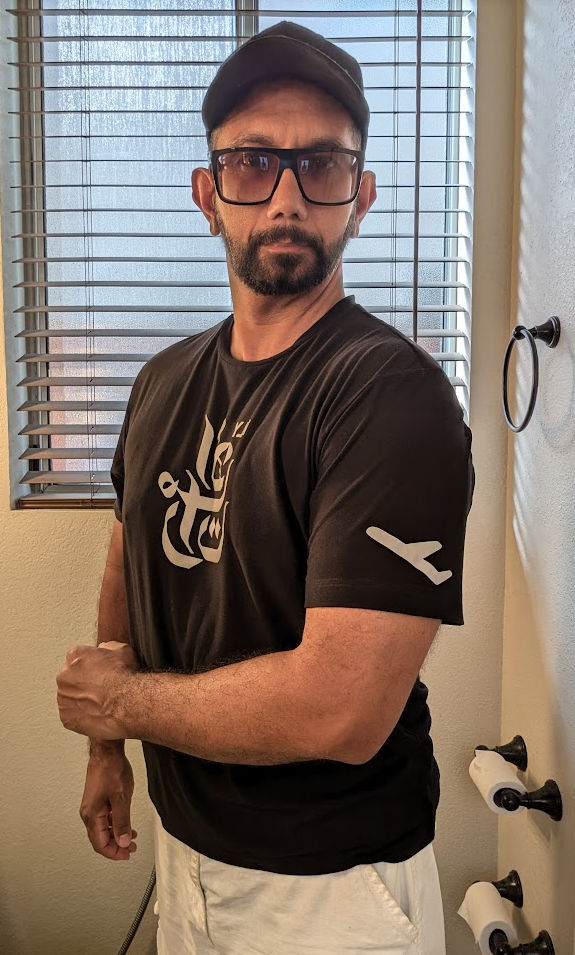
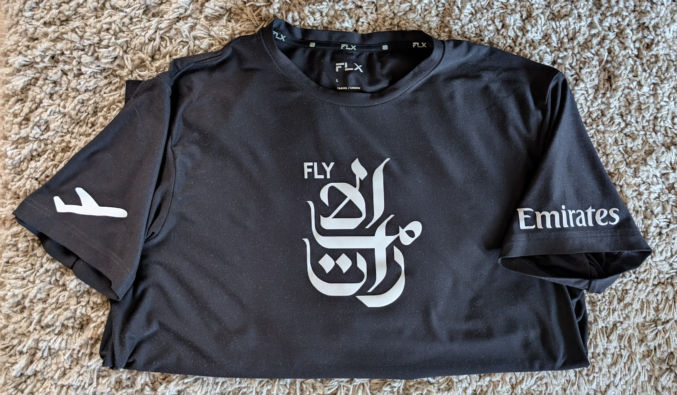
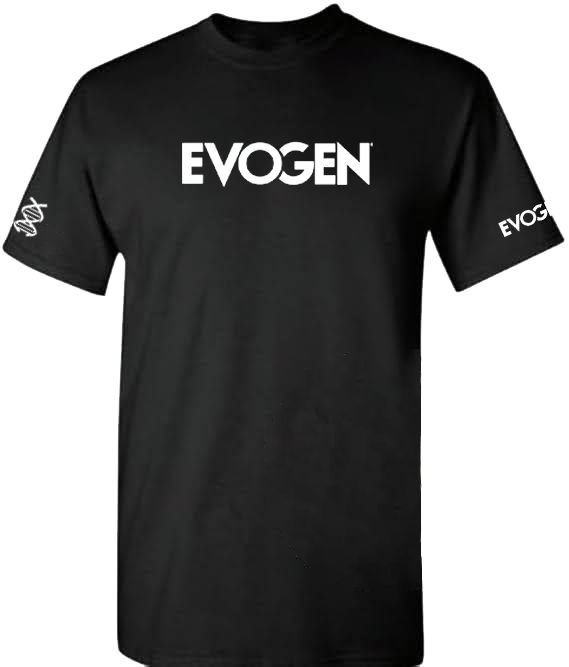
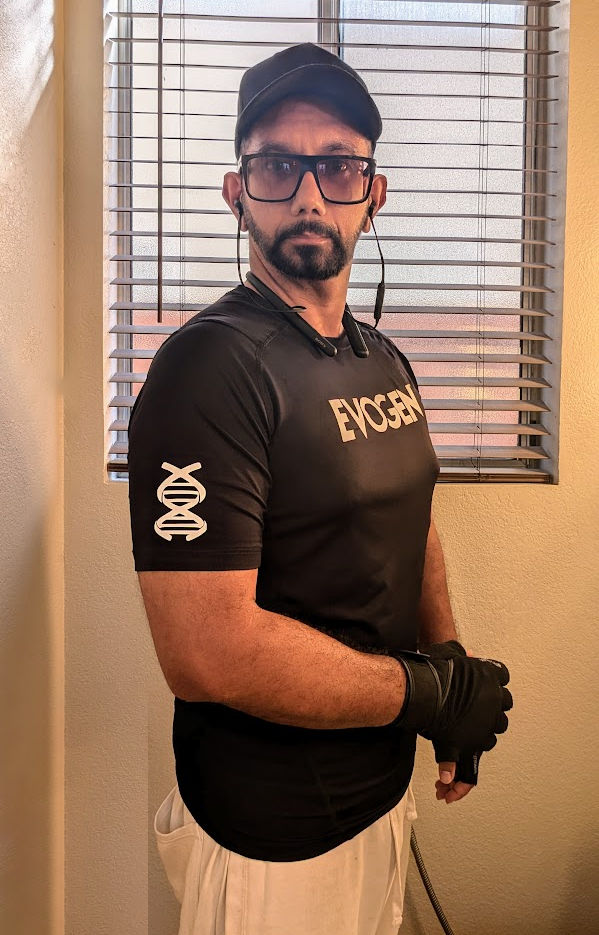
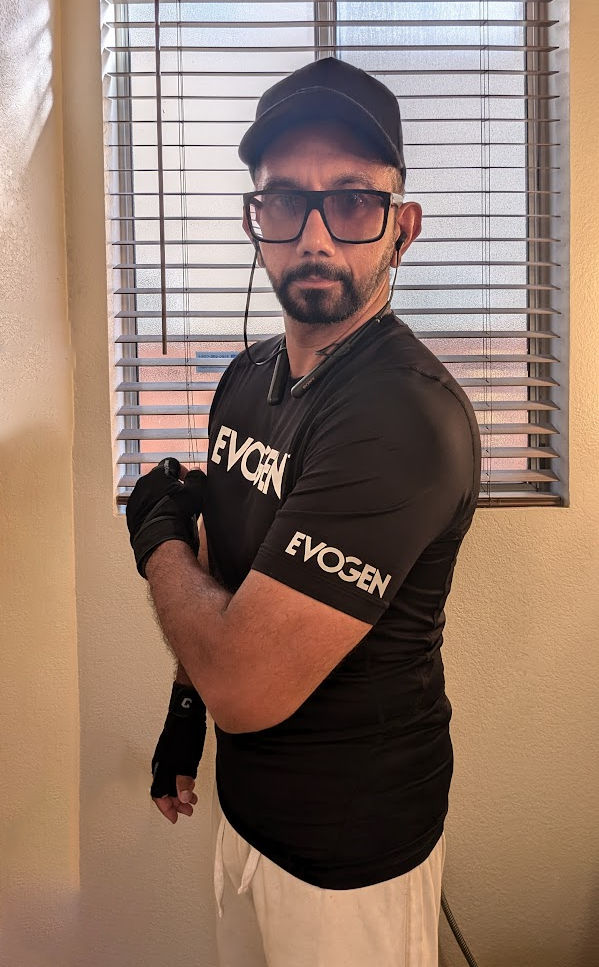
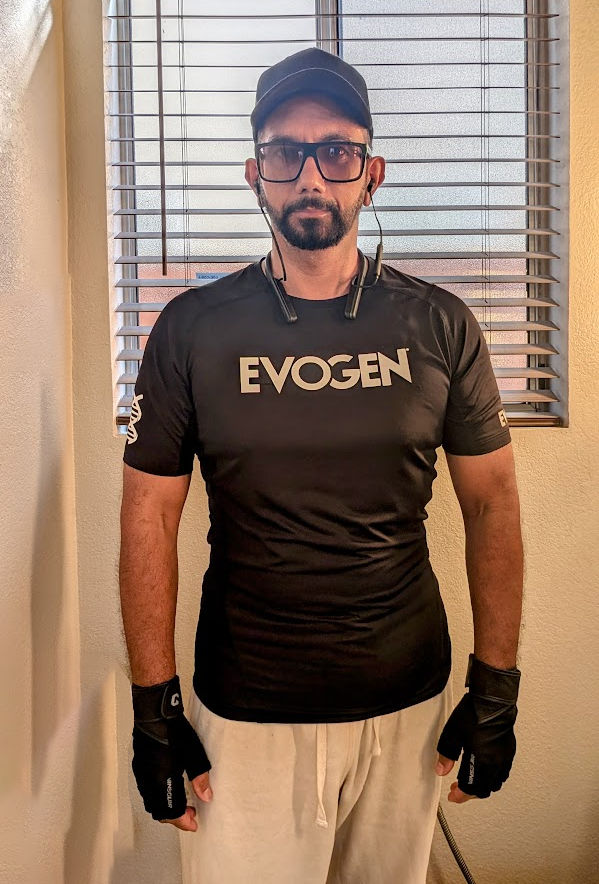
You can also iron vinyl on pants.
