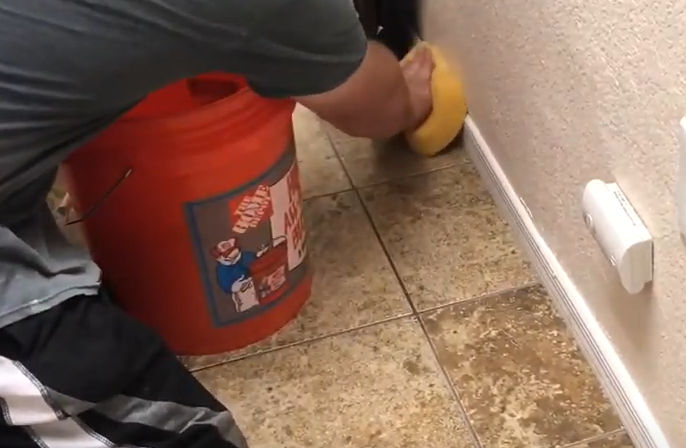
Skip to content

Abdullah Yahya

  • Home / Blog
  • Travel
  • Landlord Tips
  • Books
  • Resume / CV
  • About
  • Contact
  • RSS
  • About
  • How Much Rent To Charge
  • Rent Your Property
  • Rental Agreements
  • Basic Rent Rules
  • Rent Control
  • Security Deposits
  • Getting the Tenant Moved In
  • Lawyers, Legal Research, Eviction Services & Mediation
  • Discrimination
  • The Landlord’s Duty to Repair and Maintain the Property
  • Landlord’s Liability for Dangerous Conditions, Criminal Acts, and Environmental Health Hazards
  • The Landlord’s Right of Entry and Tenant’s Privacy
  • Increase Rent
  • Change Rental Terms
  • Terminate Tenancy
    • 3-Day Notice to Pay Rent or Quit
    • 3-Day Notice to Perform Covenant or Quit
    • 30, 60, 90-Day Termination Notice
  • Evict Tenants
  • When a Tenant Moves Out

or search this site on Google

Categories

  • AI / Artificial Intelligence (15)
  • Business, Investing & Finance (78)
  • Cleaning (9)
  • Documentary (9)
  • Food (85)
  • Health (27)
  • Home Improvement (118)
  • How-To (65)
  • Productivity (7)
  • Real Estate (19)
  • Recipes (48)
  • Self Development (71)
  • Technology (54)
  • Travel (30)
  • Uncategorized (2)
  • Web Development (383)

Popular Posts

  • Proof Muslim Women Don't Have to Cover Their Hair
  • Easy Way to Texture Walls and Hide Imperfections
  • Create a Google Earth Movie/Tour That Flies Along a Path
  • Contact
  • How to Install 4 Posts Square and Plumb (like for a pergola)
  • Straighten a Fence Post Using a Ratchet Strap
  • Strong, Waterproof Glue: Liquid Nails Fuze-It Max VS Loctite PL Marine
  • How to Create a Cover Song in Suno AI
  • Different Ways to Mount an Action Camera on a Rented Jet Ski
  • ScanSnap iX500 - Orange Light Error & Basic Use Instructions

Caulk Baseboard Like a Pro

Posted on March 25, 2021April 2, 2021Author Abdullah YahyaCategories Home Improvement, How-To

Materials

  • Caulk
  • Caulking gun
  • Grout sponge
  • Bucket with water

Steps

  1. Apply caulk to baseboard
  2. Run finger along caulk to smoothen it out
  3. Wet and rinse sponge
  4. Run sponge along caulk once on each side
  5. Repeat steps 3 and 4 until caulk looks good

Share this:

  • Click to share on Facebook (Opens in new window) Facebook
  • Click to share on X (Opens in new window) X

Post navigation

Previous Previous post: Never Use Wire Nuts to Splice Electrical Wires Again
Next Next post: FIXED: Google Fi: International Mobile Data Enabled But Not Working
Written by Abdullah Yahya in Silicon Valley, California
▲