One thing I’ve noticed with a lot of people is they have a lot of clothes but only wear a few. There could be many reasons for this. For example, their “fancy” clothes are only suitable for special occasions but since most days are just not special, they only wear simple but comfortable clothes most of the time. Not only do their clothes consume a lot of space, they may not realize that many of their clothes just don’t fit them anymore or they may no longer like how they look on them. People may also forget just how nice some of their clothes look on them until they try them on again. One way to get organized with your wardrobe and remind yourself of your clothing options and how you look in them is by creating a wardrobe photo inventory.
Here’s how to create a wardrobe photo inventory using Google Photos.
1. Group clothes by type
First, group all your clothes by type, e.g.
- Outerwear
- Sweaters
- Jackets
- Tops
- Short-sleeve Dress shirts
- Long-sleeve Dress shirts
- Short-sleeve Polo shirts
- Long-sleeve Polo shirts
- Short-sleeve T-shirts
- Long-sleeve T-shirts
- Turtlenecks
- Bottoms
- Jeans
- Cargo Pants
- Khaki Pants
- Dress Pants
- Fitness
- Tracksuits
- Sweatpants
- Vacation
- Hawaiian shirt
- Beachwear
- Swimming clothes
- Shoes
- Hats
- Costumes
- Other
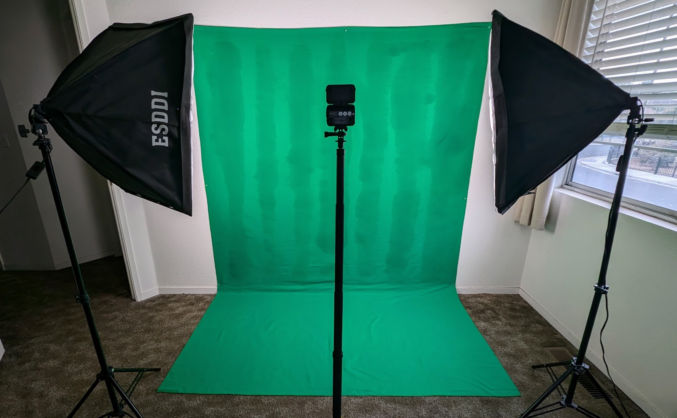
2. Create a photo studio
Find some space, like a spare bedroom, and create a photo studio using
- a green screen like this 6′ x 9′ one on Amazon
- a pair of lighting softboxes like this one on Amazon
- a camera and a tripod
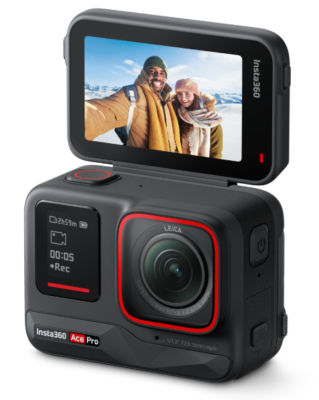
For the camera, you can use your phone. I used my Insta360 Ace Pro action camera with flip screen. By enabling the hand gesture feature, I can just make a peace sign with 2 figures to tell the camera to take a photo in 3 seconds.
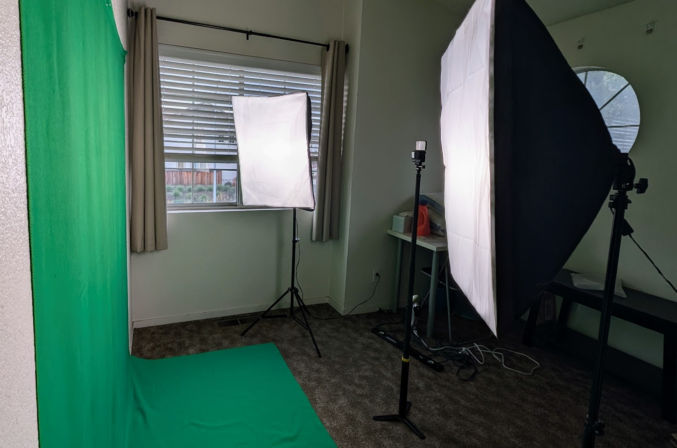
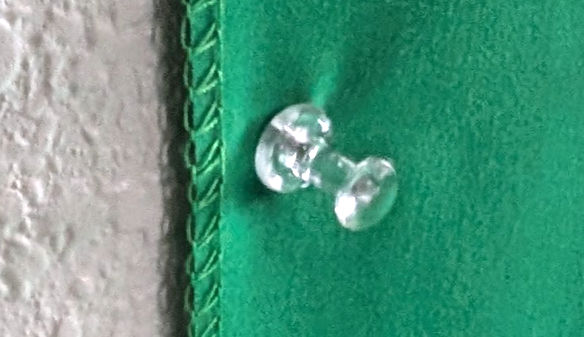
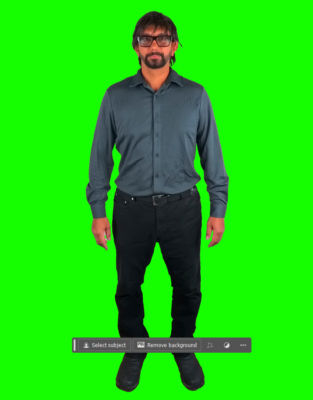
The green screen will make it super easy to remove the background from the subject (you). I just used push pins to stick the fabric to the wall (drywall).
The softboxes will make your face and clothes appear bright and sharp with balanced lighting without any shadows. Here’s a comparison of photos taken with and without softboxes.

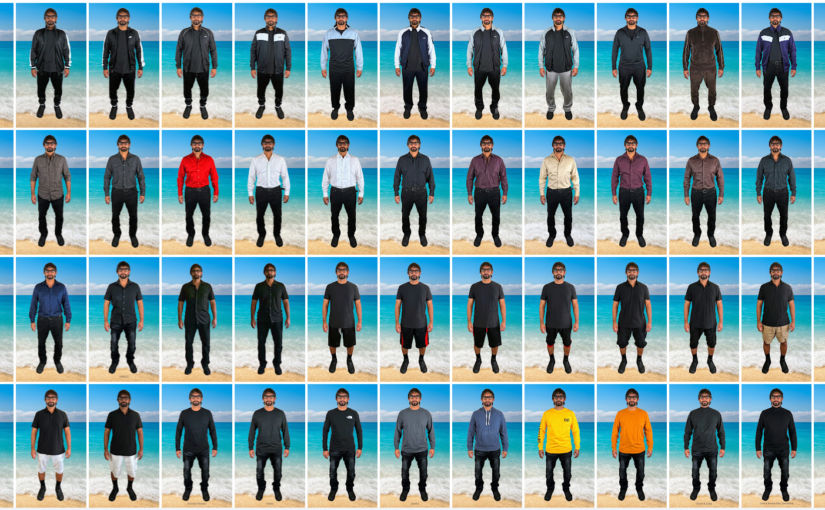
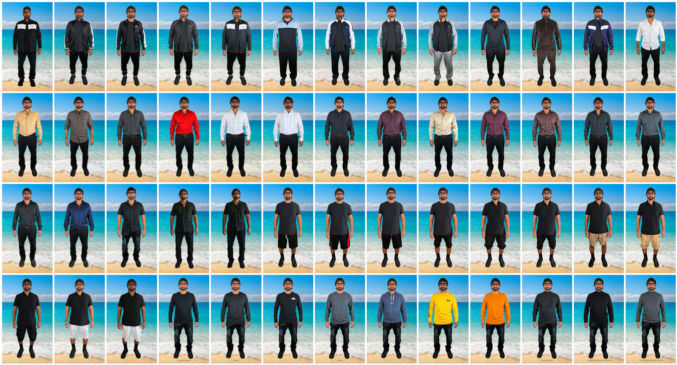
3. Take photos
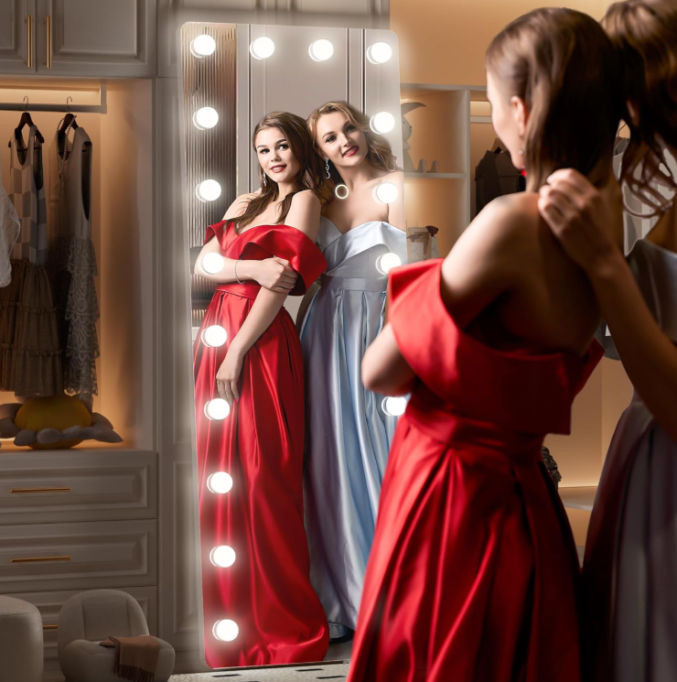
Go through all of your clothes and take photos of yourself wearing them. When deciding what to wear, I find it convenient to have a tall mirror with Hollywood lights around the perimeter near my closet like this one on Amazon.
3. Option A: Edit photos in Photoshop
If you know Photoshop or how to do image editing, you can follow this step.
- Open your first photo in Photoshop
- Remove the background. Photoshop will detect the background and show a “Remove background” button. Click it to remove the green background.
3. Crop the image to remove unnecessary whitespace.
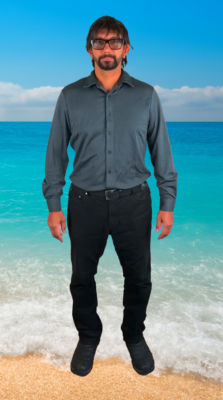
4. Replace the background with any background you like. Here’s what I chose.
5. Repeat that process for all photos.
6. Use horizontal and vertical guides to resize each photo so they are the same width and height.
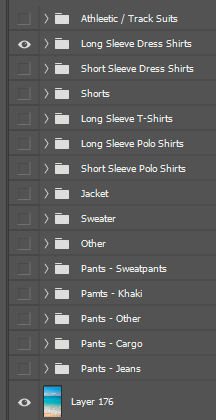
7. Optionally, group the layers by clothes type, e.g.
3. Option B: Edit photos in Google Photos
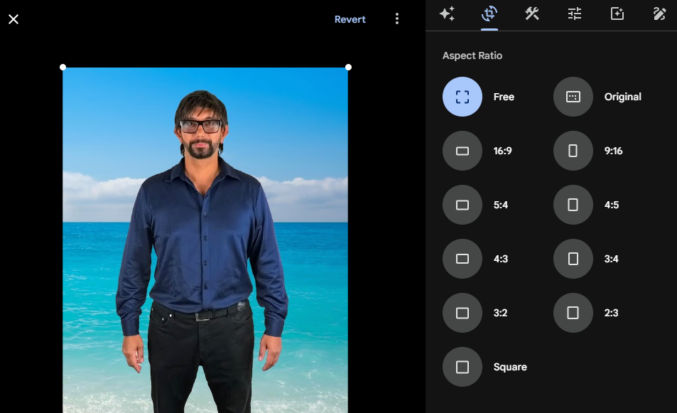
If you don’t know Photoshop or how to do image editing, you can do basic image editing like cropping directly in Google Photos. Upload all photos to Google Photos and click the Crop button to crop the photos.
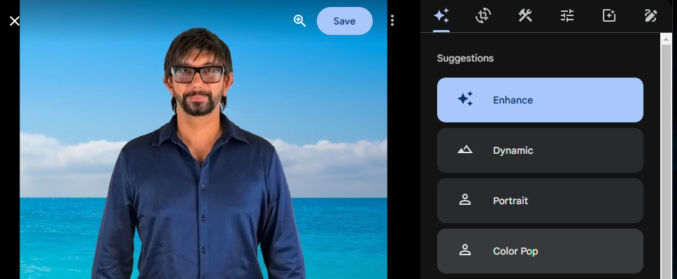
4. Upload all photos to Google Photos and enhance them
For each photo, click the Enhance button to improve the levels, brightness, etc.
5. Create an album and group photos by type
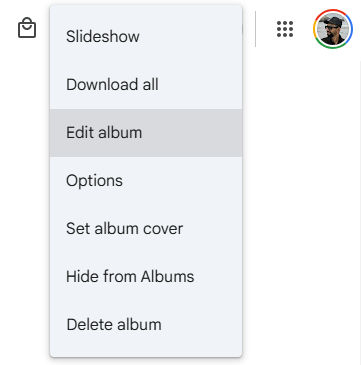
In Google Photos, select all photos and add them to a new album with a name like “Clothes”.
Click the 3 vertical dots in the top right corner to reveal options. Click the “Edit album” option.
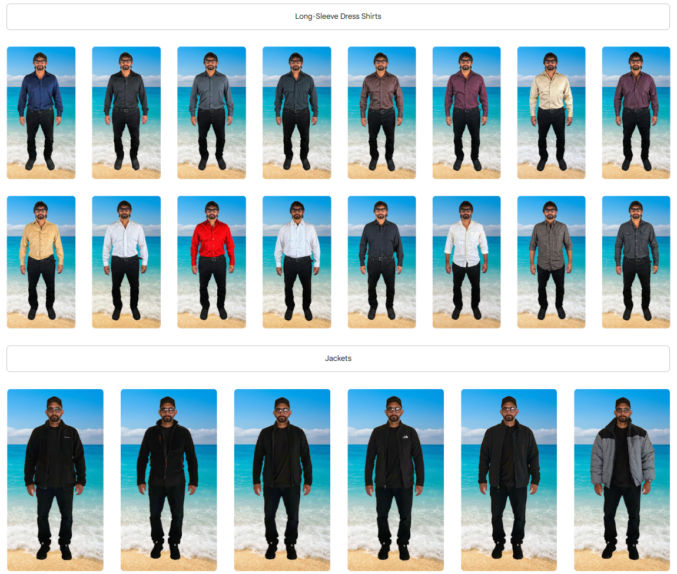
Select one or more photos and drag them to rearrange them.
Click the “Add text” icon to add text between groups of photos.

6. You’re done!
Now, you can browse your wardrobe on your phone to visually remind yourself of what clothes you have and how they look on you the next time you’re undecided about what to wear.