Coding web pages by hand is time-consuming. I’ve tried a few AI-based coding tools like Claude.ai, Ninja AI, and Bolt. Bolt seemed to produce the best results. It’s not perfect, but it definitely can serve as a good starting point. To demonstrate, let’s see how each of these AI tools generate code for this simple section.
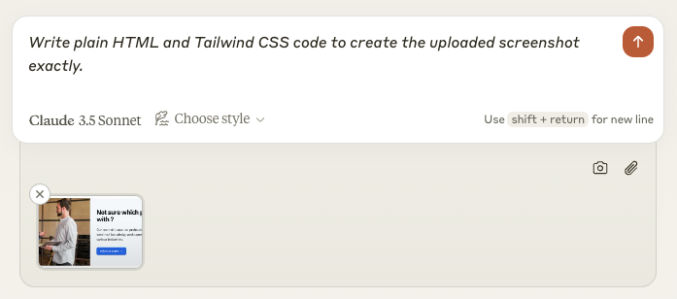
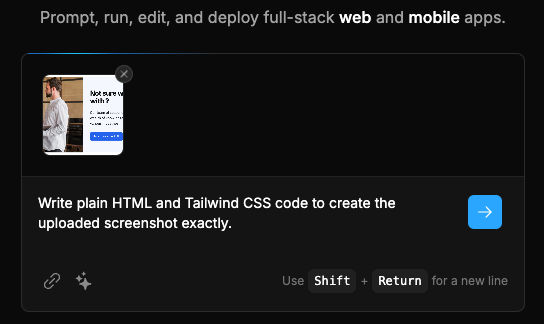
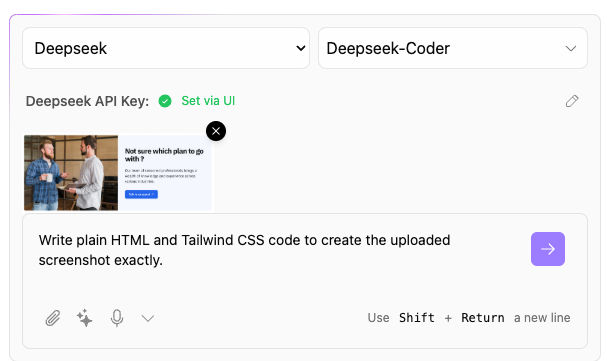
For each tool, I’ll upload the same screenshot of the section and provide the same prompt, namely:
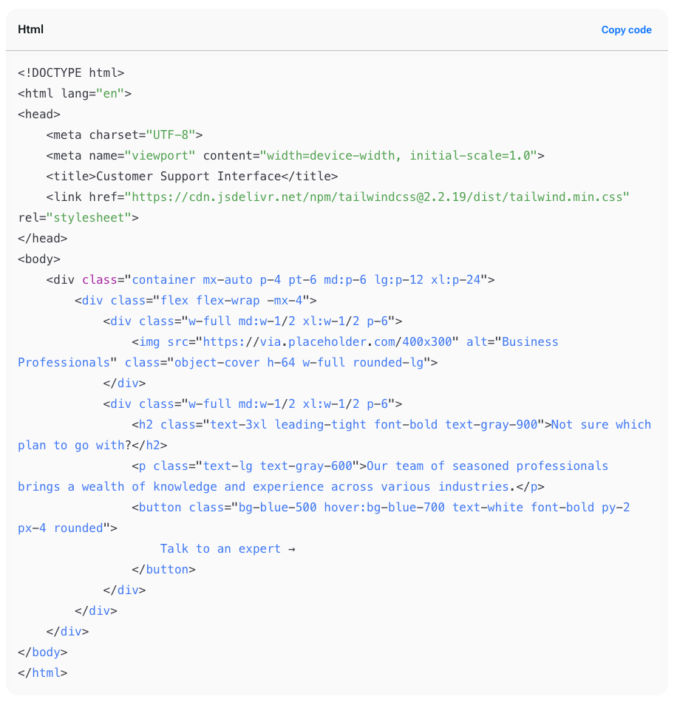
Write plain HTML and Tailwind CSS code to create the uploaded screenshot exactly.
Claude.ai (using Claude 3.5 Sonnet)
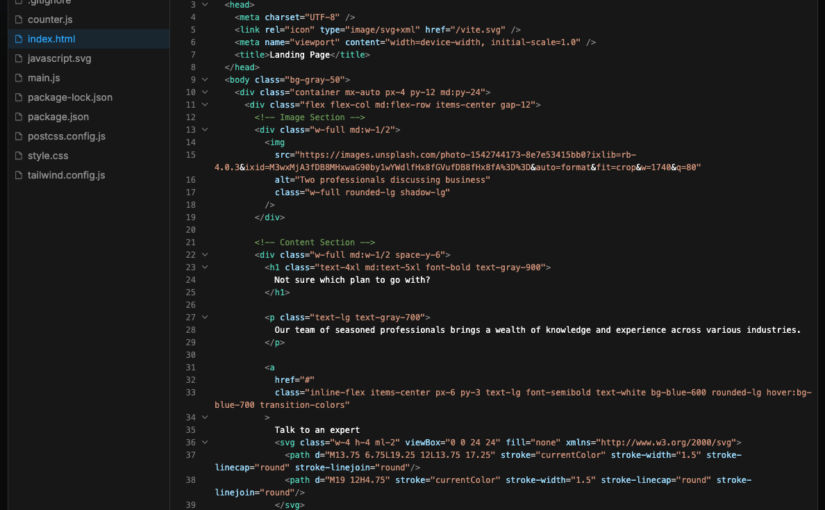
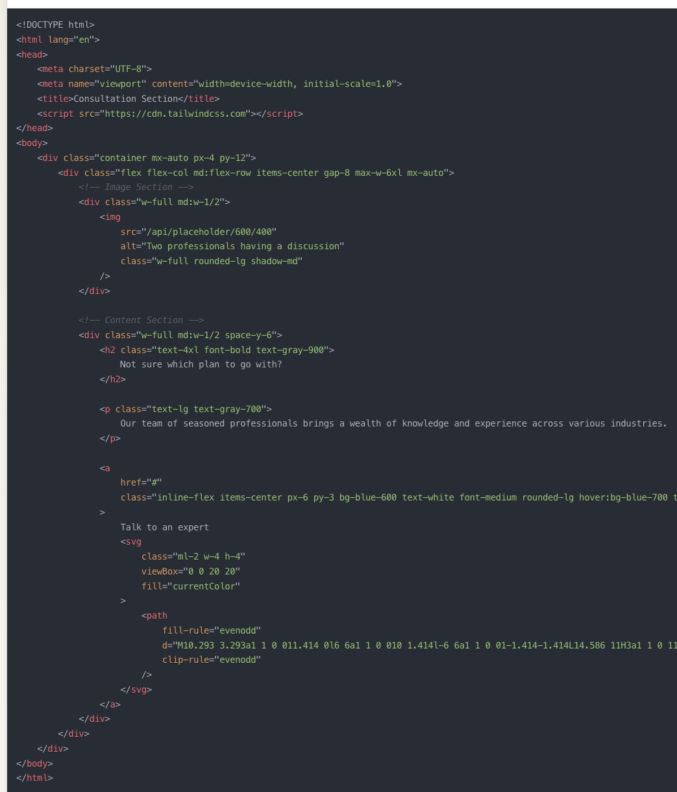
Here’s the output.
Claude can’t show a preview, so I copied and pasted the code into Codepen. Here’s how it looked.
That’s actually not bad. The image is missing because it’s a placeholder image to a relative path that doesn’t exist.
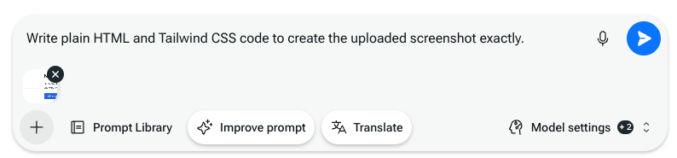
Ninja AI
For the models, I chose Claude 3.5 Sonnet for the external model. Ninja AI will combine it with its own internal models. Here’s the input.
And here’s the output.
Like Claude, Ninja AI can’t show me a preview, so I copied and pasted the code into CodePen. Here’s what it showed.
Not bad, but it’s not as good as Claude even though I chose Claude as the external model. The main issue is the vertical spacing between the elements on the right.
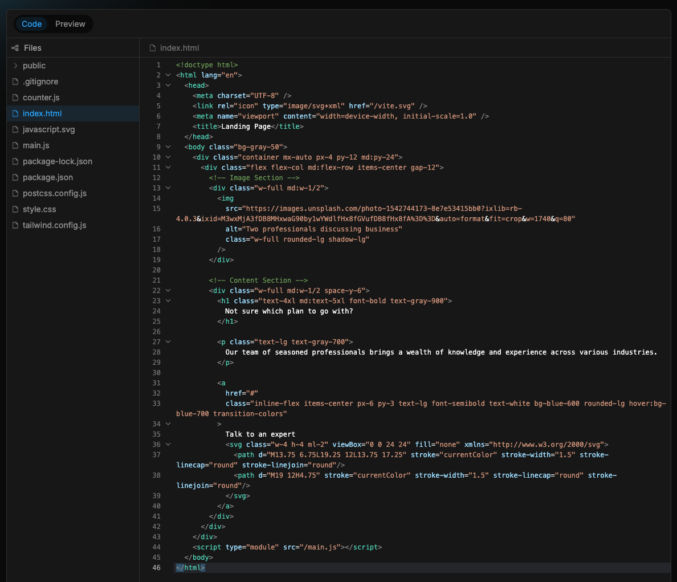
Bolt.new
Here’s the input.
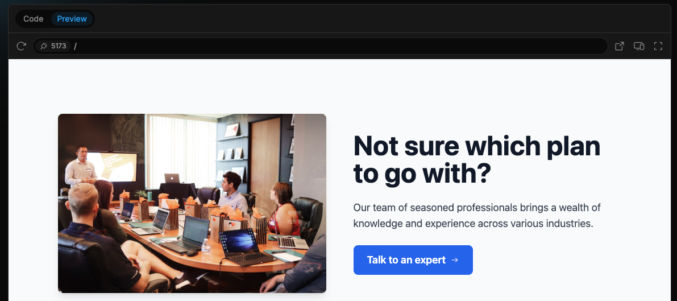
Bolt can show a visual of what the code would produce. Here’s the code output.
Note that Bold will install a Vite and a bunch of dependencies like Tailwind CSS, Autoprefixer, PostCSS, etc. Here’s the visual preview output.
Conclusion
I’ve run a bunch of other tests comparing all 3 AI tools. Bolt is better than the other tool for code generation.
Bolt.diy
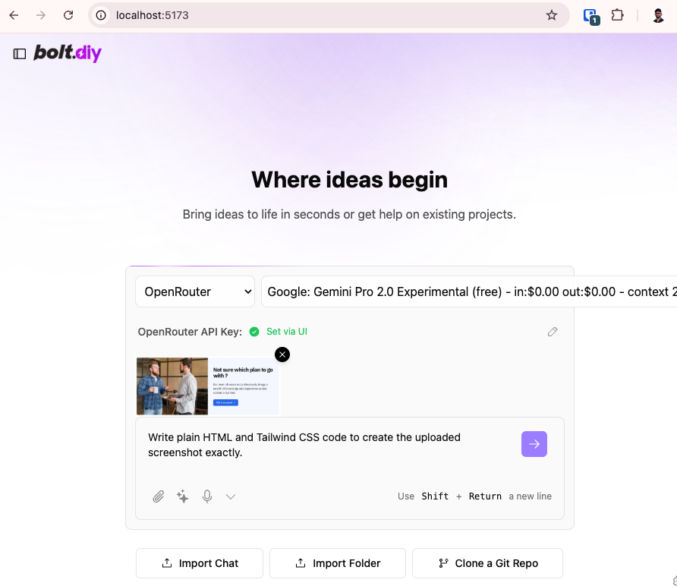
The problem with all of the above AI coding tools is they can become expensive. Luckily, there’s an open-source version of Bolt called Bolt.diy. It can be used with any LLM, including the free, experimental version of Google Gemini Pro 2.0 and DeepSeek. You can install bolt.diy by following the simple instructions at https://github.com/stackblitz-labs/bolt.diy. When you run bolt.diy, it will open in a local browser.
Let’s try a couple of LLMs with bolt.diy to code the same section above.
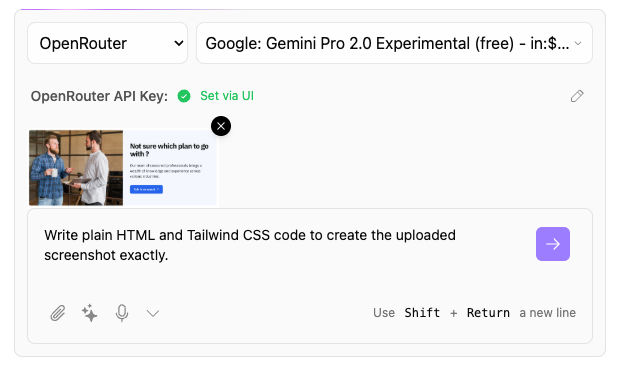
Google Gemini Pro 2.0 Experimental
To use Google Gemini Pro 2.0 Experimental, you’ll need to get an API key. Go to OpenRouter.ai, search for the LLM, and get a free API key.
Here’s the input.
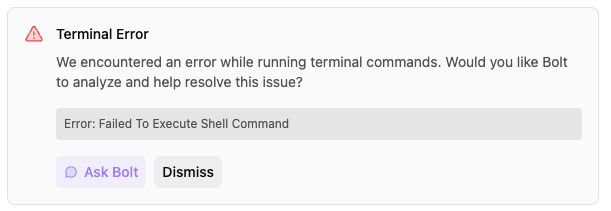
While writing the code, bolt.diy returned an error.
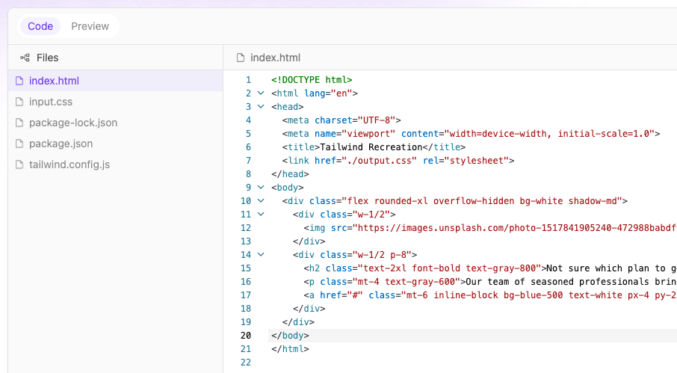
I clicked “Ask Bolt”, it Bolt self-corrected. Here’s the code output.
And here’s the visual preview.
This does not look good at all. Let’s try DeepSeek Coder.
DeepSeek Coder
We’ll need an API key. Go to the DeepSeek platform, sign up, and get a key.
Here’s the input in bolt.diy with DeepSeek selected.
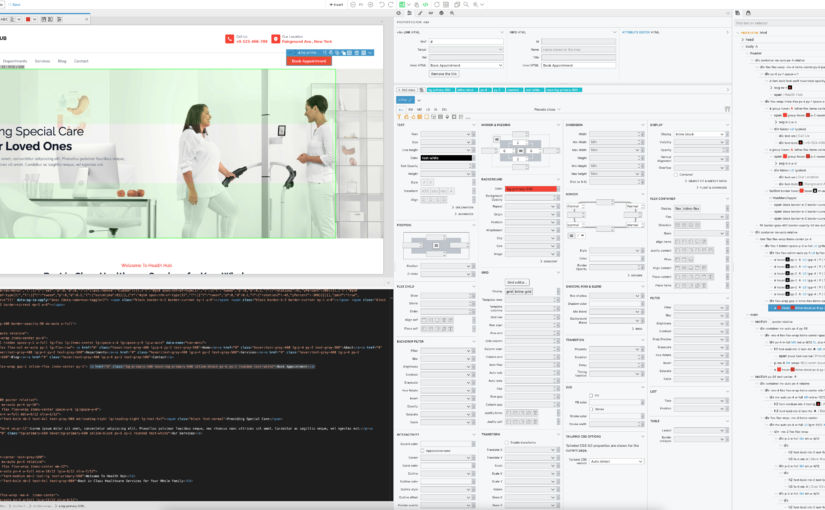
Some of the things that consume too much time as a web developer are manually typing HTML and CSS and looking up documentation. For example, when creating a list, it takes much longer to type <ul><li></li>….</ul> than it is to just click a button and start typing the content like you do in MS Word or Google Docs. Another example is when I don’t remember the syntax for a Tailwind CSS class and I have to look it up in the online documentation. After searching for a low-code editor that allows me to have both a WYSIWYG editor alongside a code editor alongside a list of controls, I have only found one that meets that criteria. Pinegrow offers both a desktop and a web-based low-code editor that supports plain HTML/CSS/JS, Tailwind CSS, Bootstrap, and much more. For now, just using it for plain HTML/CSS and Tailwind CSS saves me a lot of time. Following is a screenshot of how I have the UI.
Due to the large amount of information and my preferences for not having to scroll a lot, I expand the window full size on a 32″ 4K monitor. The screenshot above shows the following panes:
top left = WYSIWYG editor
bottom left = code editor
middle = element properties
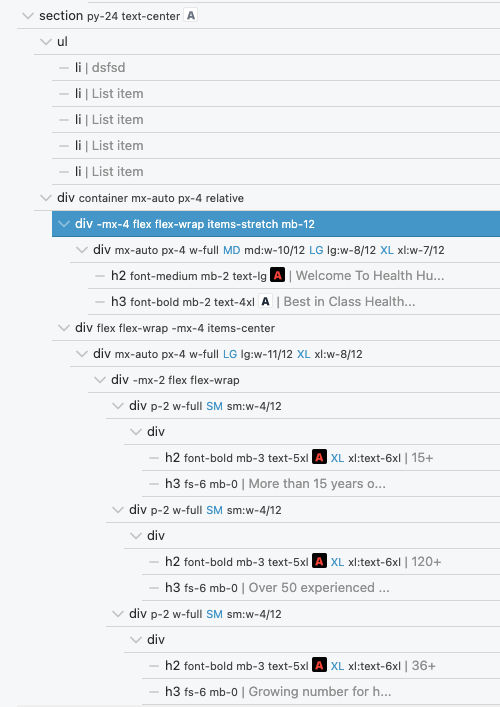
right = DOM tree
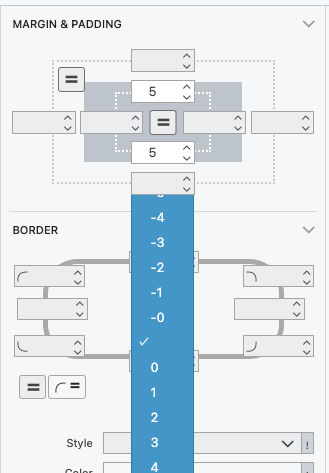
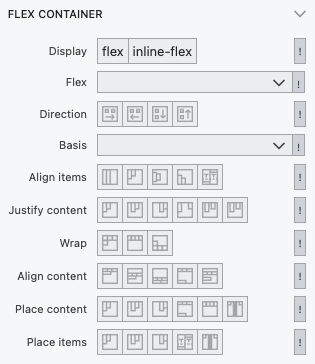
You can edit code and see the changes in the visual editor. You can also insert elements into the visual editor and edit text visually. When you click on an element in the visual editor or the DOM tree, you can edit its properties using the various controls in the middle pane. For example, if I want to add bottom margin to an element, I don’t have to remember the possible Tailwind CSS preset values. Instead, I can just click a dropdown and choose a value. As I hover over the various dropdown values, I can visually see the margin change size. This is much easier than trying different values in a code editor and then reloading your browser to see the change. If I want to enter a custom value, I just type it in the field and choose a unit (px, em, etc).
When you want to insert an element, e.g. a list, just drag the corresponding button in the “+ Insert” dropdown over to the location in the visual editor where you want to place the new element.
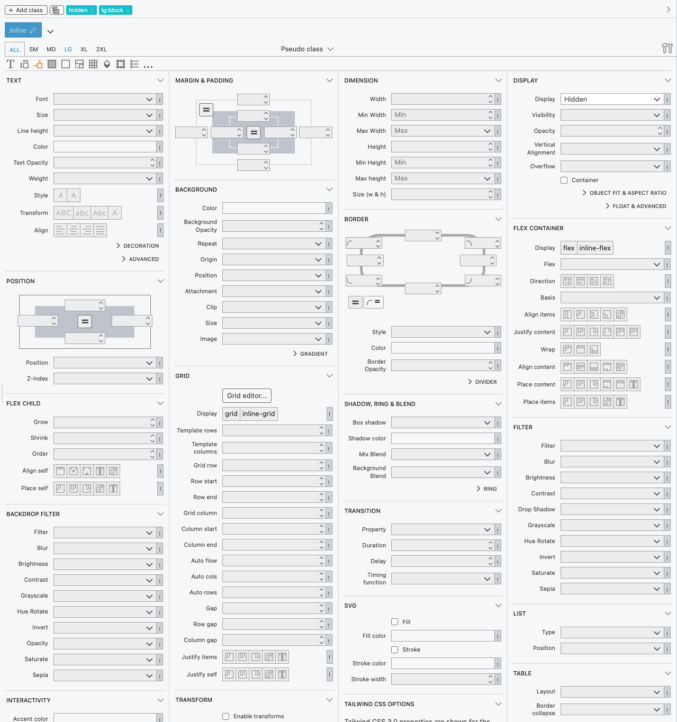
Editing an element’s properties is super easy thanks to the complete controls with pre-populated Tailwind CSS values.
For example, if I want to vertically or horizontally align an element in a flexbox or CSS grid container, I can just visually see which button depicts the alignment I want and then click on it. Pinegrow will automatically update the code and the visual preview.
This is so much easier than typing “items-stretch”, “items-center”, “items-start”, etc.
If you’re having a hard time selecting an element in the visual preview, just click on it in the DOM tree. You can then edit the element’s properties in the middle pane.
If you are using the online version of Pinegrow and you want to export your code, just copy it from the code editor into your other editor (I use VS Code). Or, you can use the desktop version of Pinegrow and edit your local files directly.
Create a file called tailwind.config.js in the project root and put the following started config. The “content” key tells Tailwind CSS which files to process.
Tailwind CSS will also process input files and output the results where we want. There are 2 Tailwind inputs:
a CSS input file
Tailwind CSS classes in HTML
Let’s put the Tailwind CSS input file at /src/css/tailwind-input.css and let’s have Tailwind CSS put the output file at /dist/src/tailwind-output.css.
10. Eleventy Input and Output Folders and Files
By default, Eleventy will build source files that are in the “src” folder and output them to a “_site” folder. If you want the output to go to a different folder, create an Eleventy config file and specify the output folder name there. By default, Eleventy will not copy static assets like CSS, JS and images to the output folder. Create an Eleventy config file (.eleventy.js) in the project root and add the following code to
tell Eleventy to copy certain files to the output folder (note that we are telling Eleventy to not copy the source Tailwind CSS input file)
tell Eleventy to put the output in a folder called “dist”
module.exports = function(eleventyConfig) {
	eleventyConfig.addPassthroughCopy("src", {
		//debug: true,
		filter: [
			"404.html",
			"**/*.css",
            "!**/*tailwind-input.css",
			"**/*.js",
			"**/*.json",
			"!**/*.11ty.js",
			"!**/*.11tydata.js",
		]
	});

	// Copy img folder
	eleventyConfig.addPassthroughCopy("src/img");

	eleventyConfig.setServerPassthroughCopyBehavior("copy");

	// tell 11ty which files to process and which files to copy while maintaining directory structure
	// eleventyConfig.setTemplateFormats(["md","html","njk"]);

	return {
		dir: {
			input: "src",
			output: "dist",
			// ⚠️ These values are both relative to your input directory.
			includes: "_includes",
			layouts: "_layouts",
		}
	}
};
11. Install npm-run-all
In order to have Eleventy build static pages AND process Tailwind CSS, we need to run both Eleventy and Tailwind CSS in parallel. To do that, install npm-run-all.
npm install npm-run-all --save-dev
12. Update Scripts
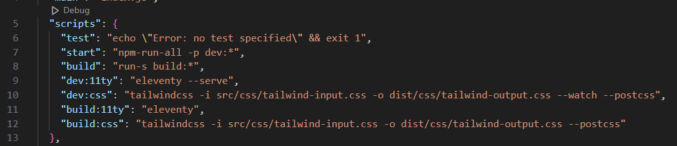
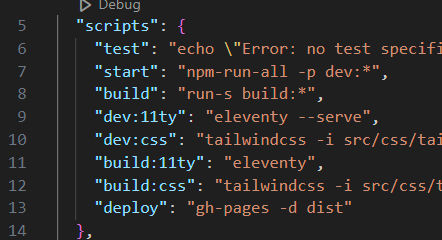
To run Eleventy and Tailwind CSS concurrently, let’s add some scripts. Open package.json and add the following scripts.
The tailwindcss line has a reference to the input Tailwind CSS file (src/css/tailwind.css) and where the output CSS would go (dist/css/tailwind.css).
Your package.json file should look like this.
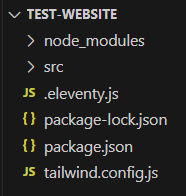
13. Create a “src” folder
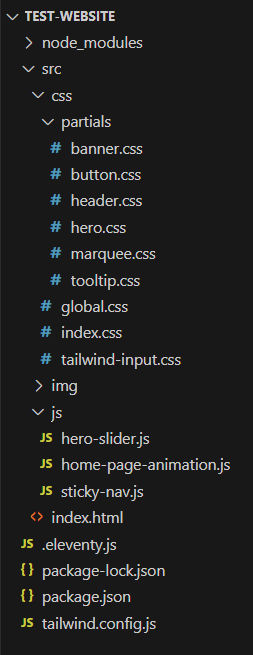
The src folder will contain your source website files. Your folder structure should look like this now.
14. Create some files
Here’s an example folder structure for your website files.
The source files are all in the “src” folder. The “img” folder is where images can go and the “js” folder is where JavaScript files can go.
Tailwind CSS
In the “css” folder, there is a tailwind-input.css file. To start, just add this line to it.
@import "tailwindcss";
Non-Tailwind CSS (Optional)
The “css” folder can optionally contain non-Tailwind CSS files.
The CSS files in a “partials” folder group CSS by component, e.g. button.css, header.csss, etc.
The global.css file can contain CSS that applies to all pages on the site.
The index.css file can contain CSS that applies to just one or a few pages, e.g. the home page.
In this example, there is only one page – the home page (index.html) in the document root.
15. Write Code
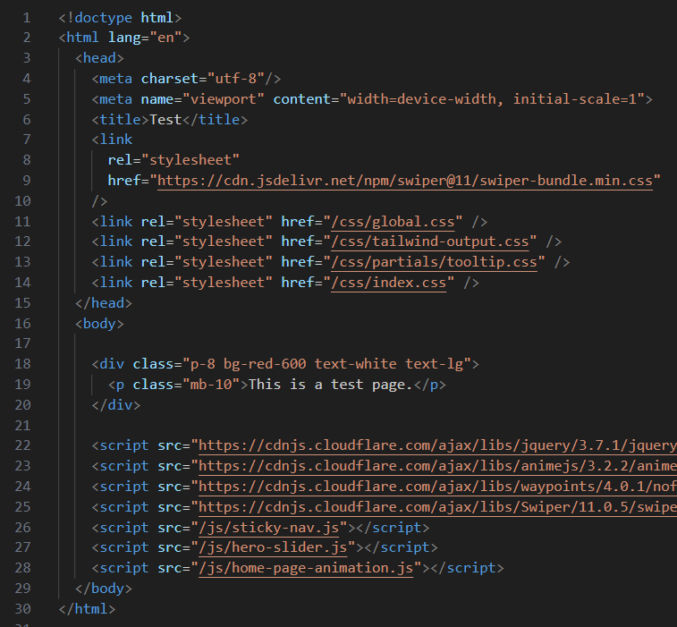
Here is example code for the home page. Note the way the local CSS and JS files are referenced.
Tailwind CSS will compile the input Tailwind CSS file (/src/css/tailwind-input.css) and the Tailwind CSS classes in the HTML (e.g. on lines 18 and 19 of index.html) and output it at /dist/css/tailwind-output.css. That’s why on line 12 there is a reference to the path to the Tailwind output file.
16. Run Eleventy (and Tailwind CSS)
npm start
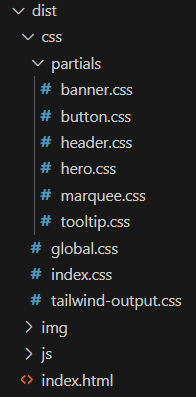
You will see a “dist” folder get created along with the css/tailwind-output.css file.
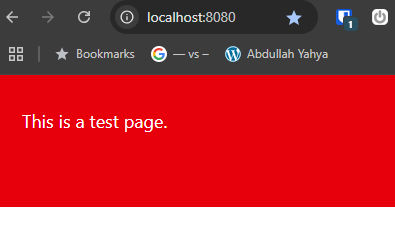
Eleventy will launch a local web server at http://localhost:8080/. Go to that URL to view the site and verify the site looks as correct.
17. Add Git
Put the project folder in version control by running
git init
Then, create a .gitignore file in the project root and enter the names of folders you want to exclude from version control, like these folders:
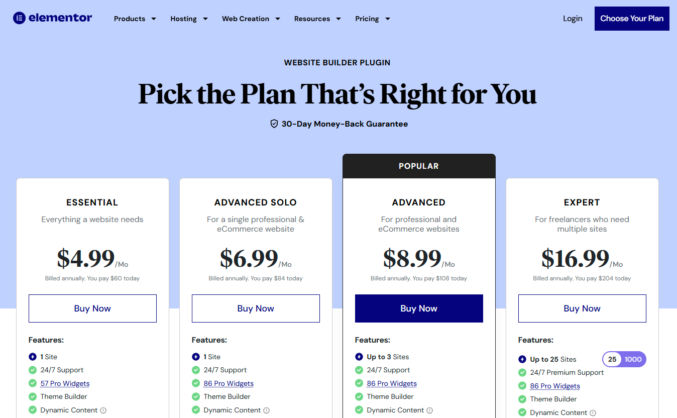
Go to Elementor.com and buy a license for the Elementor Pro website builder plugin.
Once you’ve paid, click the Download button to download Elementor Pro.
Install Hello Theme
In WordPress,
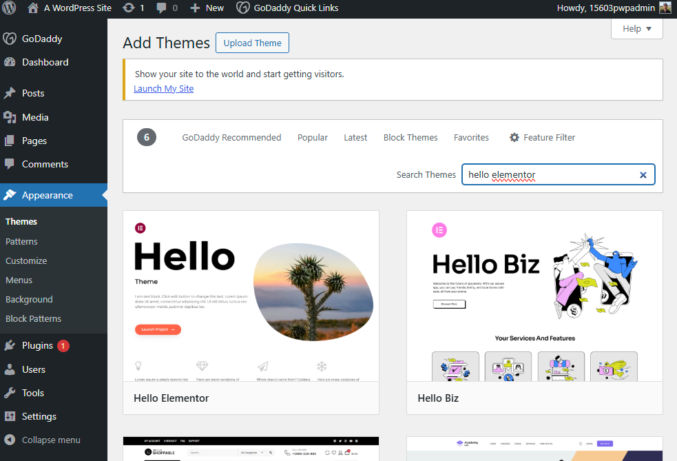
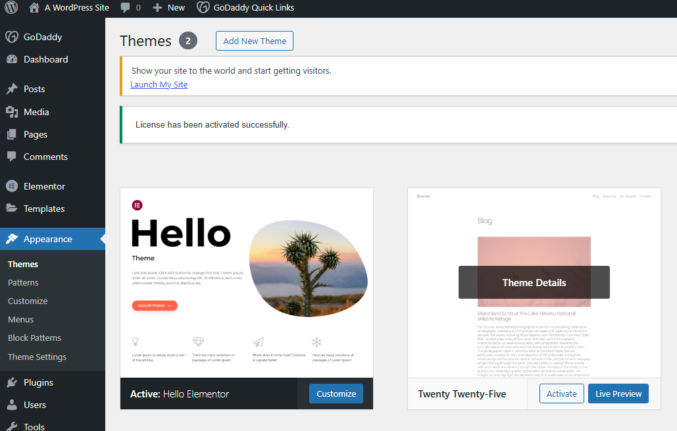
go to Appearance > Themes
click “Add New Theme”
search for “Hello Elementor”
hover over it and click “Install”
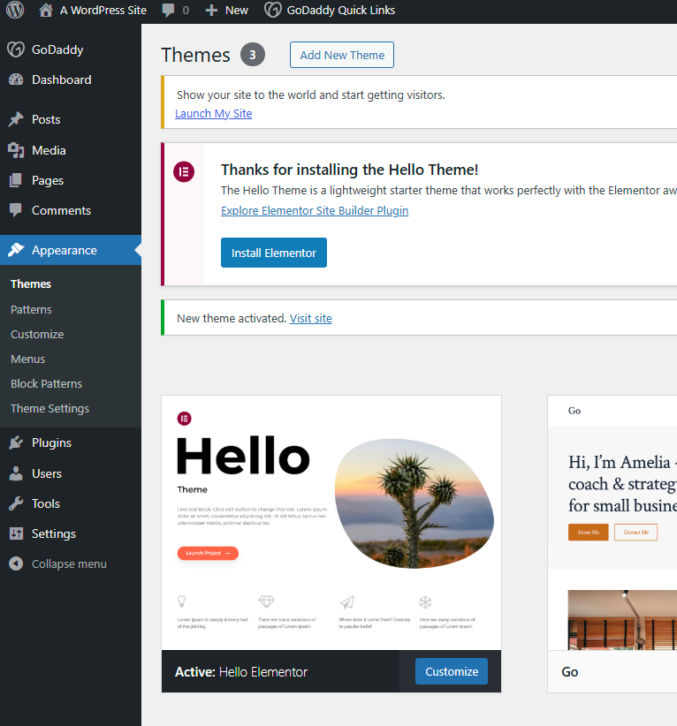
when installation is complete, click the “Activate” button
You will see a message offering to install the free version of Elementor. Click “Install Elementor” and then click “Activate Plugin”.
Install Elementor Pro
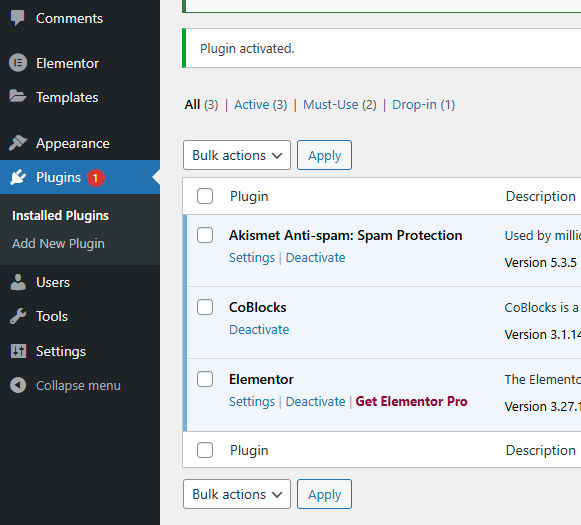
Go to Plugins. You will see the free version of the Elementor plugin installed.
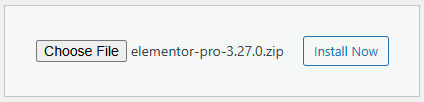
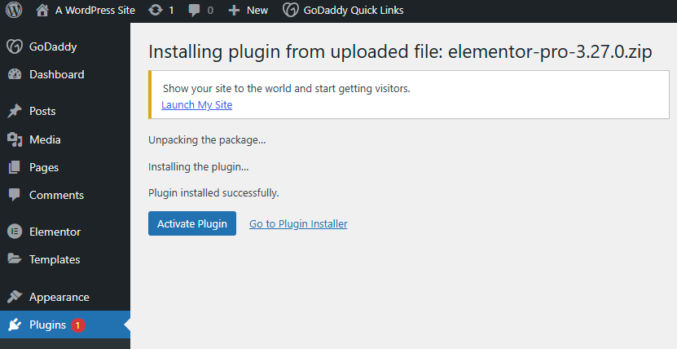
Click “Add New Plugin” > “Upload Plugin”, choose the Elementor zip file you download previously, then click “Install Now”.
Click “Activate Plugin”.
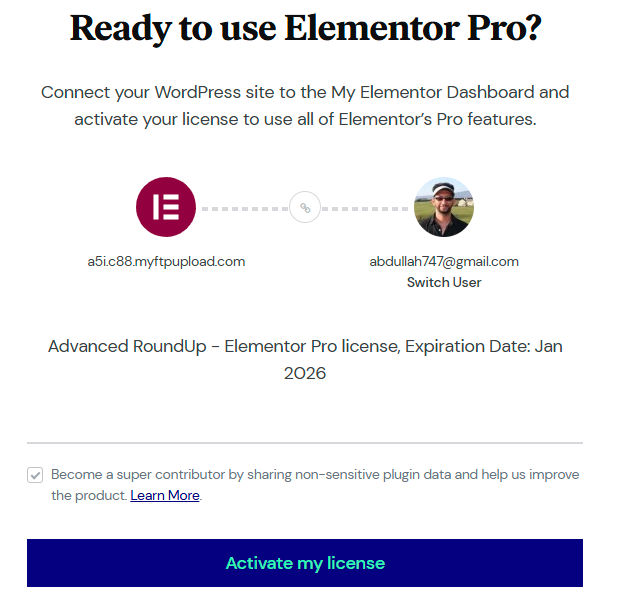
In the list of plugins, click “Connect & Activate”.
You will taken to Elementor’s website to log in.
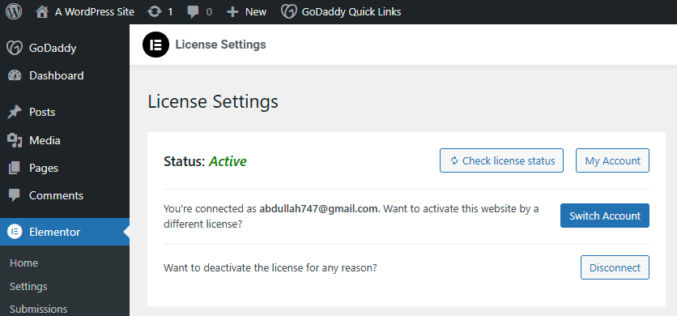
Click “Activate my license”. Once activated, you will see…
If you visit your website, it will look similar to this.
Delete All Other Themes
Go to Appearance > Themes. For each theme besides “Hello Elementor”, click “Theme Details” > “Delete”.
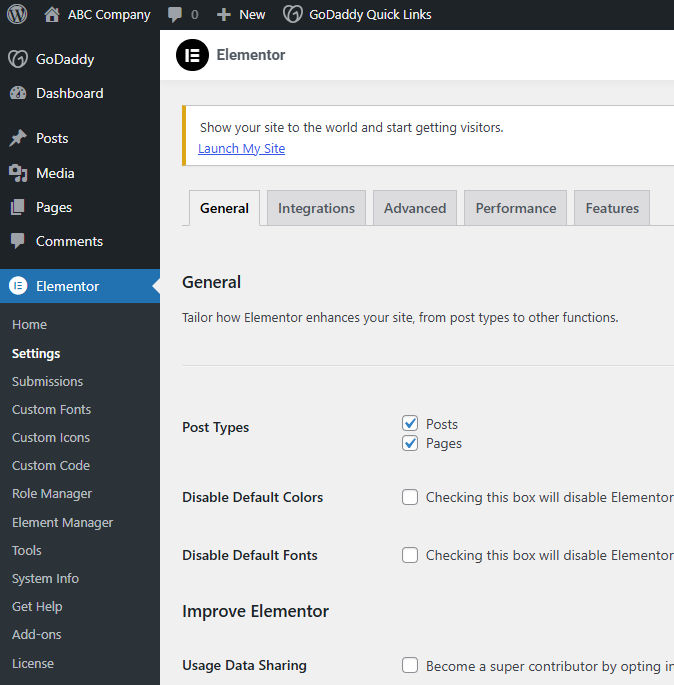
WP Admin > Elementor > Settings
Now that Elementor has been activated, you’ll see 2 new menu items in the WordPress admin: “Elementor” and “Templates”, each with submenus. Click on Element > Settings to optionally change any general settings, integrations, performance settings, and features.
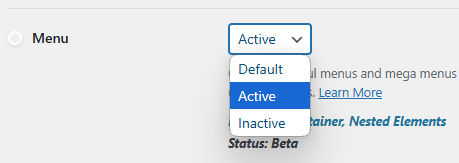
To create mega menus, go to Elementor > Settings > Features and beside “Menu”, select “Active”. Scroll down and click “Save”.
WP Admin > Elementor > Submissions
When someone submits a form, Elementor will store form submissions here.
WP Admin > Elementor > Custom Fonts
You can upload some custom fonts here to use in your website. For example, you can browse free fonts on Google Fonts, download them, and then upload them here.
WP Admin > Elementor > Custom Icons
You can upload custom icon sets here from Fontello, IcoMoon, and Fontastic as zip files to use in your website.
WP Admin > Elementor > Custom Code
You can add custom code like pixels, meta tags and any other scripts to your site from here.
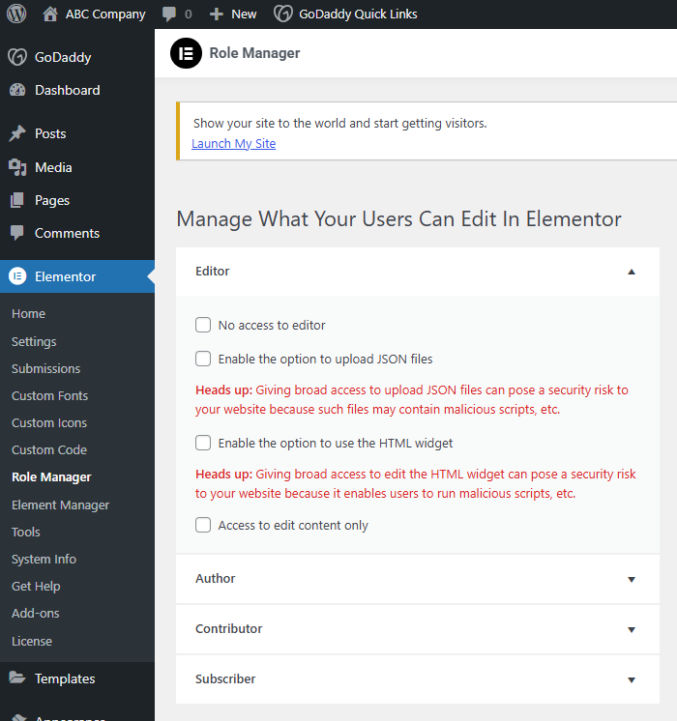
WP Admin > Elementor > Role Manager
The Role Manager lets you specify what your users can edit in Elementor.
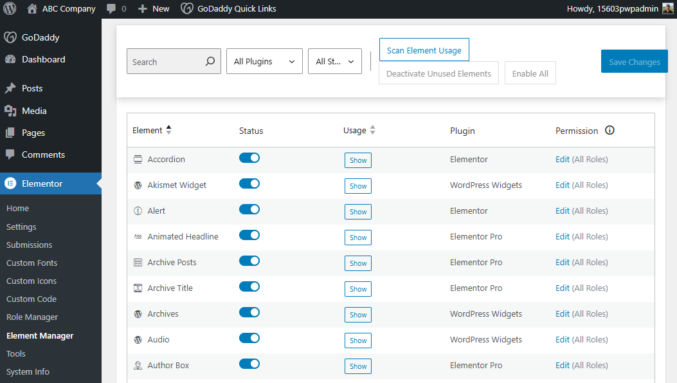
WP Admin > Elementor > Element Manager
The Element Manager lets you enable/disable various Elementor, Elementor Pro, and native WordPress widgets when you are building pages with the Elementor page builder.
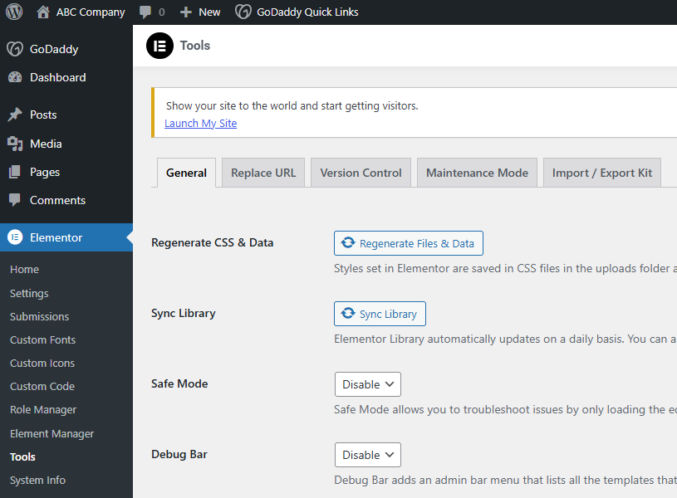
WP Admin > Elementor > Tools
Under Tools, you can do various things like regenerate CSS and data files, replace URLs, roll back to an older version of Elementor, put your site in maintenance mode, and import/export a template kit.
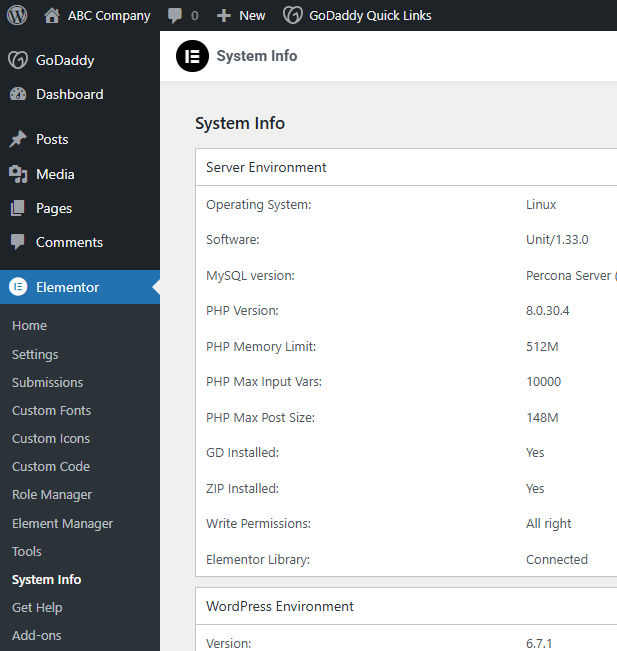
WP Admin > Elementor > System Info
Under System Info, you see details of your server environment, WordPress environment, theme, user, active plug-ins, must-use plugins, features, integrations, Elementor experiments, error log, and more.
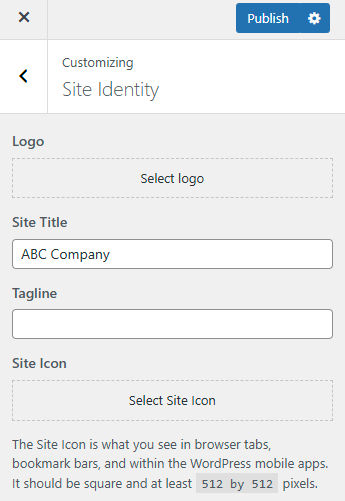
WP Admin > Appearance > Customize > Site Identity
To add your logo and favicon to your website, go to Appearance > Customize > Site Identity and then click the “Select Logo” button and the “Select Site Icon”, respectively. You can also enter a name and tagline for your website. For demo purposes, I’ll enter “ABC Company” and leave the tagline blank.
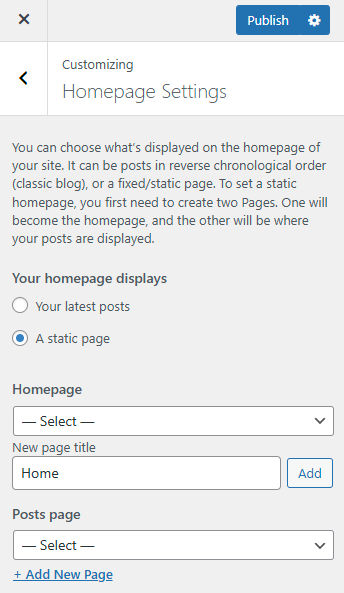
Since WordPress started as a CMS to create blogs, the default home page was an index of blog posts. Since we want our home page to be a custom page, let’s change the home page type to “static”. Go to Appearances > Customize > Homepage Settings and choose “A static page”. For “Homepage”, since we haven’t created one yet, add a new one titled “Home” and click the “Add” button. You can leave “Posts page” empty for now.
WP Admin > Appearance > Customize > Menu
Decide what pages you want linked from your website’s main menu. You can have a multi-level menu, e.g. top-level links with a drop-down on hover to show a submenu of links. For demo purposes, let’s say we want our menu to be as follows:
Products
Product A
Product B
Product C
Services
Service A
Service B
Service C
About
Contact
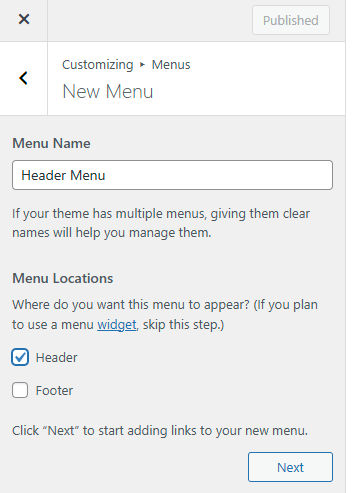
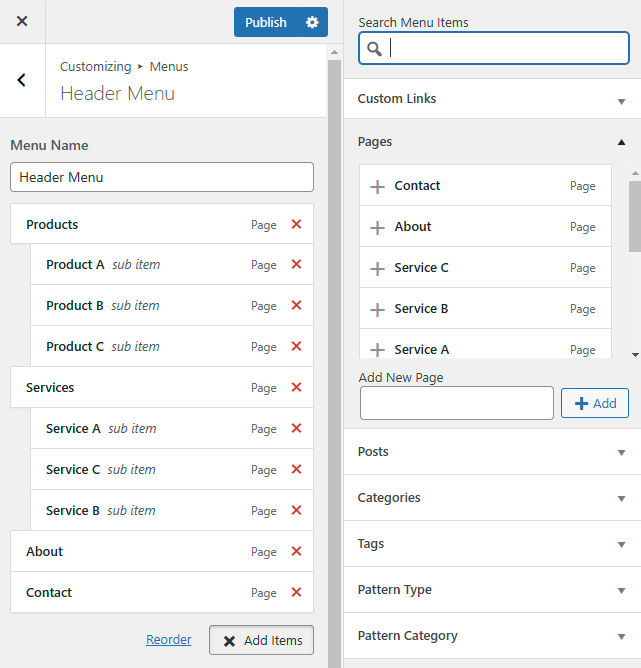
To create this menu, go to Appearance > Customize > Menus > Create New Menu. Then, give the menu a name, e.g. Header Menu, and choose a location.
Click Next > Add Items and start adding the names of the links under “Pages”. You can then drag menu items to nest them the way you want to create submenus.
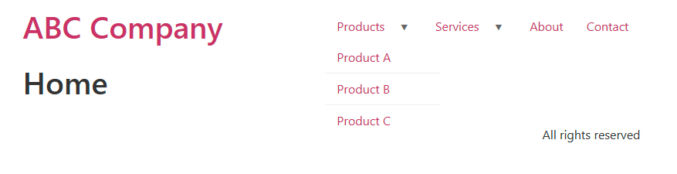
You can see a live preview of the menu in the Hello Elementor starter theme we’re using. Click “Publish” to save your changes.
Note that you can create multiple menus, e.g. one for the header and one for the footer.
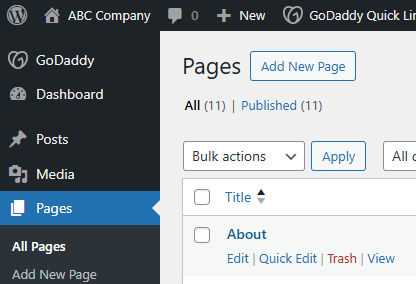
Edit Home Page
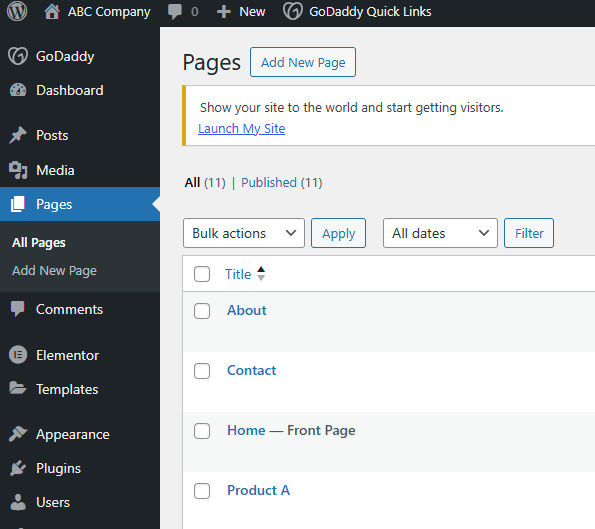
When you click “Pages” in the WordPress admin panel, you’ll see a list of pages you created when you added menu items. Note that the “Home” page is labeled as the “Front Page”.
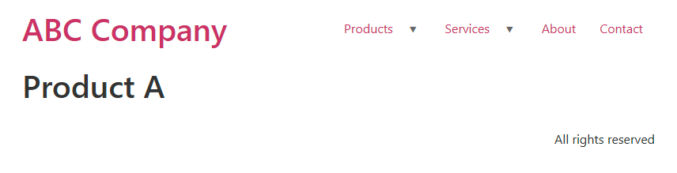
That’s why when you click on a menu item, a page that uses the “page” template will appear with a page title that matches the menu item text. For example, when I click “Product A” in the menu, I see this.
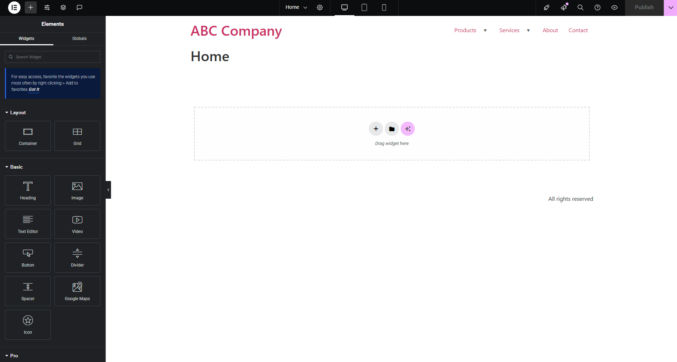
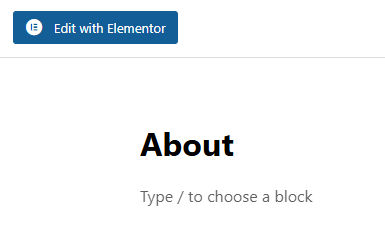
If you click on “Home” in the list of pages, you’ll see the WordPress Gutenberg block editor showing the page title “Home”.
We don’t want to edit the page using the native WordPress editor. Click the blue “Edit with Elementor” button at the top. We’ll be taken to the same page but in Elementor, which is a much better WYSIWYG editor.
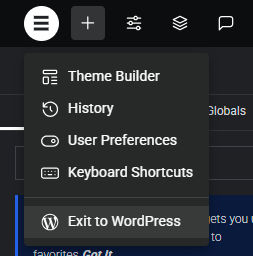
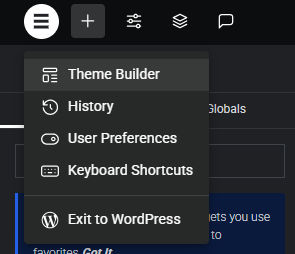
If you need to go back to the WordPress admin panel, click the Elementor button in the top left corner and then “Exit to WordPress”.
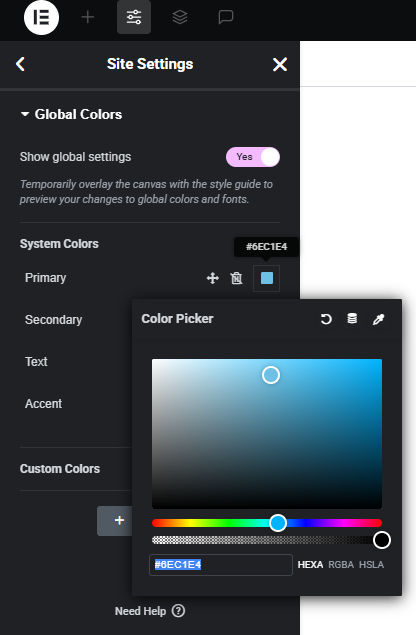
Elementor > Site Settings > Global Colors
Here, you can specify primary, secondary, text, and accent colors as well as additional optional colors.
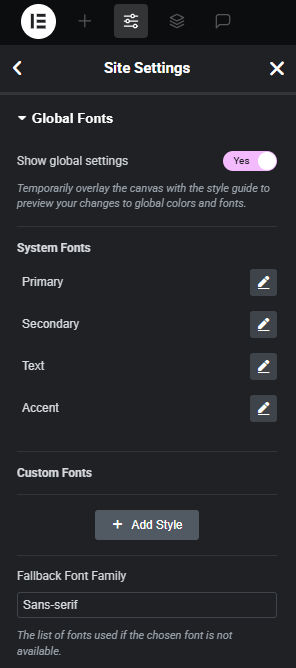
Elementor > Site Settings > Global Fonts
Here, you can specify primary, secondary, text, and access font family and styles as well as additional custom fonts.
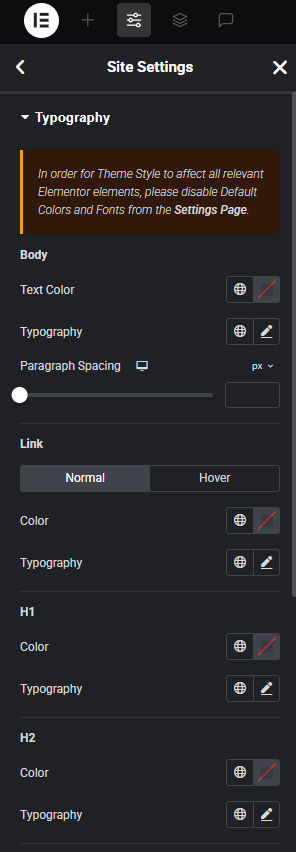
Elementor > Site Settings > Typography
Here, you can specify font family and style for body text and H1 – H5 headings.
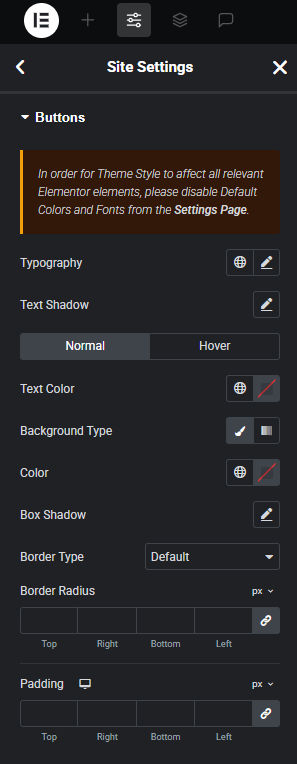
Elementor > Site Settings > Button Style
Here, you can specify how your buttons should look.
Elementor > Site Settings > Image Style
Here, you can specify how your images should look.
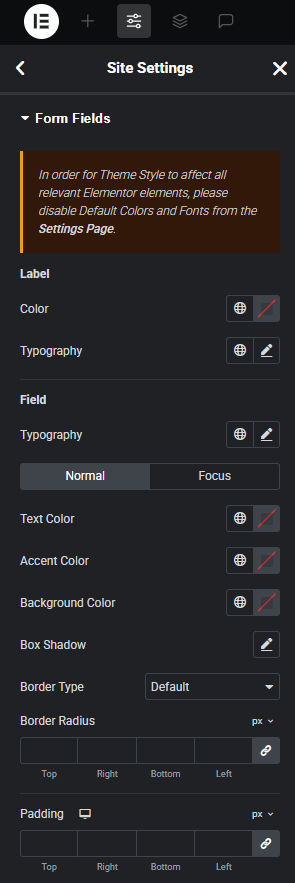
Elementor > Site Settings > Form Fields
Here, you can edit the style of form fields.
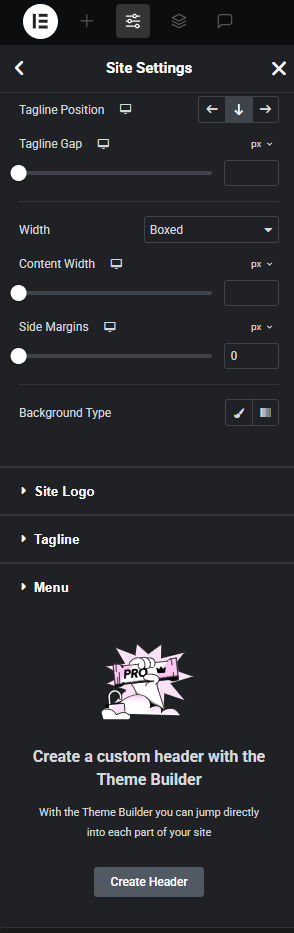
Elementor > Site Settings > Header
Here, you can edit the header of the active theme (in this case, Hello Elementor). If you scroll down, you can optionally create a custom header using the Theme Builder.
You can also access the Theme Builder from the Elementor menu in the top left corner.
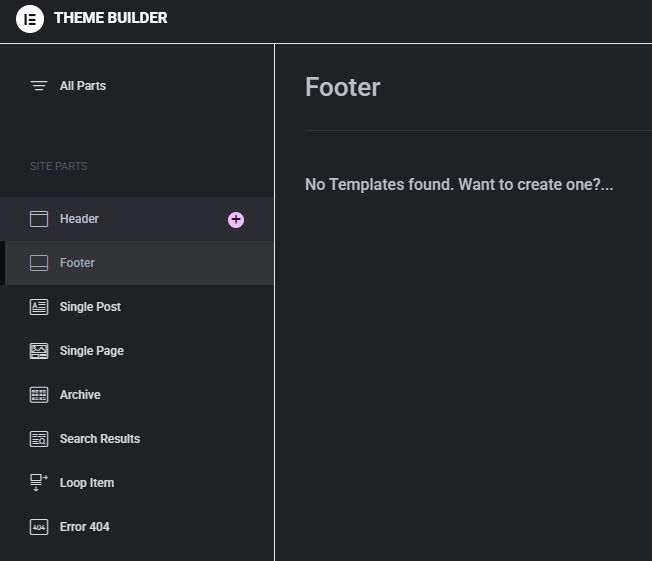
The Theme Builder allows you to create a template for various parts of your site (header, footer, single post, single page, etc).
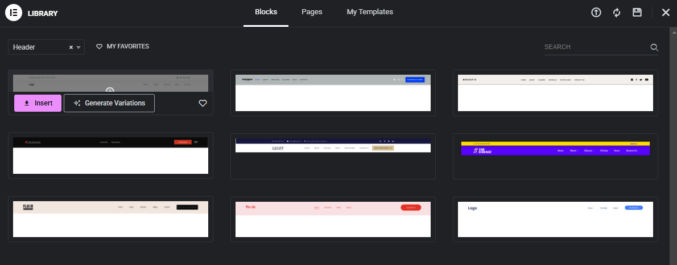
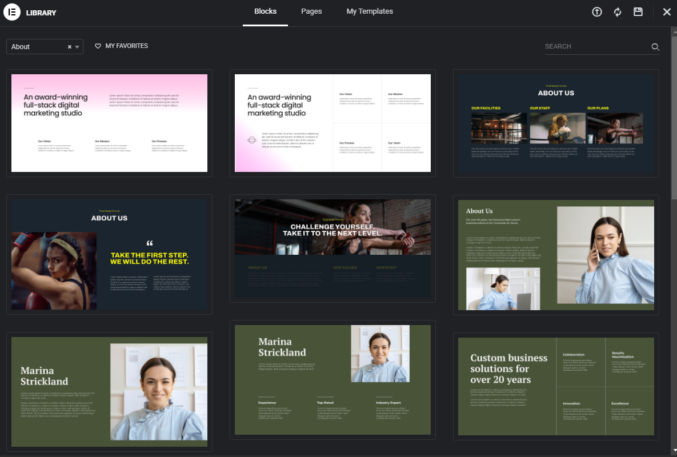
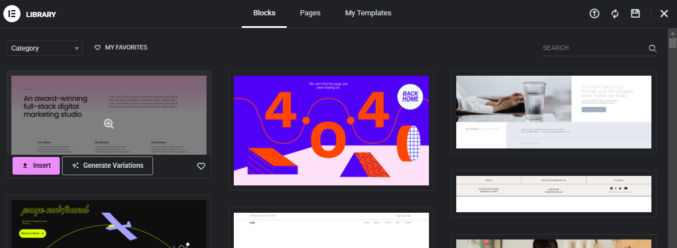
For example, under Header, when you click to “Add New”, a popup will appear with premade header blocks to insert into your site.
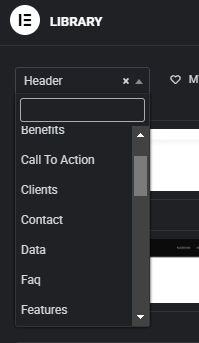
The library has many types of content blocks to choose from.
For example, here are “About” blocks.
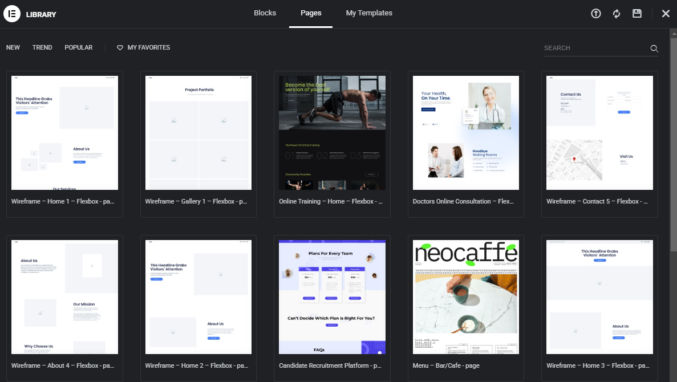
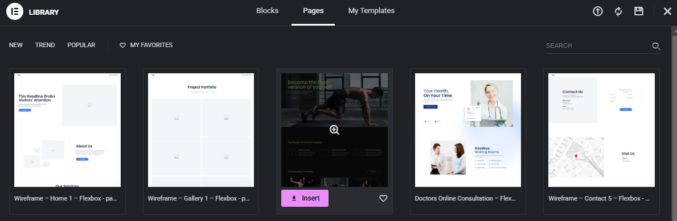
If you click the “Pages” tab in the Library, you’ll see a bunch of premade pages to insert into your website.
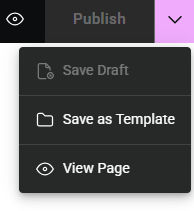
And if you click the “My Templates” tab, you’ll see any custom block or page templates you’ve created and saved. For example, once you’re done creating a page, you can click the down arrow in the top right corner and then click “Save as Template”.
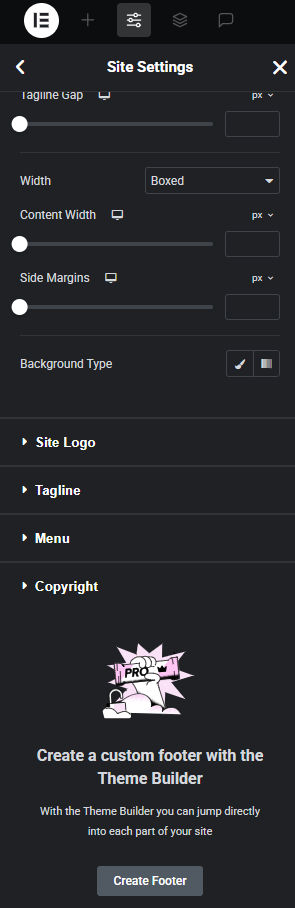
Elementor > Site Settings > Footer
Like the header, here, you can edit the footer of the active theme (in this case, Hello Elementor). If you scroll down, you can optionally create a custom header using the Theme Builder.
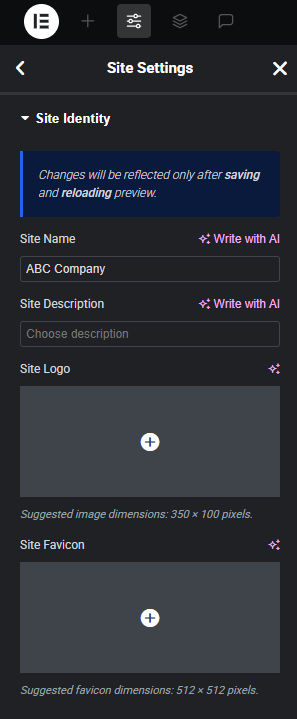
Elementor > Site Settings > Site Identity
Here, you can specify a site name, description, logo, and favicon.
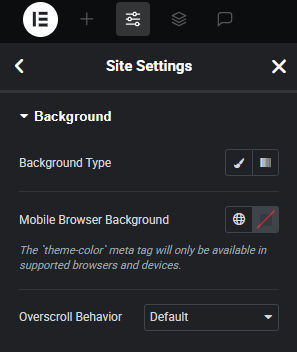
Elementor > Site Settings > Background
Here, you can set a background for your website. It could be a solid color, a gradient, a video, etc.
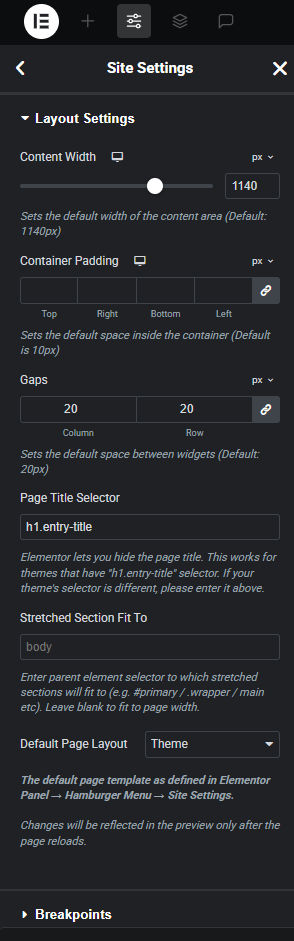
Elementor > Site Settings > Layout Settings
Here, you can specify the width of your websites content area, default container padding, the gap size between widgets, breakpoints, etc.
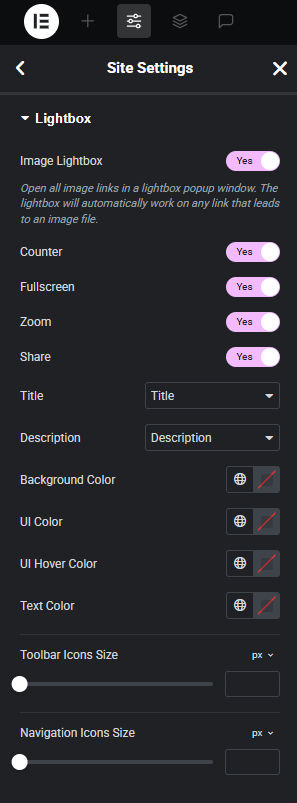
Elementor > Site Settings > Layout Settings
Here, you can enable image lightbox, which opens all image links in a popup window. You can edit the style of the lightbox here.
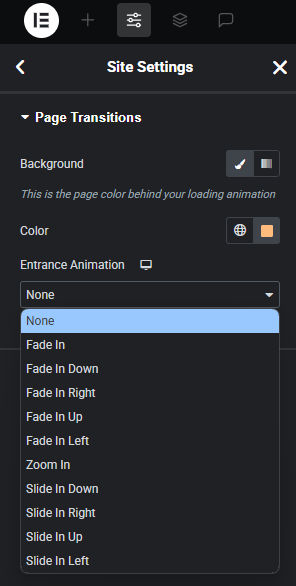
Elementor > Site Settings > Page Transitions
Here, you can specify how a page transitions from one to another, e.g. fade in, zoom in, slide, etc.
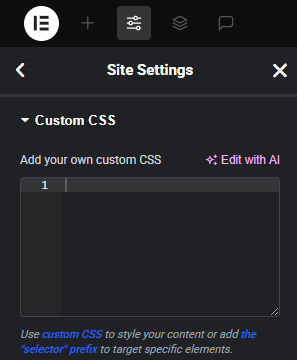
Elementor > Site Settings > Custom CSS
Here, you can enter any custom global CSS.
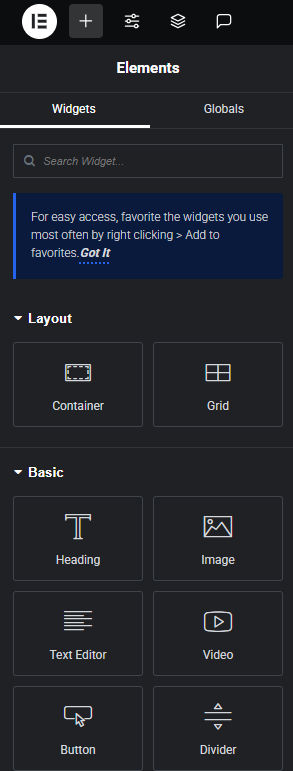
Elementor > Add Element > Widgets
To start building a page from scratch, you’ll click on the + icon to open the widget library. There are
layout widgets (flexbox and grid),
basic widgets (text, image, etc)
Pro widgets (loop grid, loop carousel, etc)
general widgets (tabs, accordion, etc)
link in bio widgets (minimalist, classic, etc)
site widgets (site logo, site title, etc)
single widgets (these are widgets for single posts, e.g. post title, post excerpt, etc)
WordPress widgets (pages, calendar, etc)
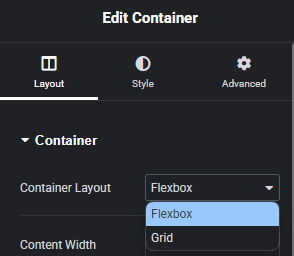
Add Widgets to a Page
To start building a page, drag a widget from the widget library to the location in the page where you want the widget to appear. Most of the time, you will start with a container layout widget. The default container is “Flexbox”, which is used for any type of layout. If you are created a symmetrical layout, you can choose “Grid”. Note that for each widget, there are 3 tabs with controls to configure various settings of the widget:
Layout
Style
Advanced
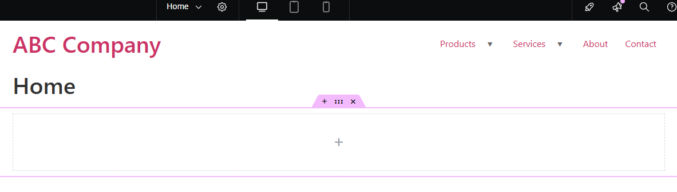
As you can see below. I’ve added a simple flexbox container to the page.
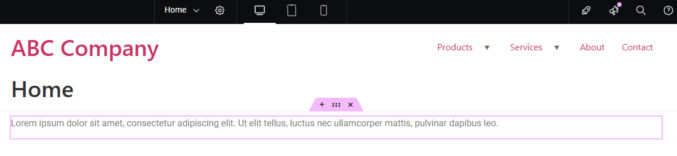
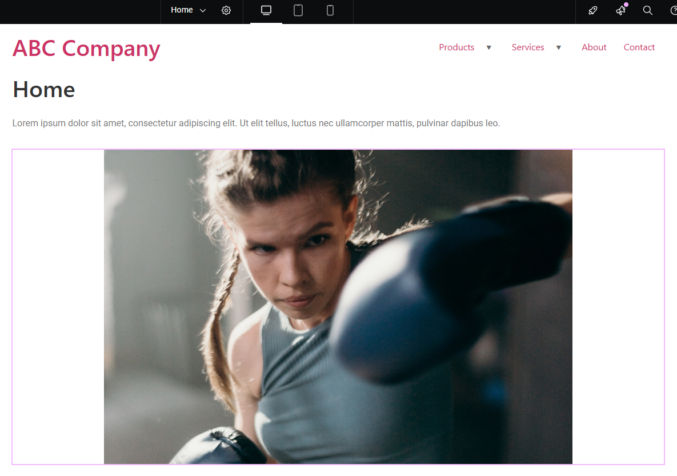
Now, let’s add some text on the left and an image on the right. Drag the text widget to the container. There is placeholder text.
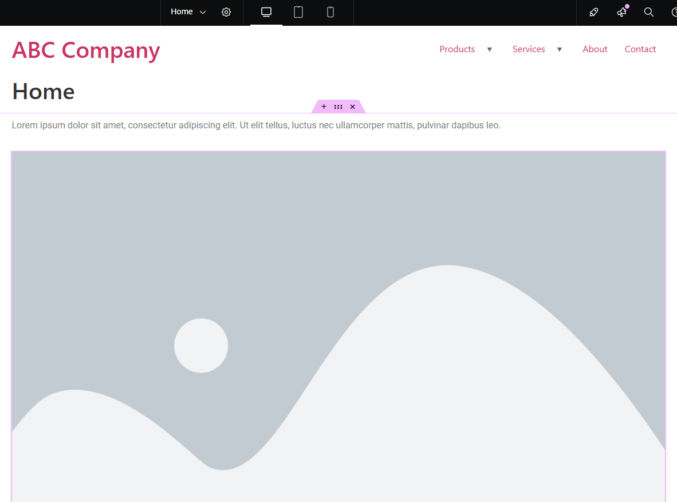
Now, drag the image widget to the container. By default, we see a huge placeholder image and it appears below the text.
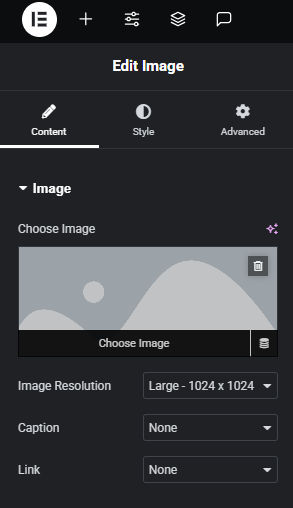
In the Content tab of the image widget settings, let’s replace the image with any test image.
Our page now looks like this.
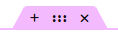
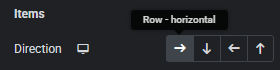
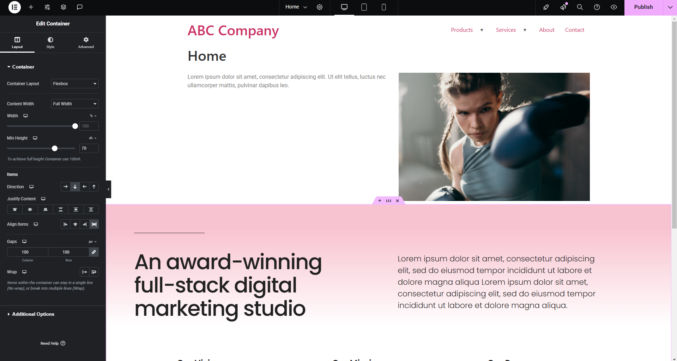
Since we want the text and image to be in a row, we need to click on the container (6 dots)
and then click “Row” (right arrow) under “Items”.
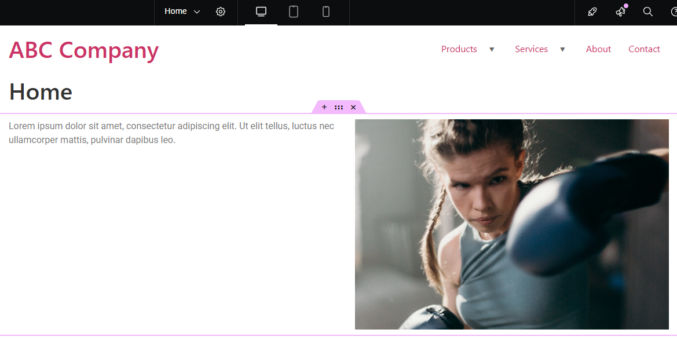
The page now looks like this.
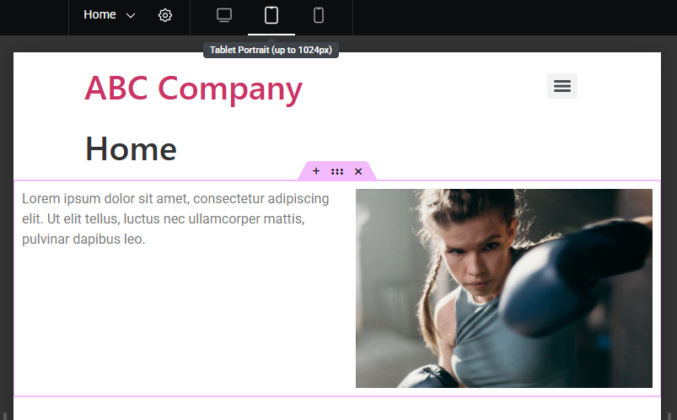
Tablet Preview
In the top center of the Elementor editor, you will see which page you are editing with a dropdown of other pages you can edit. There are also buttons for desktop, tablet, and mobile to preview how your site looks in each device. Clicking the tablet button shows us how the page looks on table.
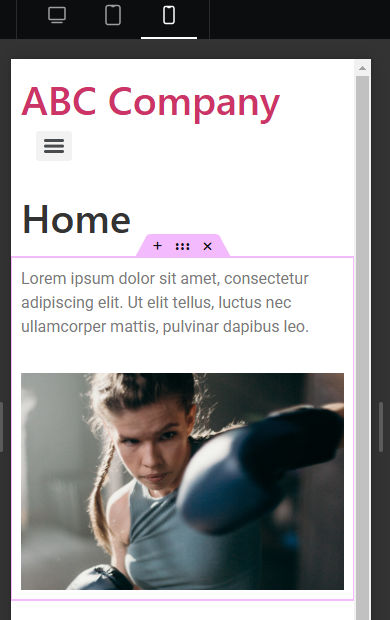
Mobile Preview
Similarly, we can see a preview of the page on mobile.
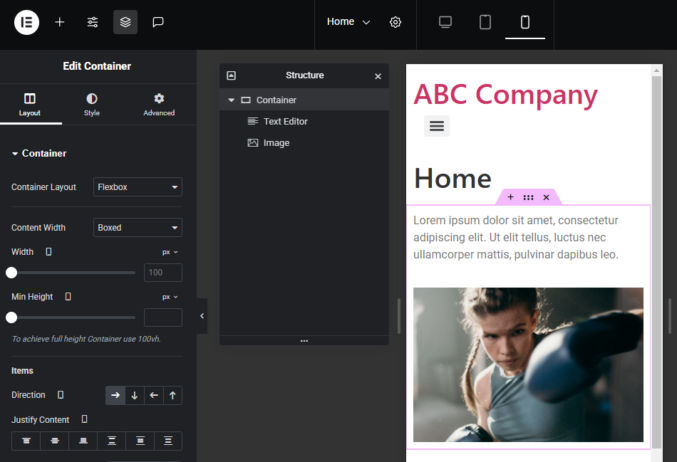
Elementor > Structure
If you click the Structure button in the top left, a popup will appear showing the structure of the various elements on the page except for the header and footer. Since we added a container with nested text and image blocks, we see that structure in the Structure popup.
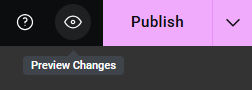
Elementor > Preview
To preview the page, click the eye icon next to the Publish button.
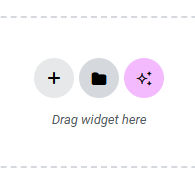
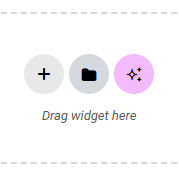
Insert a Block
Below the section we just added, let’s add a premade block. Click the folder icon to add a template.
Browse the premade blocks, choose one, hover over it, and click “Insert”.
You’ll see that the block has been added to our page.
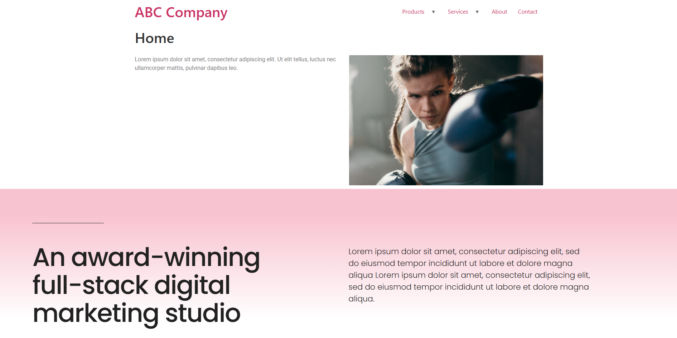
Publish
Right now, our home page still looks like this.
Click the pink Publish button in the top right and then reload your site. Your changes will be live.
Insert a Page Template
Go back to the WordPress admin and click on another page to edit, e.g. the About page.
In the WordPress editor, click the “Edit with Elementor” button to edit the page in Elementor.
Now, click the folder icon to open the template library.
Click the “Pages” tab, browse the page templates, hover over one, and click “Insert” to insert it into our About page.
We now see that page template inserted into our About page. We can edit the content and then publish it.
Browsing the premade templates, inserting them into your pages, and inspecting how they are set up is one way to learn how to create pages from scratch
Working for the State of California as a civil servant / government employee has its benefits, but there are also some disadvantages. From my perspective, here are some of the pros and cons.
Pros
CalPERS retirement plan
When you work for the State, you become a member of CalPERS, the California Public Employees Retirement System. It is the largest public pension fund in the United States. CalPERS provides retirement and health benefits to more than 2 million California public employees, retirees, and their families. You only need to work for 5 years to vest. When you retire, you get a monthly income based on a formula that takes into account your years of service, salary, etc. Unlike a 401K, explained below, your retirement income from CalPERS lasts until you die.
Unlike the CalPERS retirement system, when you work for a for-profit company, you are encouraged to save money in a 401K. Your employer may match your contributions up to 100% and up to 6% of your salary. For example, if you make $100,000 per year and contribute 6% ($6000) spread over the year, your employer may match your contributions and add $6000 to your 401K. It’s basically free money. The money in your 401K is usually invested in the stock market. When you retire, you can withdraw money from your 401K, but when it’s finished, you’ll have no more money from it. Therefore, a 401K is like an invested savings account with the benefit that your employer may give you free money to add to your savings.
Comprehensive Health Benefits
Health insurance typically comprises medical, dental, and vision. The most expensive is medical insurance. State employees get comprehensive health insurance, and the coverage is usually very generous. The State usually pays for most, if not all, of your health insurance. In contrast, if you work for a for-profit, your health benefits can range from zero to 100%. At one company I worked at briefly, I had to pay $700 per month for health insurance. That amounts to $8400 a year in expenses.
Work-Life Balance
I’ve never worked for the State, but I did work for a local government agency that was State-funded, and I contributed 4.5 years to CalPERS. I believe working for a local government agency is very similar to working for the State. From my experience, the work-life balance was very good. In contrast, when I worked for private and public for-profit tech companies, the work-life balance was bad. At the local agency, I never had to work outside of normal business hours, whereas at the tech companies, I often had to work at 7 AM, 10 PM, and occasionally on the weekends due to time zone differences working with a global team, the last-minute nature of projects, and overall pressure to do more. Since State employees must reside in California, there should never be a time zone difference. Also, government jobs tend to be slow-paced, and from my experience, I always had ample time to work on projects and never felt rushed or under pressure to meet tight deadlines.
Job Security
When you work for the government, you typically have good job security, and transferring to another position within the State is possible. You will never suddenly get fired, but with budget cuts, it’s possible to get laid off. When I worked for a local government agency, I was laid off along with 20 other people in one of multiple rounds of layoffs due to budget cuts. Everyone was provided many months of notice, and I even had the opportunity to “bump” someone else (get them laid off) because I had higher seniority than them. In contrast, when working for a for-profit company, sudden employment terminations are not uncommon, and the reasons are often questionable. For-profit companies only care about profits, so if management decides they can replace you with someone cheaper in India, then they’ll find a way to get rid of you. Since the State is a non-profit organization, and all employees must reside in California, sudden and shady employment terminations would never happen, and if you are accused of wrongdoing, a proper investigation, along with proof, is required. Employment in California is at-will, meaning employers can terminate one’s employment without cause, as long as the termination meets legal requirements.
Cons
Lower Pay
State jobs don’t pay well. The salaries can be significantly lower than those at California tech companies, but maybe not much lower than at non-tech companies or smaller for-profit businesses. Since the State of California is non-profit employer, there are no stocks and bonuses. When I worked for a for-profit tech company, the financial benefit I got from the IPO and from RSUs and bonuses was quite big, but there’s no guarantee of getting that benefit.
Slow-paced and bureaucratic
When I worked for a local government agency, everything moved so slowly that I often fell asleep at work. For me, the boredom, slowness, and bureaucratic environment were painful, but that was a long time ago. When I moved to the for-profit tech sector, it was the opposite. Everything was so fast-paced, I could hardly keep up, and as the company grew, the bureaucracy grew as well.
When considering a State job, you need to weigh all the factors. For example, if you value work-life balance and a steady retirement income and don’t mind lower pay and slow-paced work environment, then a State job may be a good option for you.
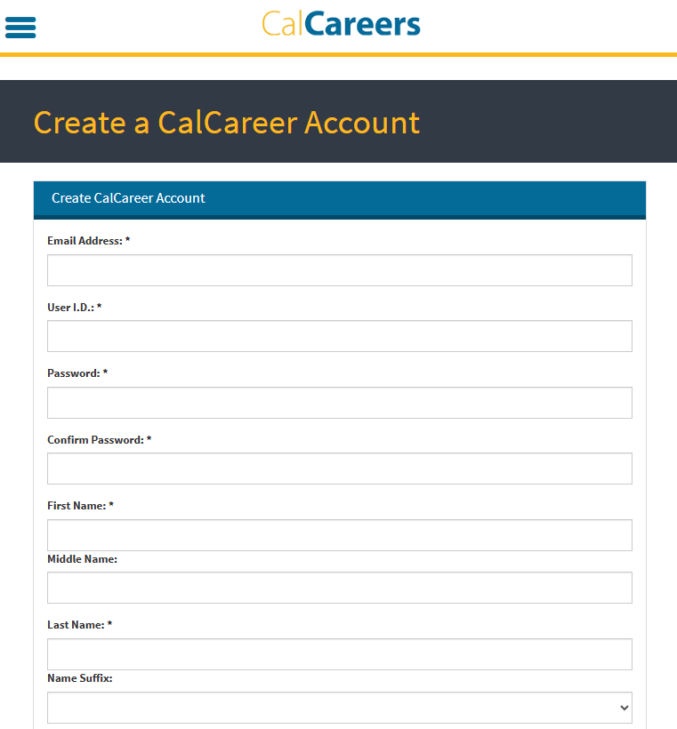
How to Apply to a State Job
When you apply for a job at a for-profit company, the application process is very straightforward and simple. Some companies just want you to submit your resume. Others want you to fill out a multi-step form. Cover letters are usually optional. The whole application process can take 5-15 minutes. In contrast, applying for a State job is extremely time-consuming. The job posting alone is very long and wordy and doesn’t even describe the job duties – for that, you need to open another long document (a PDF). Furthermore, you often need to take an online “exam” in order to apply for a job. It’s not a time-based exam. For lower positions, the exam may be multiple-choice, but for higher positions, there could be many questions that require a written response, including examples. For the latter type of exams, you can spend hours answering the questions. Upon completion, you’ll get an immediate score, which is likely based on AI when the responses are written. You need a score of 70% to be eligible to apply for the job. And each job classification requires a different exam, so you could end up taking multiple exams for different job classifications. Once you’ve passed the exam, you often need to write a “Statement of Qualifications” (SOQ), which is limited to 2 pages with 12-point Arial font. In this document, you must answer specific questions asked in the job posting. For some jobs, you also need to write a cover letter, explaining why you are a good fit for the job. And then you need to apply online, fill out a multistep form, provide your work and education history, upload your resume and other required documents (SOQ, cover letter, etc.), and only then can you click “Submit” to complete the application process. The effort required would likely turn away many prospective job seekers, but it should help the State weed out unqualified candidates.
Following are step-by-step instructions on how to apply for a State job online.
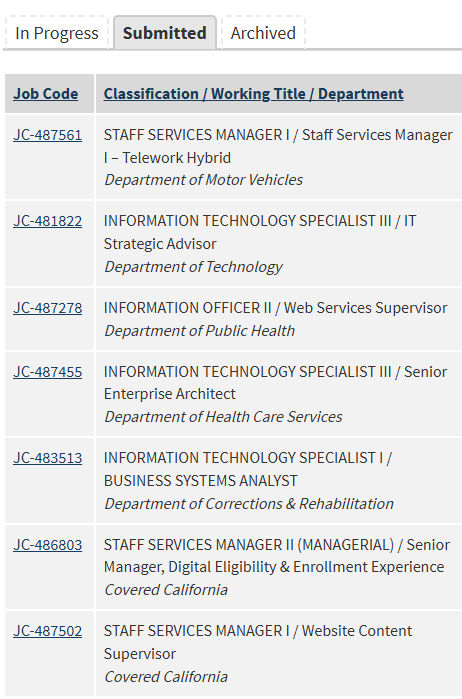
Most jobs are in the state capitol, Sacramento. You can filter by location and more.
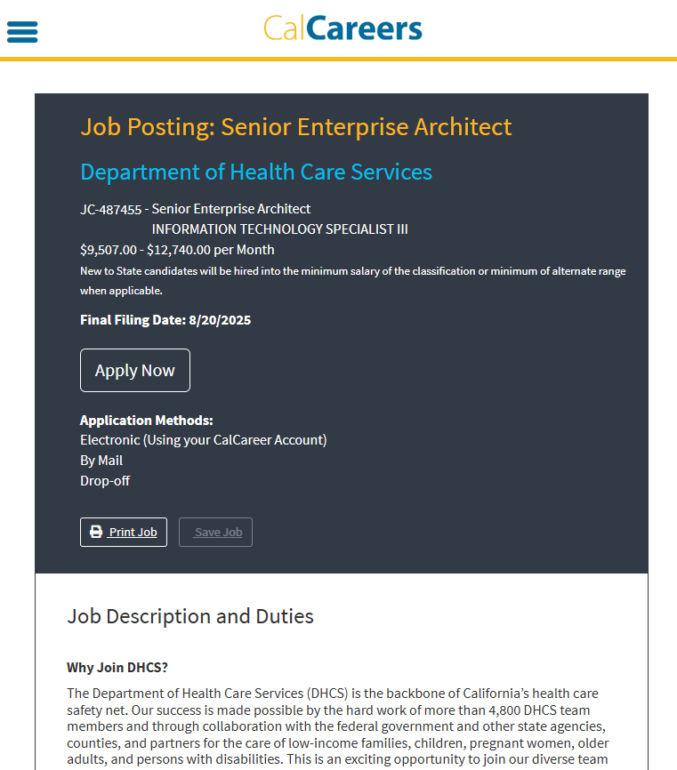
Read the job posting
Read the job posting to briefly see the job description and requirements. Here’s an example job posting.
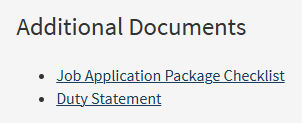
Read the duty statement
If the job posting looks good to you, click the “Duty Statement” link to open a PDF containing a detailed description of the duties required and their percentages. Here’s an example Duty Statement document.
Take an online assessment exam
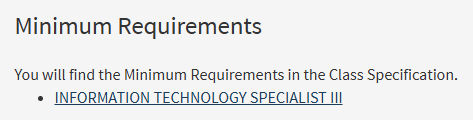
If the duty statement looks good to you, look for the job’s exam requirement. In the minimum requirements section, you’ll see the job’s Class Specification.
In this example, the Class Specification is “INFORMATION TECHNOLOGY SPECIALIST III”. On the CalCareers.ca.gov website, search for the exam/assessment.
You should find two results – one regular and one LEAP. The LEAP one is for people with disabilities. In this article, I will show the process for non-LEAP exams. Click “View Exam Posting” for the non-LEAP result.
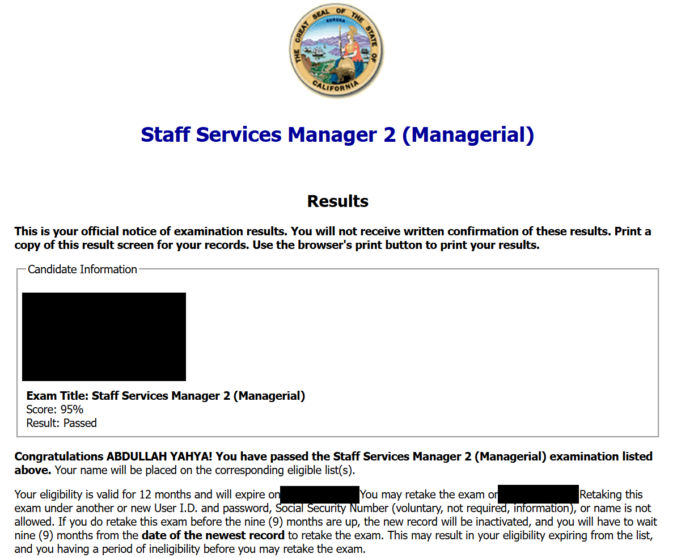
If you’ve already taken the exam, you will see a screen showing your score, e.g.
If you haven’t taken the exam, you will be presented with a form to take the exam. If it’s a multiple-choice exam, it’s easy and shouldn’t take long. If it’s an exam requiring a written response, it will take time to complete. For the latter, for each question, you will need to indicate your months or years of experience and write a description with examples of how you can perform the task asked. You will also need to provide references who can verify your answers.
Once you’ve passed the online assessment exam, you will be eligible to apply for the job.
Write a Statement of Qualifications (SOQ)
Most job postings will state a requirement for candidates to write and submit a Statement of Qualifications (SOQ) by answering specific questions listed in the posting. Save this document in PDF format to upload to your application package.
Write a cover letter
Some job postings may require you to write a cover letter describing why you are the best candidate for the job. Save this document in PDF format to upload to your application package.
Write a resume
Some job postings may not require a resume, but you should have one anyway.
Apply for the job
Now that you have met the minimum qualifications (list eligibility by passing the assessment exam) and have required documents (SOQ, resume, cover letter), you can apply for the job. On the job posting, click the “Apply Now” in the header.
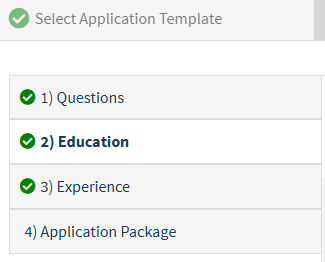
You can then apply using an existing application template you saved from a previous application or start fresh. The application steps include
Equal Employment Opportunity questions
Your education history
Your work experience history
Your application package, which is where you upload supporting documents (SOQ, resume, cover letter, etc).
On step 4, you can submit your application. Once you do so, if you revisit the job posting page, you’ll see the “Apply Now” button changed to “View Application”.
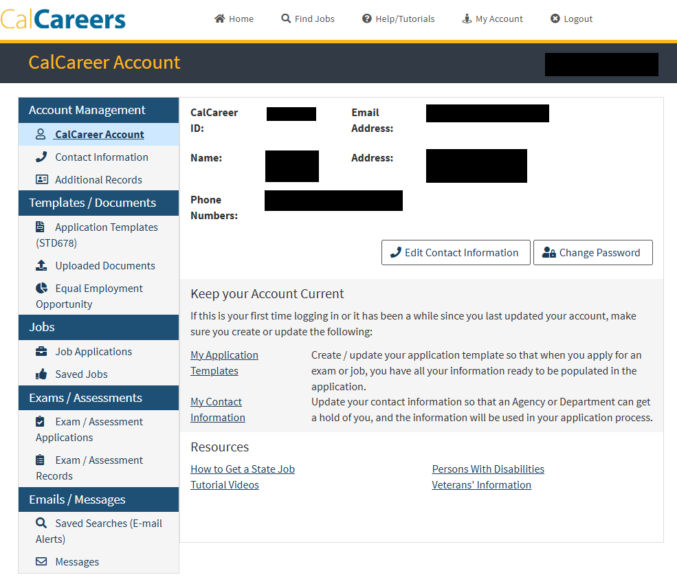
Review your exams and applications
Log in to CalCareers and click on “My Account”.
Under “Exams/Assessments”, you will find the exams you’ve taken your score, e.g.
Click “Application Template (STD 678)”. If you saved your job application as a template, you’ll see it here. Templates can be used to save time when applying for other jobs if most of the information is the same.
Click on “Job Applications”. You’ll see the list of jobs you’ve successfully applied for.
Before I list some common options for marketing website options, it’s worth going over a few topics first.
Speed
No matter what type of website you are building, you want it to be a fast as possible. Speed is critically important for SEO and a good UX. To achieve the fastest speed, you need the following:
a static website (dynamic sites like WordPress that render PHP files with each request are slower)
hosting the website files on a content delivery network (CDN)
optimized and compressed images, preferably using a dedicated CDN like ImageKit or Cloudinary)
optimized and minified CSS, e.g. using Tailwind CSS to build only the CSS that is needed)
optimized and minified JavaScript
other techniques such as lazy-loading of images and infinite caching with unique (e.g. with a timestamp) asset filenames whenever a file changes
Security
Having a secure website is critical, especially for businesses. Some best practices for website security are
delivering a static website since dynamic ones, e.g. WordPress powered by PHP and numerous plugins by different authors are much easier to hack
multi-factor Authentication (MFA) (If you are using a CMS like WordPress, you can add 2FA to each user’s login. You can also restrict access to the admin panel to just a block of IP addresses for your company and requiring VPN access)
implementing a Zero Trust policy, where you assume everyone who has access is a potential threat and proceeding accordingly
applying a principle of least privilege (POLP) by limited user access to the minimum needed
requiring complex passwords
rotating passwords by forcing users to change their password regularly
keeping all dependencies up to date, including WordPress plugins
deleting using WordPress plugins rather than just deactivating them (yes, it’s possible to hack a WordPress site even via a deactivated plugin)
having regular backups
implement a Content Security Policy (CSP), which limits which resources can be loaded and from what domain
add SSL/TLS to transfer data encrypted (check SSL Labs and Hardenize for configuration recommendations)
use a code-scanning service to regularly check version control for sensitive data
rename default file / folder names, e.g. wp-admin for WordPress
disable unused features, e.g. WordPress’ REST API URLs
Content Management System
WordPress with or without a builder
WordPress is the #1 most popular CMS. If you use the default WYSIWYG editor (Gutenberg), you can create simple web pages, but if you want to more design and layout customization options without coding, you’ll need to use a website builder plugin like Elementor, Oxygen Builder, and WPBakery. With so many plugins, you can easily add website features like a hero carousel without coding by just installing a plugin and using it. However, it’s important to know WordPress’ limitations:
slower than a static site because the live site has to be dynamically rendered from PHP files first
less secure than a static site
development and customizations are somewhat limited or come with a learning curve as you have to work within the WordPress’ ecosystem
content is stored in a database, which is less user-friendly to work with for developers
version control uses WordPress’ custom versioning system rather than industry-standard git
Webflow
Webflow is a popular website builder that provides a WYSIWYG interface for creating very custom-looking websites. Its UI is powerful, but the many options may make it overwhelming for non-technical users. Websites are either hosting on Webflow’s servers or you can manually export a static version of the site each time you want it.
Headless CMS like Contentful
Contentful is a headless CMS. It allows you to create custom content models. Content is stored in Contentful and then fetched using the Contentful API. Note that you can also use WordPress in a headless manner via the REST API and WPGraphQL.
Content Contributors
Some marketing leaders will insist that many or all members of marketing, most of whom are non-technical, should be able to update the website. From my experience, most marketers don’t want to update the website themselves, even if they knew how to. They prefer to just open a ticket, like in Asana, or worse yet, send an email or a chat message asking for an update to be made. If non-technical
Having said that, from my experience, the one section of a website that is updated very frequently is the blog by many different authors. Unlike product pages, which are created once in a while, and tend to have fancy designs with animation, blog posts are very simple and they follow the same simple template. As such, it would make sense for non-technical people to be able to stage blog posts using a CMS.
Development Time
React
Even though React is the most popular JavaScript library for building user interfaces (UIs) with reusable components, that doesn’t mean it’s the best (I prefer Svelte) nor is it needed for all types of websites. I think most developers would agree with me that React is better suited for interactive web applications rather than primarily static marketing websites. Though you can create a static marketing website with React and a framework like Next.js, it makes no sense to because there will be a lot of unnecessary overhead that will slow down development and updates.
Dynamic functionality
You might argue that you need React for some dynamic functionality in your marketing website, like a page to filter resources. First of all, unlike SaaS web apps, where each company’s app have different requirements, most marketing websites have more or less the same functionality. For example, if you need a page to filter resources, you can use the Hushly Content Hub. Not only does it provide fully customizable filtering functionality and design, it allows non–technical marketers to log in and upload resources themselves, so web developers don’t have to waste time doing non-development work. Another common type of dynamic functionality is an ROI calculator. There are many services that provide this and which are easily customizable, e.g. grid.is.
Of course, there may be a time when you need a custom solution, but it doesn’t make sense to have your entire website depend on React or Svelte or some other JavaScript library just for a few edge cases. In this case, developers can use React and Svelte to create a frontend-only app.
Image Optimization
You really don’t need to waste time manually optimizing images anymore. Not only is that time-consuming, you can mostly get better results by using a dedicated image optimizer and CDN like ImageKit and Cloudinary.
Now that that’s out of the way, here are some options I’d recommend for a marketing website.
Marketing Website Tech Stack Options
Option 1
If non-technical people will only update certain parts of the website, e.g. press releases and blog posts, and if there are sufficient and skilled developer resources, then I recommend the following stack:
Eleventy or similar (for static site generation)
GitHub or similar (for version control – text files only)
Netlify or similar (for CI/CD and hosting)
Contentful or similar (a headless CMS for custom content models)
WordPress (used in a headless manner via the REST API or GraphQL for blog posts)
WPengine or similar (for WordPress hosting)
Tailwind CSS (for optimized CSS)
Tailwind UI or similar (component library – optional)
Option 2
If non-technical people will update most of the site and the site and/or there are limited developer resources, then I recommend the following stack:
WordPress (used in a headless manner)
WPengine or similar (for WordPress CMS hosting)
Simply Static (a WordPress static site generator plugin)
Github or similar (for storing static files and for version control)
Netlify or similar (for CI/CD and production website hosting)
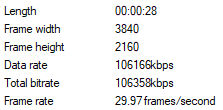
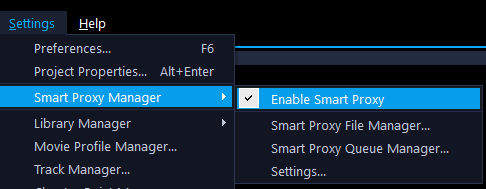
The source video was taken with the Insta360 Ace Pro using PureVideo mode at 4K30fps. It’s 28 seconds long and 355 MB in size. HDR was disabled and can’t be enabled in this mode.
I converted that video using Handbrake using the following presets and modifications. The presets all maintain the resolution (4K). In all cases, I changed the framerate from 60 to “Same as source”.
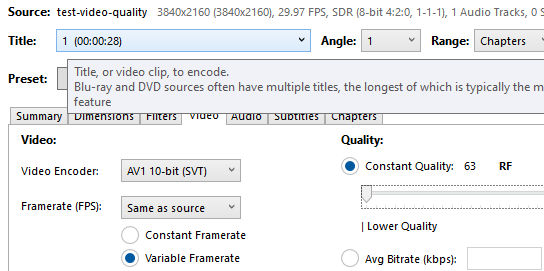
Very Fast 2160p60 4K AV1, Quality = 63
I set the quality to the lowest option (63).
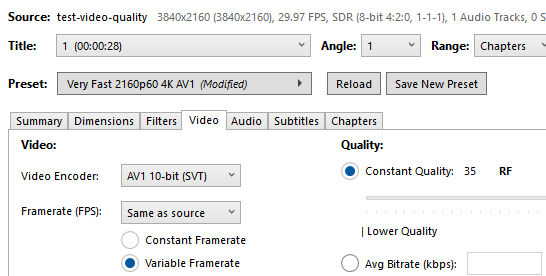
Very Fast 2160p60 4K AV1, Quality = 35
I left the quality at the preset value (35).
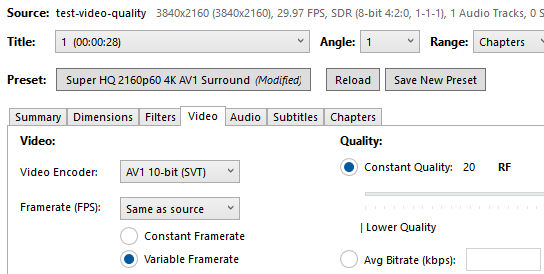
Super HQ 2160p60 4K AV1 Surround, Quality = 20
I left the quality at the preset value (20).
Super HQ 2160p60 4K AV1 Surround, Quality = 0
I set the quality to the highest option (0).
Here are the results
Video
Video Quality Setting (CRF)
Bitrate
File Size
File Size % of Original
Original
–
106Mbps
355 MB
Fast
63
0.5 Mbps
1.7 MB
99% smaller
Fast
35
4.7 Mbps
16 MB
95.5% smaller
Super HQ
20
20 Mbps
66 MB
82% smaller
Super HQ
0 (highest)
319 Mbps
1092 MB
300% larger
According to ffmpeg, when encoding to H.264, a Constant Rate Factor (CRF) value of 17 or 18 is considered to produce visually lossless output. ffmpeg defaults to a value of 23. Looking at the table above, the nearest preset quality CRF value in Handbrake is 20, which produces a video with a 20 Mbps bitrate and an output that is 82% smaller.
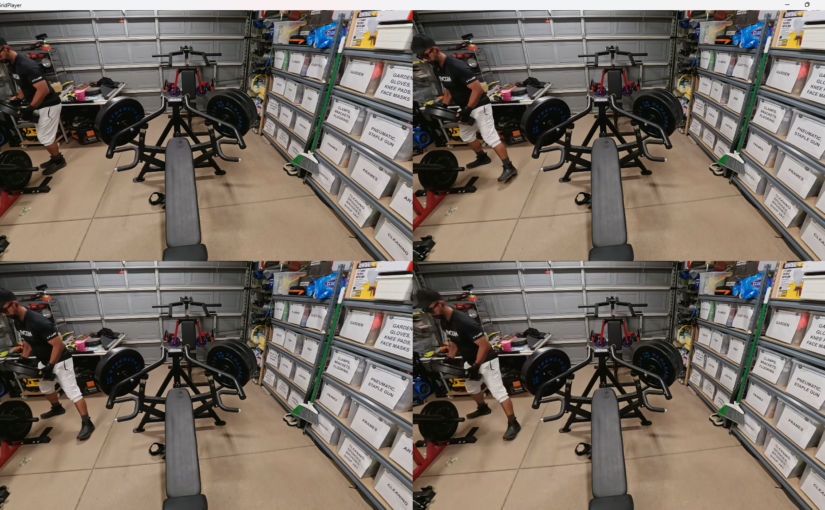
To compare video playback quality, you can use GridPlayer to play multiple videos side by side. Of course, if the videos have 4K resolution, you should use a 4K monitor.
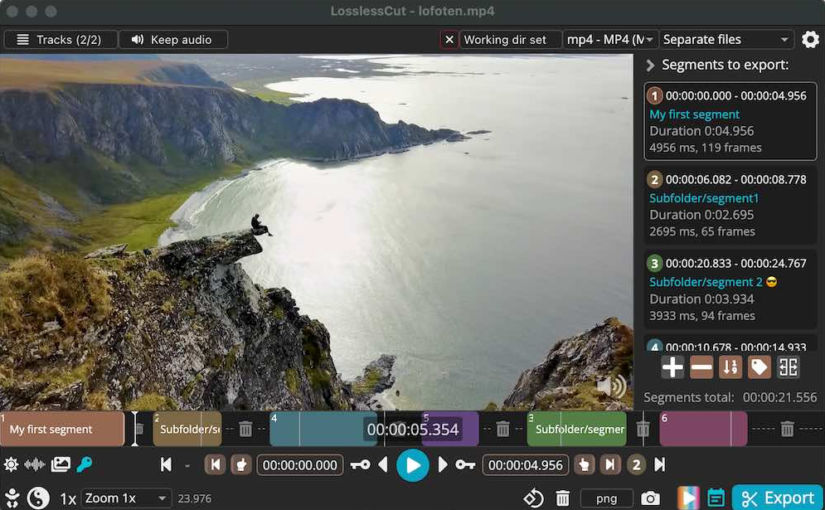
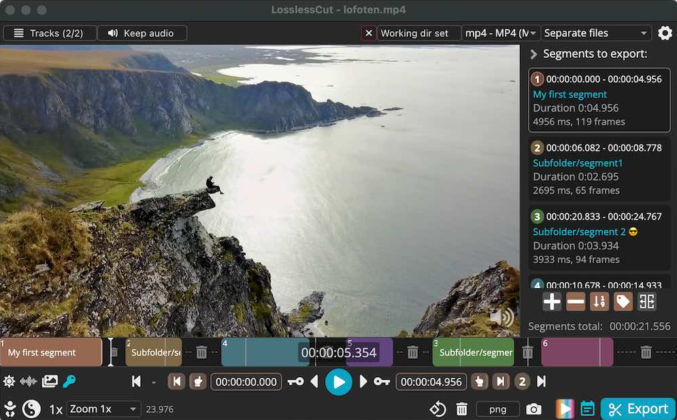
This post will explain how I easily made this short 5-minute 4K video using LosslessCut and VideoStudio Pro.
Short videos like this are handy when you want to condense a lot of video footage into a short video. Unlike 1080p video footage, 4K footage is much larger in file size, so, depending on your computer, editing it can be slow and frustrating. I used LosslessCut to easily and quickly create many short video clips from several large video files. I then used Corel VideoStudio Pro to assemble the clips and add transitions, effects, music, etc.
1. Take Video Footage
I used the Insta360 Ace Pro action camera. This camera has a large flip screen, which made it super easy to get footage on my own using a tripod. The camera has pretty good low-light quality when you choose the PureVideo setting. I took 4K30fps video.
2. Extract Clips From Video Footage
Open your video footage in LosslessCut.
Go to the beginning of the first segment you want to turn into a clip. You can click the play button to play the video or jump to different sections by clicking on the timeline. You can also click the left and right arrow keys to move one frame at a time. Mark the beginning of the segment by clicking the left-finger pointer button. Go to the end of the segment and click the right-finger pointer button. In my video above, I made each clip between 3 and 5 seconds long.
You will see the segment in the right column.
To create a new segment, click the plus (+) button below the segments in the right column. If you want to delete a segment, you can click the minus (-) button.
Repeat this process until you have all the segments you want to export. When you’re ready to export, click the Export button in the bottom right corner. The segments will almost instantly be exported as individual clips without loss of quality.
3. Compress Video Clips
Use Handbrake to batch compress all video clips.
Video
Video Quality Setting (CRF)
Bitrate
File Size
File Size % of Original
Original
–
106Mbps
355 MB
Fast
63
0.5 Mbps
1.7 MB
99% smaller
Fast
35
4.7 Mbps
16 MB
95.5% smaller
Super HQ
20
20 Mbps
66 MB
82% smaller
Super HQ
0 (highest)
319 Mbps
1092 MB
300% larger
I used the Super HQ (20) preset since that produced 82% smaller files while maintaining visual quality.
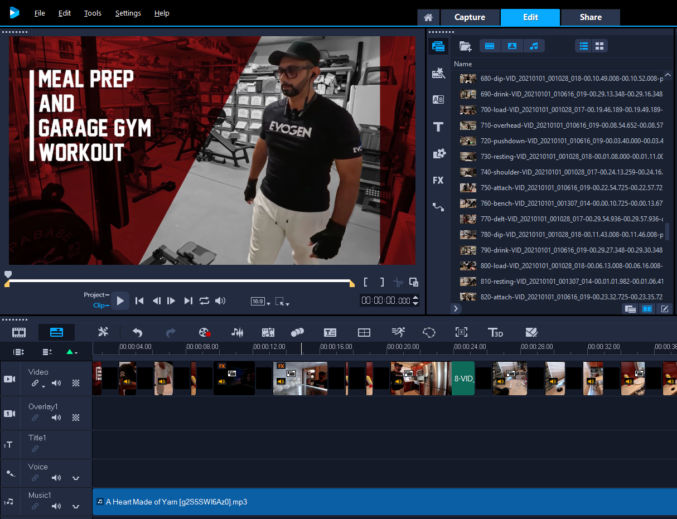
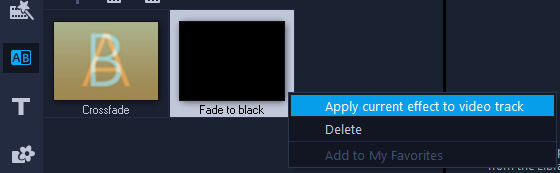
For the transitions, I used Fade to Black. You can choose “Apply current effect to video track” to apply the transition to all clips at once.
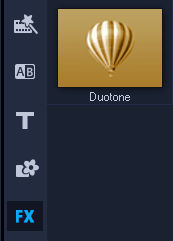
For the workout scenes, I added the duotone effect to the clips so the background wouldn’t be distracting.
Drag the Duotone effect thumbnail to the clip on the timeline. You’ll see an “FX” label on the clip.
Here’s how a clip looked before and after applying the duotone effect.
Original clipWith duotone effect applied
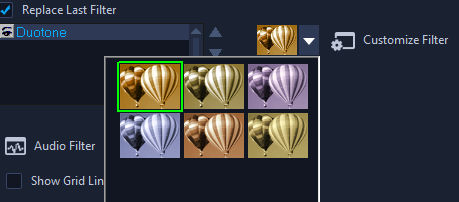
When you click on a clip that has the duotone effect applied, you can customize the effect, e.g. by changing the color.
5. Export the Video
After assembling all assets (video clips, music, etc), transitions and effects, click the Share tab to export the video. Make sure the render video properties match the properties of the source video clips to maintain quality. In particular, pay attention to the resolution (3840 x 2160) and bitrate.
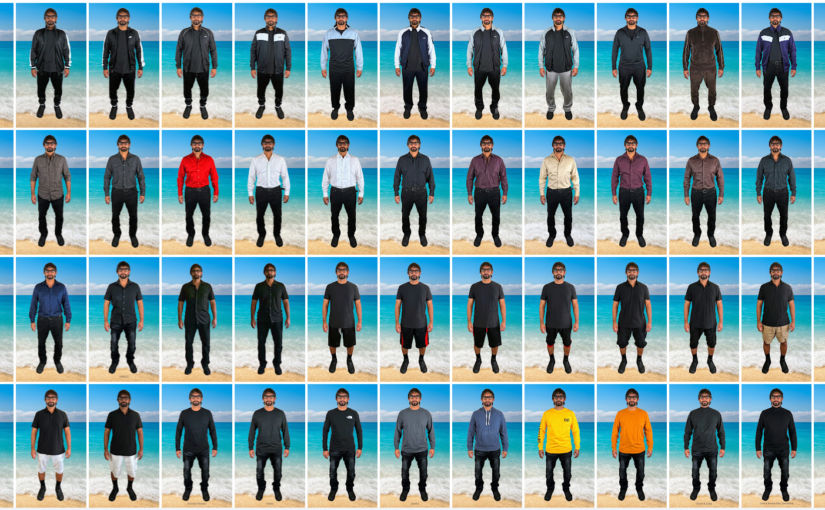
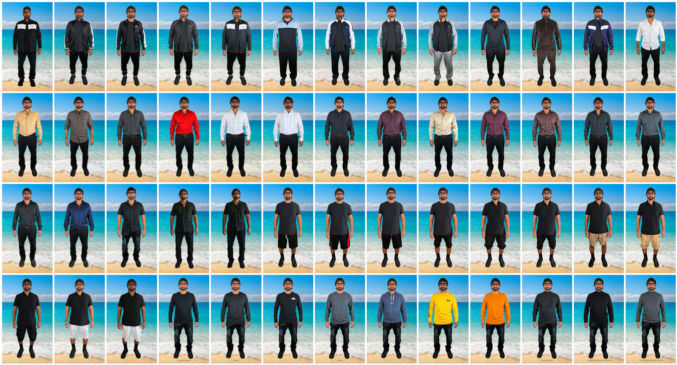
One thing I’ve noticed with a lot of people is they have a lot of clothes but only wear a few. There could be many reasons for this. For example, their “fancy” clothes are only suitable for special occasions but since most days are just not special, they only wear simple but comfortable clothes most of the time. Not only do their clothes consume a lot of space, they may not realize that many of their clothes just don’t fit them anymore or they may no longer like how they look on them. People may also forget just how nice some of their clothes look on them until they try them on again. One way to get organized with your wardrobe and remind yourself of your clothing options and how you look in them is by creating a wardrobe photo inventory.
Here’s how to create a wardrobe photo inventory using Google Photos.
1. Group clothes by type
First, group all your clothes by type, e.g.
Outerwear
Sweaters
Jackets
Tops
Short-sleeve Dress shirts
Long-sleeve Dress shirts
Short-sleeve Polo shirts
Long-sleeve Polo shirts
Short-sleeve T-shirts
Long-sleeve T-shirts
Turtlenecks
Bottoms
Jeans
Cargo Pants
Khaki Pants
Dress Pants
Fitness
Tracksuits
Sweatpants
Vacation
Hawaiian shirt
Beachwear
Swimming clothes
Shoes
Hats
Costumes
Other
2. Create a photo studio
Find some space, like a spare bedroom, and create a photo studio using
For the camera, you can use your phone. I used my Insta360 Ace Pro action camera with flip screen. By enabling the hand gesture feature, I can just make a peace sign with 2 figures to tell the camera to take a photo in 3 seconds.
The green screen will make it super easy to remove the background from the subject (you). I just used push pins to stick the fabric to the wall (drywall).
The softboxes will make your face and clothes appear bright and sharp with balanced lighting without any shadows. Here’s a comparison of photos taken with and without softboxes.
3. Take photos
Go through all of your clothes and take photos of yourself wearing them. When deciding what to wear, I find it convenient to have a tall mirror with Hollywood lights around the perimeter near my closet like this one on Amazon.
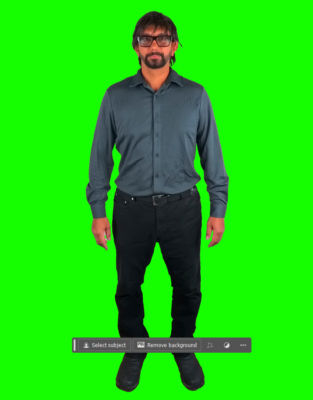
3. Option A: Edit photos in Photoshop
If you know Photoshop or how to do image editing, you can follow this step.
Open your first photo in Photoshop
Remove the background. Photoshop will detect the background and show a “Remove background” button. Click it to remove the green background.
3. Crop the image to remove unnecessary whitespace.
4. Replace the background with any background you like. Here’s what I chose.
5. Repeat that process for all photos.
6. Use horizontal and vertical guides to resize each photo so they are the same width and height.
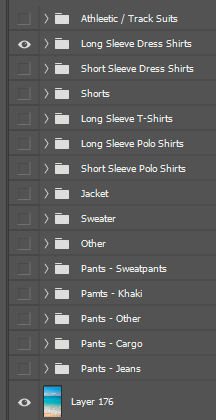
7. Optionally, group the layers by clothes type, e.g.
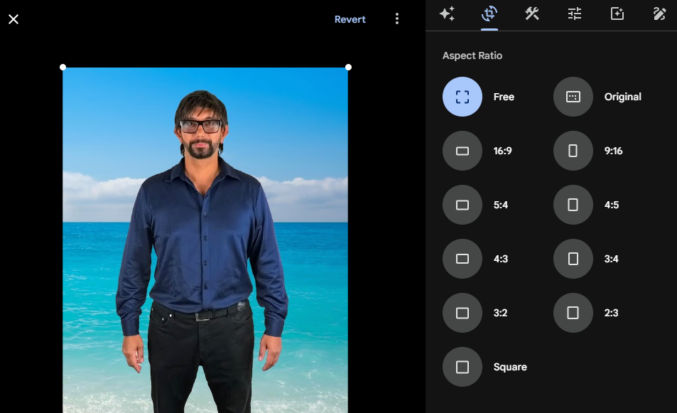
3. Option B: Edit photos in Google Photos
If you don’t know Photoshop or how to do image editing, you can do basic image editing like cropping directly in Google Photos. Upload all photos to Google Photos and click the Crop button to crop the photos.
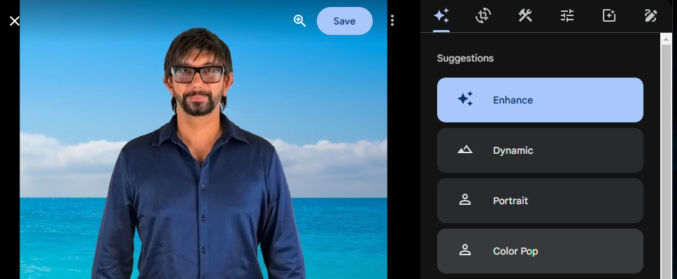
4. Upload all photos to Google Photos and enhance them
For each photo, click the Enhance button to improve the levels, brightness, etc.
5. Create an album and group photos by type
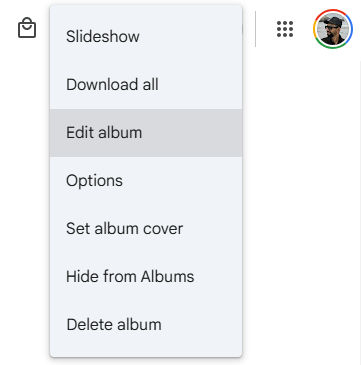
In Google Photos, select all photos and add them to a new album with a name like “Clothes”.
Click the 3 vertical dots in the top right corner to reveal options. Click the “Edit album” option.
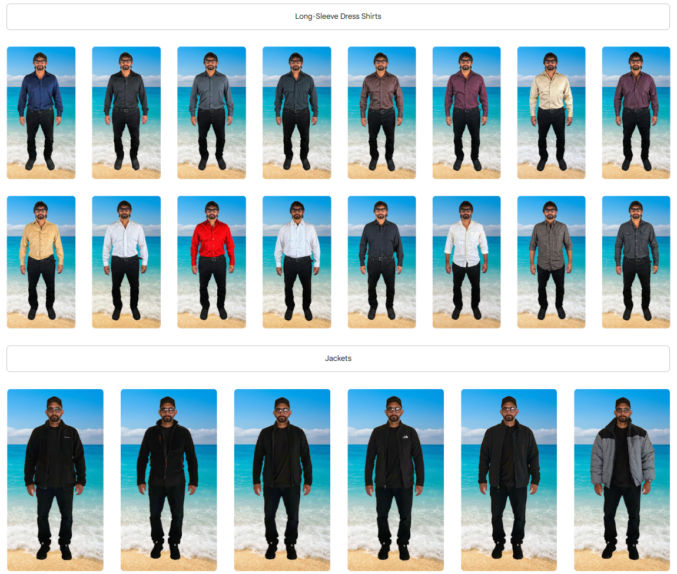
Select one or more photos and drag them to rearrange them.
Click the “Add text” icon to add text between groups of photos.
6. You’re done!
Now, you can browse your wardrobe on your phone to visually remind yourself of what clothes you have and how they look on you the next time you’re undecided about what to wear.
If you have a large collection of music files (mp3, etc) and want to easily manage them on desktop and mobile, you’ll have many apps to choose from. After testing some of the highly rated ones, I’ve (for now) settled on what I think are the two best: MusicBee for desktop and Omnia for mobile. This article will go over how I use these two apps to easily manage almost 2000 songs.
MusicBee
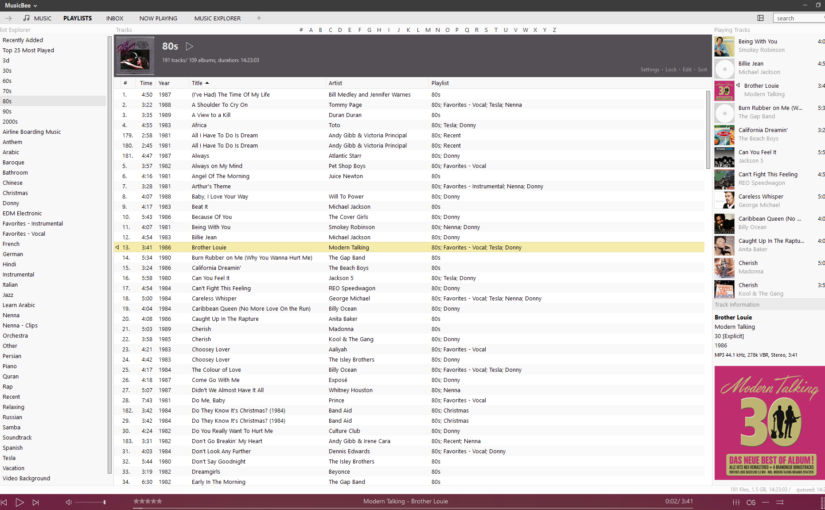
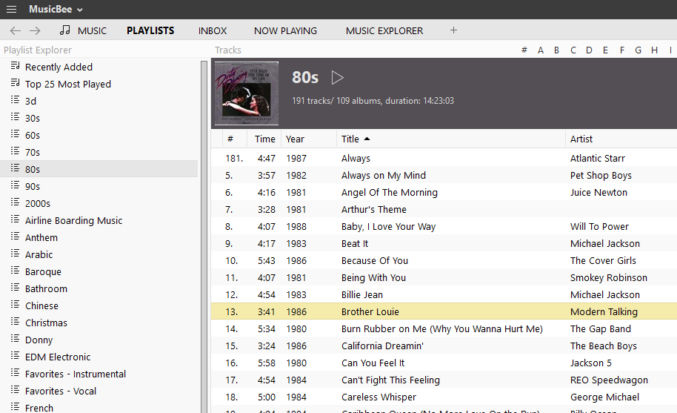
At this time, MusicBee is only available for Windows. Below is a screenshot of my MusicBee instance. The UI is customizable, which is great.
Header Bar
For the header bar, I customized it to have just what I care about, specifically
MUSIC (lists all music)
PLAYLISTS (lists all playlists in the left panel and all music within a playlist in the middle panel)
INBOX (I use this as a temporary staging location when I add new tracks to MusicBee)
NOW PLAYING
MUSIC EXPLORER (lets you browse by artist, showing albums for each artist)
To edit the header bar tabs,
right-click on a tab and click “Close tab” to remove it
click the + icon to add a new tab
“MUSIC” Tab
When I click the MUSIC tab in the header bar, I see this:
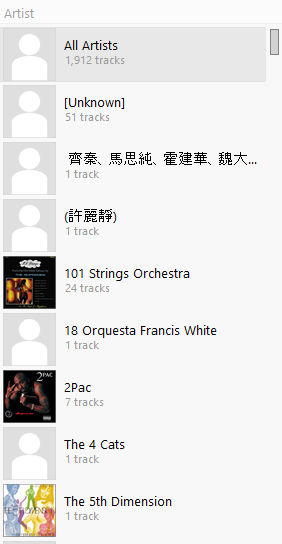
Left Sidebar
The left sidebar shows a list of all artists. The very first option is “All Artists”. I click “All Artists’ to show a list of all my music files in the middle pane.
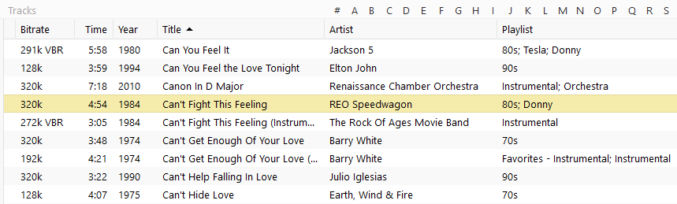
Middle Pane
The middle pane shows the filtered music tracks. I customized the columns to just what I care about, specifically
Bitrate (I use this to check the encoding bitrate. If a bitrate is too low, I may replace the track with one with a higher bitrate).
Time (the song’s duration)
Year (the year the song was released)
Title (the title of the song)
Artist (the name of the song’s artist)
Playlist (a comma-delimited list of playlists a song is in)
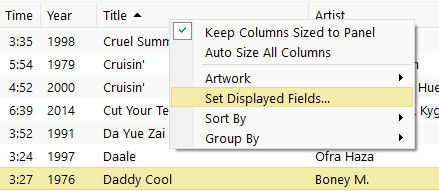
To change the columns, right-click on the header and click “Set Displayed Fields…”
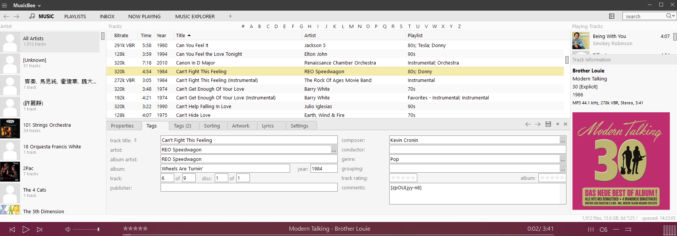
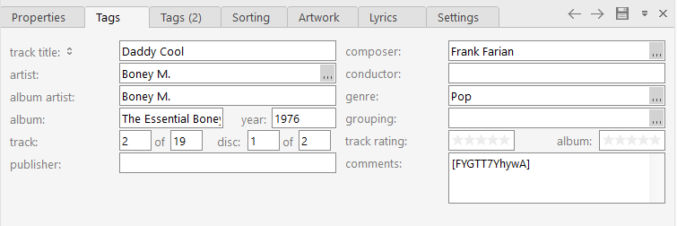
Bottom Middle Panel
In the middle, below the track list, is an optional pane for editing a song’s properties. I normally enter the following metadata:
Title
Artist
Year
Comments (the YouTube video ID if I ripped the song from YouTube)
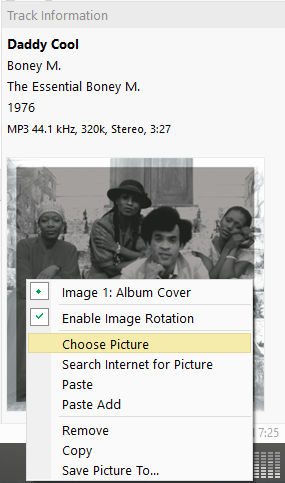
Bottom Right Panel
In the bottom right panel, you can see a song’s artwork. You can change the article by right-clicking and browsing to an image on your computer. The image should be a square, e.g. 500 x 500 px.
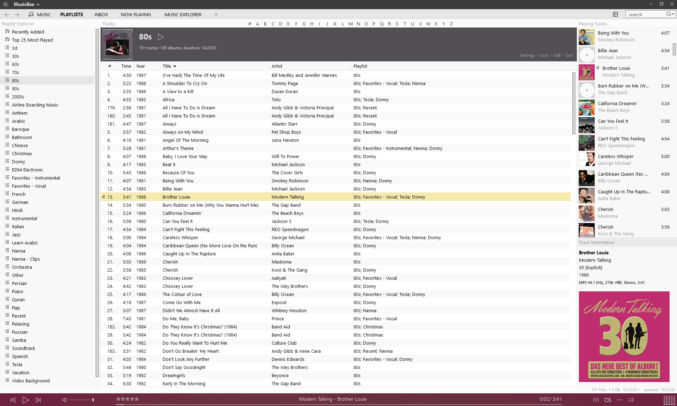
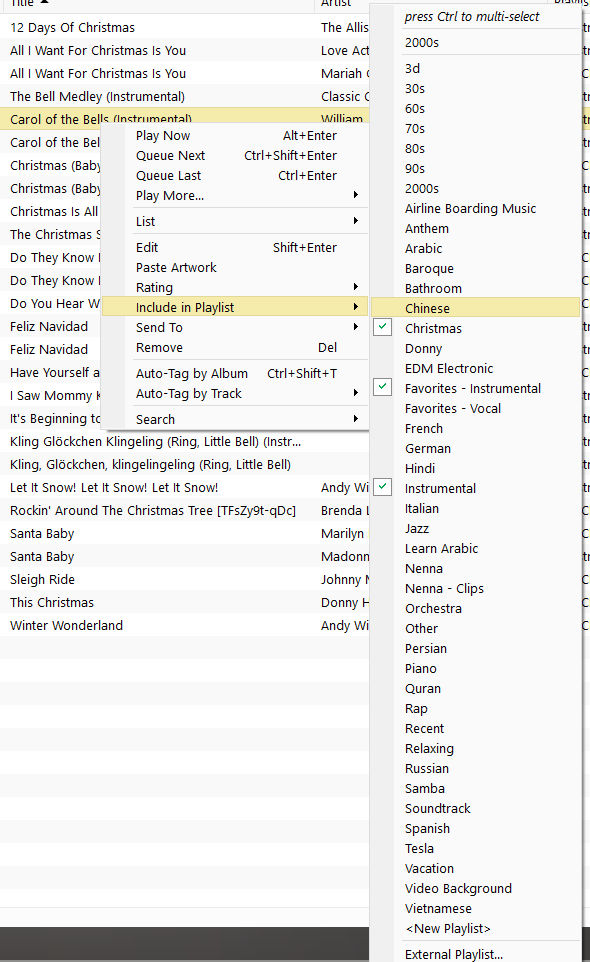
“PLAYLISTS” Tab
When I click the “PLAYLISTS” tab, I see the following:
In the left sidebar, I see a list of playlists. In the middle panel, I see the list of song tracks. To create a playlist or add/remove a track from/to a playlist, right-click on a track, click ‘Include in Playlist”, and either
click “<New Playlist>” at the bottom to create a new playlist
click or ctrl+click one or more existing playlists to add the song to the playlist(s)
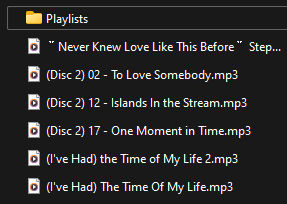
Playlist Format
My music files are all in a single folder called “Music”.
Within that folder, I have a subfolder called “Playlists” containing all my playlist files.
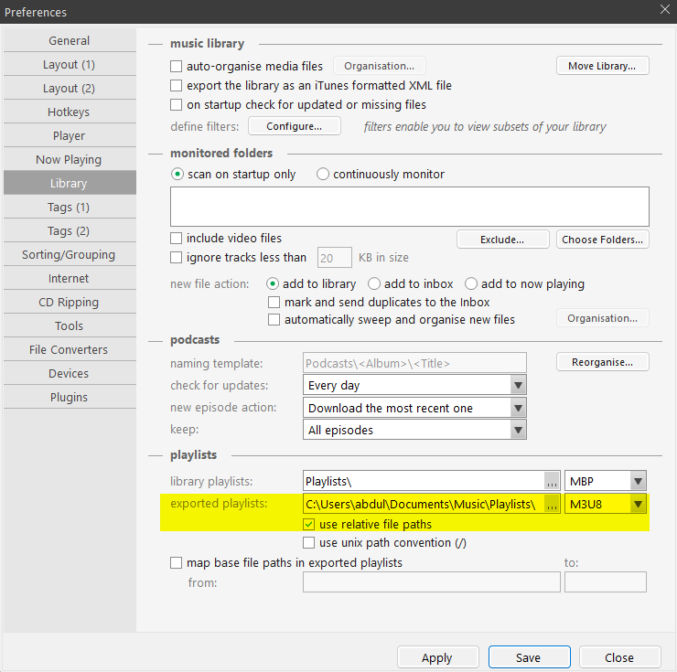
I export my playlists in m3u8 format with relative paths. This allows me to copy my entire “Music” folder, including “Playlists” subfolder” to another device, like my phone or tablet, and the music player on the other device should be able to read my playlists and referenced music files without error.
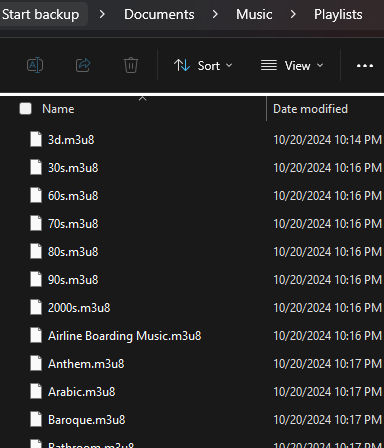
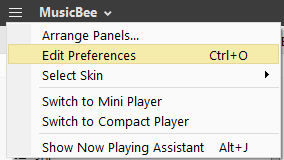
To set the playlist file format and path preference, click the hamburger menu in the top left corner, then click “Edit Preferences”.
Then, click “Library” in the left sidebar and then select “M3U8” and check the “use relative file paths” as shown below.
Now, if you export a playlist and open the playlist m3u8 file in a text editor, you’ll see relative paths to each song in the playlist like this
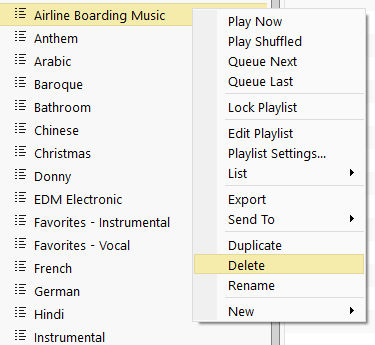
Rename, Delete and Export a Playlist
To rename or delete a playlist, click on the playlist in the left sidebar and click the corresponding option.
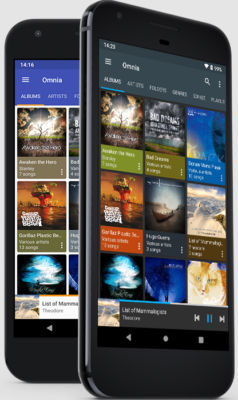
Omnia
Omnia is now my preferred app for mobile and tablet. It is currently only available on Android.
Omnia is pretty simple and intuitive to use except when you update playlists.
First-time use
When you use Omnia for the first time, tell Omnia where your music and playlist files are.
Click Settings > Music Folders and specify a folder path. Omnia will scan the folder for all music files.
Once the files have been scanned, click on “Songs” tab in the main view to verify your songs are listed.
Then, click on the “Playlists” tab to verify the playlists were loaded. If they weren’t, click on the 3 vertical dots in the top-right corner, click “Import”, click “SELECT ALL’, then check all playlists, and then click the “OK” button.
Subsequent use
If you’ve updated your music file library and playlists, you’ll need to
click on the 3 vertical dots in the top-right corner, click “Rescan Library”, to get updated files.
click the 3 vertical dots to the right of each playlist, and then click “Delete”, to delete the playlists that have been updated
click on the 3 vertical dots in the top-right corner, click “Import”, click one or all playlists, then click “OK” to load the updated playlist.
Workflow
This is my workflow for acquiring music, adding it to MusicBee, and transferring it to Omnia on another device.
Buy a song on Amazon Digital Music ($1 / song) or download a song as mp3 from YouTube using yt-dlp. I store the new files in a temporary “Music” folder.
Edit the song in Audacity as necessary, e.g.
trim out start and end silence
normalize the volume
Copy the music files to the folder containing all other music files.
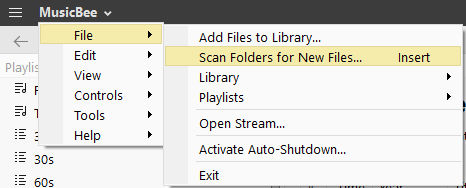
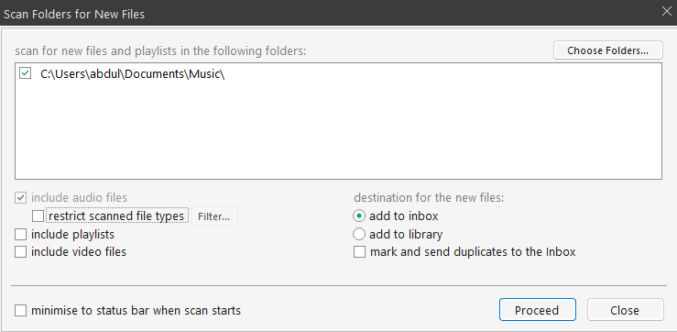
Import the new music files into the “Inbox” in MusicBee clicking “MusicBee” > File > ‘Scan Folders for New Files…”
I then specify the folder containing all my music, select “add to inbox”, which is a temporary staging area, and then click “Proceed”.
The new music will appear in the “INBOX” tab in MusicBee.
Edit each song’s metadata (title, artist, year, etc) and add the song to existing playlists
Move (send) the songs from the “INBOX” to the main “MUSIC LIBRARY”.
Export any playlists that have been updated
Connect my other device (phone / tablet) to my laptop
Copy the music files from the temporary folder on my laptop to the external device
Copy the updated playlist files from my laptop to the external device
In Omnia in the external device, rescan the music library, delete and reimport any updated playlists