- Patents – U.S. Patent Office
- Trademarks – U.S. Patent Office
- Intellectual Property in the “Real World”– Antone Johnson
- “Nuts and Bolts” of Intellectual Property – Antone Johnson
- Intellectual Property for Startups – Mashtag
Boilerplate Venture Funding Documents
- Orick’s Legal Documents for Startups – priceless
- Scott Walker Advice on Termsheet Provisions
- YCombinator Series AA Equity Financing Documents
- National Venture Capital Association – model legal documents
- Series Seed Documents – Fenwick & West Seed Investment Standard Forms, used by most angels
- TechStars Model Seed Funding Documents – Cooley Godward
- WSGR Term Sheet Generator
- Orrick, Herrington Term Sheet Generator
- Founders Institute Plain Preferred Term Sheet – WSGR
- Docracy -Free Legal Documents
- ScottEdWalker – this legal blog is gold for a startup
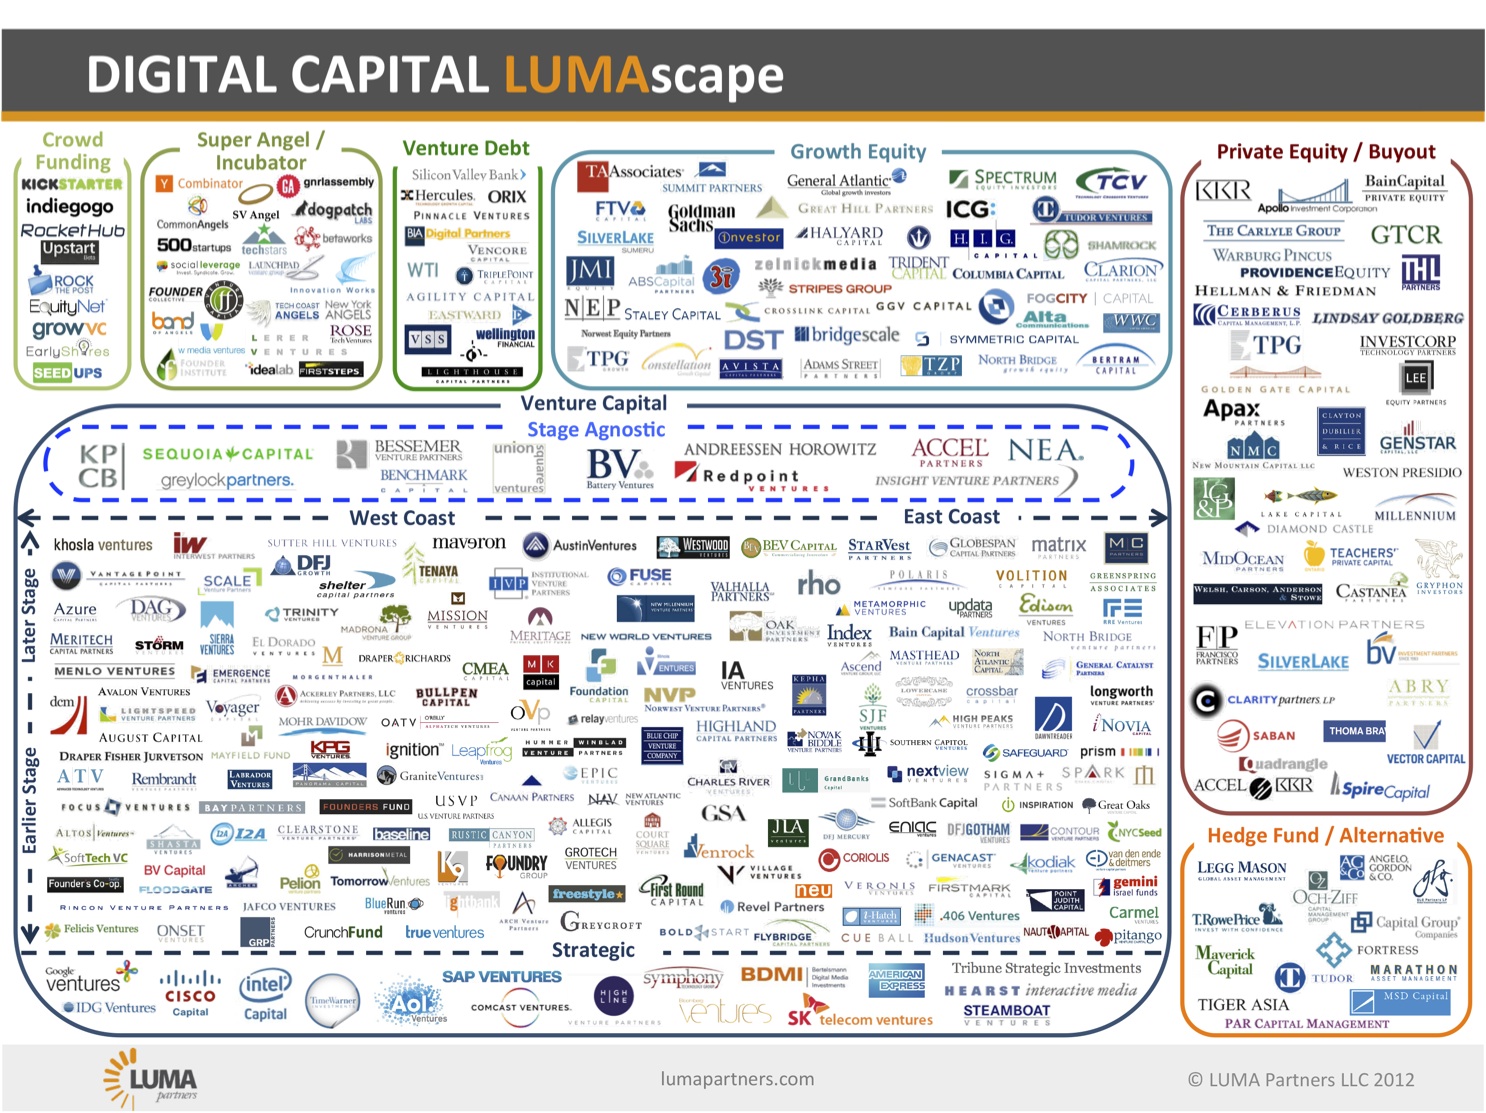
Infographic: Digital Capital
Advice on Raising Startup Capital
- FindtheBest Venture Capital
- Startup Valuation Advice – Mark Suster May 2011
- Fundraising 101 Checklist – Walker
- Pitching a VC – Mark Suster Advice
- How VC’s Evaluate Startups – Thomvest Ventures
- VC Experts
- Seed Stage Valuation Guide – Jordan Cooper
- Alternate Funding Ideas – Business Inside
List of Incubators and Startup Jobs
- List of Startup Incubators
- FindTheBest Incubators
- A Quora list of Incubators
- Jobs in Startups
- Lunch with Entrepreneurs
- Techcofounder – find a technical cofounder
- Founder Dating – find a cofounder
List of Crowdfunding Sites
- Kickstarter – crowdfunding
- Indiegogo – crowdfunding
- Rock The Post – crowd funding
- RocketHub – crowd funding, partner with A&E
- Appbackr – crowd funding for mobile apps
- Tindle – crowd funding for makers to sell their hardware
- Quirky – shared social inventor community
Crowdfunding Tips / Advice
List of Angels / Super Angels
- Venture Hacks Angel List – raise money with angel investors
- AngelList – connecting startups and angels
- Seed-Db – database of seed accelerators and their companies
- Gust – Platform for Startup Funding
- Guide to Super Angels – Chubby Brain
- Types of Angel Financing
- Angel Financing Tips and here
List of Coworking Spaces
- ShareDesk – find a workspace in your city
- Coworkify – find a workspace in your city
- NextSpace – coworking spaces across California
- FoundersDen – San Francisco workspace
- OpenDesks – find workspace/meeting places
- SandBoxSuites – SF Bay Area shared workspace
- RocketSpace – SF Bay Area shared workspace
- HackerDojo – community center in Mountain View
Open Company Stats / Data / API
- LendingClub – stats on funding and loans
- Prosper – Prosper funding data/API
- BBYOpen – Best Buy open product data/API
- EbayOdata – Ebay open data/API
- Yelp Academic Dataset – access 250 closest businesses for 30 universities for students
- Reuters/Thompson – API
- Yahoo – data for students/academics
- Uber – car cost of ownership
- Terapeak – ebay and Amazon data
Public or University library Resources:
- Standard & Poor’s Industry Surveys
- Encyclopedia of Emerging Industries, Gale Research
- Encyclopedia of American Industries, Gale Research
- Encyclopedia of Associations, Gale Research (find Trade Associations)
- Harris InfoSource Business Directory
- Lifestyle Market Analyst, SRDS – used for collecting psychographic data
Market Research Resources Online
- FindTheCompany – corporate and organization data
- IOS / Android Market Size – Installed base
- Crunchbase – tech company/people database
- Edsurge – educational software
- Alexa – competitive website info
- SimilarWeb – discover traffic for any web site
- Silicon Valley Bank Analytics
- Compete – see competitive website traffic
- ChangeDetection – know when any web page changes
- SEC EDGAR – research on public U.S. firms
- MarketReseach.com – Retailer of private market research reports
- ZapData.com – Dun & Bradstreet offers free statistical industry data
- Thomas – find any company in any industry
- BizStats.com – free business statistics and financial ratios
- SBDC – National Information Clearinghouse of the U.S. Small Business Administration
- Encyclopedia of Associations
- U.S. Bureau of the Census
- ESRI– Has free demographic data available by zip code
- EASI – estimated demographic statistics within a user-specified radii for any address
- Claritas – psychographic information and analysis of zip code areas
- Standard and Poors – Industry Surveys
- International Trade Statistics –
- NVCA – venture capital industry data
- PWC MoneyTree – more venture capital data
- Chemical Industry data
- FDA News – medical device and drug data/news
- Asymco – great market intelligence blog
List of Statistics
- Eurostat – European Statistics
- EEA – European Environment Agency
- OECD Stat Extracts
- United Nations Statistics
- The World Bank – finance
- International Monetary Fund – data and stats
- CIA World Factbook


