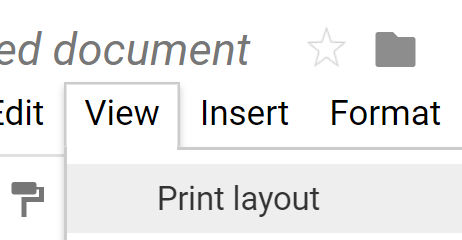
In this day in age, we don’t need to print as much as we used to. While Google Docs will allow you to print pages of content, sometimes you just want to use it as a digital document to keep notes and pictures that you’ll never print. When you insert pictures into a Google Doc, due to their size, you’ll often find that they move onto the next sheet leaving a large white space before. This is annoying but easily solved by making it appear as if you were working with one page / sheet of unlimited length. In Google Docs, just uncheck the Print Layout under the View menu.
When you test interactivity of a web page by clicking a link or submitting a form, you sometimes don’t want to be redirected to a new page. Using JavaScript in your browser’s console, you can easily make this happen.
Open your browser’s inspector and inspect the element (link or button) that when clicked on, won’t take you to a new page
Here’s how you f*$%-ing do it! Just wrap the content you want to f*$%-ing hide in this client-specific conditional.
<!--[if !mso 9]><!-->
This will not appear in Outlook on Windows.
<!--<![endif]-->
Since you’re probably using HTML tables to structure your emails, and you’re probably using CSS classes to hide and show different duplicate content for desktop and mobile, your code will probably look something like this:
I recently need to build a simple PHP script but I didn’t feel like spending a lot of time configuring a web server, e.g. Apache. and having it support PHP. It turns out that PHP has its own built-in server and it’s super easy to use. Here are the steps:
Download PHP If you’re on Windows, which I was at home, then go to https://windows.php.net/ and download a pre-compiled PHP binary. I chose the latest x64 NTS (non thread safe) zipped version.
Unzip the archive e.g. to c:/Program Files/PHP/
Open a terminal window We start and stop the server from the command line
Go to your project folder e.g. cd c:/Documents/Projects/mysite
Start the server If PHP is on your path, then you can just do php -S localhost:8000 otherwise, you’ll need to specify the full path to PHP, e.g. c:/Programs/PHP/php -S localhost:8000
View your PHP site Go to localhost:8000 in a web browser and see your site, e.g. index.php
Stop the server Press Ctrl-C to quit
If you want to start the server in a particular document root directory, e.g. c:/Downloads/foo, you can do php -S localhost:8000 -t c:/Downloads/foo
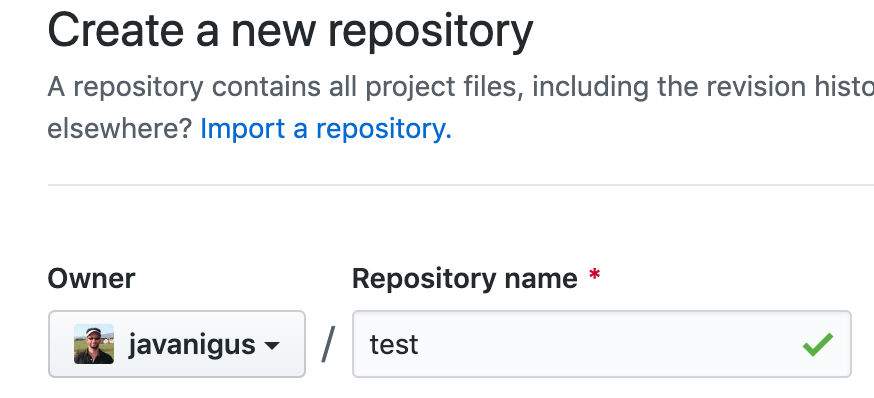
Create a new repo in GitHub called “test” and check the checkbox to initialize it with a README.md file.
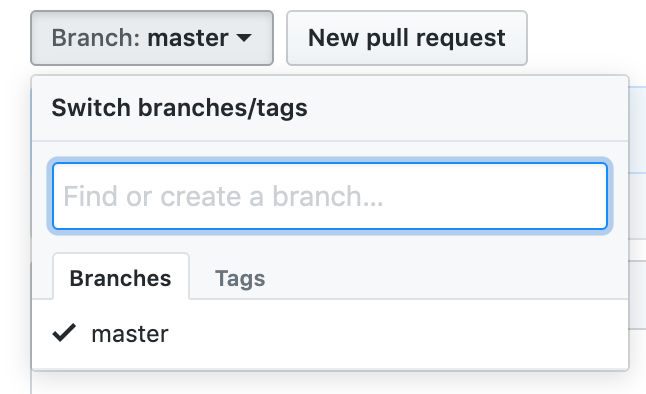
This repo called “test” will contain a default branch called “master”. On your local machine, this GitHub repo is called “origin” by default because it is the repo you “originally” cloned from. The “master” branch is usually used for production. Together, this repo and branch are referred to as “origin/master” (remote name / branch name).
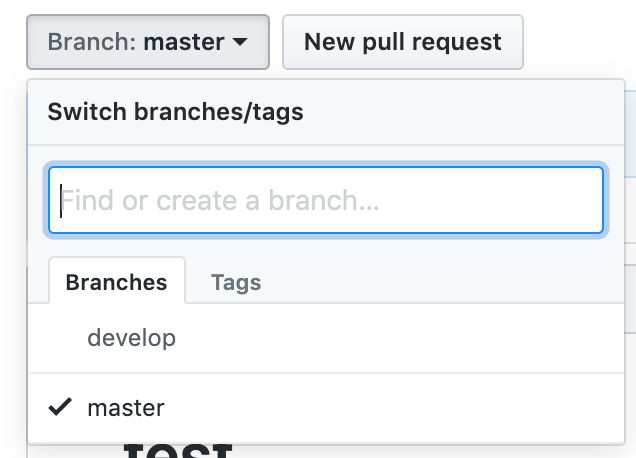
Create a “develop” branch in GitHub
If you need a separate branch for development, you can create it and call it “develop”. If you create this branch in the “test” repo on GitHub, it will be called “origin/develop”.
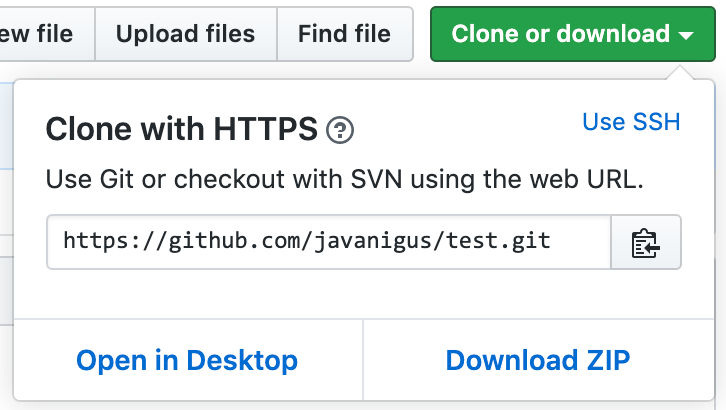
Get GitHub clone URL
In GitHub, get the URL to clone the repo, e.g. https://github.com/javanigus/test.git
Go to local projects folder
On your locale machine, go to a folder where you want this project to exist, e.g. /Users/ayahya/Projects/
cd /Users/ayahya/Projects/
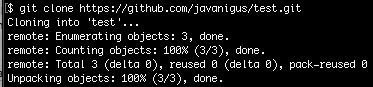
Clone the remote repo on GitHub to your local machine
git clone https://github.com/javanigus/test.git
This will create a folder that is the name of the repo, e.g. “test”
Go to the repo folder
cd test
Since it says “master*”, then the files within it are set up to track remote branch “master” from origin.
See what’s in the repo folder
Using the “ls” command, we see the same, one file (README.md) that is in GitHub.
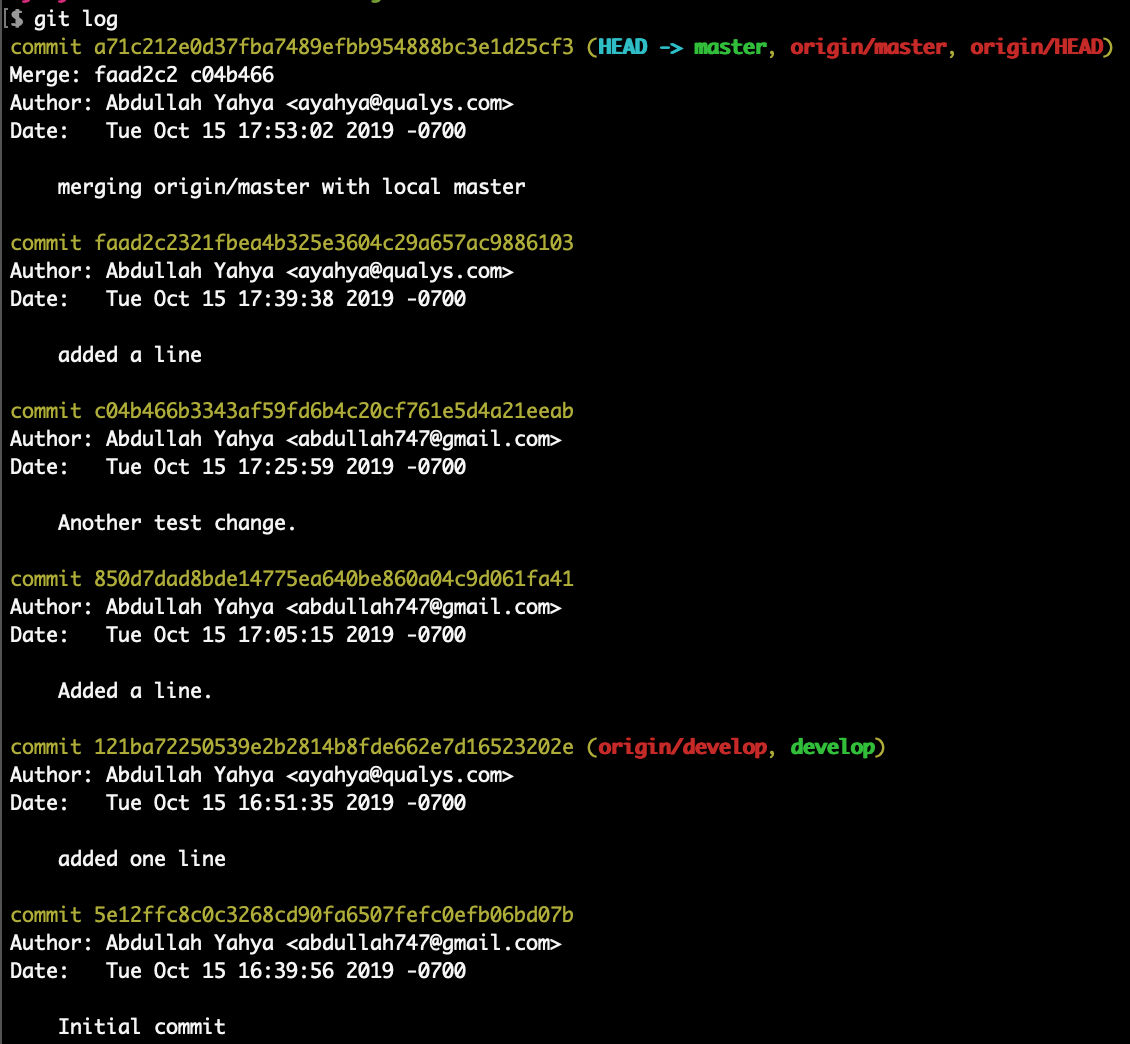
See the log
git log
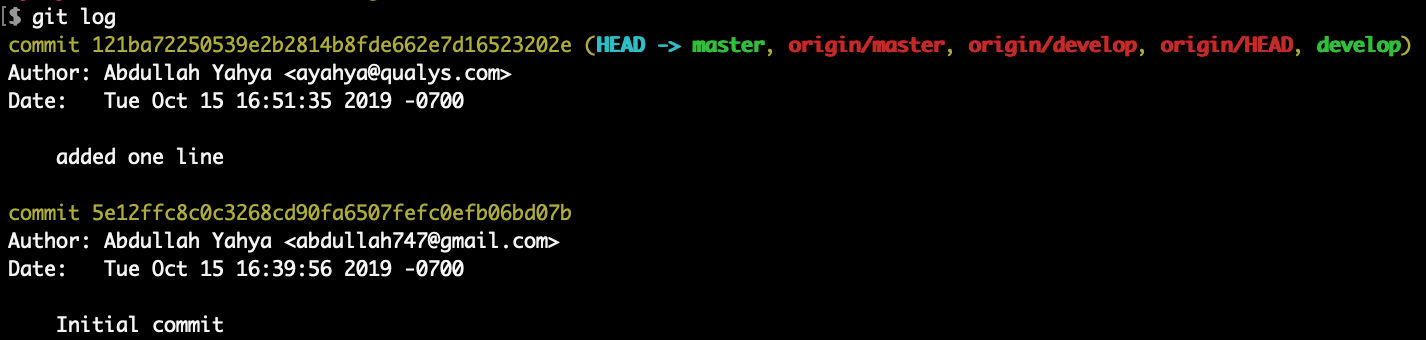
HEAD is a reference or pointer to the last commit in the currently checked-out branch (master). Notice that origin/master (remote) and origin/develop (remote) and local master and local develop are in sync because they are listed on the same line.
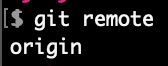
List remote repos
git remote
We see that we only have one remote repo called “origin”.
Switch to the develop branch
git checkout develop
Since it says “develop*”, then the files within it are set up to track remote branch “develop” from origin.
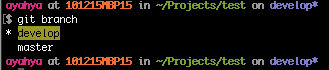
List all branches
git branch
Since there is a * beside “develop” and it is highlighted, the local files are set to track remote branch “develop” from origin.
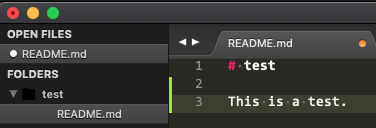
Open the project in a text editor and edit a file
In this case, I added the text on line 3.
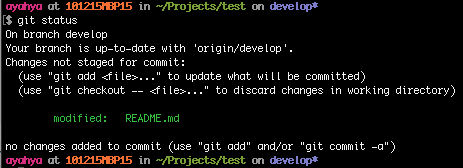
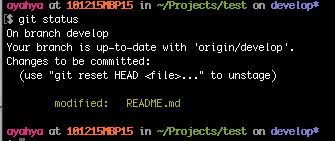
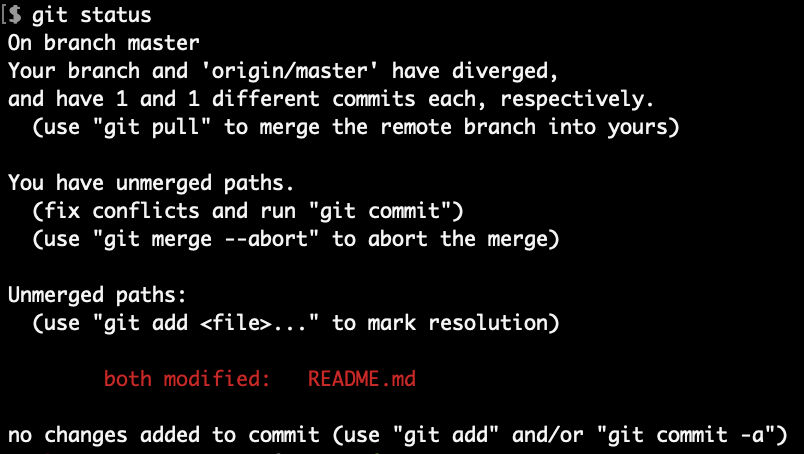
View the status of your local files
git status
The README.md file has been modified.
Undo (revert) the modification
git checkout - README.md
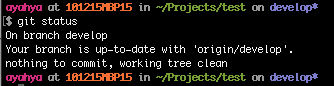
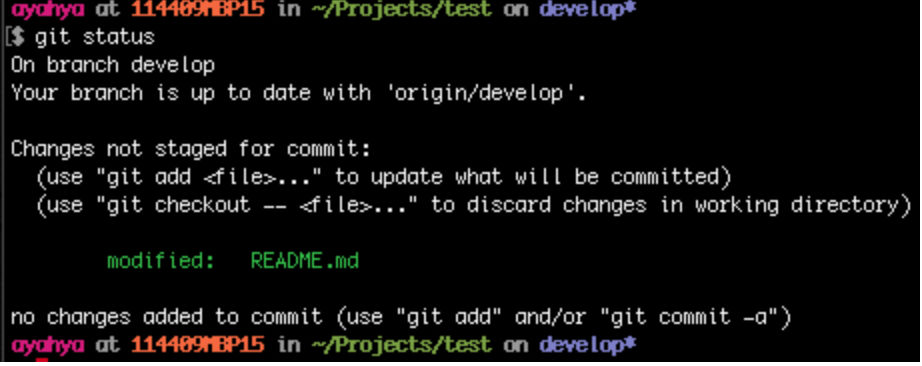
View the status of your local files
git status
The local branch is up to date with origin/develop on GitHub.
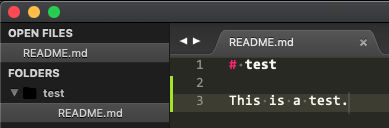
Redo the modification
View the status of your local files
git status
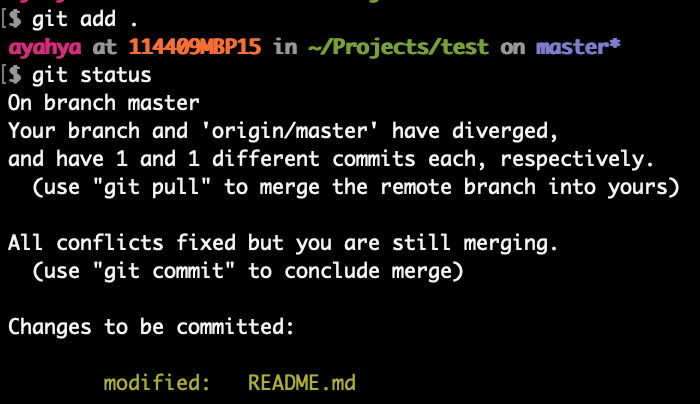
Stage (add) the modified file so it can be committed
git add README.md
or
git add .
View the status of your local files
git status
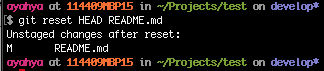
Unstage the modified file
git reset HEAD README.md
Check the status of the files
git status
Restage (re-add) the modified file so it can be committed
git add README.md
Commit the modified file
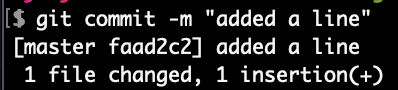
git commit -m "added one line"
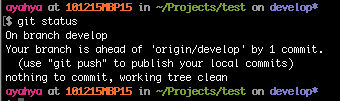
View the status of your local files
git status
Now, the local “develop” branch is ahead of the remote “develop” branch (origin/develop) by 1 commit. Also, there is nothing else to commit and the working tree is clean.
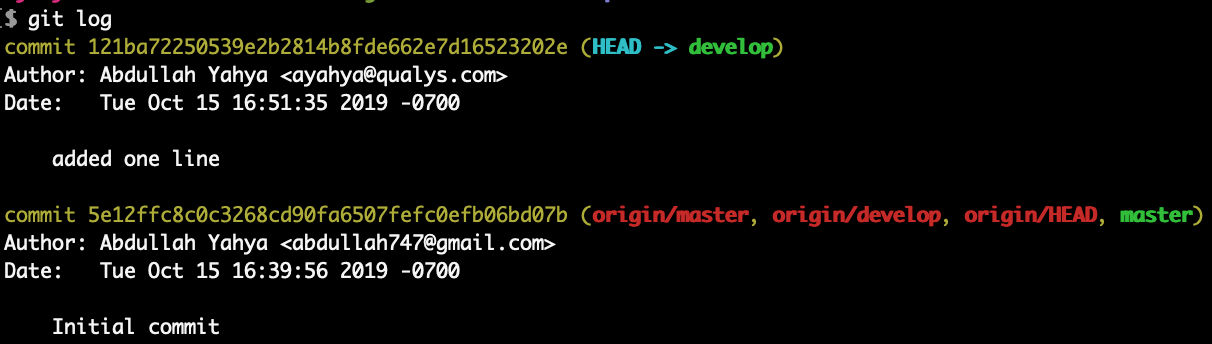
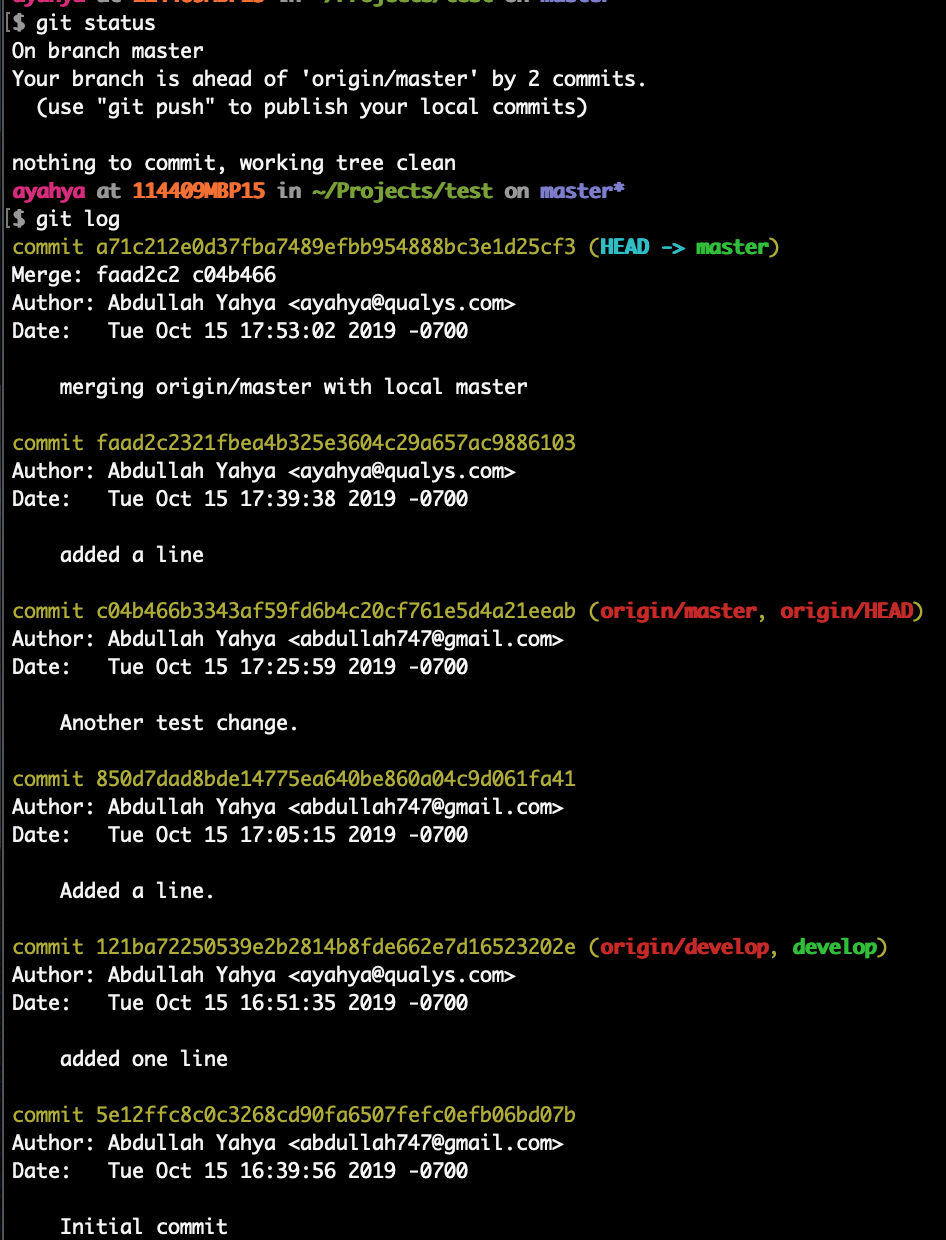
Check the log
This shows that local “develop” branch is ahead of local “master” branch, remote “master” and remote “develop” by 1 commit.
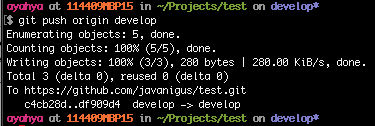
Push local changes to remote
We’ll push local branch “develop” to origin/develop on GitHub.
git push origin develop
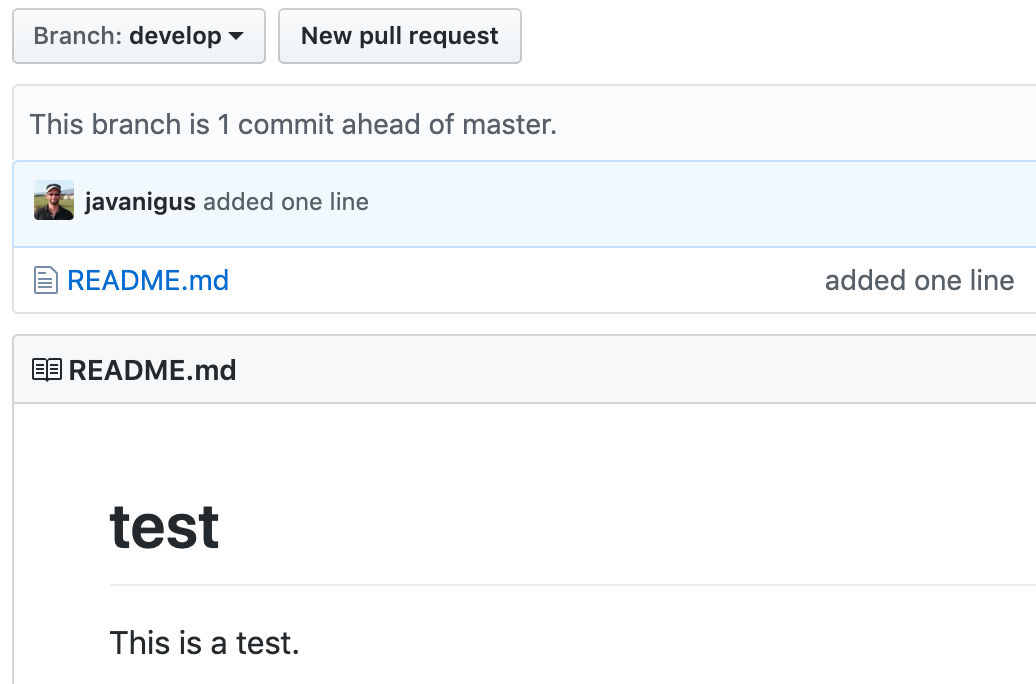
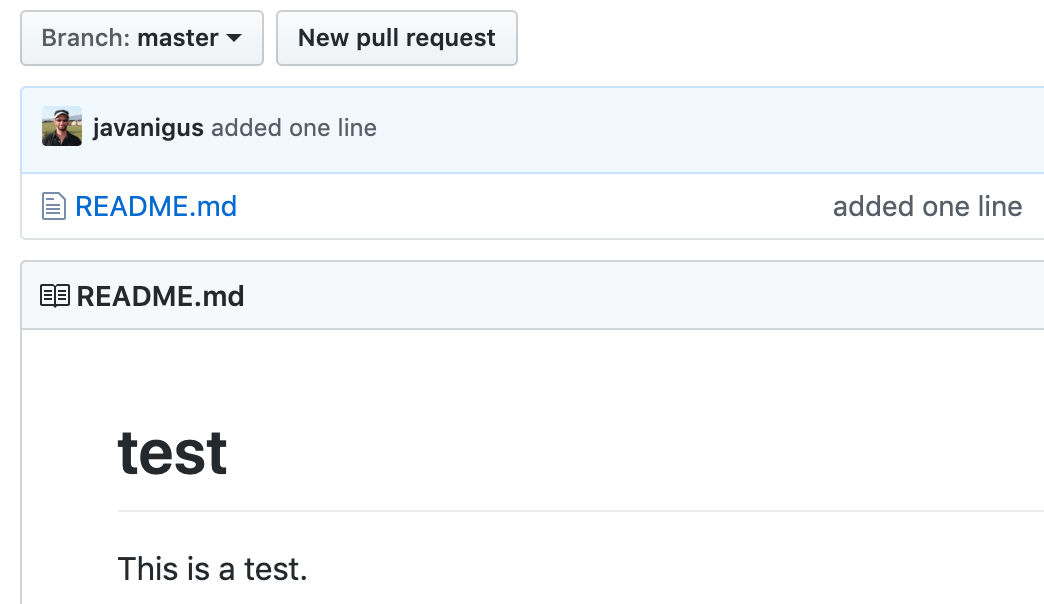
On GitHub, in the “develop” branch, you’ll see the added line.
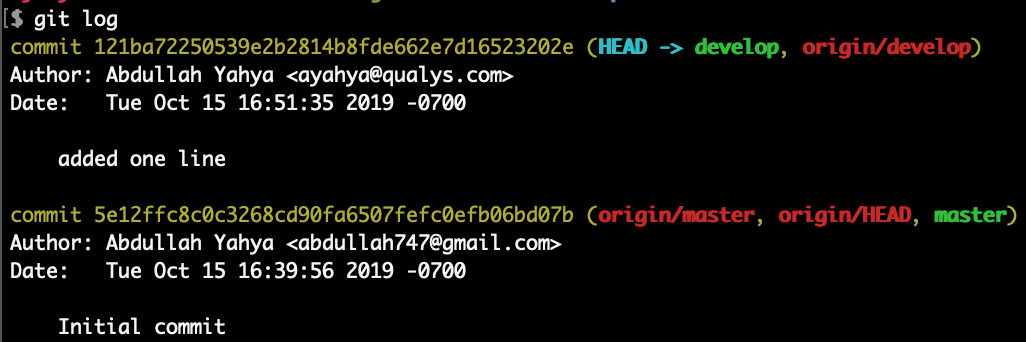
Check the log
Now we see that both local and remote “develop” branches are in sync and ahead of local and remote “master” branches by 1 commit.
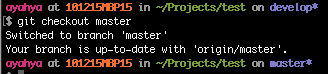
Switch to master branch
git checkout master
Merge changes from “develop” to “master”
The local “master” branch doesn’t have the changes in “develop”. Let’s merge the changes from the local “develop” branch into the local “master” branch.
git merge develop
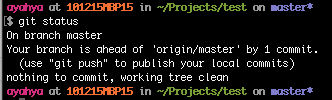
View the status of your local files
git status
The local “master” branch is now ahead of the remote “master” branch (origin/master) by 1 commit.
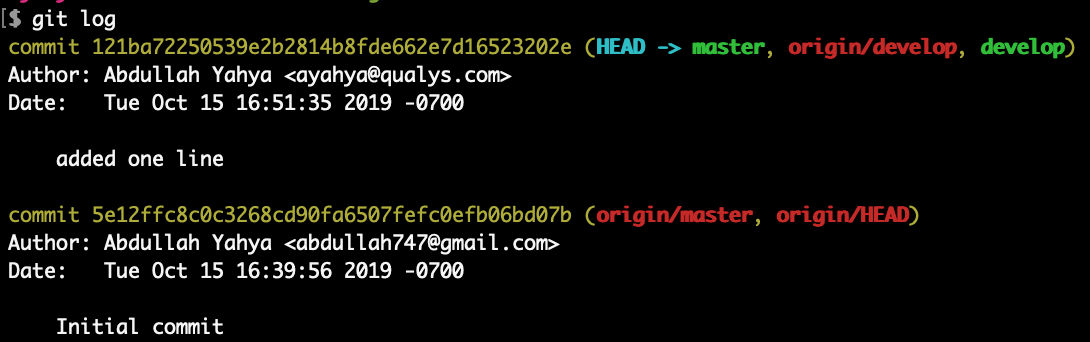
See the log
Now we see that local “master”, local “develop”, and remote “develop” are in sync and ahead of remote “master” by 1 commit.
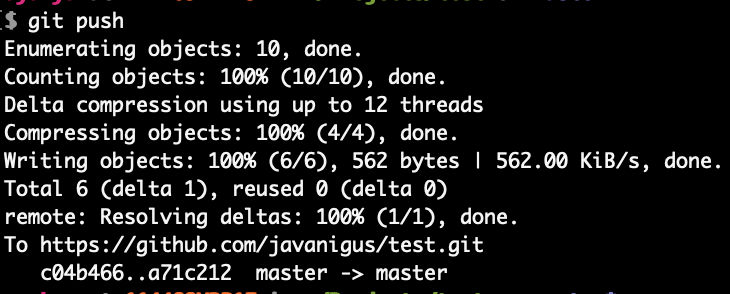
Push local changes from remote
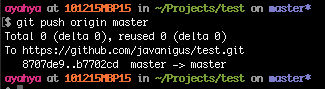
We’ll push local branch “master” to origin/master on GitHub.
git push origin master
View the status of your local files
git status
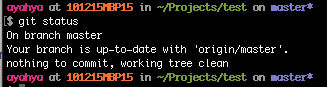
The local branch is now up-to-date with origin/master on GitHub.
On GitHub, in the “master” working tree you’ll see the added line.
Check the log
Now all branches, local and remote, are in sync.
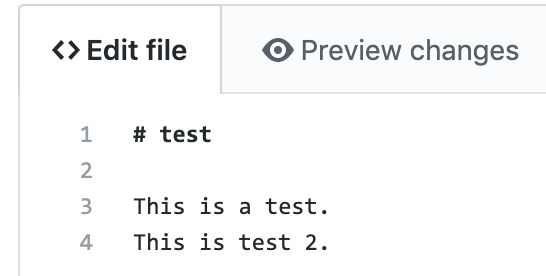
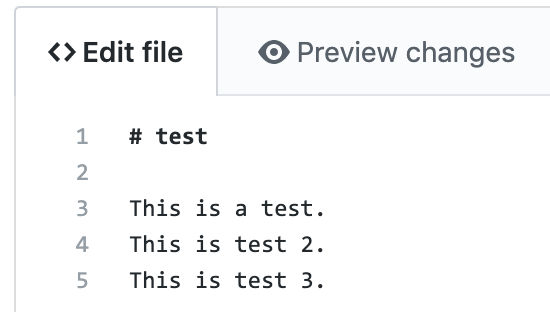
Make a change on origin/master and commit it
In this case, I added line 4.
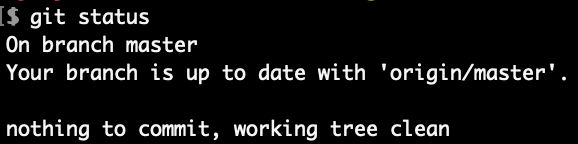
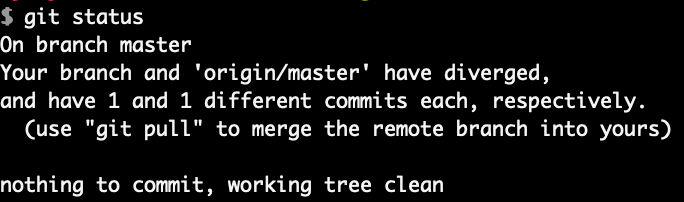
Check status of local “master” branch
git status
We see that our local “master” branch is in sync with remote “master” branch even though we just committed a change in remote “master”.
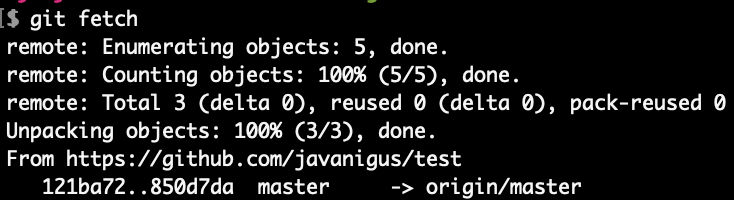
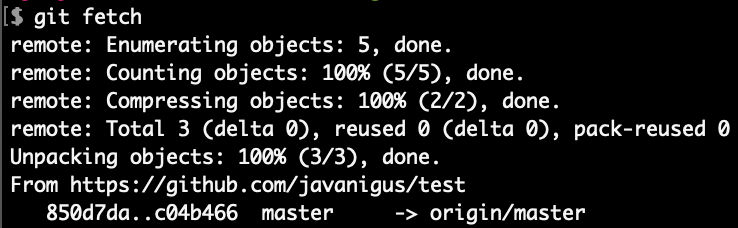
Fetch updates from remote repo
In order to see what has changed remotely, run git fetch.
Check status of local “master” branch
Now, we correctly see that our local “master” branch is behind the remote “master” branch (origin/master) by one commit.
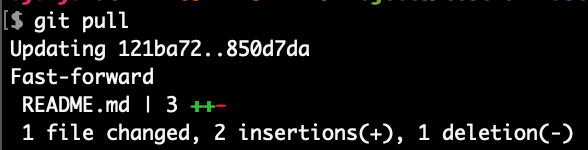
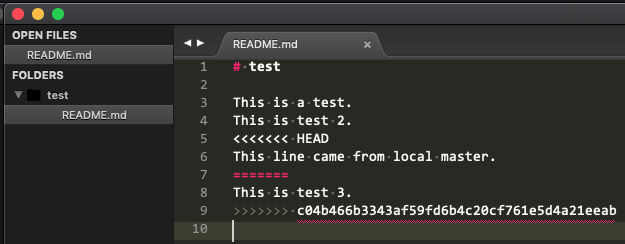
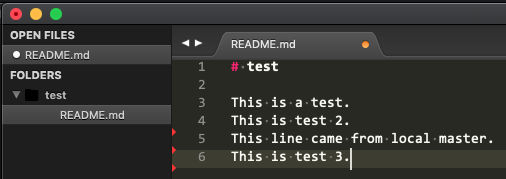
Pull changes from GitHub (origin/master) down to local “master”
git pull
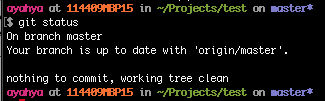
Check status of local “master” branch
git status
Local and remote “master” branches are in sync again.
Check the log
Now we see that local and remote “master” branches are ahead of local and remote “develop” by 1 commit.
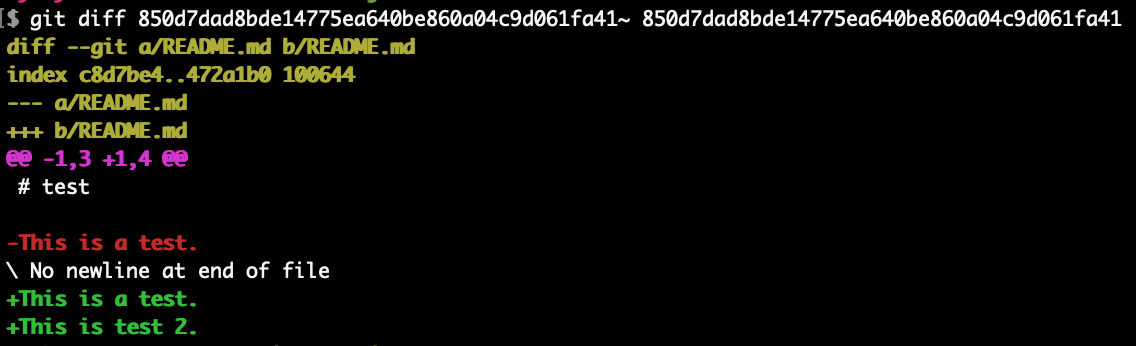
See what changed
To see a change in a particular commit, run git diff on the commit, e.g. to see the most recent change (commit 850d7dad8bde14775ea640be860a04c9d061fa41), we run
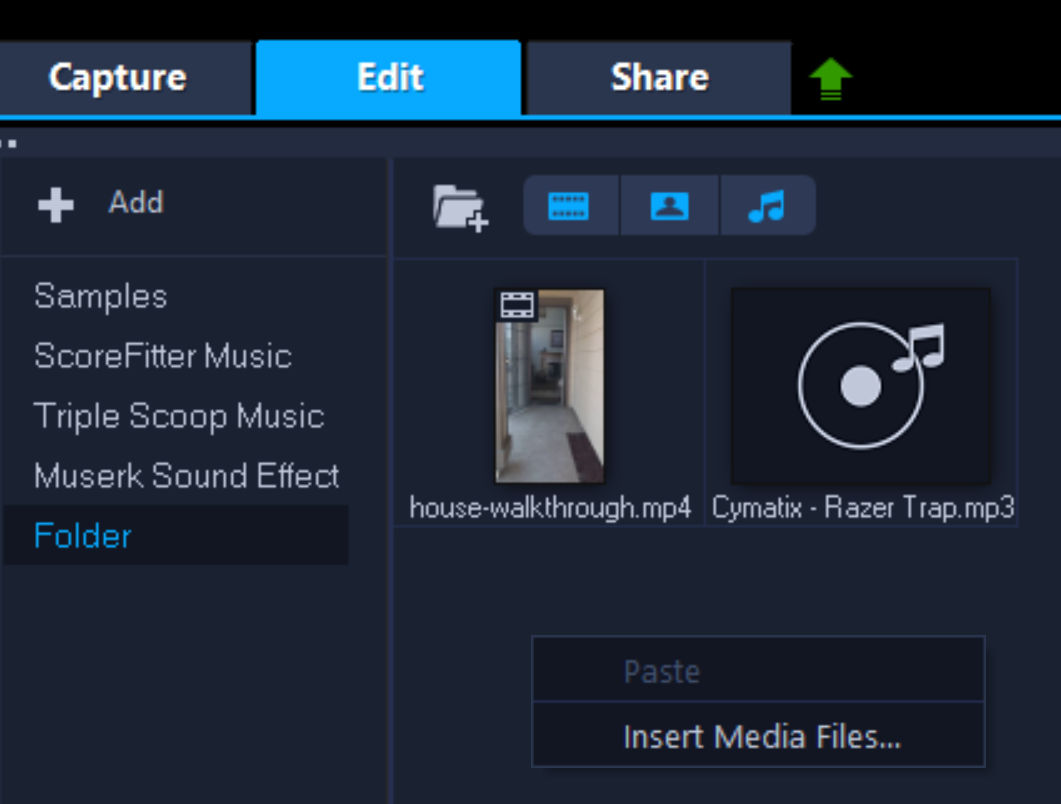
Adding your own music or audio to a video clip is something many people like to do. Fortunately, this is very easy using Corel VideoStudio. Below are steps to add music to a video.
Insert media files, e.g. a video and an audio file
When you need to annotate a document and explain certain parts of it, using arrows can be very helpful. If you’re on a Mac, adding arrows, both straight and curvy, is very easy using the Preview application. Here’s how to do it
Open an image in Preview
Open the Toolbar (View > Show Toolbar)
Click on the “Sketch” icon (3rd from the left) so that it’s highlighted blue
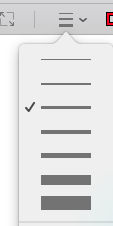
Choose a line thickness
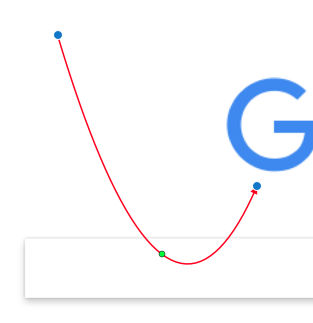
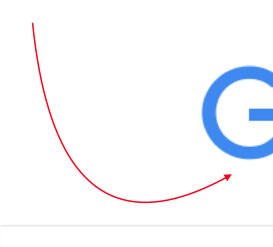
Click and drag to create a curved line with an arrow just as you would with a pen without lifting the pen. This will result in a curved arrow.
If the curvature doesn’t look right, adjust it by moving the 3 control points.
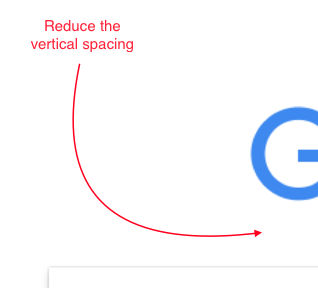
Then add some text by clicking on the text tool (last icon with the letter A)
You can also create straight lines by drawing a line. Preview will detect that you are trying to draw a line and make it straight for you.
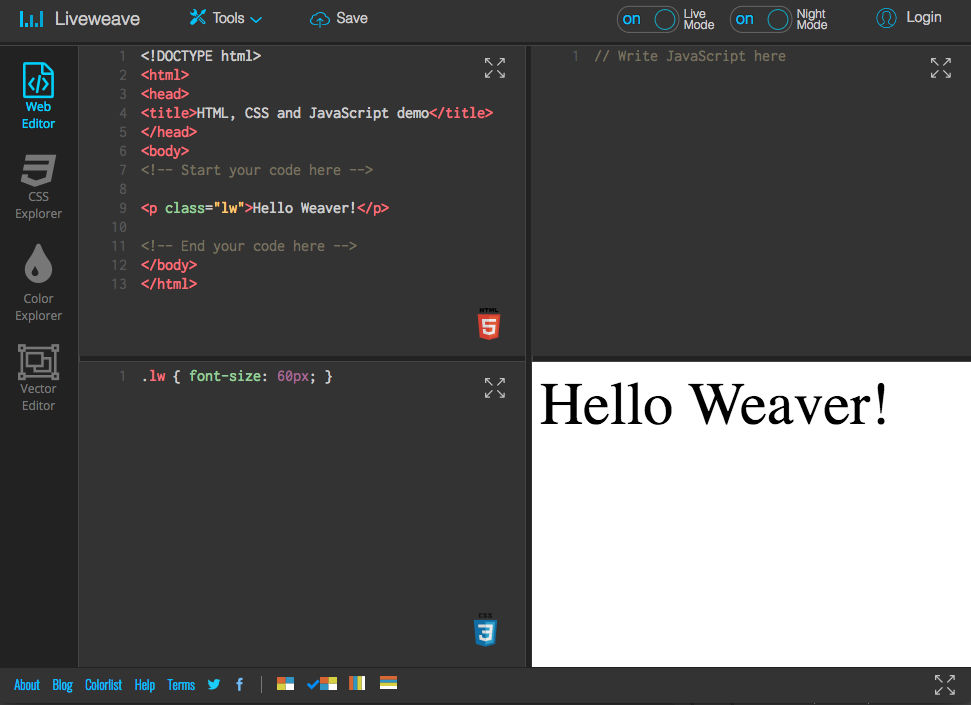
If you’re looking for a simple and handy online HTML, CSS and JS playground, you might light LiveWeave. You don’t have to create an account to get started and the UI is pretty polished.