In this post, I’ll show how to easily create explainer videos using Google Slides and Google Vids. Here’s an example explainer video I made using these tools.
Create Your Slides
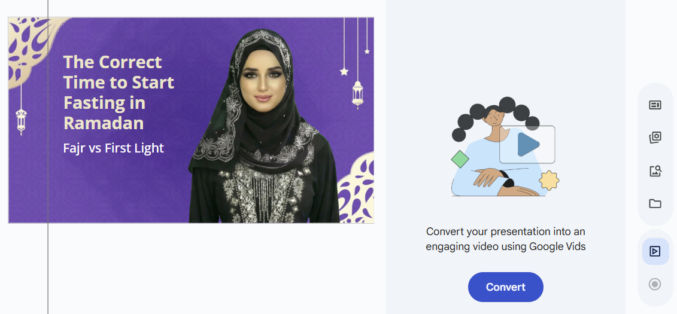
Go to Google Slides and create a slide for anything you want to show visually in your video. A slide can contain a background, text, images, videos, and more. When creating your slides, write your speaking script in the notes section below each slide preview. In my case, I took the slide design from here.
Import Slides into Google Vids
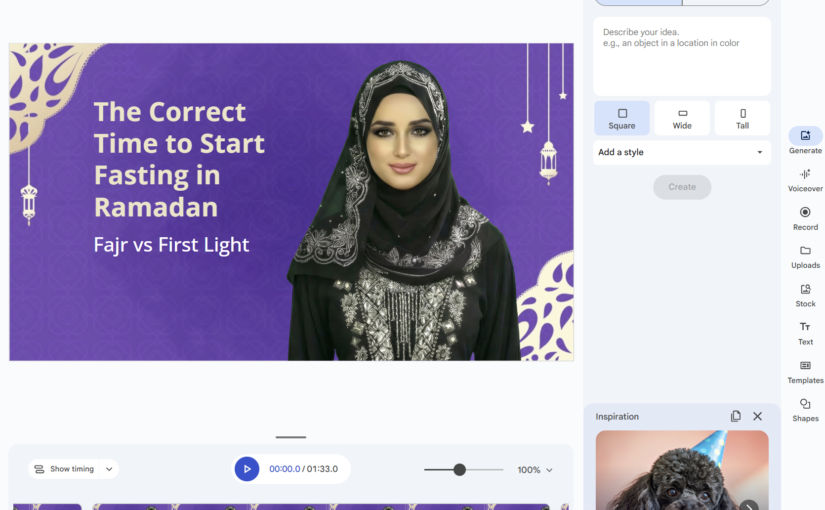
Click the “Convert to Video” button. This will open the presentation in Google Vids.
Choose the slides you want to import. You can also include AI voiceover, script, and background music. If you do that, Google Vids will use AI to create a voiceover script for you. If you want to use the notes you wrote in Google Slides, turn off this toggle.
Google Vids only supports videos that are 10 minutes long. If you have many slides with scripts that, once the voiceovers are generated, will result in a video that exceeds 10 minutes, you will need to delete some slides and voiceovers. If this happens, you will convert slides in batches, e.g., 20 or 30 at a time. When selecting which slides to import, you can click one slide, hold the “shift” key, then click the last slide to select all slides in between.

Edit the Video
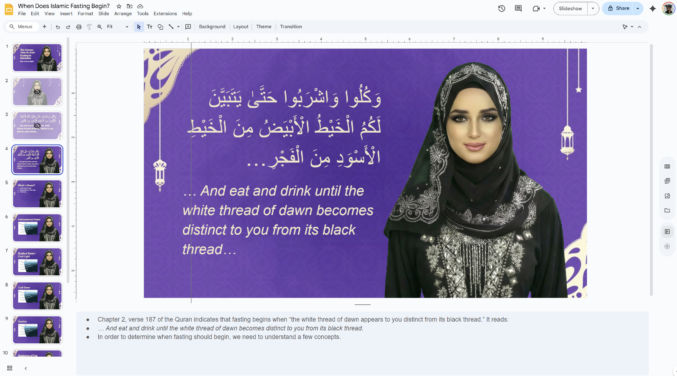
Now that you’re in Google Vids, you can edit the video. You will see a video timeline at the bottom.
- Move the playhead along the timeline to different sections of the video.
- Click the “Play” button to preview the video.
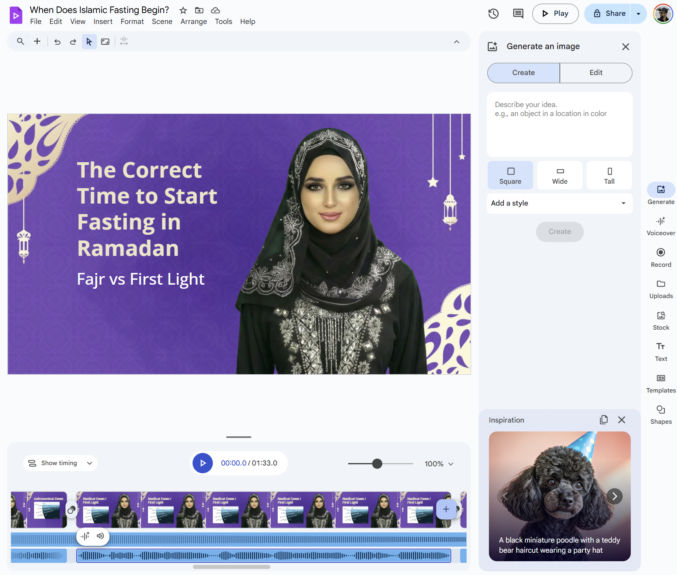
Click “Voiceover” on the right to edit the script for each slide you imported, if needed. Here, you can change the narrator’s voice as well. At this time, Google Vids only supports English, Spanish, Portuguese, Japanese, Korean, French, Italian, and German. If you want a voiceover in a different language, you’ll have to import the audio or record your own voice.

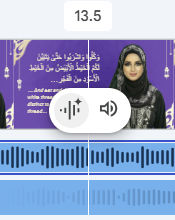
If you want to edit the background music,
- click on the background music track,
- click the speaker icon to the right of the waveform icon
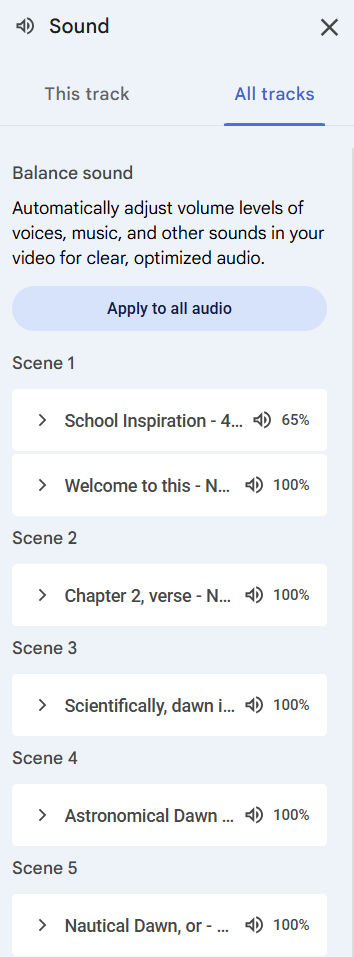
You will see the Sound panel. Click the “All tracks” tab. You will then see the background music and narration audio for each scene. Clicking on each one will allow you to edit the audio for each scene individually. You can also click the “Apply to all audio” button to have your changes apply to all scenes.
Export Video
When you’re done making your changes, click “Share > Download as MP4” to generate and download the video.

Note
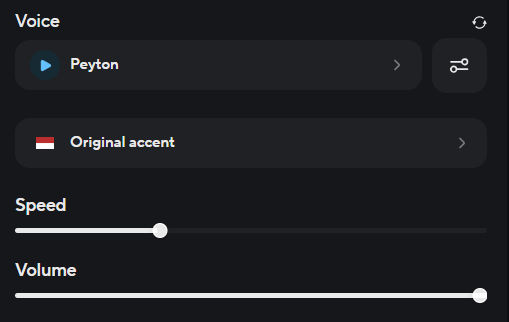
In the example video I created, I used HeyGen to create a lip-sync video of the narrator speaking. Google Vids doesn’t offer this feature, and you don’t need it to create explainer videos. If your video is in a language that is unsupported in Google Vids, e.g., Indonesian, and you want to create a lip-sync video, then you can simply paste the script into Heygen, preview the voiceover, and then generate the lip-sync video. HeyGen only charges for video generation, not text-to-speech previews. For a female voice in Indonesian, for example, I chose “Peyton” (voice ID = 6dd171c356f94a138cdbb5bd11ea8ee8) with “Original accent”.
If you only want to lip-sync some scripts, then it’ll be cheaper to paste those scripts in ElevenLabs. For an Indonesian text-to-speech, I chose Hannah’s voice, using the “Eleven Multilingual V2) model.

You can also clone your own voice in HeyGen and use it to create a lip-sync video.