It’s not uncommon to hear that some of the wealthiest Americans pay less tax than the average taxpayer or, sometimes, no tax at all. However, there hasn’t been much, if any, proof or an understanding of how they get away with it until recently. ProPublica, somehow, got IRS records of many of the wealthiest Americans and in June of 2021, published an article and video showing what these people’s effective tax rates were and how they did it.
Tax Rate
In recent years, the median American household earned about $70,000 annually and paid 14% in federal taxes. The ultrawealthy, on the other hand, paid less than 3.5% from 2014 to 2018.
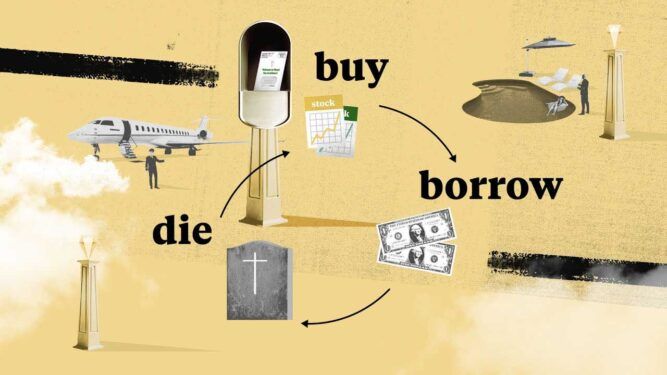
According to ProPublica, the ultrawealthy are able to pay so little or nothing in taxes by living off of loans. Income tax is tax on any income you receive, like a paycheck. For most people, your employer withholds your taxes due so when annual taxes are due, you pay or get a return of the difference of your final taxes owed. Therefore, the less your income is, the less you pay in taxes. Wealth in the form of stocks and real estate can go up and down and is not taxable until you sell. You probably have heard of some CEOs getting a salary of only $1 a year. This might sound like they are extremely generous and humble but in reality, it’s a strategy for them to continue to live lavishly but pay very little in taxes. Since no one can live on a salary of $1 a year, they borrow money to pay for food, housing, yachts, airplanes, etc. And because they’re so rich, they can get a loan at a very low interest rate, like 3%. As an example, if a CEO gets a salary of $1M a year, then their tax rate would be 37% and their tax bill would be, assuming no deductions, $370K. However, if they borrow $1M and pay 3% interest, then they only pay $30K in interest and $0 in taxes assuming they took a salary of $1.
Steps
BUY an asset (buy stock, real estate; build a company, etc). As long as they don’t sell, they don’t pay any taxes.
BORROW against their holdings This is like when ordinary people do a cash-out refinance on their house. Since the ultrawealthy have good credit (and can just buy the bank they are borrowing money from), they get a super low interest rate.
DIE and still not pay taxes Use complicated trusts and philanthropic foundations to avoid estate tax. Their heirs can inherit stocks and other assets tax-free.
A new generation starts ultrawealthy and the cycle starts all over again.
Consuming foods high in fiber is important for your digestion and to feed your gut bacteria. But, it can also be very effective for weight loss. Fiber can soak up water in the intestine, slowing the absorption of nutrients and increasing the feeling of fullness.
Dietary fiber is a non-digestible carbohydrate found in foods. As such, it can be subtracted from total carbs since fiber simply passes through your body. Unlike other carbs, it does not get converted to sugar or get stored as fat.
There are 2 types of fiber based on water solubility:
Soluble fiber: dissolves in water and can be metabolized by the “good” bacteria in the gut
Insoluble fiber: does not dissolve in water
What is Glucomannan?
Glucomannan is a natural, water-soluble dietary fiber extracted from the roots of the elephant yam, also known as konjac. It is grown in East and Southeast Asia and is a very common food in Japan and Korea.
It’s the main ingredient in Shirataki noodles and comes in powder and pill form.
How does Glucomannan support weight loss?
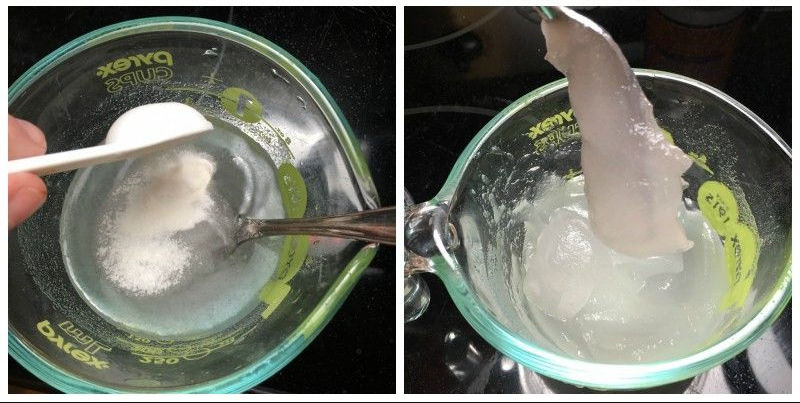
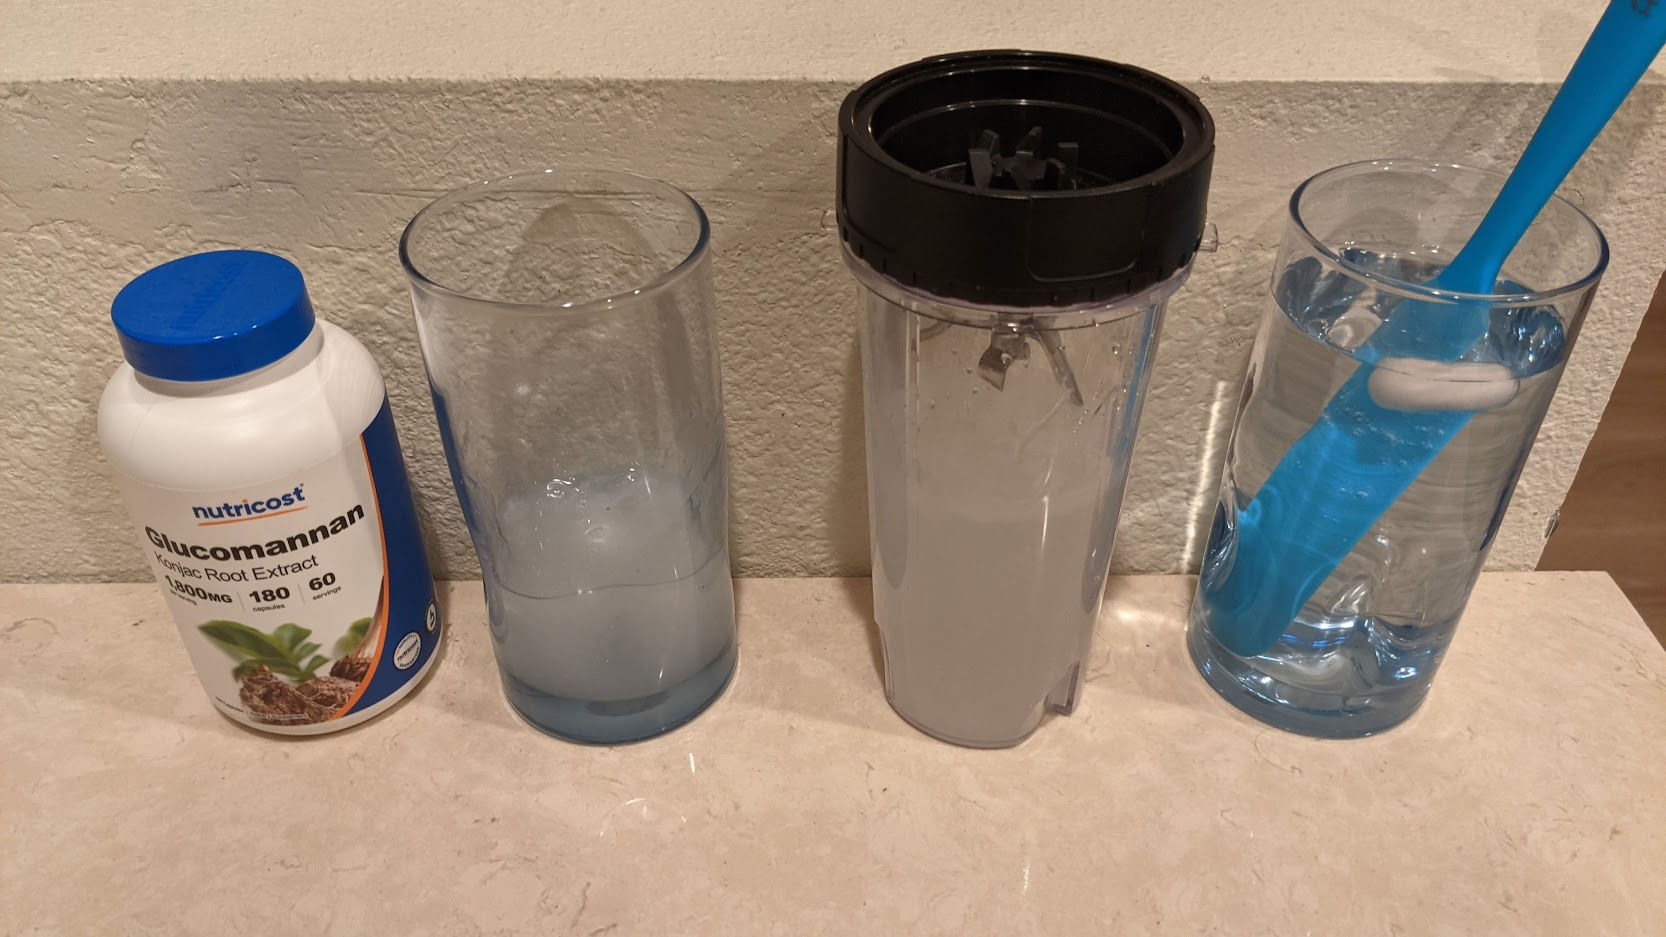
Glucomannan is one of the most viscous dietary fibers known. It absorbs so much liquid that a small amount of glucomannan added to a glass of water turns the entire content into a gel. Chia seeds, which you may have heard of, are also high in fiber and also absorb water but it’s nothing compared to Glucomannan. Note that ground flaxseeds is another healthy fiber supplement but it doesn’t gel up nearly as much as Chia seeds.
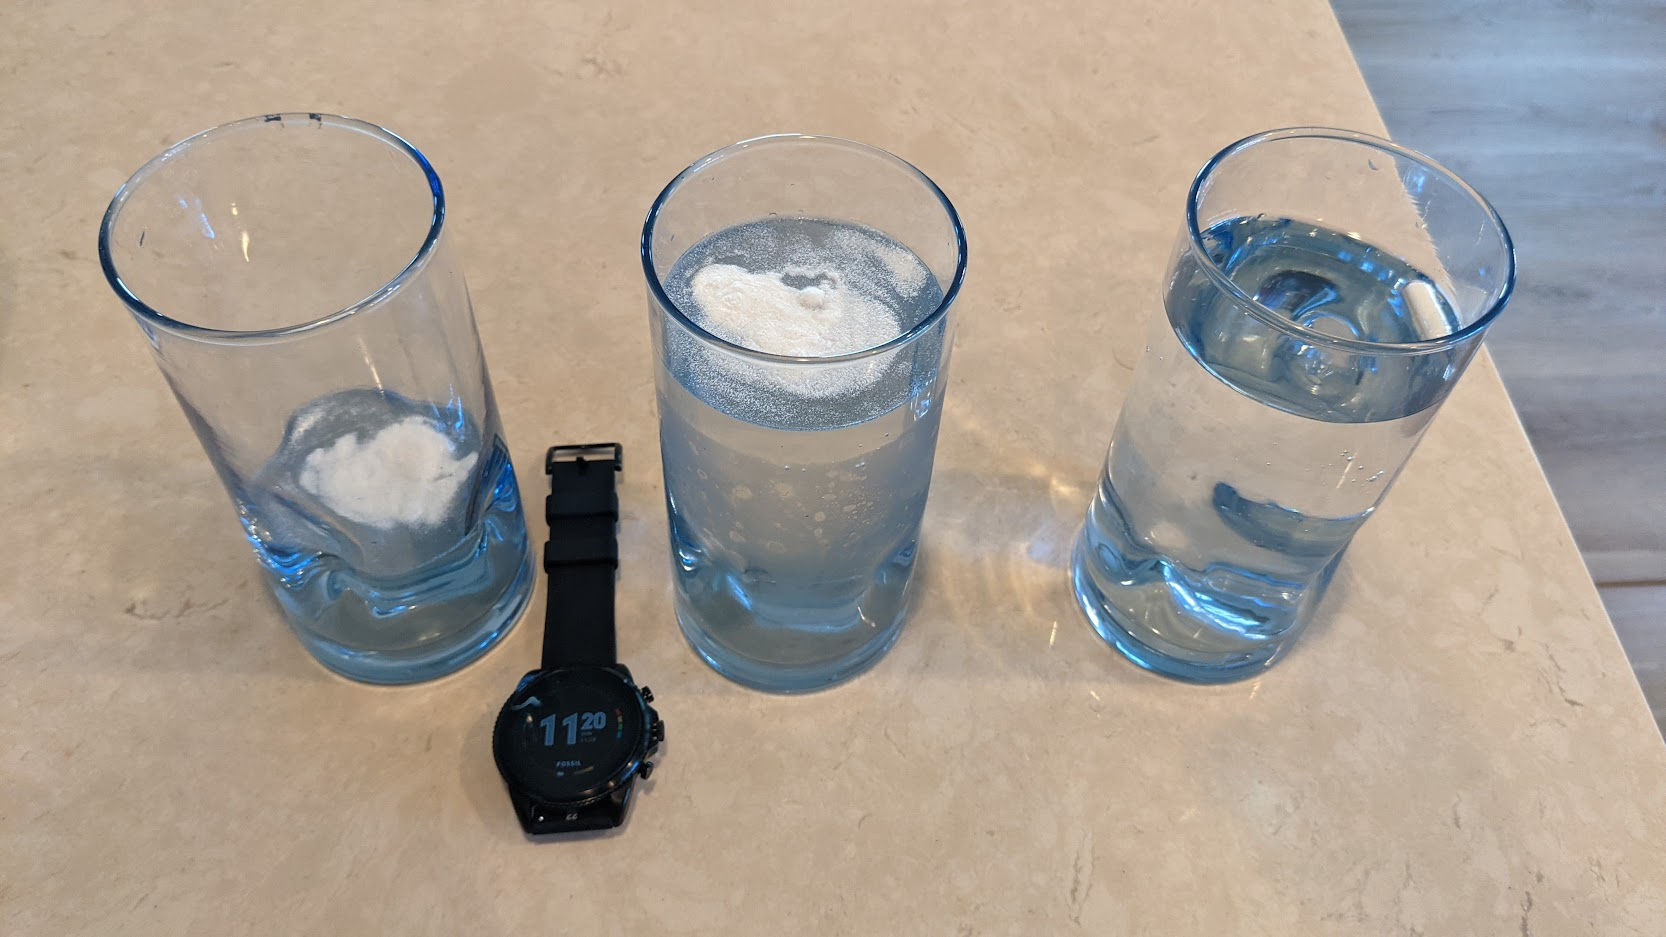
In the picture below, you can see Glucomannan in powder form being added to water, and on the right, the Glucomannan after it absorbed all the water.
This thick gel lines the stomach and provides bulk and satiety / feeling of fullness which lowers your appetite so you eat less. In addition, Glucomannan
is very low in calories.
delays stomach emptying, contributing to increased satiety
like other soluble fibers, reduces the absorption of protein and fat
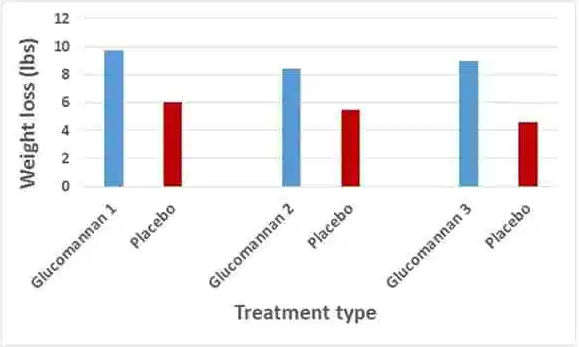
According to this article, reliable studies show that consuming Glucomannan as part of a weight-loss diet is very effective in supporting weight loss. Of all fiber sources you can consume, Glucomannan is the most effective in supporting weight loss.
Consuming Glucommanan
It is recommended to take 1 gram (1000 mg) of Glucomannan before a meal with two 8 oz glasses of water. The amount of time before a meal depends on how long it takes for the Glucomannan to gel up. When you get your Glucomannan, it’s a good idea to add water to it to see how long it takes to gel up. The powder form should gel up in a few minutes whereas the pill form should take about 30 minutes. In general, you can wait 15 minutes to an hour before eating.
WARNING: Glucomannan MUST be consumed with water so that it reaches the stomach before it turns into a thick gel. Consuming Glucomannan without water could cause it to gel up in the throat or esophagus causing blockage and choking. The government of Australia even banned Glucomannan because of this choking and blockage risk.
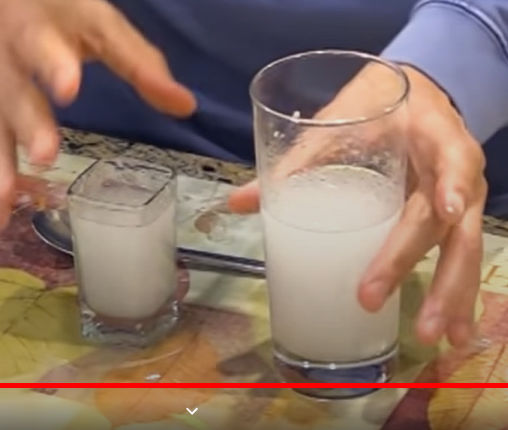
The amount of water to drink while consuming Glucomannan is important as it will affect the viscosity and effectiveness of the Glucomannan to support weight loss. For example, according to this video, the same amount of Glucomannan was added to a small and large glass. Then, different amounts of water was added to each glass. The result was the gel in the small glass was so thick that turning the glass over would not cause it to come out. The gel in the large glass, on the other hand, could spill out. The more water, the better.
Not all Glucomannan brands are the same
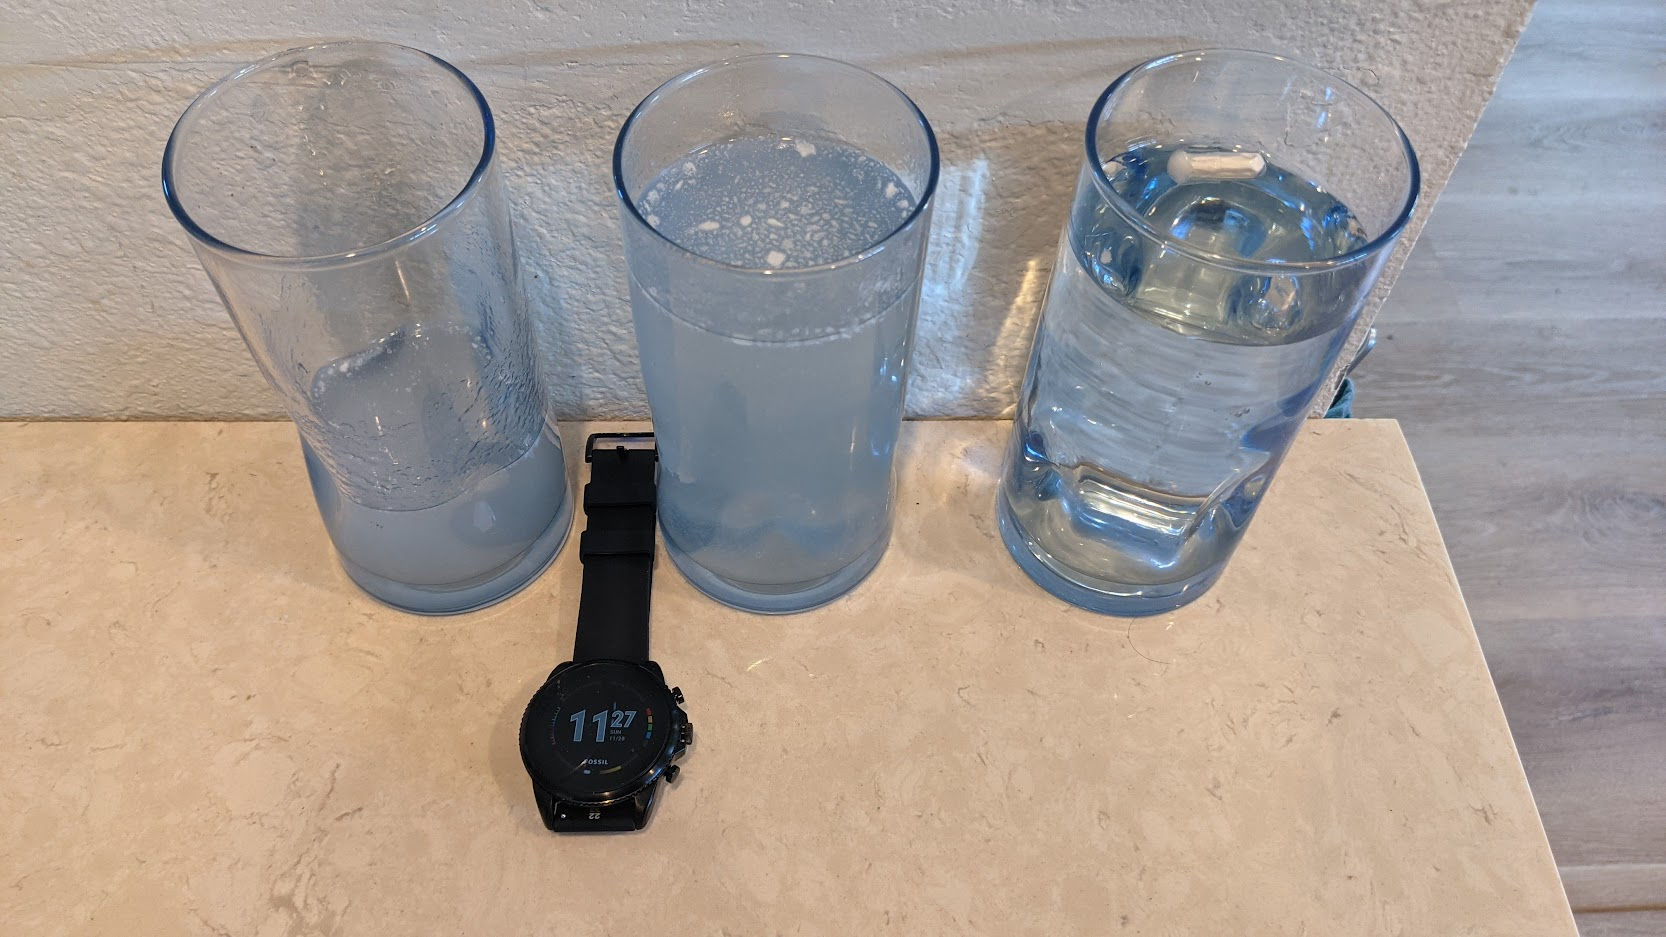
According to this video, the brand on the left did not coagulate as much a the one on the right. Therefore, test the Glucomannan you buy to ensure that it coagulates as expected.
Left glass: Emptied powder from pill (600 mg) into 1/3 glass of water
Middle glass: Emptied powder from pill (600 mg) into 7/8 glass of water
Right glass: Put pill (600 mg) into 7/8 glass of water
I stirred the powder in the water but there was too little powder that the glucomannan hardly became coagulated.
I then added another pill (600 mg) and although the mix was more viscous, it wasn’t very thick. I then added another pill (600 mg) and blended the mix together.
Finally, the mix in the left glass became thick like a thick sauce. The middle glass was somewhat thick but due to there being more water, it was still very runny. The pill in the right glass still hadn’t melted after 6 hours.
Based on these results, I think
it’s better to consume glucomannan as a powder rather than a pill so the satiety effects will be quicker
it’s better to consume glucomannan blended with water (or in a smoothie or in food so that the glucomannan can expand before you consume it)
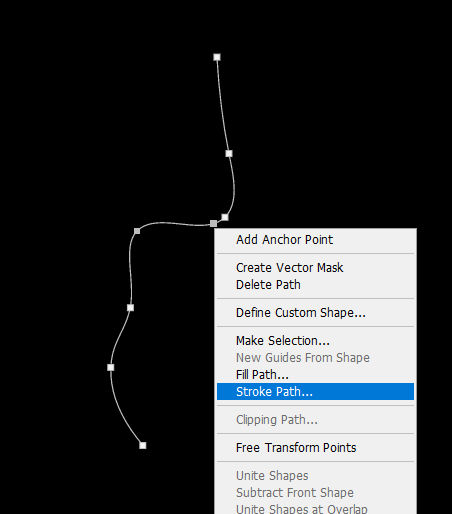
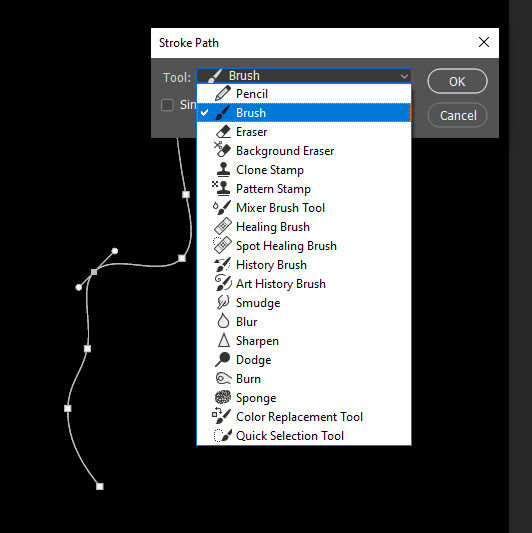
Whenever you make a change to a website, you need to deploy your changes to a production server. This can be as simple as uploading some files and as complex as having a multi-step process involving version control, building code, running custom scripts, checking links, image optimization, and then rsync-ing files to multiple production servers. To manage the build and deployment process, developers often use continuous integration (CI) and either continuous delivery or continuous deployment (CD). CI/CD bridges the gaps between development and operation activities and teams by enforcing automation in building, testing and deployment of applications.
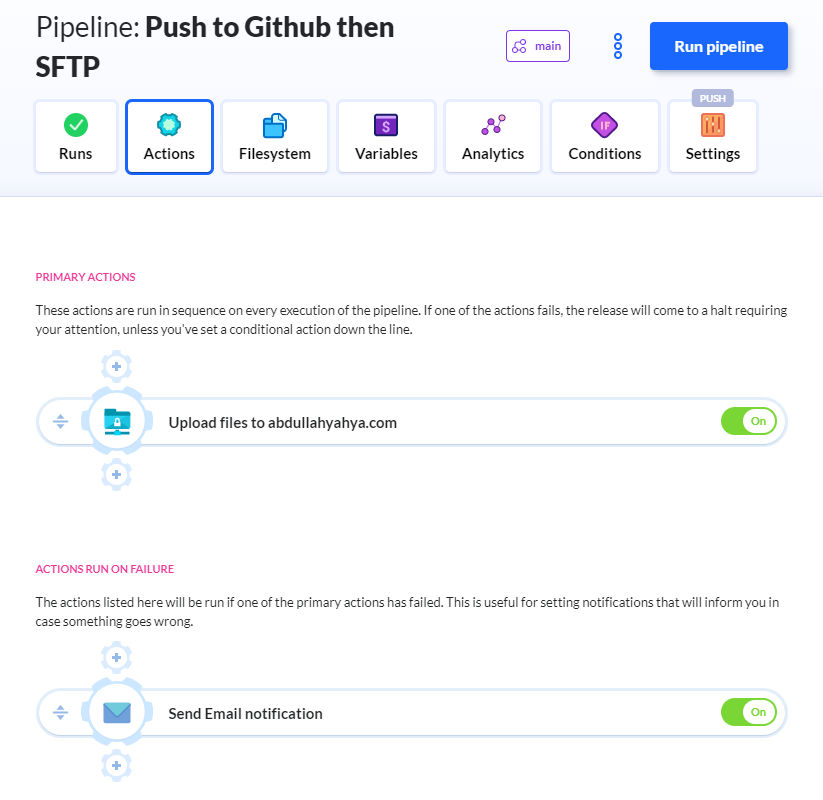
I’ve used Travis CI and attempted to use CircleCI but both seemed more complicated than I would like them to be. I then came across Buddy which got a lot of good reviews and looked super simple to set up. For me personally, I just wanted a simple way to commit changes to this blog’s custom WordPress theme in GitHub and have the changes SFTP’d to the production server. Though you can do that using GitHub Actions, it looked like more work and didn’t come with useful reporting and notifications like what you get with Buddy. Below is how I set up Buddy to detect whenever I commit or push to GitHub and then SFTP the changes to a server.
1. Sign up for Buddy
Buddy requires that you sign up using a work email address or to log in using your GitHub account. I wasn’t using this for work so I just logged in using my existing GitHub account.
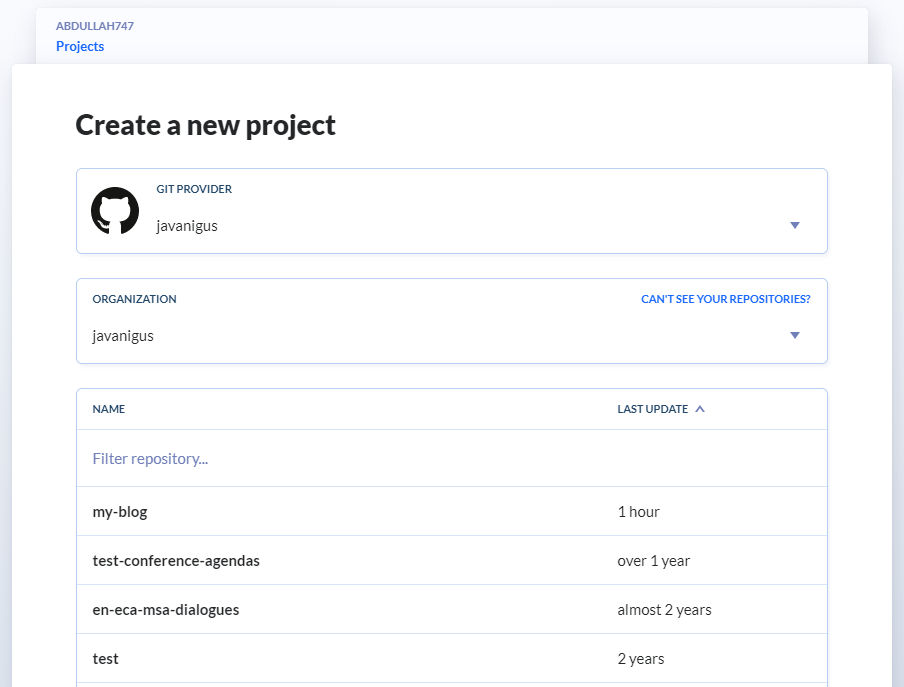
2. Create a project
Click the “Create a new project” button. Since I logged in using my GitHub account, Buddy instantly showed me my GitHub repos. Click on a repo for this project you are working on. In my case, I chose “my-blog”.
3. Add a new pipeline
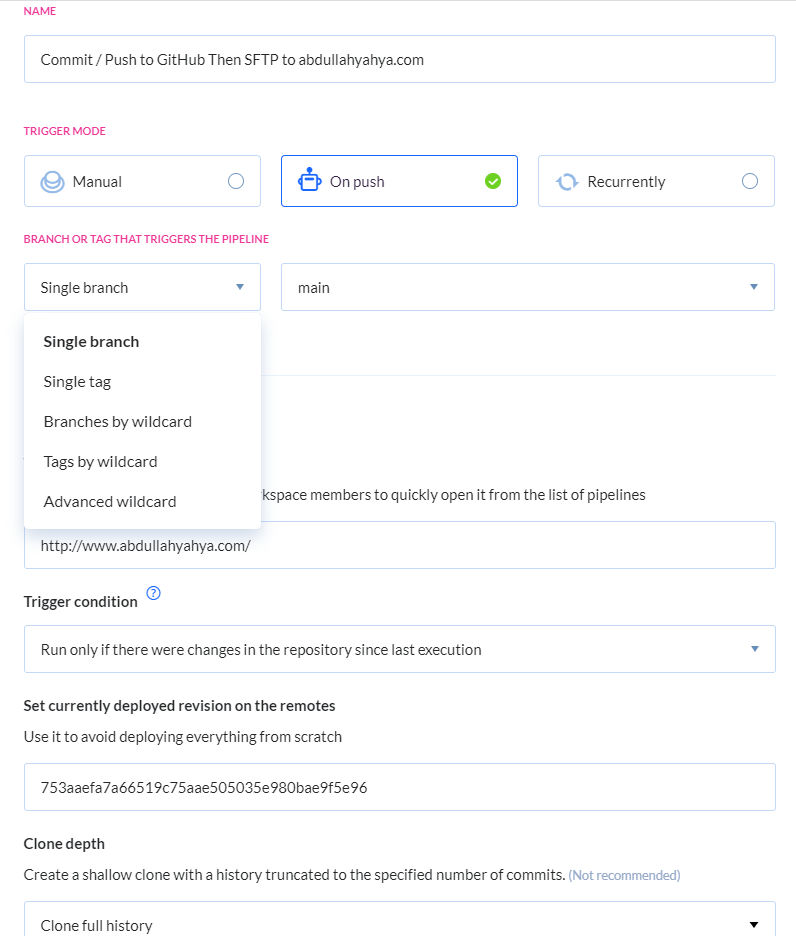
Click to add a new pipeline. You will be asked for a number of things including:
Name – I just called the pipeline “Commit / Push to GitHub Then SFTP to abdullahyahya.com”
Trigger Mode – I chose “On push” because I want to trigger the pipeline whenever I commit or push to GitHub.
Branch or Tag That Triggers the Pipeline – I chose “Single branch” and “main” since, well, I only have one branch (main) and no tags.
Target Website URL – I entered my blog’s website URL
Trigger Condition – there are a few options here but I chose to have the pipeline be triggered only if there were changes in the repository since last execution which is probably what most people want.
Set currently deployed revision on the remotes – Since I already had commits in GitHub that were in sync what production, I chose the most recently commit revision to avoid unnecessarily deploying everything from scratch.
Other – there are other options but I just left them at their defaults
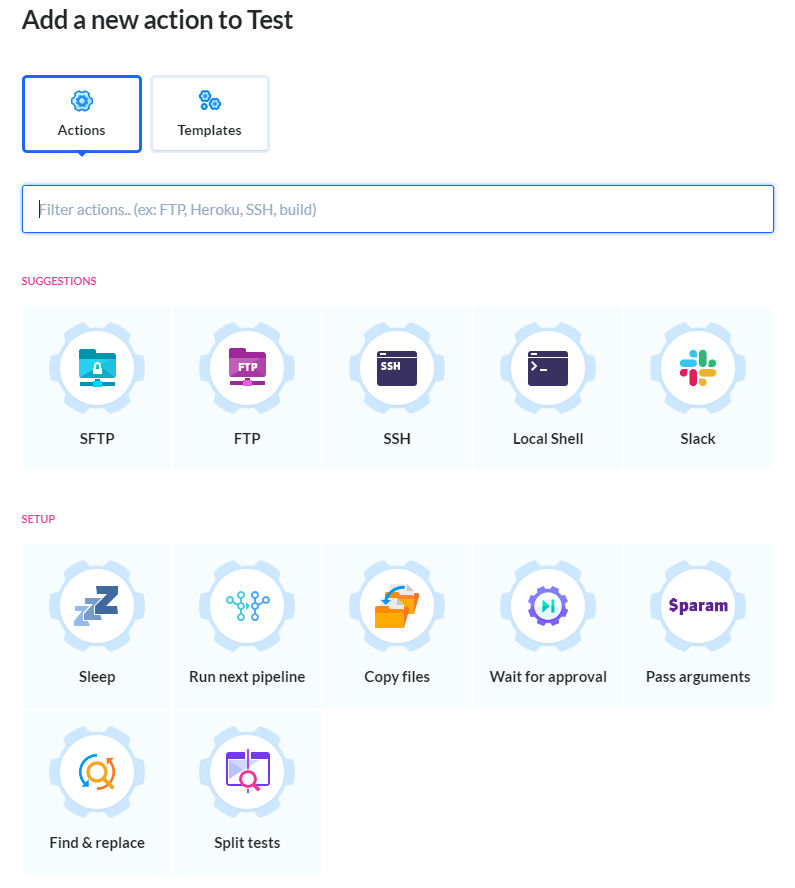
4. Add an action
On the next step, you need to choose an action that will take place in the pipeline (when there is a change committed / pushed to GitHub). Since I just want to SFTP the changes, I chose the SFTP action. Browse all Buddy actions.
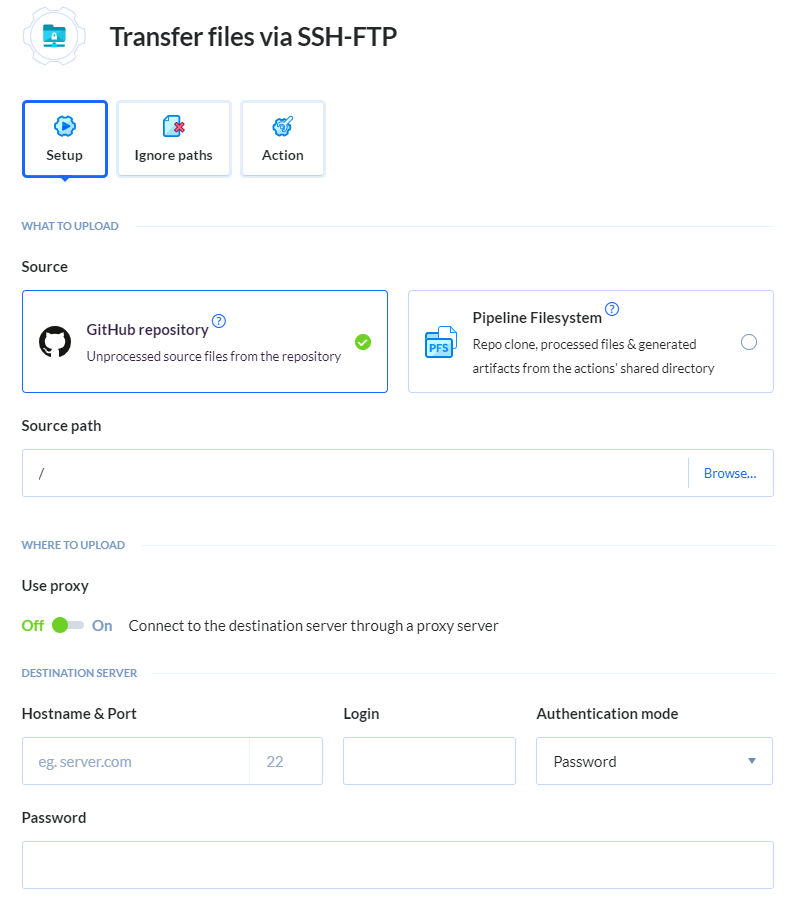
5. Set up action
Now, you need to set up your chosen action. In this case, I need to set up my source and destination file paths and SFTP login credentials.
If you click the Action tab / button, you can name your action and temporarily disable the action, among other things.
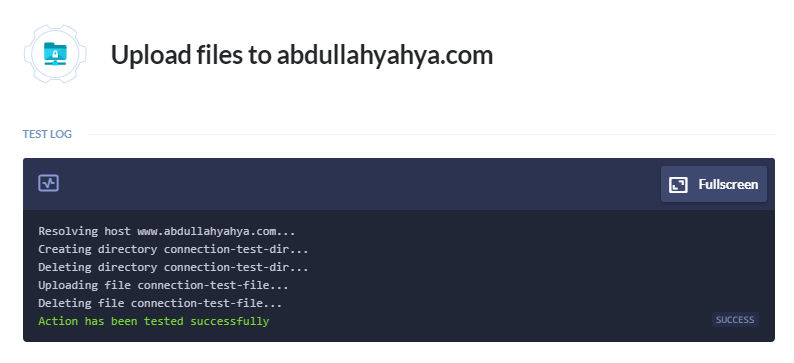
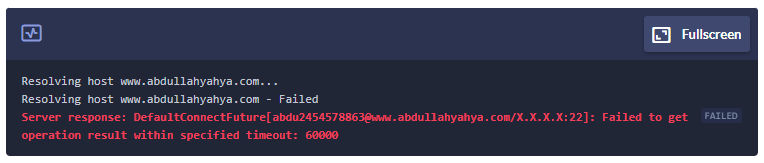
Test your action by clicking the “Test action” link. In my case, Buddy connecting to the production server of SFTP, created a test directory, deleted the test directory, testing uploading a file, and deleted the test file.
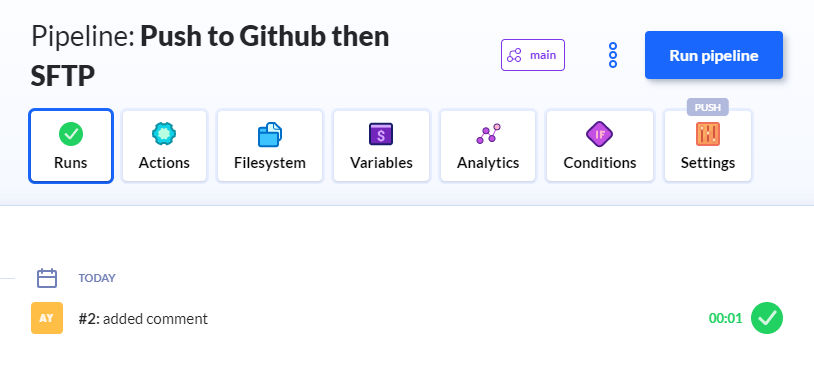
When you are done, you will see your new pipeline listed along with any other pipelines you have. You can manually run the pipeline also.
7. Do a real test
To do a real test of my pipeline, I added a comment to a file directly in GitHub and committed it. Seconds later, I saw the commit message show up in Buddy. I then verified that the comment was actually added to the file on the production server.
8. Add more actions to the pipeline
If you click the Actions button / tab, you’ll see all actions in the pipeline. You can add more actions that run in certain situations. In this example, I added an action to send myself an email if the pipeline fails. You can also add actions that rsync files to a server, optimize images, perform link checking, run a custom shell script, and much more.
9. Done
So that’s it. Super easy. Intuitive. Fast. I like it!
Alright, lately I’ve been obsessed with finding recipes and food for weight loss that I personally enjoy eating, especially Keto-friendly ones. To keep track of all my discoveries, I decided to just make this menu.
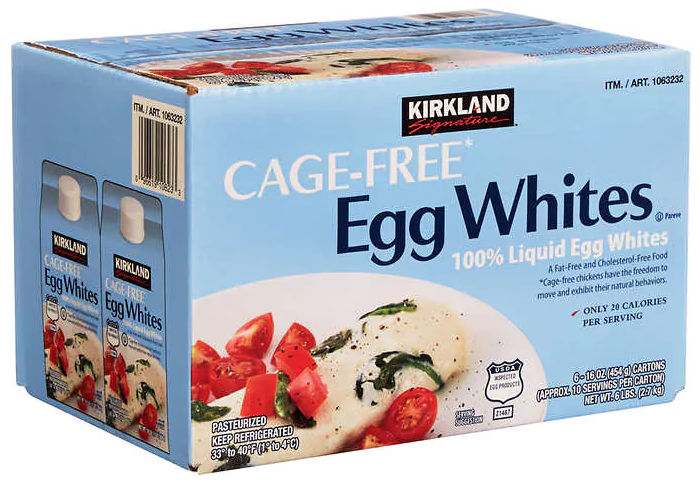
Microwave-Cooked Eggs
Eggs (I usually eat 4)
Shredded cheese (mozzarella or cheddar) – optional
Salt and pepper to taste
Microwave on high for 2 minutes (depending on microwave)
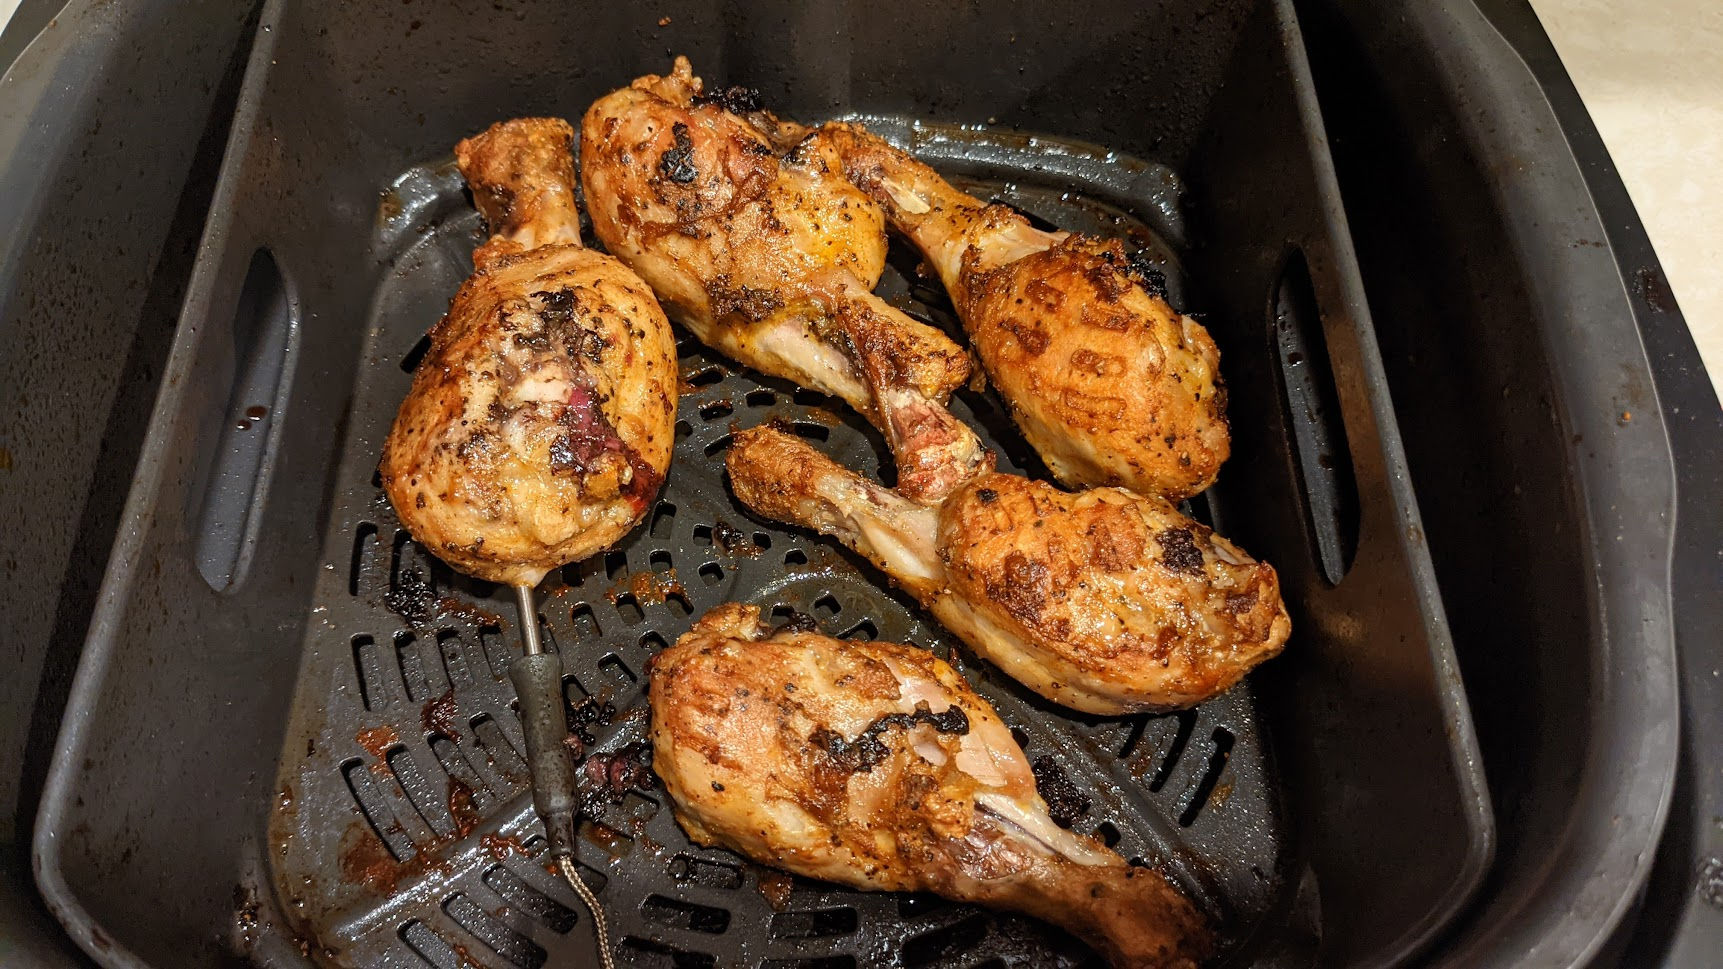
Air-Fried Chicken Drumsticks
Chicken drumsticks (skin removed)
Spices
1 Anaheim pepper
Healthy Keto Protein Smoothie
1 tbsp Navitas Acai powder
2 frozen strawberries
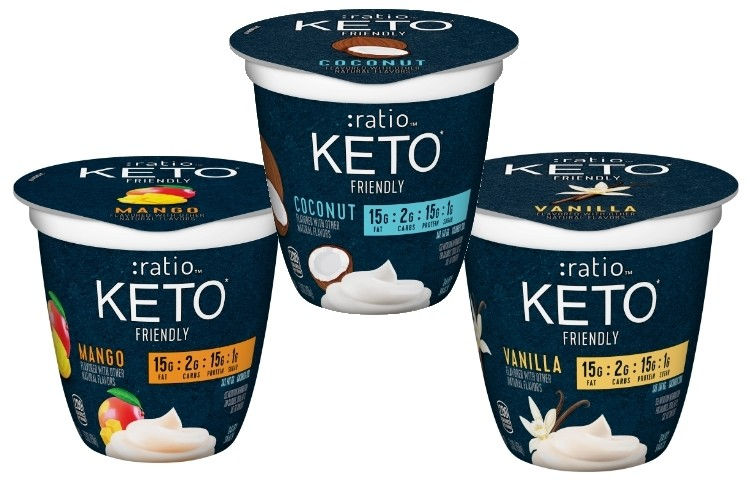
1 :ratio keto yoghurt (if not available, get Two Good yogurt – on 3 g of carbs)
1 scoop pure protein powder
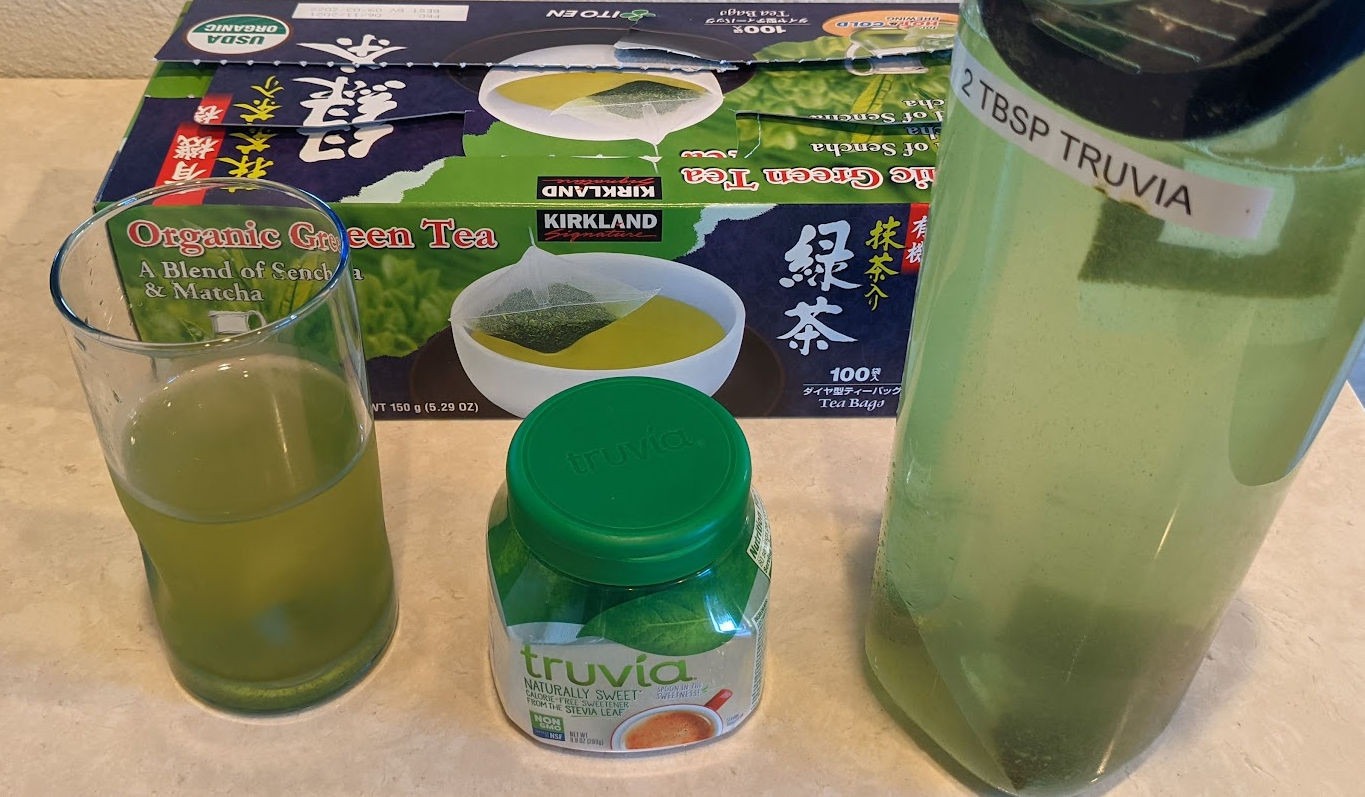
1 tablespoon of Matcha green tea powder
Almond milk
1 tablespoon Chia seeds
Keto Chicken Rice Soup
2 x 8 oz packs of Shirataki Konjac rice
Chicken broth
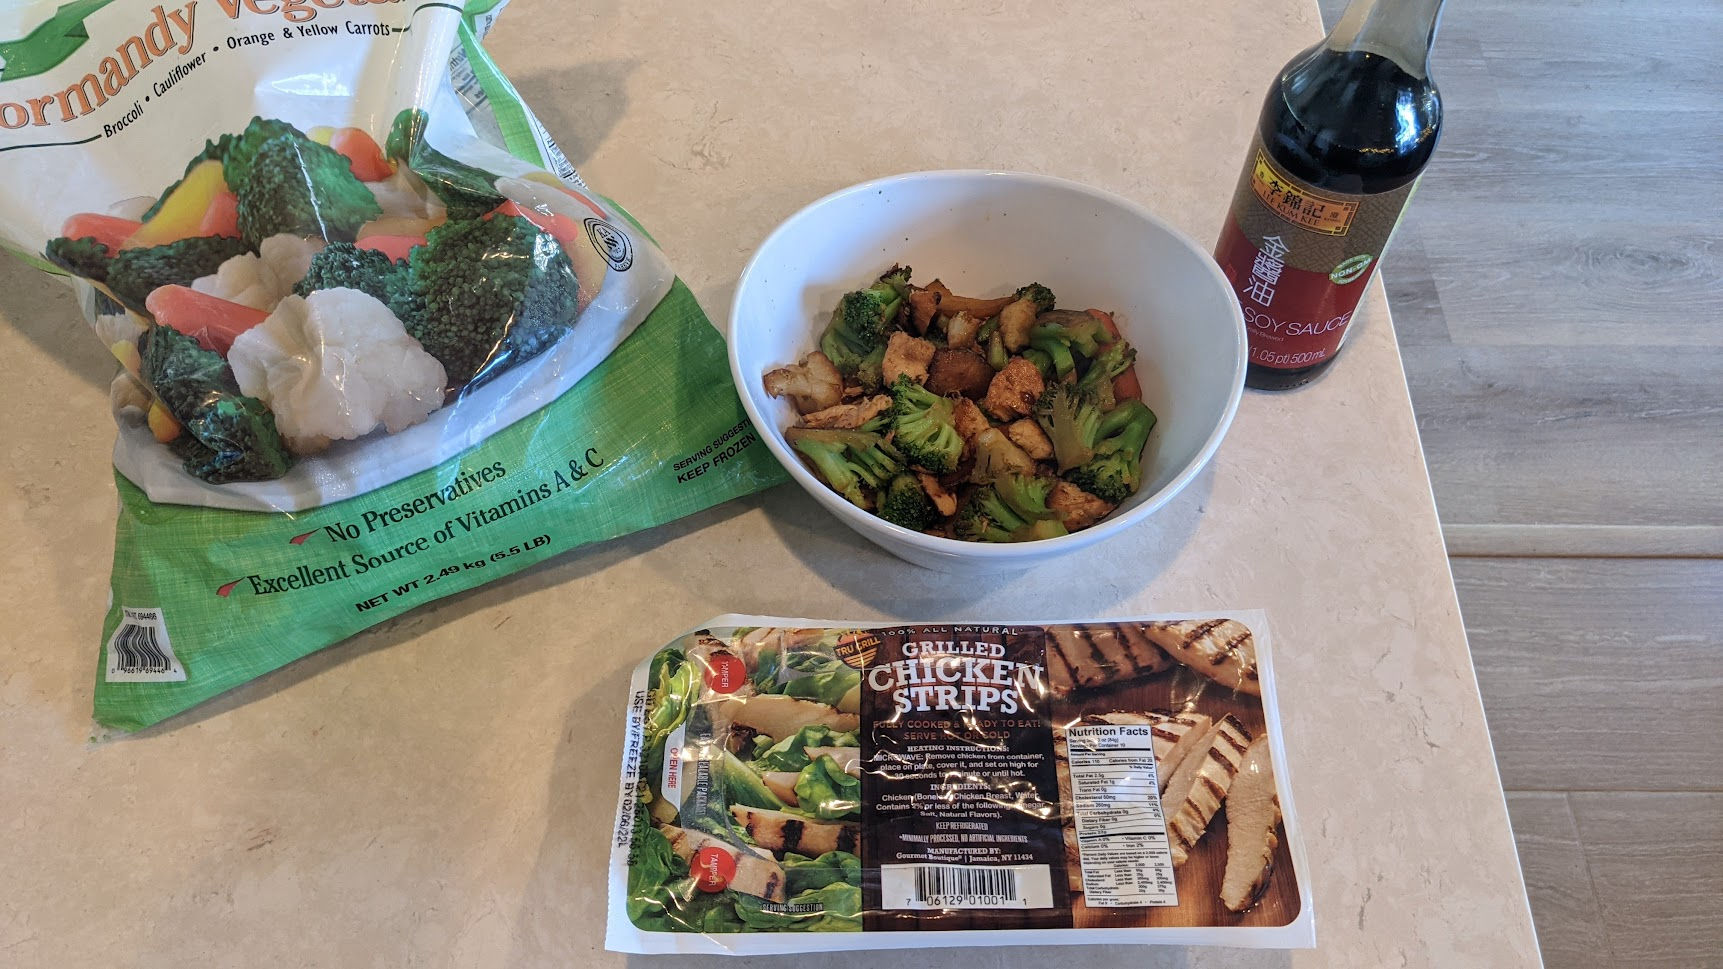
Chicken breast (pregrilled from Costco)
Salt to taste
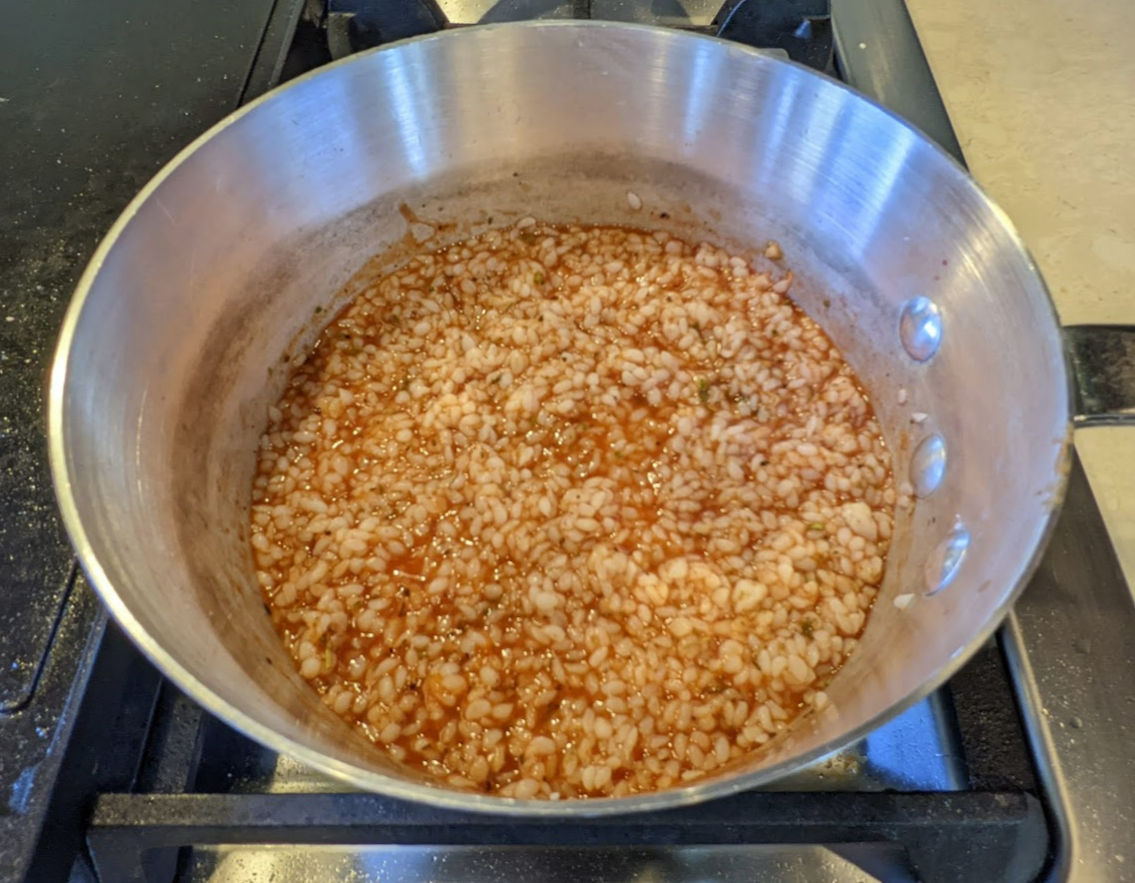
Keto Rice with Tomato Sauce
2 x 8 oz packs of Shirataki Konjac rice
1 8oz can of tomato sauce
1 tsp of Italian seasoning
1 tsp of oregano
1/2 tsp of black pepper
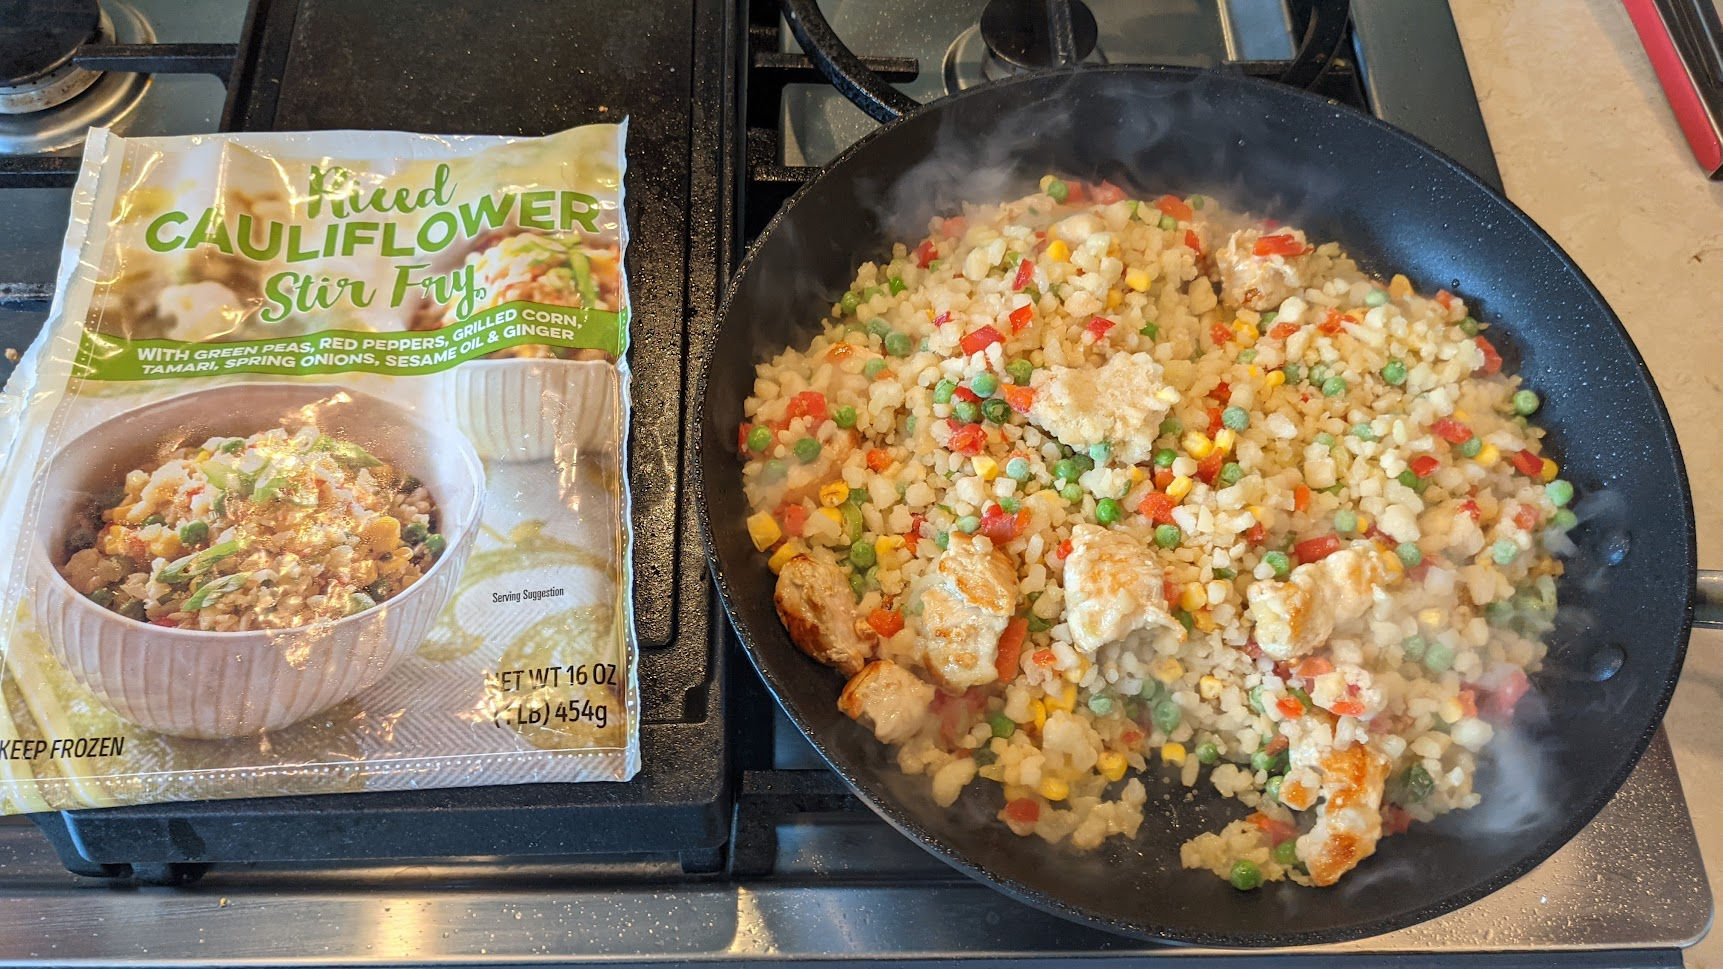
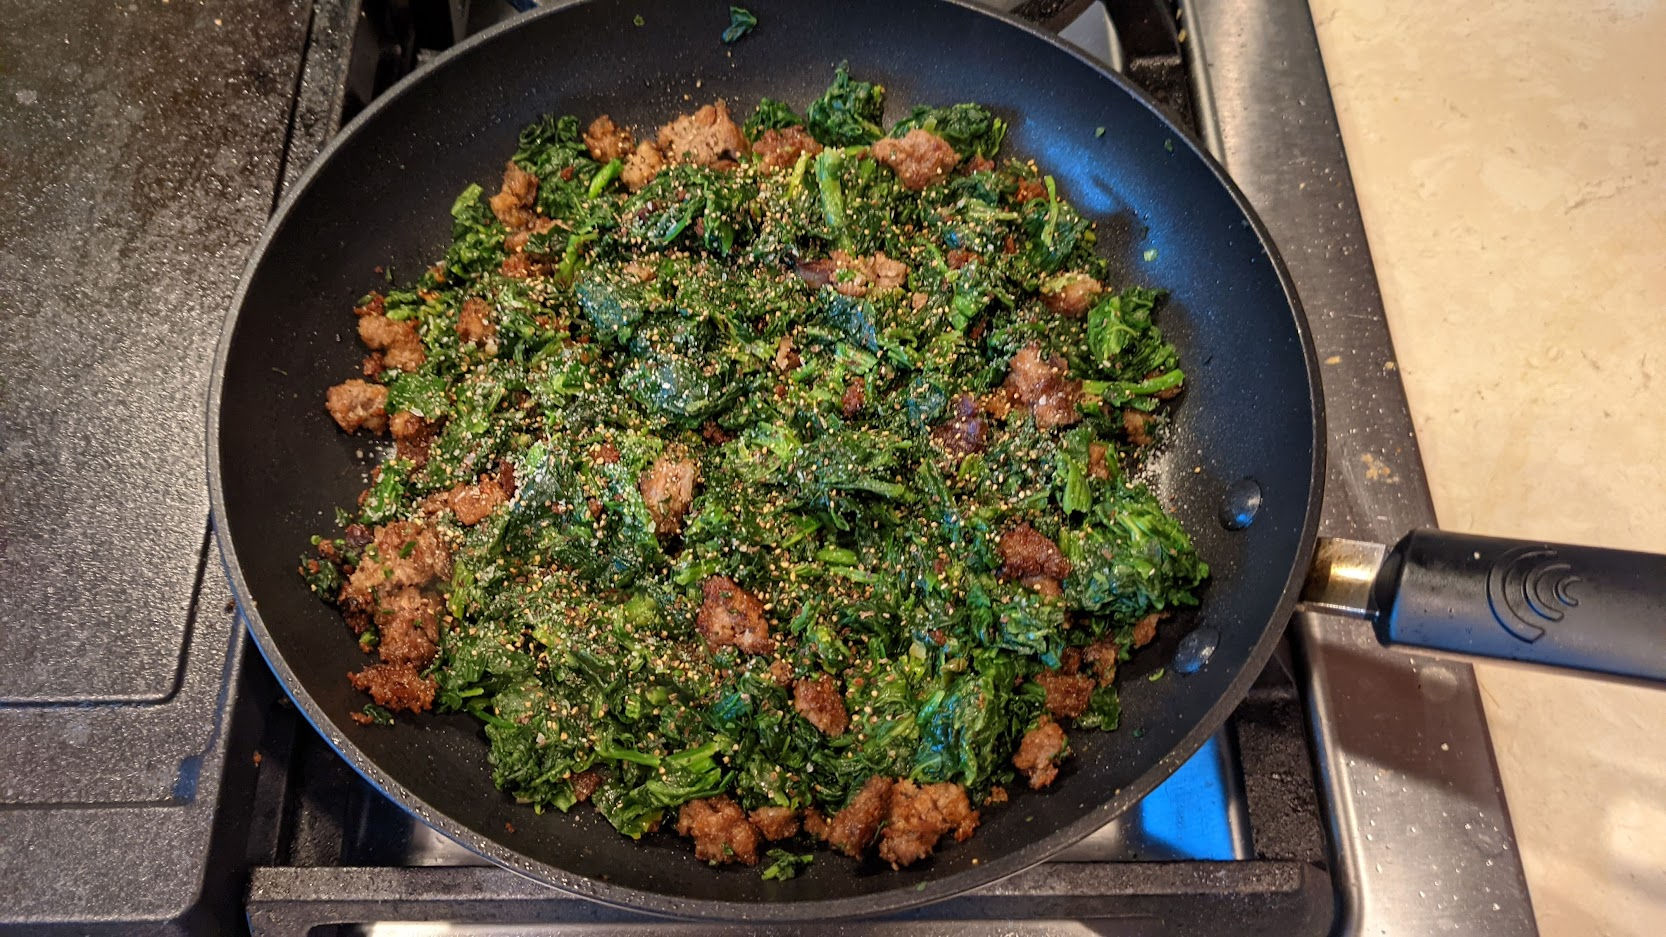
Riced Cauliflower or Konjac Rice With Scrambled Eggs & Minced Beef
Just out of curiosity, I wanted to find the lowest calorie, lowest carb food that could be considered a dish/meal. The goal is to be able to lose weight while feeling full after eating something that is relatively tasty with a flavor that everyone is familiar with. When it comes to filling foods, most people would think of rice or bread. Apparently, there’s something very similar to rice called Konjac.
It has a neutral taste and its shape is very similar to rice. But, it does have a slightly different texture than rice. Nevertheless, one pack (150g) contains only 5 calories and 0 net carbs.
Of course, eating plain rice alone, especially Konjac rice, doesn’t taste good. After considering various ingredients to add to Konjac rice, I decided that chicken broth is one of the best flavorings to add. Everyone knows what chicken tastes like and since it doesn’t contain meat, even vegetarians can eat (drink) it. It’s also not a forbidden food by any of the major religions.
This particular brand of chicken broth is organic, doesn’t contain salt, provides a mere 5 calories for 1 cup, and has 0 carbs.
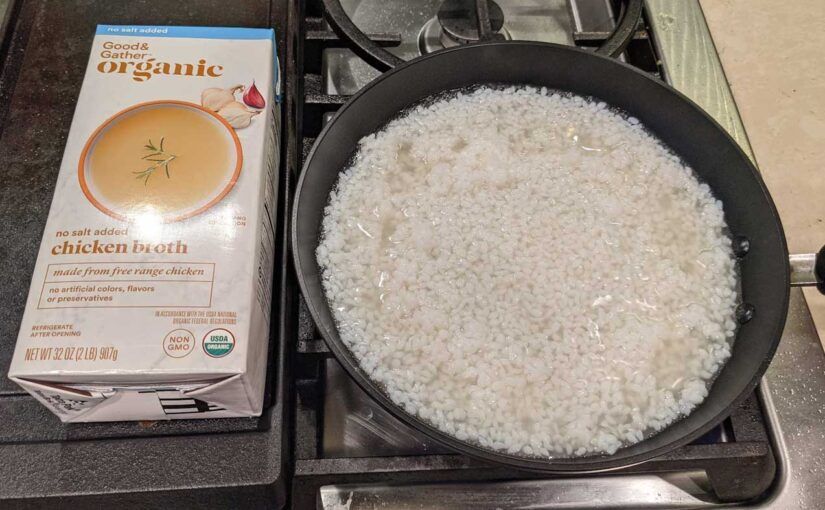
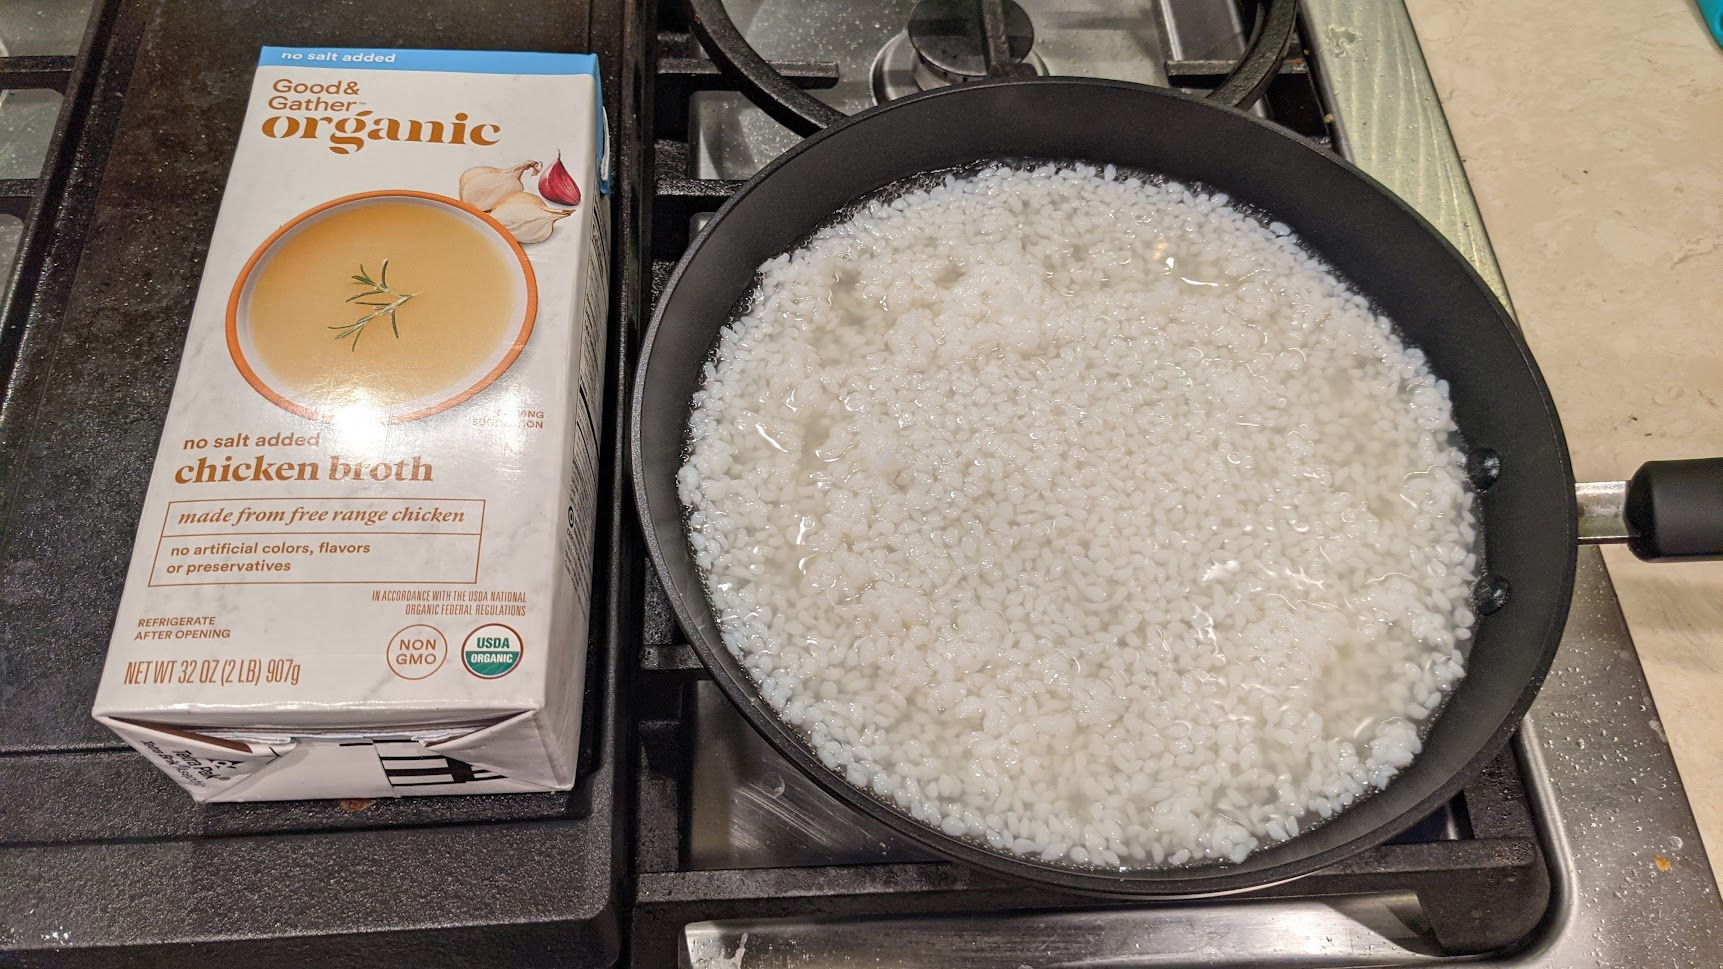
If we cook one pack of Konjac rice with 1 cup of this chicken broth, we’d only be consuming 10 calories and 0 net carbs! Since 1 pack seems too little to make me feel sufficiently full, I’ll go with 2 packs and 1 cup of chicken broth (15 calories total). That’s nothing! (calorie-wise)
2 packs of Konjac rice + 1 cup of chicken broth.
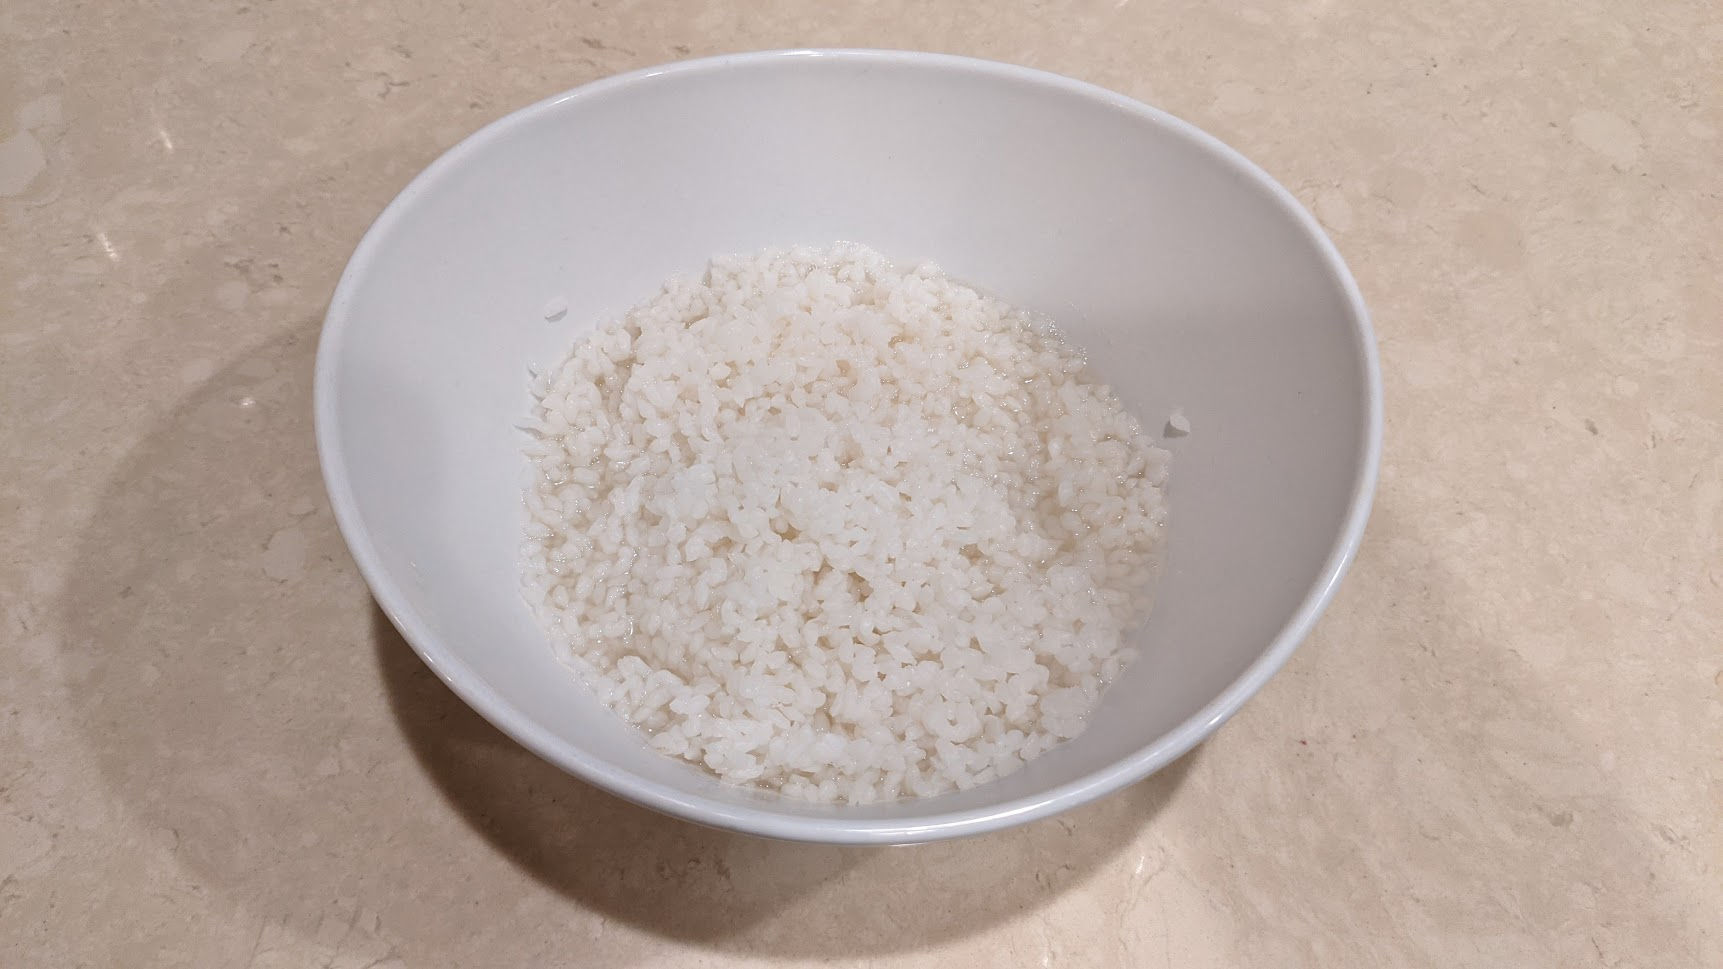
The broth says “no salt added”. That may be good for people with high blood pressure but for me, the rice just didn’t taste good without salt so I added some. Here’s the finished dish.
I know it looks super boring and tasteless but since I added chicken broth, it actually tasted like chicken soup. On a scale of 1 (yuck) to 10 (yum), I’d give it a 7 (not bad). Of course, the only reason for eating this is to lose weight until you reach your target weight after which time you can adjust your diet so as to just maintain your weight.
Now, don’t go eating this for breakfast, lunch, and dinner!
The Konjac rice has 0 fat, 0 net carbs, and 0 protein = 0 essential nutrients
The chicken broth has 0 fat, 0 carbs, and 1g of protein = hardly any nutrients from protein
So, if you eat this and nothing else, your body won’t be getting any of the essential nutrients it needs from fat and protein.
This ridiculously simple dish is good in combination with other food so that your total daily caloric intake is less than your calorie expenditure so that you can actually burn fat and lose weight, especially for people who don’t want to exercise in conjunction with dieting.
According to one calculator, my basal metabolic rate (BMR) or, calories I would burn each day by being sedentary / not active, is 1788. You need to burn 3,500 calories to lose 1 pound of body weight. So, if I was sedentary and could consume a max of 1288 calories per day (which is not easy to do considering how so many foods contain so many calories), then I could have a deficit of 500 calories per day and lose 1 pound of body weight per week or 10 pounds in 2.5 months.
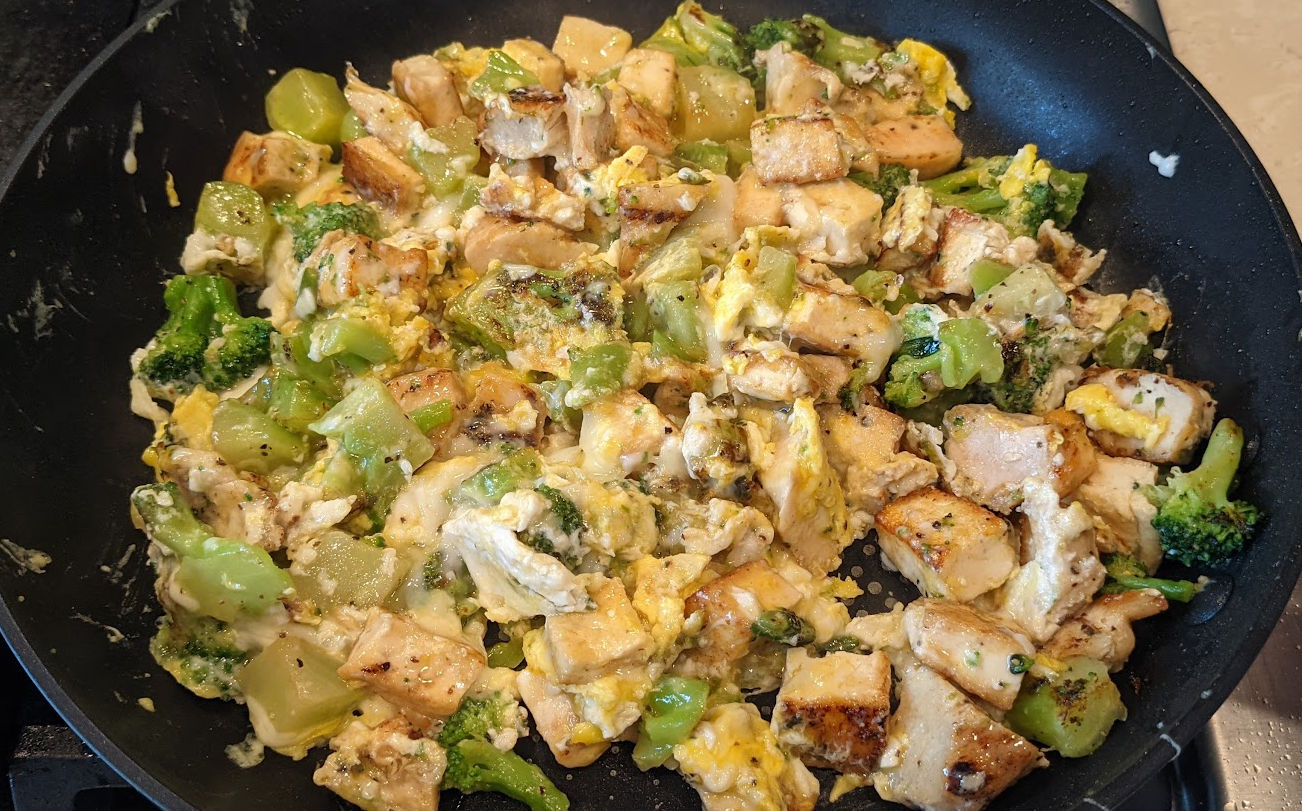
Konjac rice with eggs
If you’d like to eat Konjac rice with something else that is full of nutrients and is healthy, then you may want to try mixing the rice with scrambled eggs. One scrambled egg has 100 calories, 8g of fat, 7g protein, and 1g of net carbs.
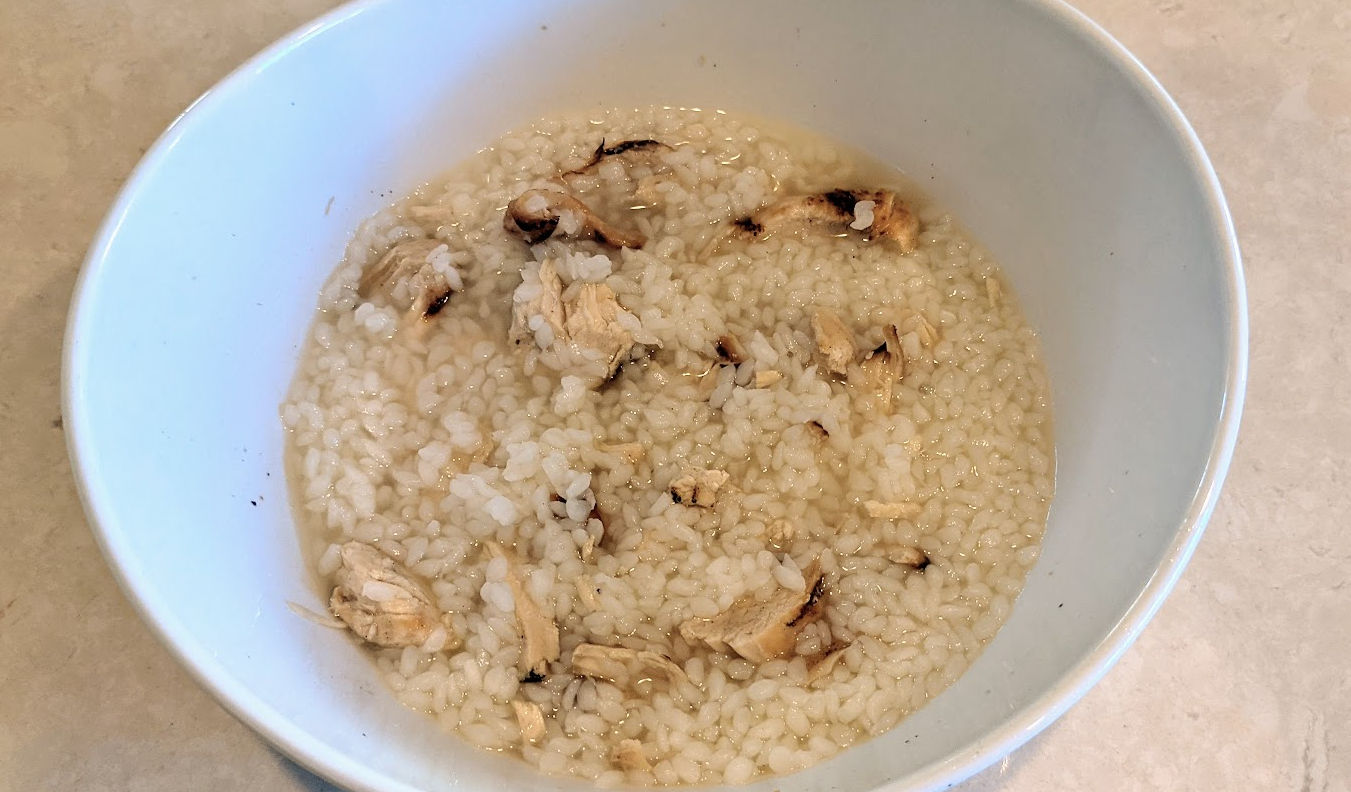
Konjac rice with chicken
Since we’re adding chicken broth to the Konjac rice, it would make sense to add real chicken as well. Pictured below I added pregrilled chicken breast from Costco. It tasted good and was super easy to make since everything was precooked.
A 3.5-ounce (100-gram) serving of chicken breast provides 0 carbs, 165 calories, 31 grams of protein and 3.6 grams of fat.
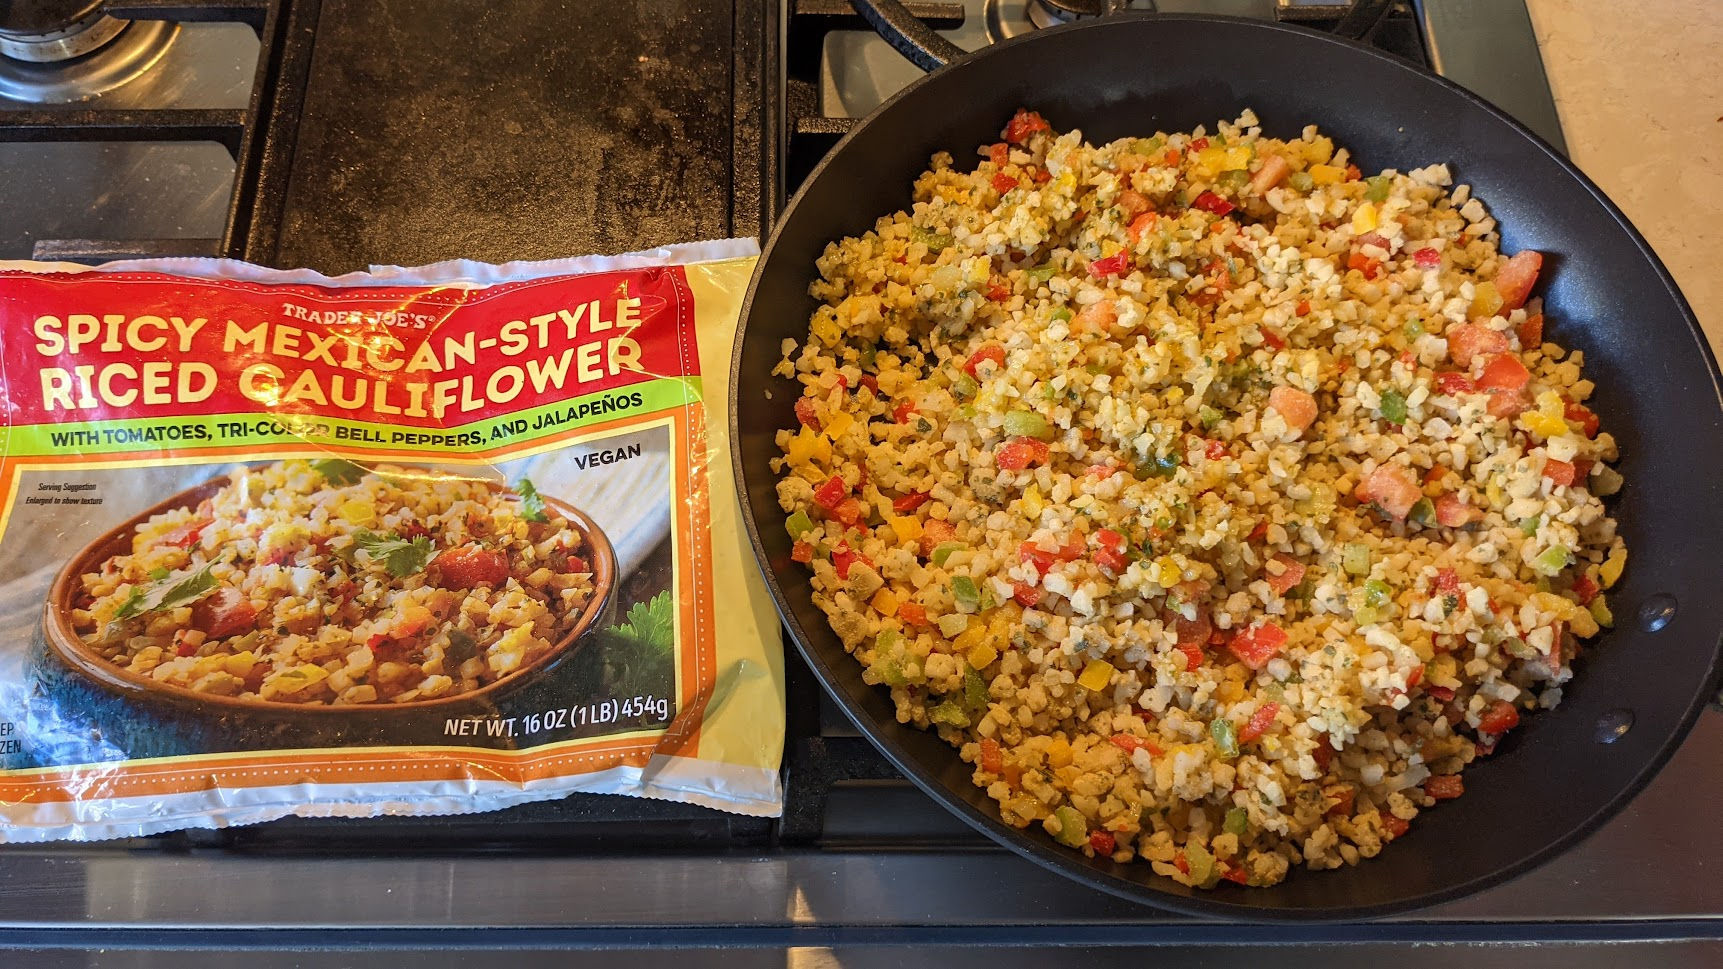
Konjac rice is relatively expensive. For a cheaper alternative that still has much fewer carbs than rice, you can use riced cauliflower.
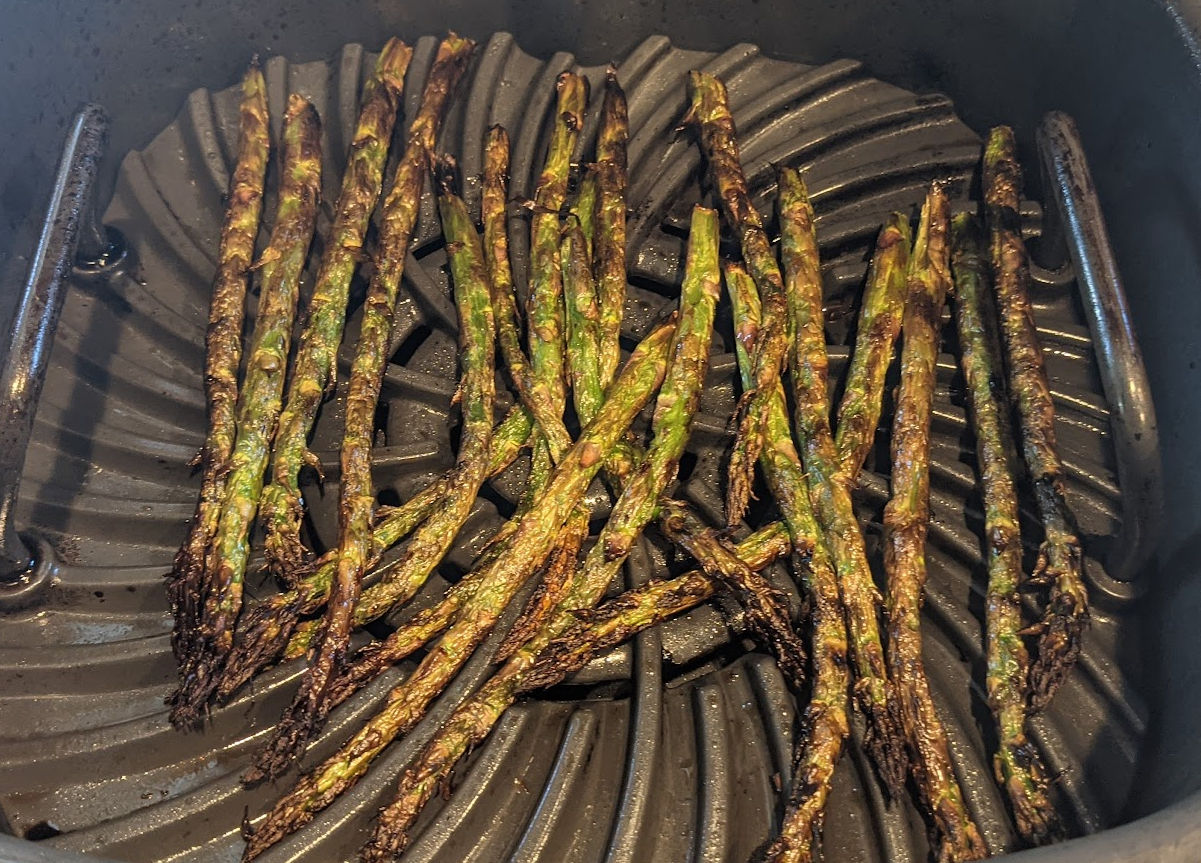
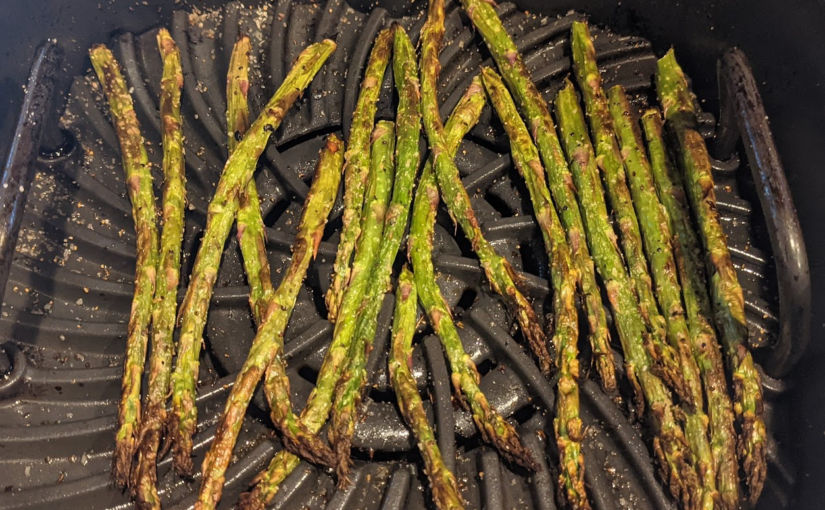
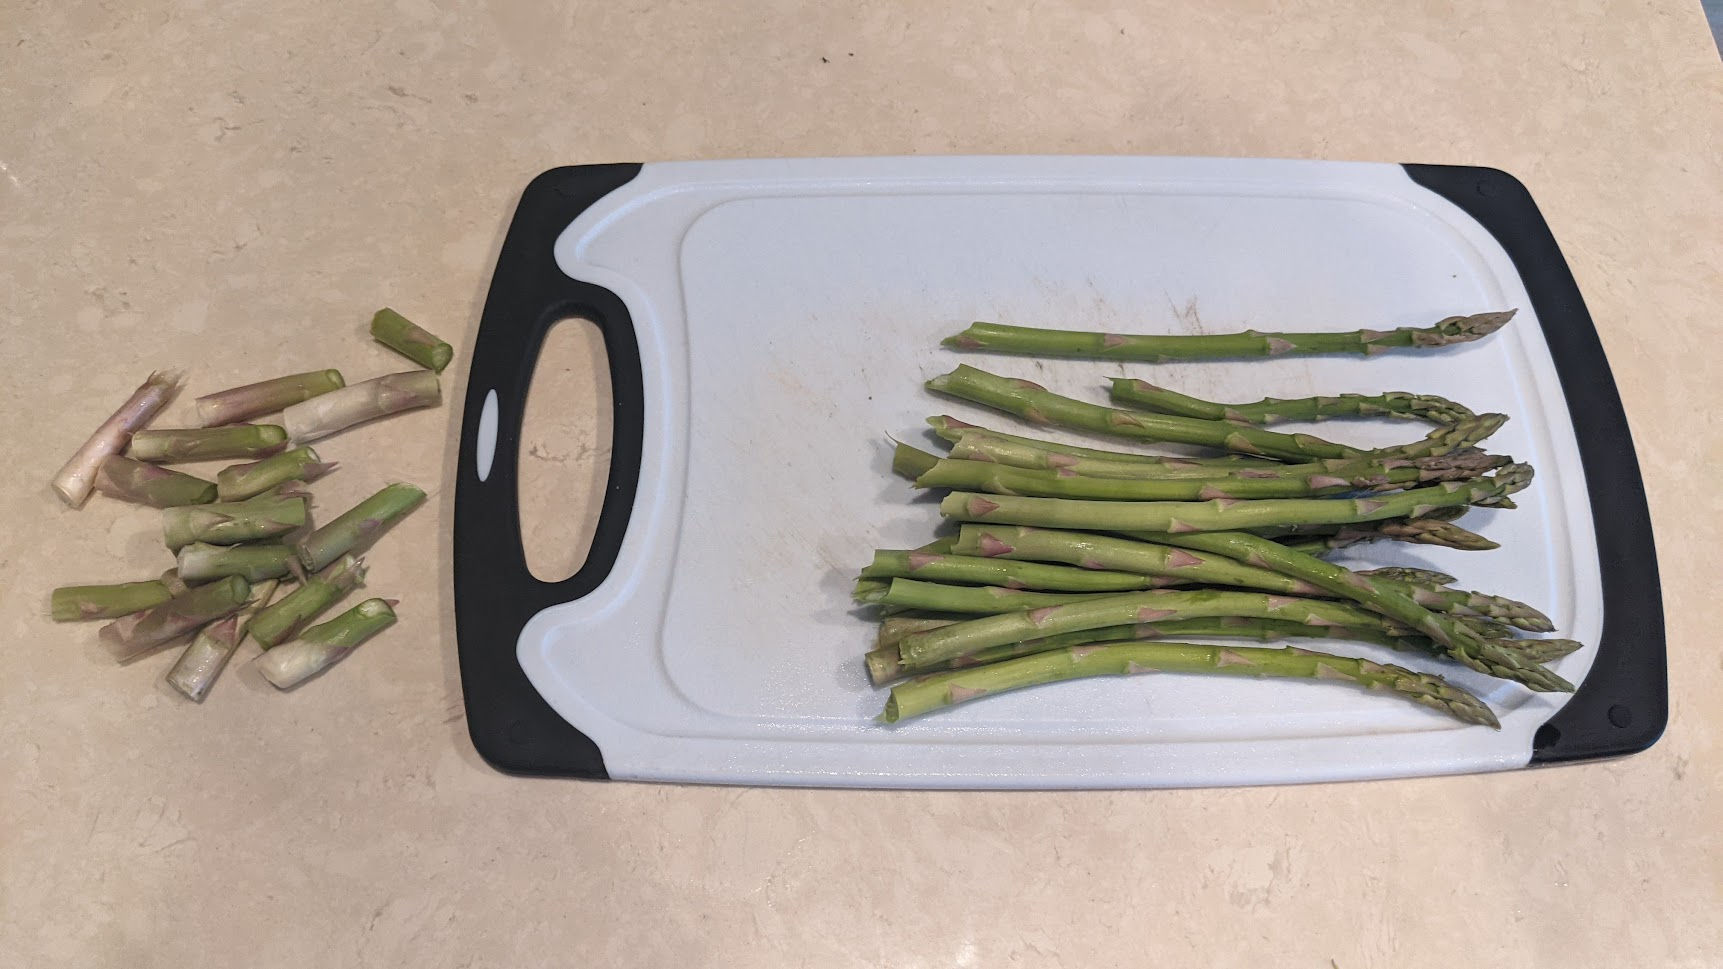
If you like grilled asparagus, here’s an easy way to make it without firing up the outside grill.
Ingredients
Asparagus, Refrigerated (I get mine at Costco)
Sea salt
Pepper
Canola oil spray
Instructions
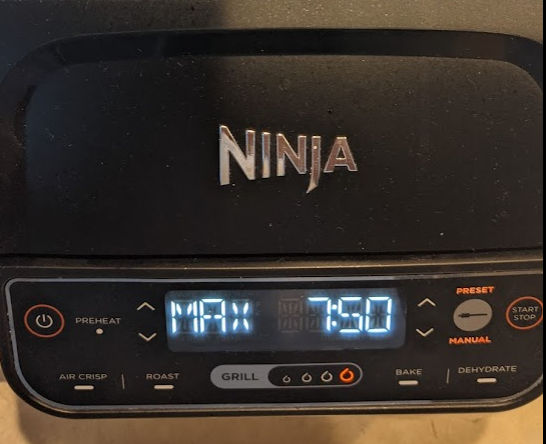
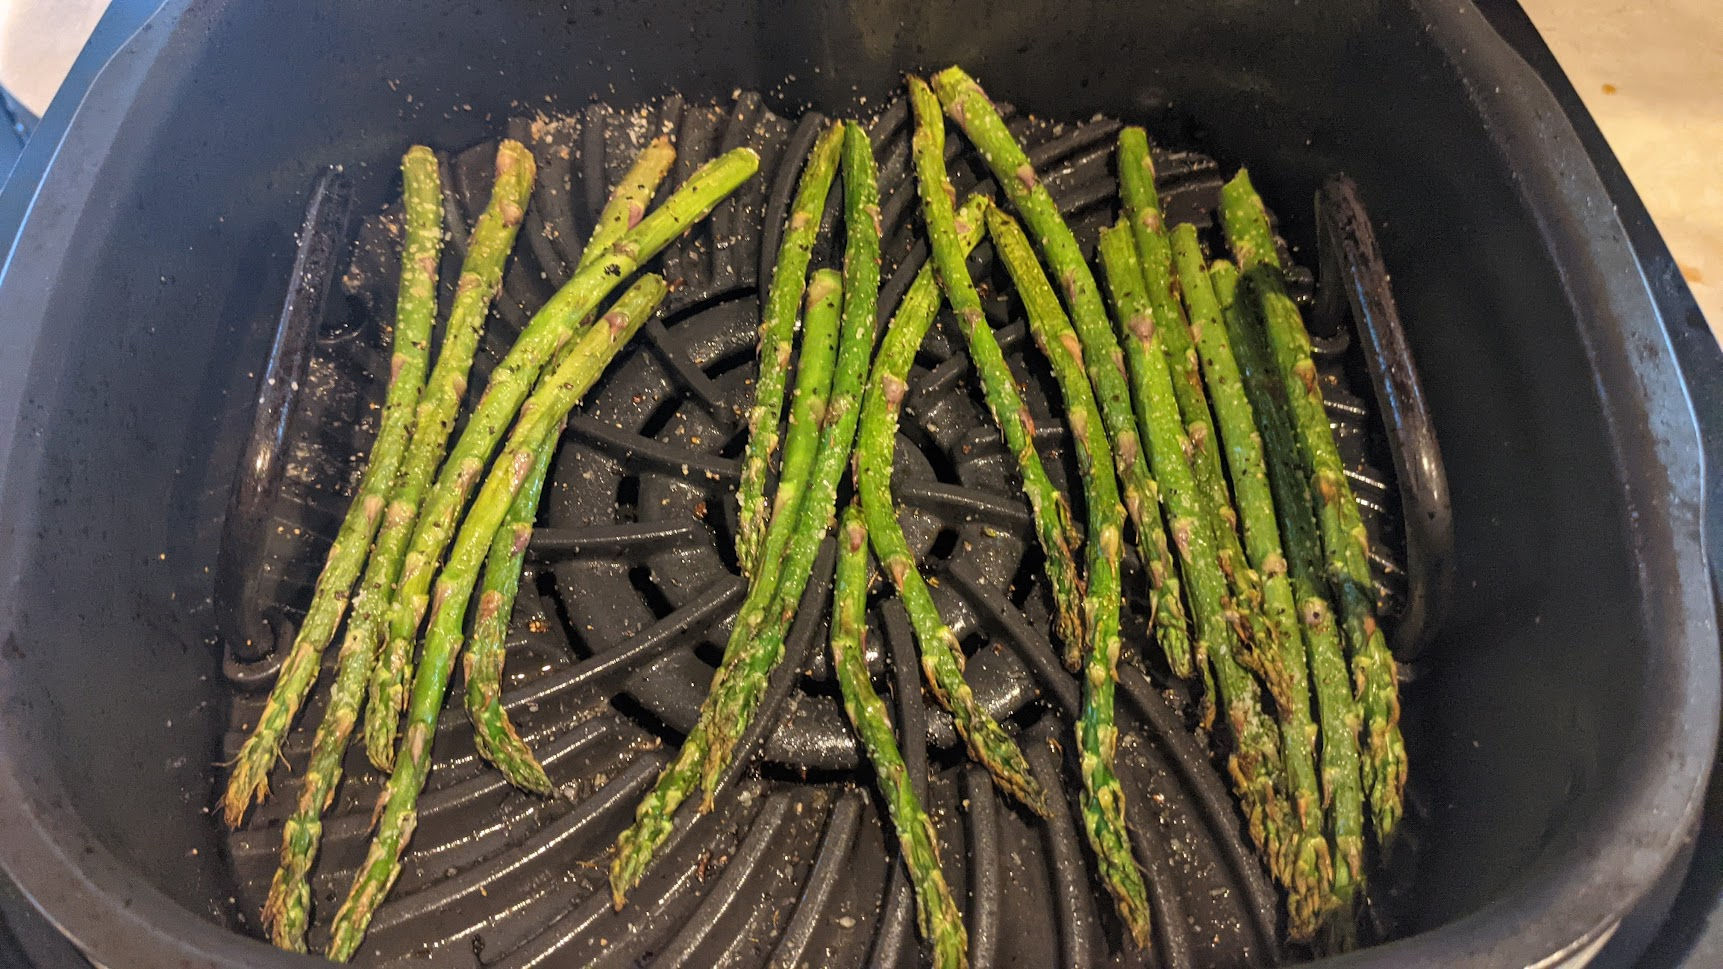
With the grill plate inserted, turn on your Ninja Foodi, hit the Grill button until its set to MAX, set the time to 7 minutes, and hit the START button
Snap off the ends (white part) of the asparagus
When the grill is preheated, spray the grill with Canola oil, lay the asparagus flat on the grill, spray Canola oil on the asparagus, and sprinkle on some salt and pepper
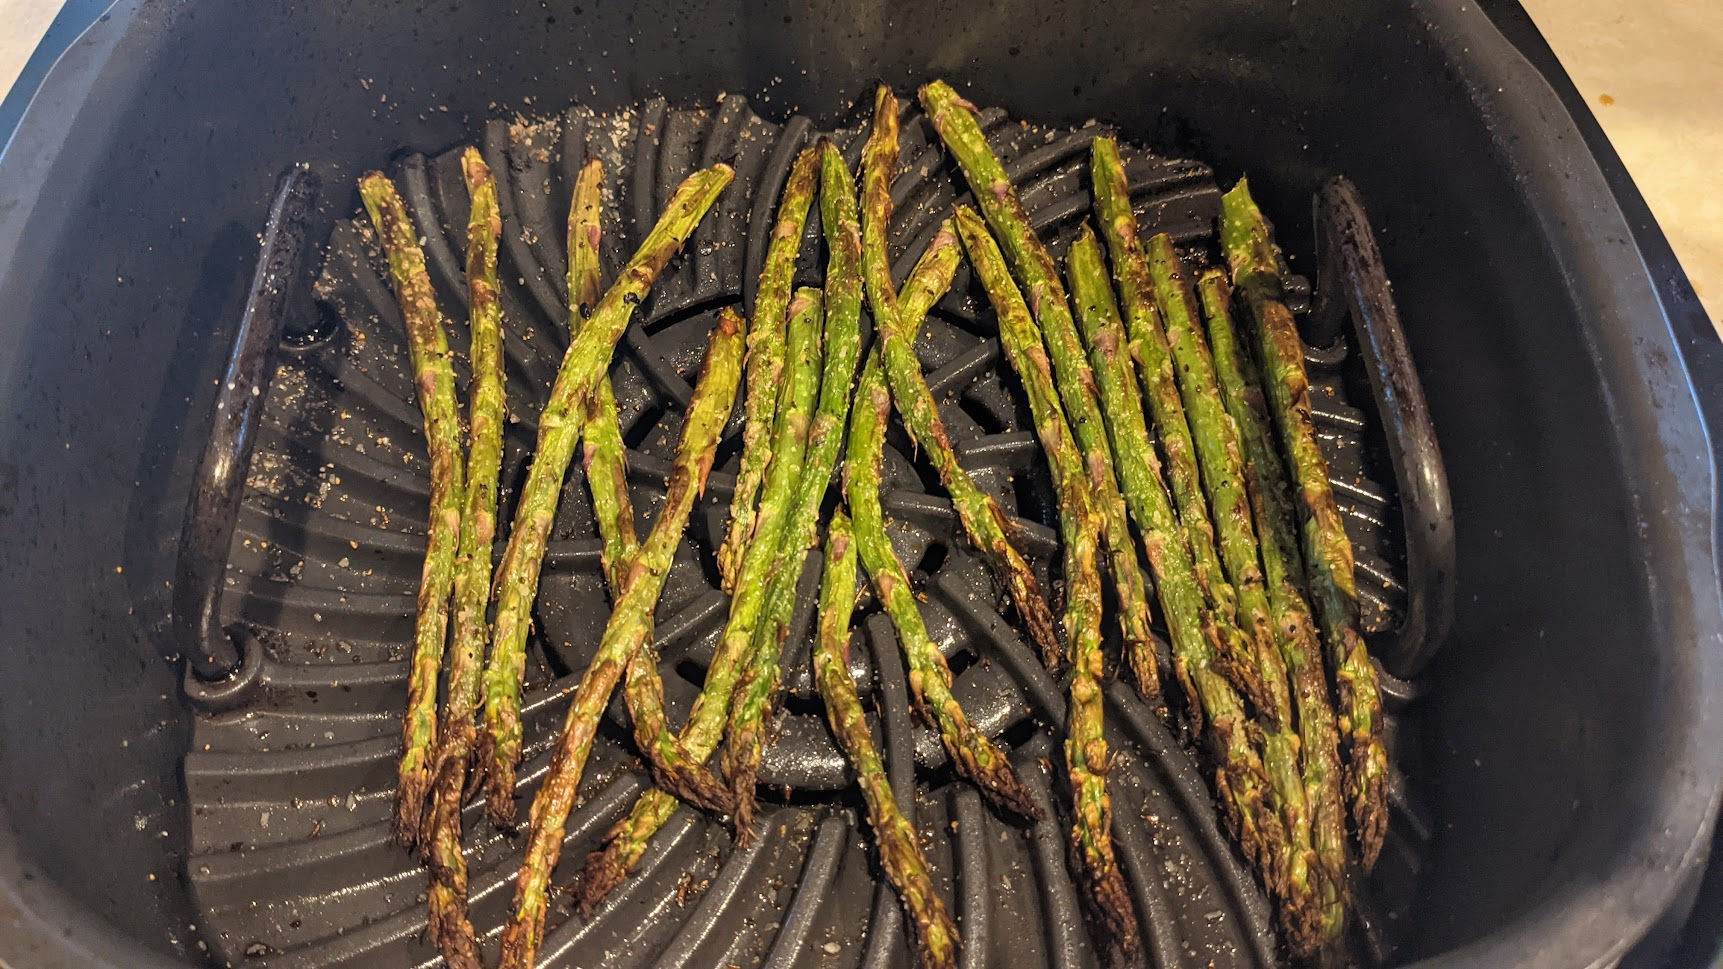
Half way through grilling flip the asparagus
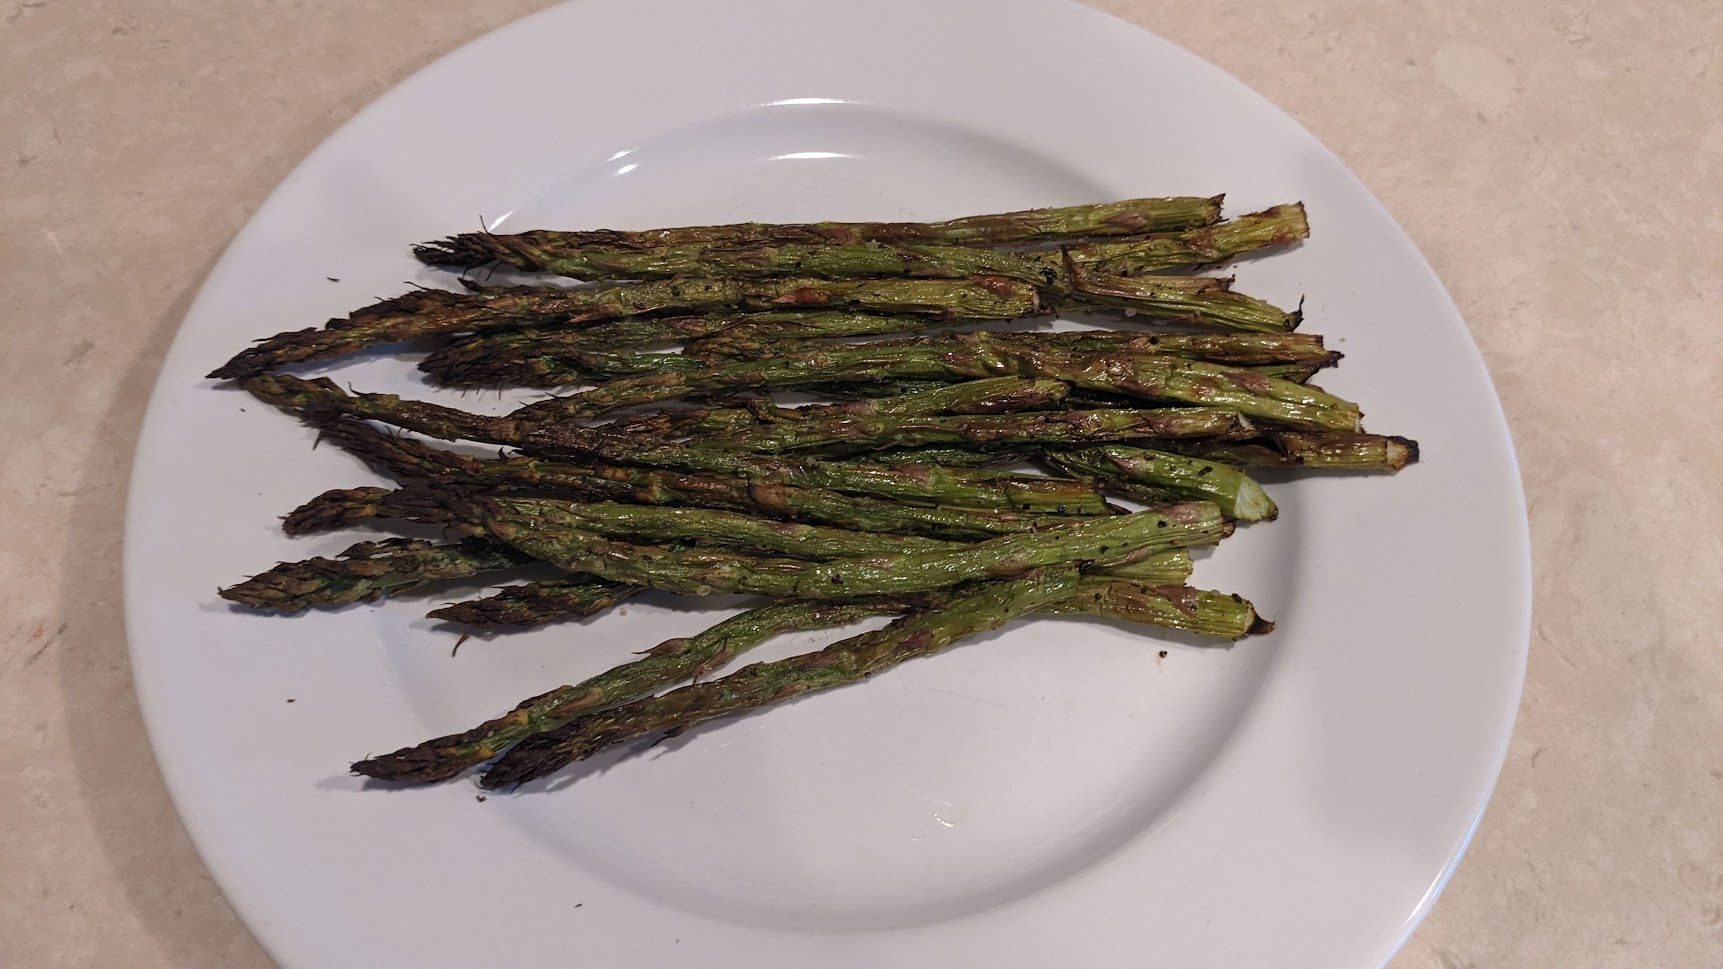
When it’s done, just remove it (I use tongs) and eat!
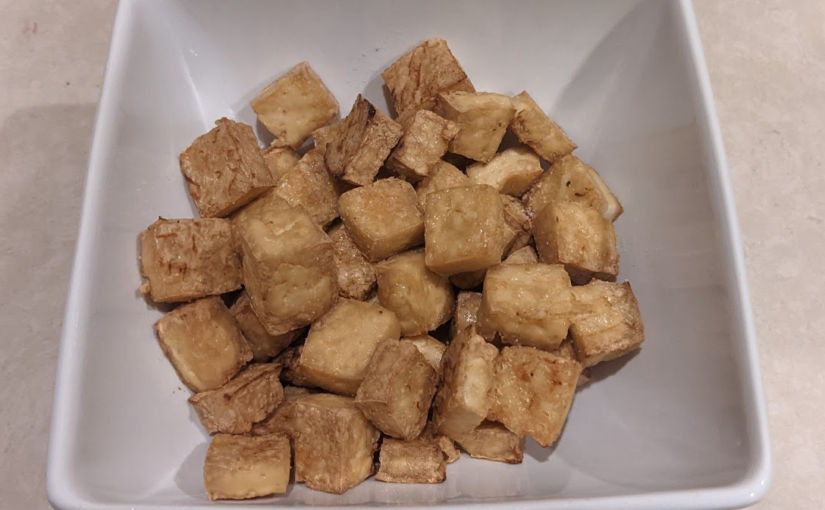
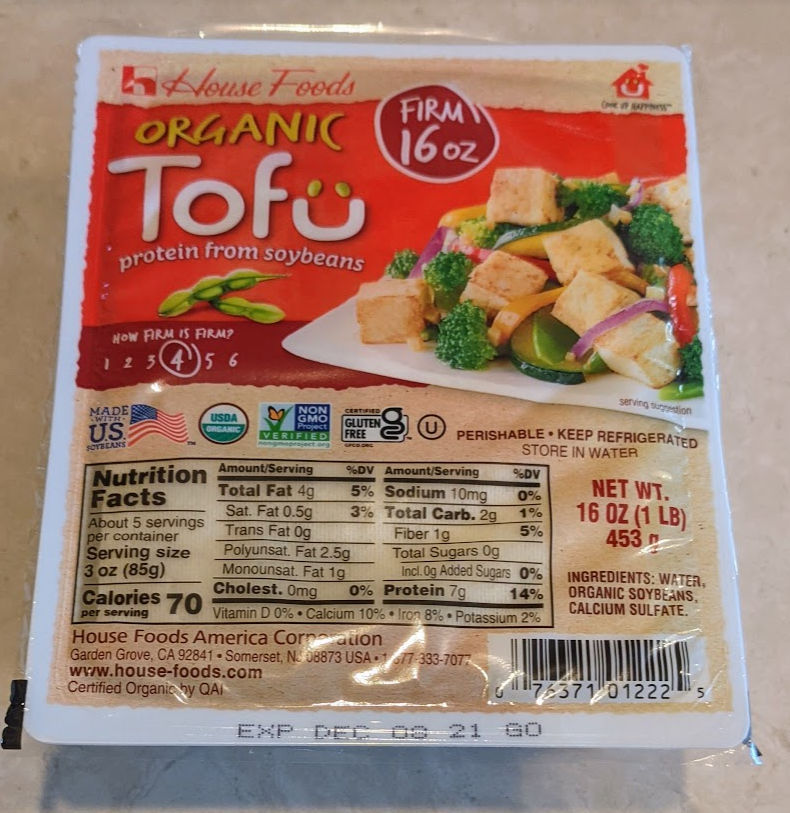
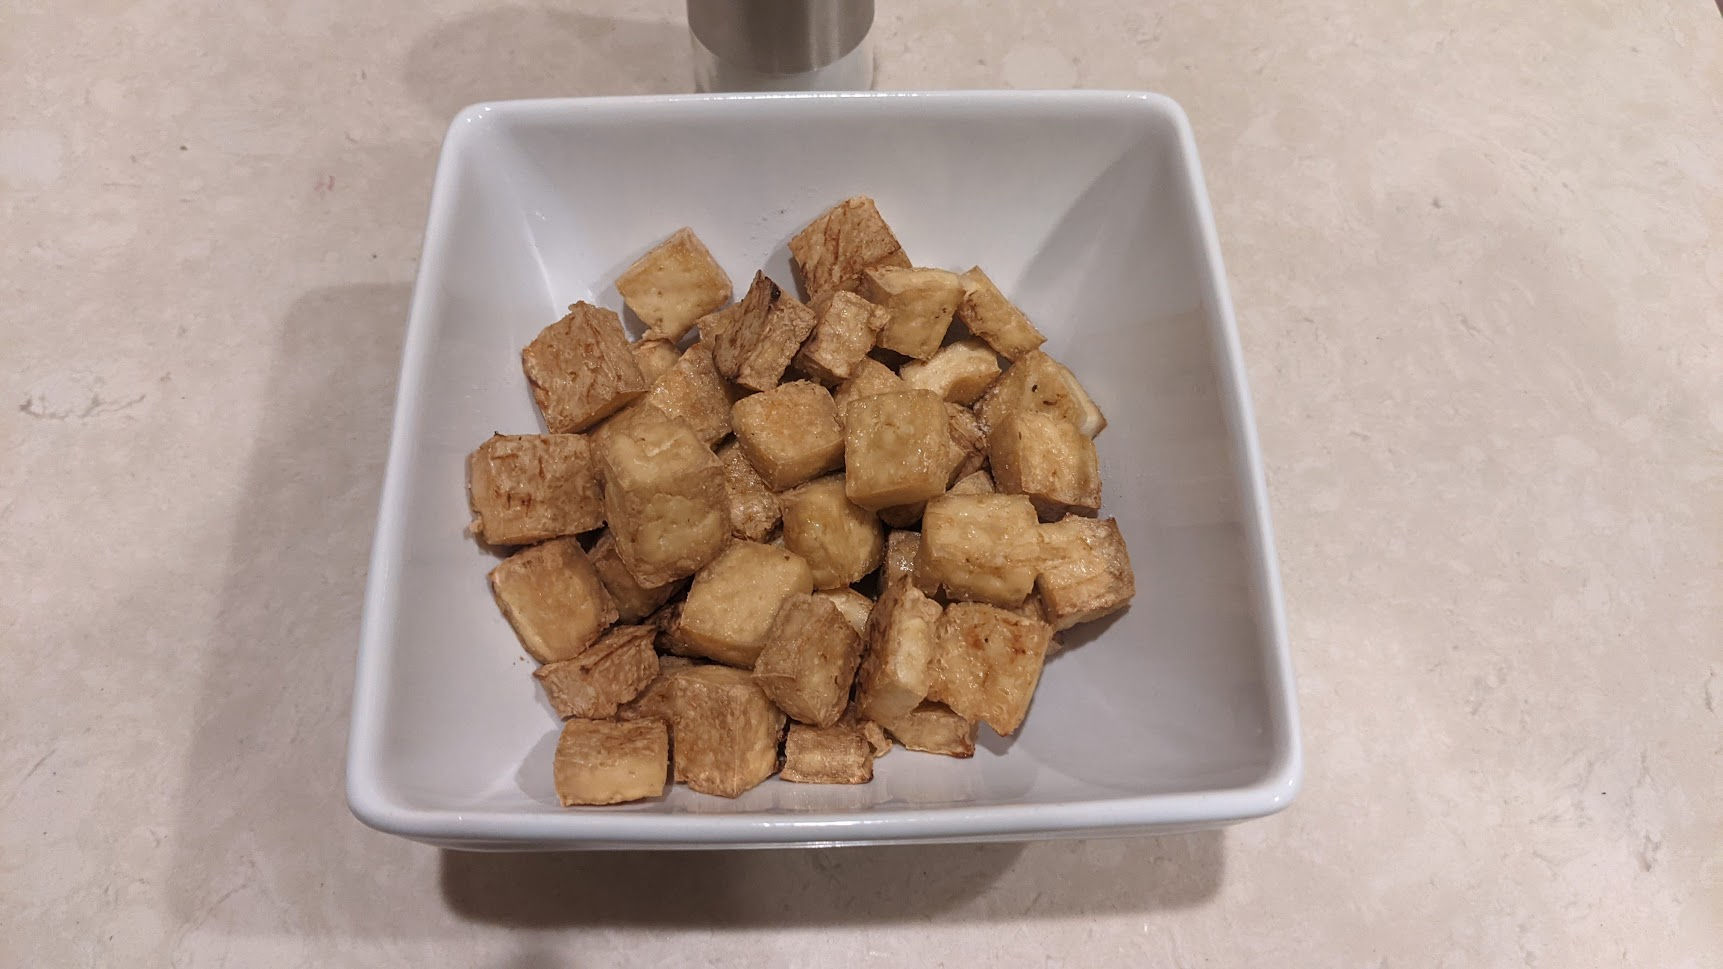
So, I’m currently trying this Keto diet which calls for low carbs. Since french fries are not low carb, I needed a substitute. Tofu seems to fit the bill thought it’s a lot more expensive that potatoes. Anyway, the one I’m eating is from Costco. It’s rated “Firm” with a rating of 4 out of 6 on the firmness scale. One pack contains 5 servings and each serving contains 70 calories and only 1g of net carbs (fiber doesn’t count). So, one pack contains 350 calories.
Here’s a recipe to make air fried tofu cubes.
Ingredients
tofu
salt
Instructions
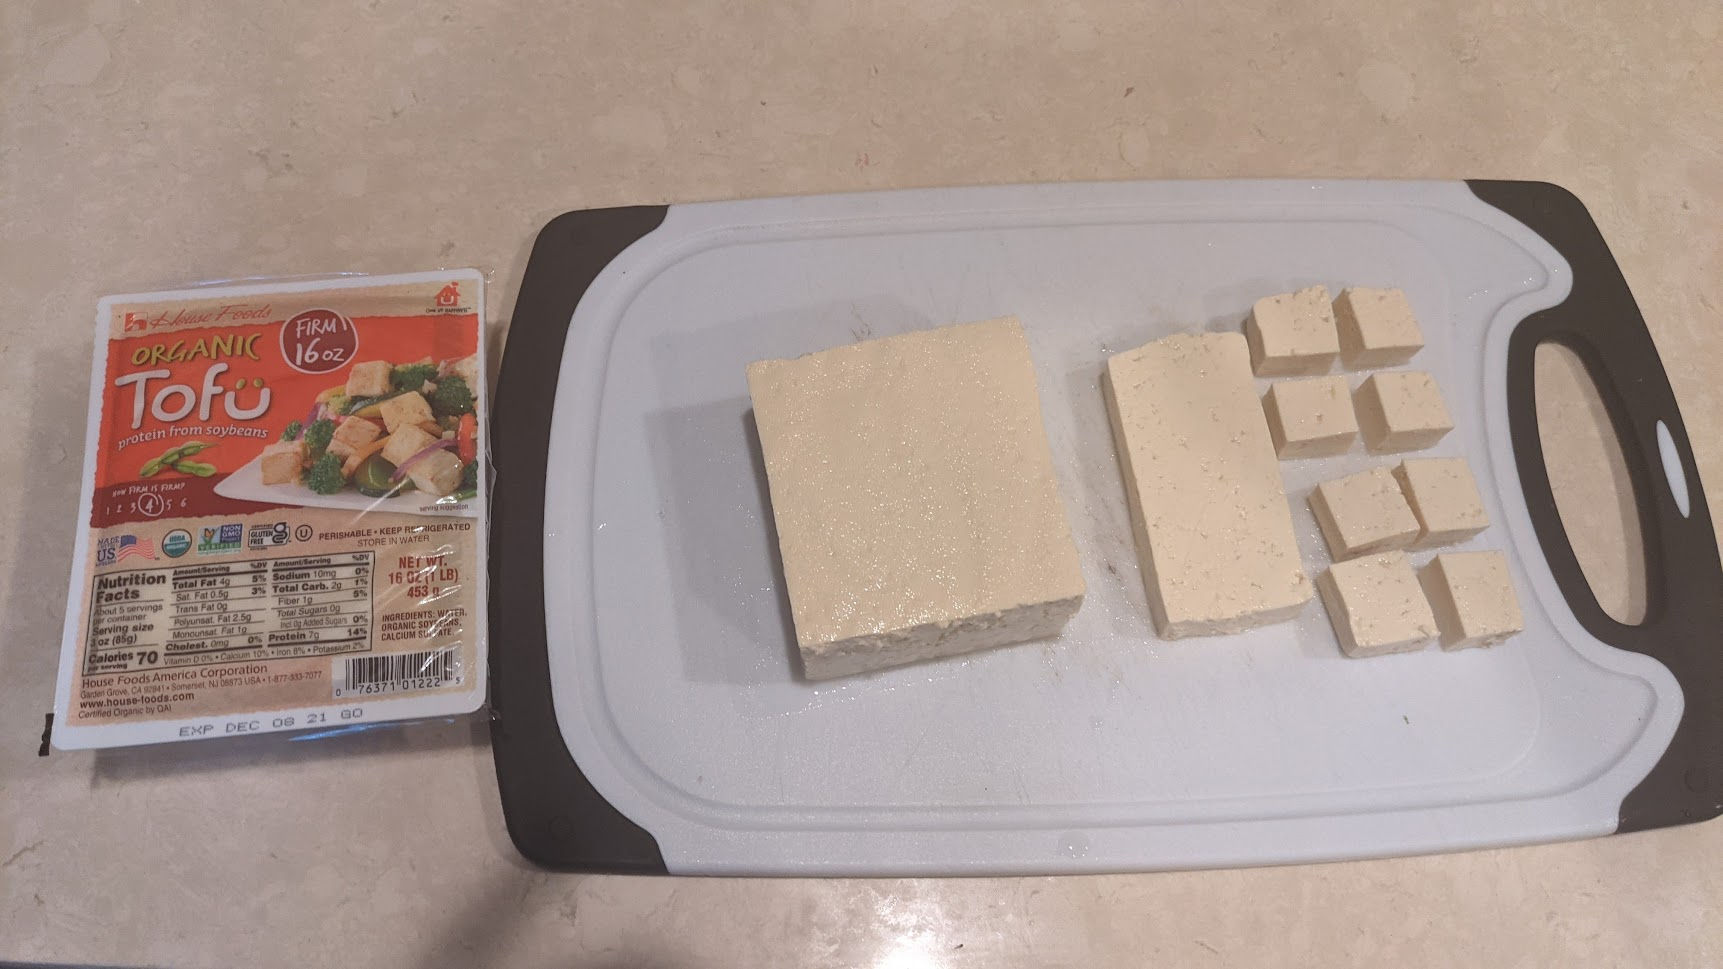
Cut the tofu into 1 inch cubes and sprinkle on some salt
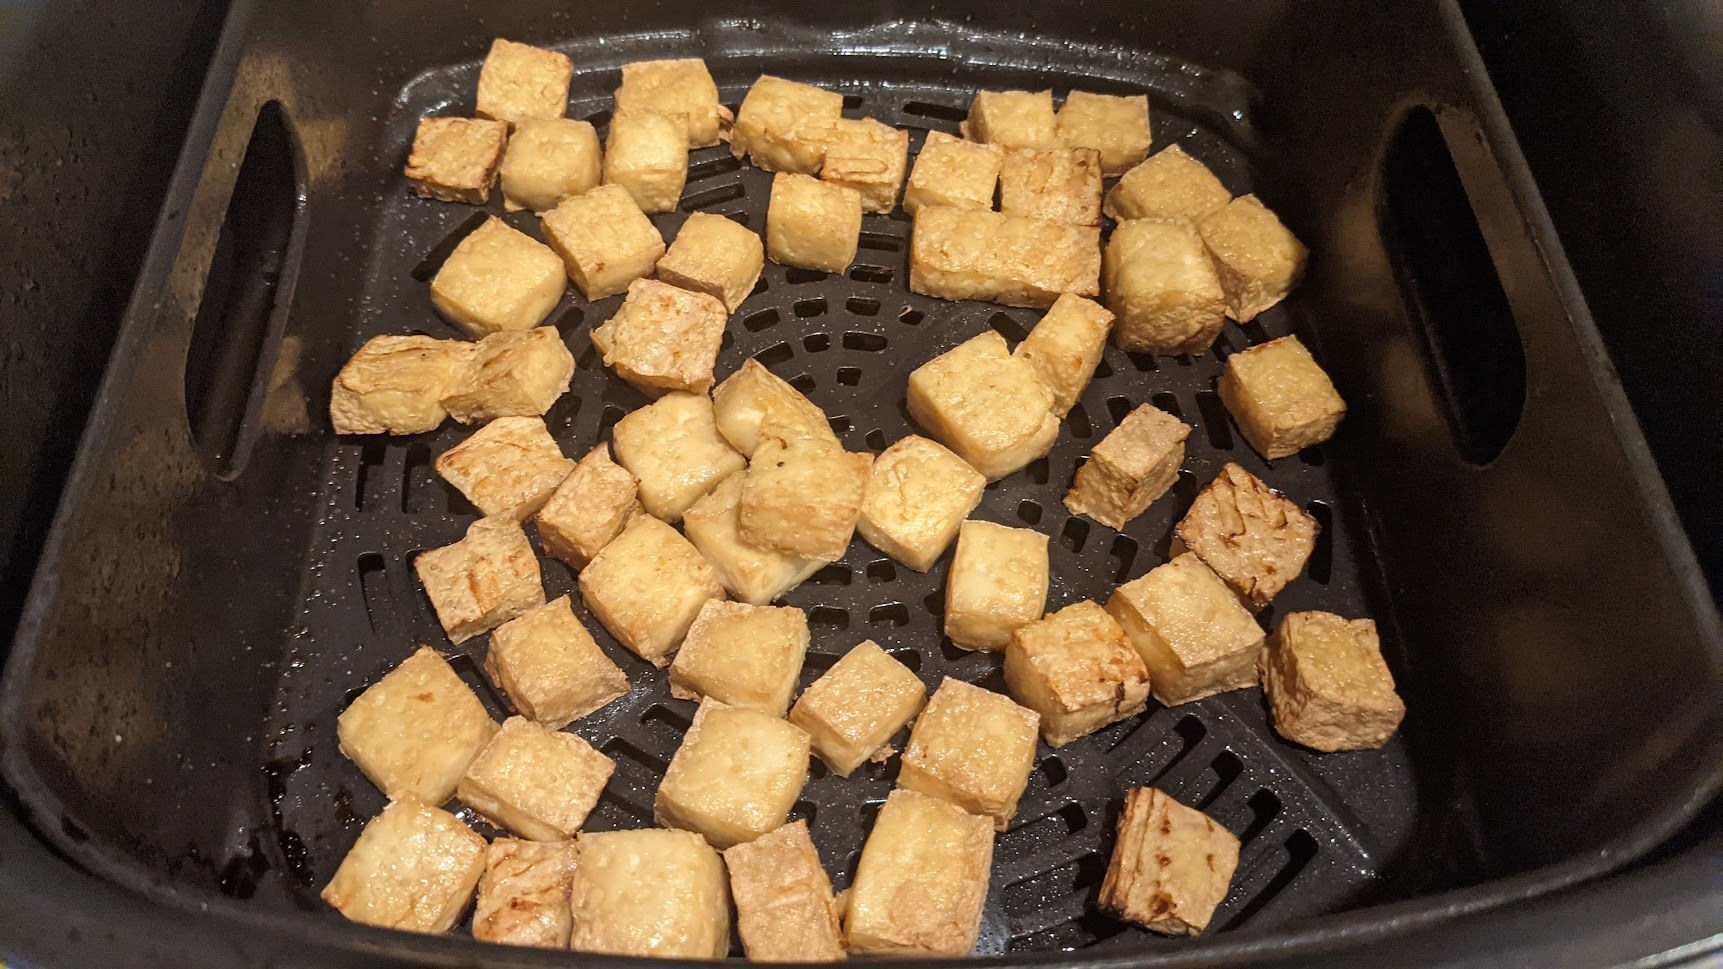
In Ninja Foodi, hit air fryer button and set time to 20 minutes
After preheating, spray canola oil on air fryer basket and put tofu in
Halfway through cooking, flip or stir tofu, spray canola oil on tofu and sprinkle on more salt
If you are a real estate investor and have one or more rentals you’ve accumulated over time, there’s a good chance you have a good amount of equity in at least one of your properties – maybe even your primary residence. You might feel happy that you have a lot of equity but from an investment point of view, you could be making more money — potentially A LOT more — if you pull out some of that equity to re-invest it rather than leave it in the form of equity for an existing property. Compare the following two scenarios.
Scenario 1
Let’s say you have 3 properties. One is your primary residence which you live in and are not renting out. The other two are rentals.
Current Value
Equity
Rental Income (monthly)
Primary Residence
$1,000,000
$600,000
$0
Rental 1 (townhouse)
$750,000
$650,000
$2,500
Rental 2 (triplex)
$590,000
$100,000
$4,820
Appreciation
Now, let’s estimate the value + appreciation on each property per year over 10 years. The average annual appreciation rate in California is 6.77%. We can easily calculate the appreciation using the calculator at
In the last row, we see the total appreciation over 10 years.
Year
Primary Residence
Rental 1
Rental 2
1
$1,067,700
$800,775
$629,943
2
$1,139,983
$854,987
$672,590
3
$1,217,160
$912,870
$718,124
4
$1,299,562
$974,671
$766,742
5
$1,387,542
$1,040,657
$818,650
6
$1,481,479
$1,111,109
$874,073
7
$1,581,775
$1,186,331
$933,247
8
$1,688,861
$1,266,646
$996,428
9
$1,803,197
$1,352,398
$1,063,886
10
$1,925,273
$1,443,955
$1,135,911
Diff
$925,273
$693,955
$545,911
Rental Income
Now, let’s estimate the annual gross rental income and per year over 10 years. For simplicity, and to be conservative, we’ll keep the monthly rent fixed (we’ll never increase the rent), although in reality, in California you can legally increase the rent by at least 5% per year. In the last row, we see the total gross rental income over 10 years. Of course, you’ll have expenses like debt service (paying your mortgage), taxes, operational costs, etc which will reduce this total rental income.
Year
Primary Residence
Rental 1
Rental 2
1
0
0
$0
2
0
$30,000
$57,840
3
0
$30,000
$57,840
4
0
$30,000
$57,840
5
0
$30,000
$57,840
6
0
$30,000
$57,840
7
0
$30,000
$57,840
8
0
$30,000
$57,840
9
0
$30,000
$57,840
10
0
$30,000
$57,840
Total
0
$270,000
$520,560
Total Return on Investment
Now, if we add the appreciation and rental income minus expenses over 10 years, we’d get our total return on investment (ROI). But, since expenses vary from one property to another, to be conservative and keep things simple, we’ll just look at the total appreciation.
Over 10 years, our investments will have appreciated by $2,165,140.
Now, let’s compare this to another scenario where we do cash-out refinance and reinvest the money in more rental properties.
Scenario 2
In this scenario, we decide whether to do cash-out refinance for each existing property.
Primary residence
For the primary residence, we won’t refinance it and take cash out because doing so would increase the mortgage and since it’s not a rental, you’d have to pay for that increase yourself. Of course, if you can afford it, you could also do a cash-out refinance on that property as well, but it’s not a good idea to spread yourself too thin.
Rental #1
For rental #1, we do a cash-out refinance to pull out 75% of the equity. In doing so, our monthly mortgage pay for that property will go up but if you plan it correctly, your income will cover your new expenses, especially if your previous loan would be paid off in, say, 10 years, and you refinance to 30 years which would lower your monthly payments despite having borrowed more money.
Rental #2
For rental #2, there isn’t enough equity in the property so we can’t refinance it.
Current Value
Current Equity
Cash-out refi 75% of value
New Equity
Primary Residence
$1,000,000
$600,000
No refi
$600,000
Rental 1
$750,000
$650,000
$562,500
$100,000
Rental 2
$590,000
$100,000
No refi
$100,000
Total
$562,500
According to the table above, we’re able to pull out $562,500 from Rental #1 which we’ll use as a down payment to purchase more rental properties. Let’s say we buy 4 duplexes at $500,000 each and we put down 25% (standard for investment properties) which is $125,000 for each. That leaves us with $62,500 for closing costs and some home improvement. We’ll estimate the rental income for each duplex is $3500 per month.
Current Value
Equity
Rental Income (monthly)
Rental 3 (duplex)
$500,000
$125,000
$3,500
Rental 4 (duplex)
$500,000
$125,000
$3,500
Rental 5 (duplex)
$500,000
$125,000
$3,500
Rental 6 (duplex)
$500,000
$125,000
$3,500
Appreciation
Now, like in scenario 1, let’s estimate the appreciation over 10 years.
Year
Rental 3
Rental 4
Rental 5
Rental 6
1
$533,850
$533,850
$533,850
$533,850
2
$569,992
$569,992
$569,992
$569,992
3
$608,580
$608,580
$608,580
$608,580
4
$649,781
$649,781
$649,781
$649,781
5
$693,771
$693,771
$693,771
$693,771
6
$740,739
$740,739
$740,739
$740,739
7
$790,887
$790,887
$790,887
$790,887
8
$844,431
$844,431
$844,431
$844,431
9
$901,599
$901,599
$901,599
$901,599
10
$962,637
$962,637
$962,637
$962,637
Diff
$428,787
$428,787
$428,787
$428,787
Rental Income
Now, like in scenario 1, let’s estimate the annual gross rental income and per year over 10 years.
Year
Rental 3
Rental 4
Rental 5
Rental 6
1
$42,000
$42,000
$42,000
$42,000
2
$42,000
$42,000
$42,000
$42,000
3
$42,000
$42,000
$42,000
$42,000
4
$42,000
$42,000
$42,000
$42,000
5
$42,000
$42,000
$42,000
$42,000
6
$42,000
$42,000
$42,000
$42,000
7
$42,000
$42,000
$42,000
$42,000
8
$42,000
$42,000
$42,000
$42,000
9
$42,000
$42,000
$42,000
$42,000
10
$42,000
$42,000
$42,000
$42,000
Total
$420,000
$420,000
$420,000
$420,000
Total Return on Investment
Now, let’s calculate the total ROI. Again, to be conservative and for simplicity, we’ll just consider total appreciation even though we know the total ROI will be much more than that since every month for 10 years we’ll be paying down the mortgage using the rental income which increases our equity in each property.
The total appreciation over 10 years in scenarios 1 and 2 are
Therefore, using a very conservative estimate, we could make an additional $1,715,147 over 10 years if we refinanced and reinvested the equity in our existing properties.
What to do after 10 years
Let’s say you hold on to the properties for 10 years. You’ll most likely have a mortgage on all or some of properties. At that point, you could choose to sell some of the properties to pay off all of your mortgages and live mortgage free! You’ll still be getting rental income from the remaining rental properties which may even amount to as much or more as your work income from a day job in which case you could choose to just retire and travel the world.