If you have a photo that is too small and you wish it were wider or taller, you can use Photoshop’s Generative Fill feature to fix that. Here’s an example.
Open the image in Photoshop
Enlarge the canvas
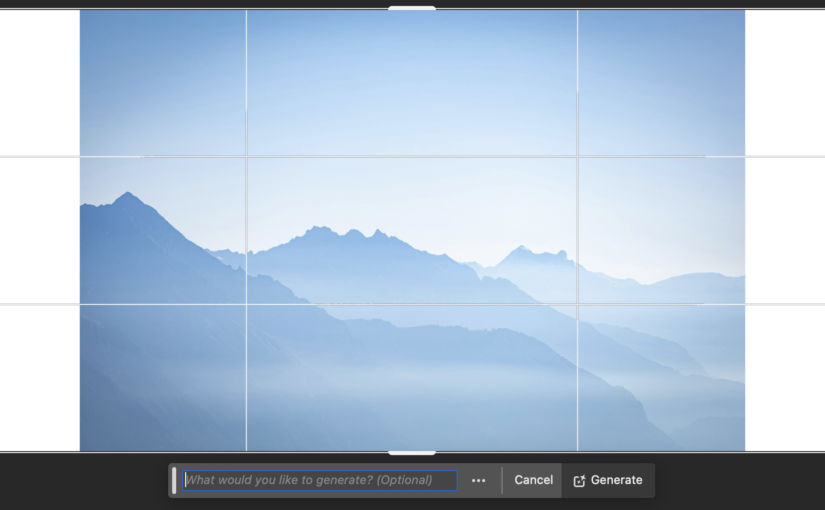
Let’s say I want to make the image wider. Using the Crop tool, enlarge the canvas.
When you do this, you’ll see a command prompt below the image.
Click Generate
If you just click Generate, Photoshop will fill in the empty parts to blend in with the original image.
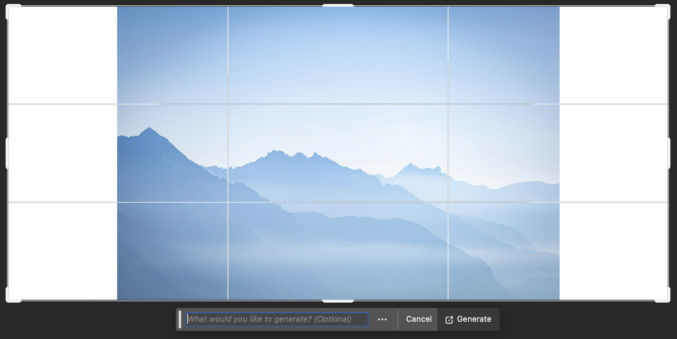
Try custom commands
You can also tell Photoshop how you want to fill in the empty space. For example, if I write, “Fill the empty space with a jungle”
Like me, most people were trained to think that getting a high-paying job and working till social security kicks in was all we needed to live a good, comfortable life. Many of us spent a lot time and money getting a university degree or even a PhD. We then started working 5 days a week and tried to work our way up the corporate ladder, sometimes even maliciously. When we make more money, we tend to spend more money, e.g. to buy a bigger house, a fancier car, a $5000 home gym, expensive clothes and jewelry, tech gadgets, sound systems, and more. We also may even eat out more often. Since we’re busy working and we have enough money, we just continue on with that ever-more-expensive lifestyle and accept that we’ll just keep living like that until we can retire, which is when we’re 67 years old to receive full social security benefits. Of course, we’ll probably have some retirement investment accounts, like a 401K, which you can withdraw without penalty starting at age 59.5. With this lifestyle, we’d have to work most of our lives and maybe take 2 or 3 vacations a year, aside from holidays like Thanksgiving and Christmas.
The problem with the above lifestyle is
we’d have to work for a very long time (until we’re 67 years old!)
by the time we’re 67 and retired, we’ll have all the time in the world to enjoy life, but we may not be as healthy to do so as we are when we’re younger
if we lose our high-paying job, there’s no guarantee we’ll get another high-paying job, and if we do get another high-paying job, we may not even feel like doing that kind of work as we get older
our retirement income from social security is on average only 40% of our average monthly earnings over 35 years.
If you’re fine with the above, then carry on, but most people would rather retire early, like in their early 50s, but the only way to do that is by having assets that generate sufficient passive income to replace your day job. You can start a small business, like a pizza restaurant, and have employees do all the work, but that’s risky and not really passive since you’ll likely need to be more involved in day-to-day operations, say, 50% of the time. You could invest in the stock market, but unless you have a lot of money to invest, you won’t be getting sufficient returns to replace your day job. The safest and easiest alternative is to invest in real estate rental properties, like what this physician couple did. Before doing so, though they made a lot of money as doctors, they had no time to enjoy life and they would not have been able to retire early.
Whether you invest in real estate rental properties or have some other income-generating assets that you own (not a job), the key point is that having a high-paying job is not the goal; it should only be a temporary mechanism to create income-generating assets, like real estate rental properties.
While your co-workers are busy backstabbing each other to get a promotion and spending more and more money to live a more luxurious lifestyle, e.g. fancy cars and designer clothes, you really should focus on how you can spend your money on generating passive income, like real estate, so that by the time you are 50 years old, you can quit your day job and retire early. By that time,
your former coworkers may have job titles like Senior Director or Vice President whereas your job title would be something like “Retired Real Estate Investor With No Boss, No Commute, and No Stupid Meetings to Attend.”
your former coworkers may have a high salary, but you could be making the same amount or even more without having to work
your former coworkers may feel special because they have to travel the world to attend conferences and meetings, i.e. for work, whereas you could travel the world whenever your want for fun!
your former coworkers would have to commute to an office 3-5 days a week, do what their bosses say, attend boring/stupid meetings, have a quick breakfast, lunch, and/or dinner because they’re too busy, work some weekends and maybe in the early morning or at night if your coworkers are in a different time zone, and get frustrated with incompetent coworkers or office politics. On the other hand, you’d just wake up when you want, take your time sipping your morning coffee as you hear the birds chirping in your backyard, and decide what you feel like doing rather than doing what your job requires you to do.
your former coworkers would be driving fancy cars (depreciating assets) whereas you’d have more appreciating assets (e.g. more rental properties). You may have driven a simple car before retiring early, but once you replace the income from your day job, you can also just buy a fancy car if that makes you feel better.
Now, don’t get me wrong. Passive income from real estate isn’t 100% passive like income from selling stock. Depending on your situation, you’ll either need to be a property manager or you’ll have to hire a property manager. Either way, the amount of work is a mere fraction of a typical 9-to-5 job.
Conclusion
Having a job, whether it is high-paying or not, and working for someone else should never be the goal. The goal should always be to acquire income-generating assets to achieve financial freedom so that you can have the time and money to live how you want, that is, unless you want to keep working until your 67 years old!
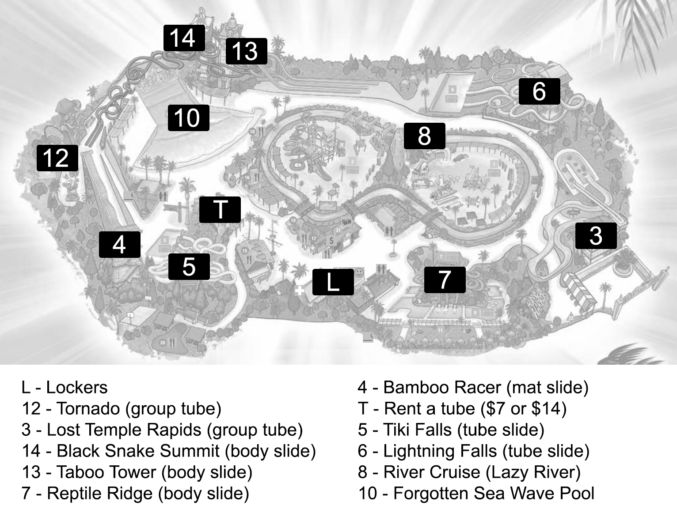
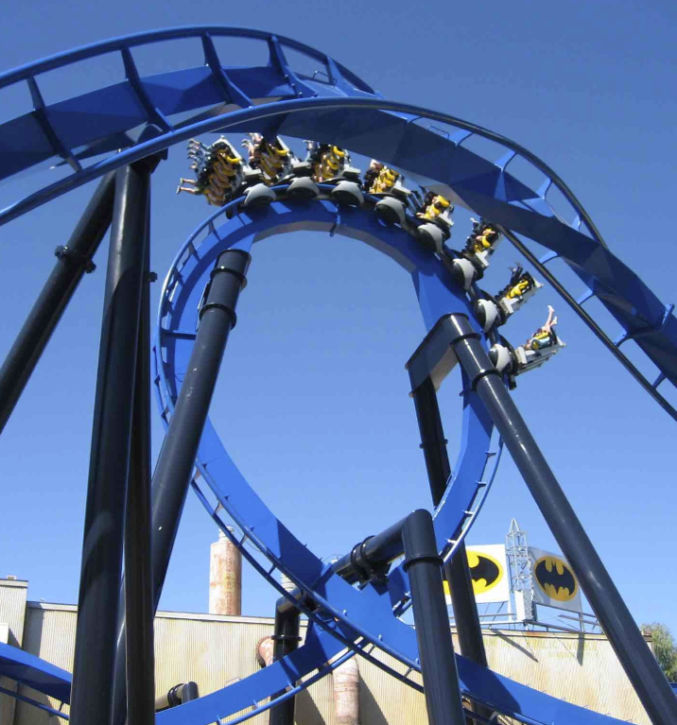
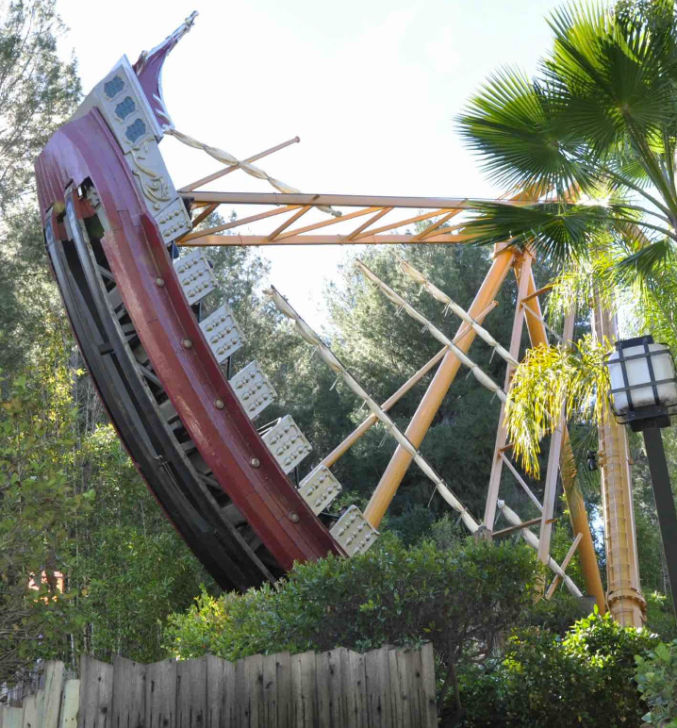
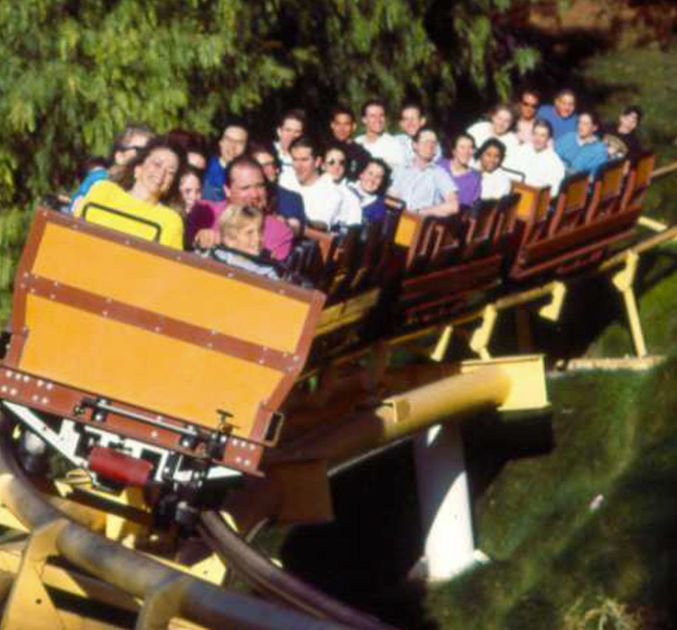
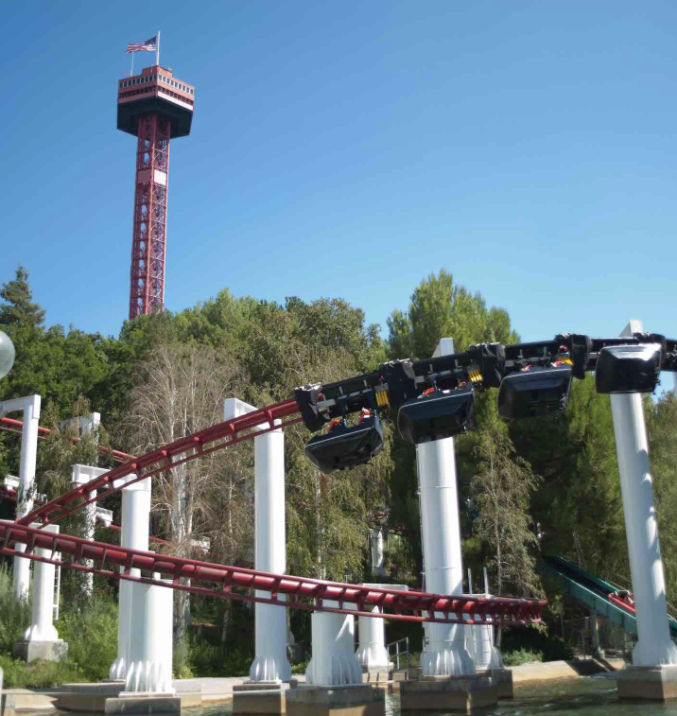
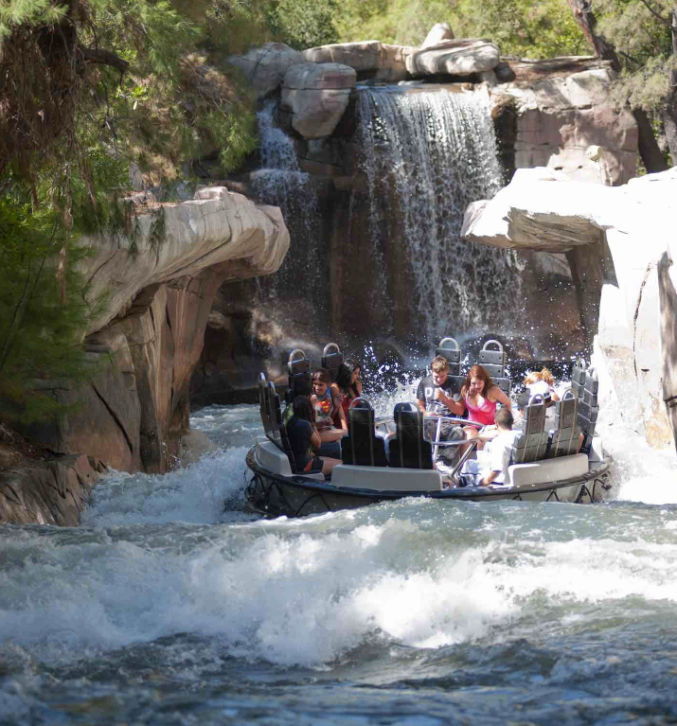
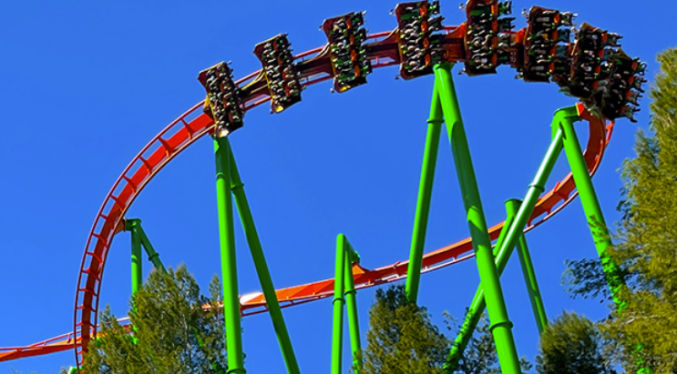
Sunday: Catalina Island – the Amalfi Coast of Orange County Monday: Six Flags Hurricane Harbor (Water Park) Tuesday: Six Flags Magic Mountain (Amusement Park) Wednesday: Six Flags Magic Mountain (Amusement Park)
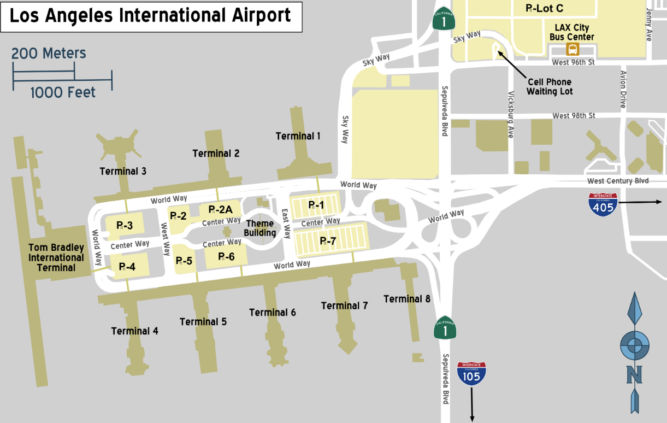
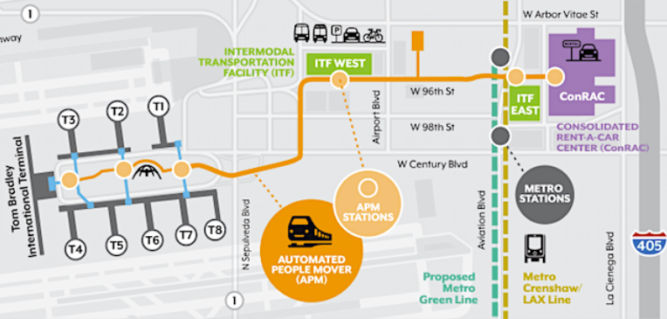
When exiting the airport, follow the signs to “ground transportation”
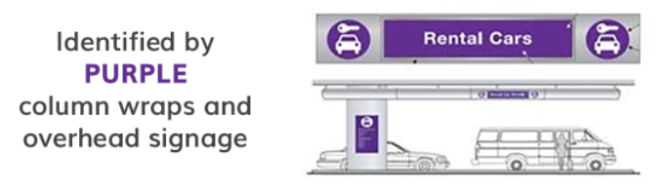
Stand under the purple sign marked “car rental companies” to await shuttle pick-up
Board the Dollar shuttle bus
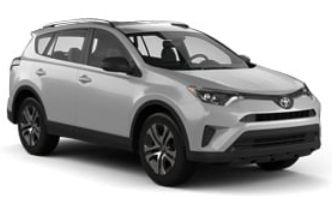
Dollar Rent a Car Booking.com # 789858762 Toyota RAV4 or similar $316.94 for 5 days
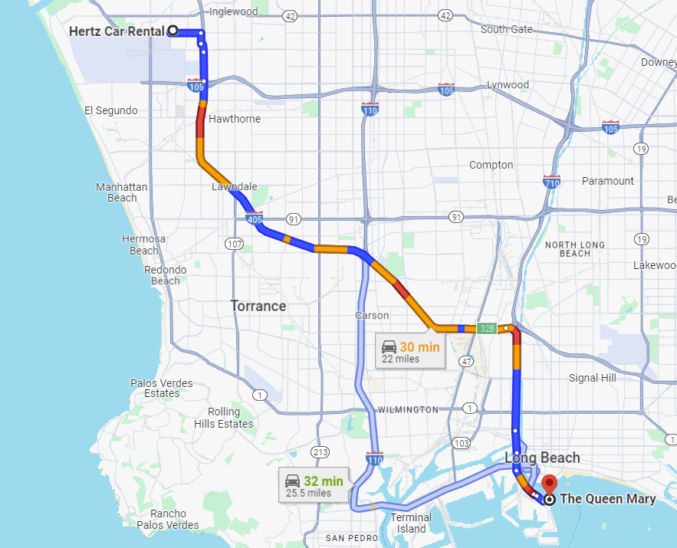
3:00 PM
Drive to Hotel
30 minutes
3:45 PM
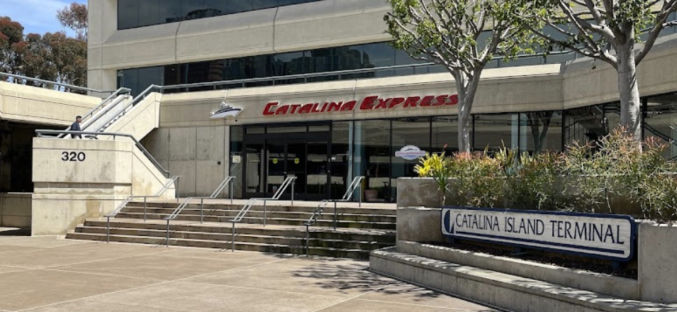
Stop by Catalina Express
320 Golden Shore, Long Beach, CA 90802
3:45 PM
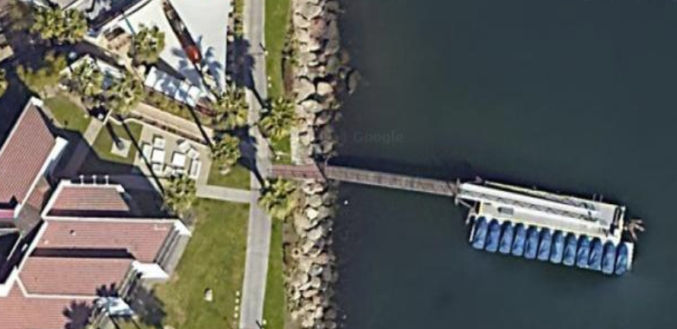
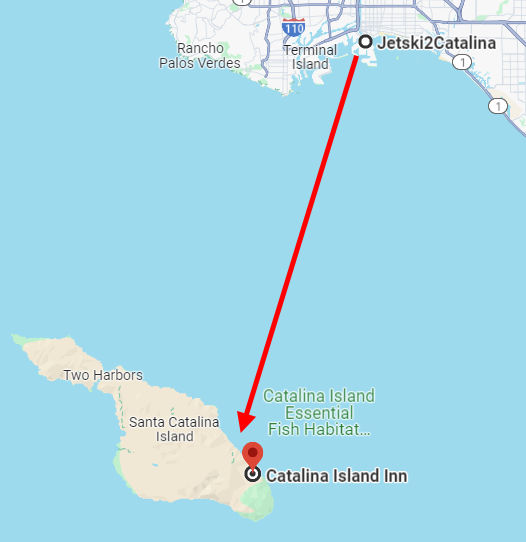
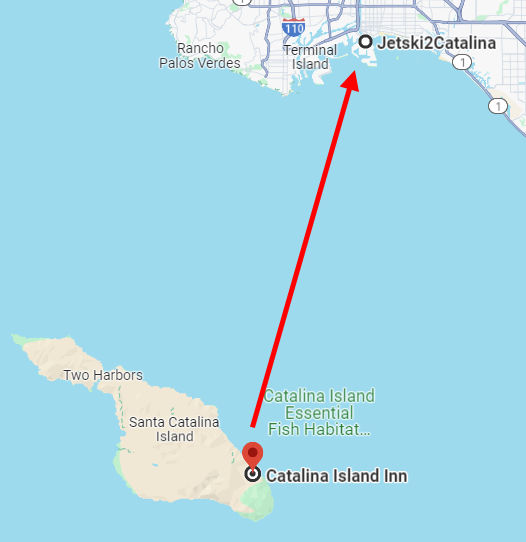
Stop by Jetski2Catalina nearby
Check out the jet skis.
Drive to Hotel Maya 700 Queensway Dr Long Beach, CA 90802
4:00 PM
Check in to Hotel
Queen Mary – a cruise ship turned into a hotel 1126 Queens Highway, Long Beach, California 90802, United States $265 / night Check-in is at 4:00 PM and Checkout is at 11:00 AM Hotel guest self-parking is $30/night Built in 1930 Map of the Queen Mary
Park at Hotel Maya by building 3 or 4. Normal parking is $31. We will stamp your parking ticket and the Jetski2Catalina rate is $14.
7:40 AM
Walk to JetSki2Catalina
After parking at the Maya Hotel parking lot by building 3 or 4, walk through the buildings, and you will see the marina on the water. Turn right at the sidewalk and go past the Pool. We are on the water in the marina.
8:00 AM
Check in for Jet Ski Ride from Long Beach to Catalina
2 hours
8:15 AM
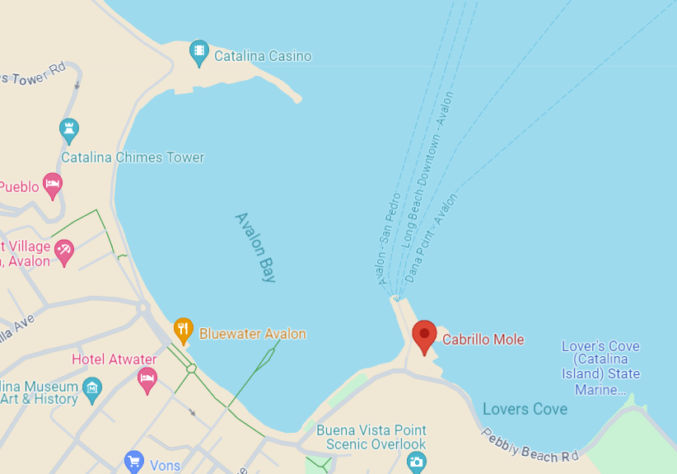
Catalina Express ferry arrives at Avalon, Catalina Island
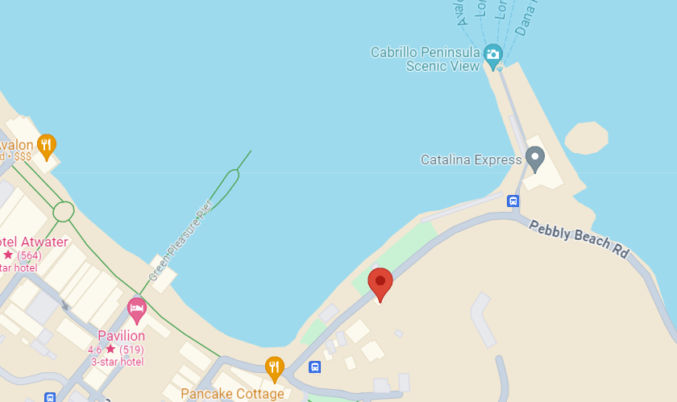
The Catalina Express ferry drops off at the Cabrillo Mole in Avalon, Catalina Island.
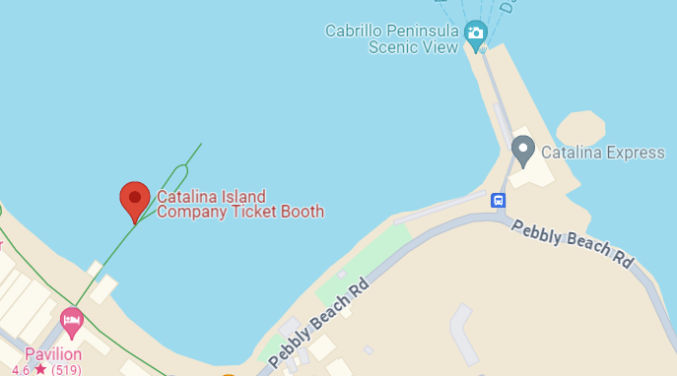
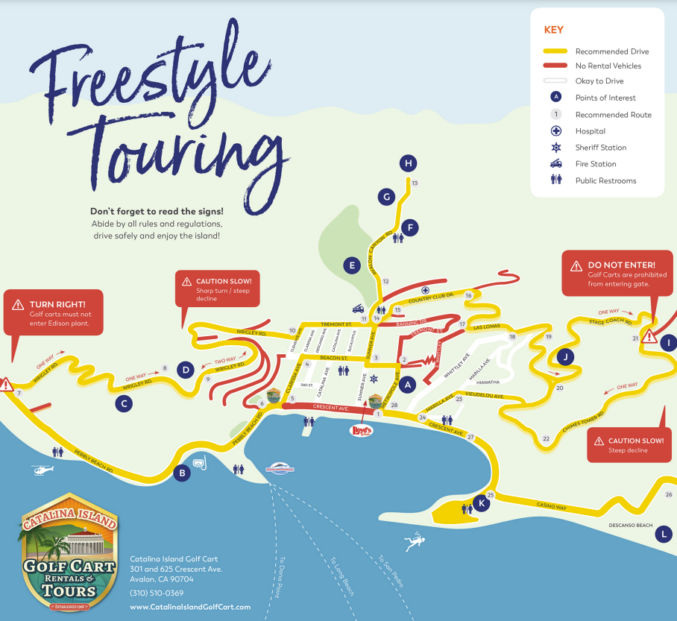
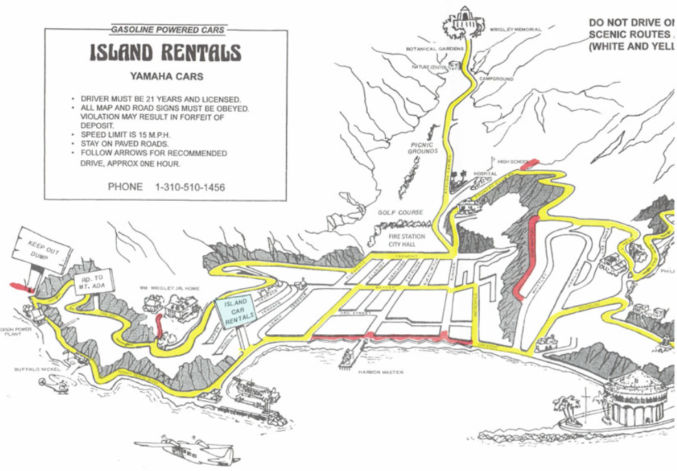
Explore Catalina by golf cart for 1 hour. Scenic tour. Island Rentals 125 Pebbly Beach Road, Avalon, CA 90704, Phone 310.510.1456 NO RESERVATIONS. First come, first serve. $60 / cart / hour We have a one-hour scenic route through the beautiful hills around Avalon and if you want to go longer we will pro-rate the second hour (the time you use is the time you pay for). We have a pre-planned 12-mile scenic route that may be completed in 1 hour without stops.
Adjustable-color LED Light Bulbs (This is for the sconces. I set the color to pink.)
Uplights (This one on Amazon lets you change the color of the light) In the picture above, I just have one behind the sofa with a soft white (yellow) light.
LED Light Strip (I got mine from Costco. You can adjust the color.) In the picture above, this is the blue light behind the TV.
1.5 RPM Speed Disco Ball Motor(I chose a speed of 1.5 RPM. Faster speeds make the lights move too quickly, which is distracting and headache-inducing)
Spot Light (This is for the mirror ball. I bought this one because it allows me to adjust the aperture size / spot diameter.) In the picture above, I put it on the ottoman facing up to light up the mirror ball.
Northern Galaxy Light Aurora Projector (In the video above, I set the color to red (R) and blue (B) and disabled the green “star” lights. It’s on the ottoman and illuminates the ceiling).
If you will have CSS files separate from Tailwind CSS, in your tailwind.config.js file, make sure to add “css” as a file option.
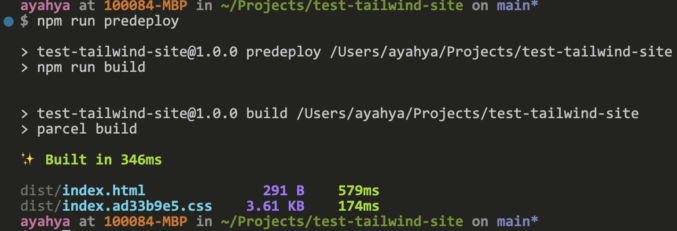
3. Update Configs, Set Up Git, and Test Locally
Add a source and scripts to your package.json by copying the source and scripts to it so that it looks like below. Remove the “main”: “index.js” if it exists. Note that we’re using the glob ./src/**/*/index.html to tell Parcel to build all HTML files in all directories.
Run npm run build to test building the pages.
Run npm start to start a local dev server.
Open a browser and go to the server URL provided to verify the test page loads. Make a change to the HTML and Tailwind CSS classes to verify that changes are processed and the page auto-refreshes in the browser.
4. Set Up Git and Push to GitHub
Run git init to initialize a new local git repo.
Create a .gitignore file with the following contents
node_modules
.parcel-cache
.env
dist
Create a repo in GitHub and push your local changes to it, e.g.
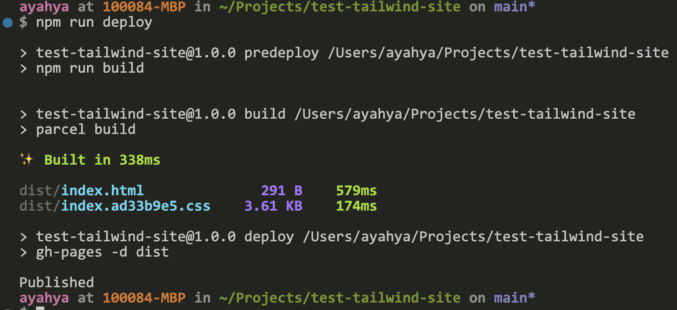
The predeploy script will run the npm run build command before deploying to ensure that the latest production-ready files are used. You need to clear the cache by deleting the .parcel-cache folder first. Also, since GitHub Pages publishes your website in a folder below the root domain, you need to add a “public-url” flag to tell Parcel to remove the slash (/) for relative dependencies like CSS and JS files to avoid getting a 404 error.
Run npm run predeploy
The deploy script will use the gh-pages package to deploy the contents of the dist directory to the gh-pages branch of your GitHub repository.
You can also use Material Tailwind to copy and paste a bunch of elements like buttons, cards, accordions, lists, tables, etc. You’ll first need to add the Material Tailwind CSS and JS to your HTML pages first.
Ripple Effect
<!-- from node_modules -->
<script src="node_modules/@material-tailwind/html@latest/scripts/ripple.js"></script>

<!-- from cdn -->
<script src="https://unpkg.com/@material-tailwind/html@latest/scripts/ripple.js"></script>
Icons
<!-- Material Icons Link -->
<link
  href="https://fonts.googleapis.com/icon?family=Material+Icons"
  rel="stylesheet"
/>

<!-- Font Awesome Link -->
<link
  rel="stylesheet"
  href="https://cdnjs.cloudflare.com/ajax/libs/font-awesome/5.15.2/css/all.min.css"
  integrity="sha512-HK5fgLBL+xu6dm/Ii3z4xhlSUyZgTT9tuc/hSrtw6uzJOvgRr2a9jyxxT1ely+B+xFAmJKVSTbpM/CuL7qxO8w=="
  crossorigin="anonymous"
/>
I like anime.js. The documentation is clear and integration is simple. Just add a reference to the animeJS library on a cdn like CDNJS. Then, add write some JavaScript that uses animeJS in your main JavaScript file. If you want your animations to run when users scroll to a particular section of your site, you can add the Waypoints library from a CDN as well. In my example website, I first hide all elements by setting their opacity to 0. Then, I use Waypoints + AnimeJS to animate different elements. Here’s my code. I ended up loading jQuery, animeJS and Waypoints along with my main JS file at the bottom of the <body> element.
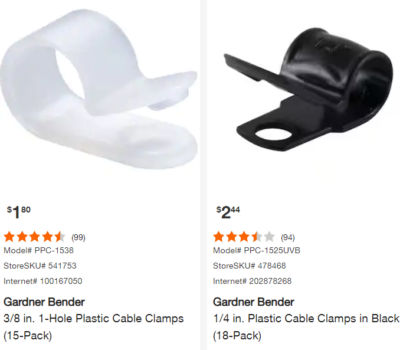
If you need to fasten a cable to a wall, you might be tempted to use a plastic cable clamp like one of these.
These are fine if you need to fasten just one cable to an interior wall. If you need to fasten a cable outside where it can be exposed to the sun or if you need to fasten multiple cables, then these plastic clamps won’t work. The sun will make them crack. What you can do instead is use zip ties with a zip tie base. There are even releasable zip ties.
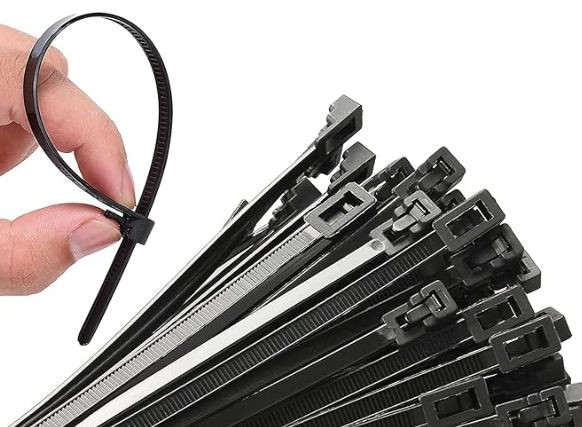
Releasable zip ties
You can find zip tie base mounts with 4.5mm openings and 9mm openings to accommodate zip ties of different widths.
Zip tie base mount
Just screw the base mount to a wall.
Slide a zip tie through the opening.
and fasten some cables. Trim the zip tie if desired.
The cables will be tight, and the zip ties should last longer than those flimsy plastic cable clamps.
Things have definitely moved around and look different in the UI for GA4 (Google Analytics v4) vs UA (Universal Analytics). If you’re looking how to find pages that link to a particular page (previous page path), then you need to use Path Exploration.
Explore > Path Exploration
If you see an existing path exploration, click “Start Over”. Then, click “Ending Point” and choose an option. I prefer to choose “Page path and screen class” since page paths are easy and unique to get.
You can then choose one of the available paths or click the magnifying glass to type in a path, e.g. /resources/.
You will then see how often people click on a link on a page that takes them to your ending point (page) within a particular time range.
In the Variables section on the left, you can change the date range and other variables.