Initial WordPress Setup
Once you’re logged in to WordPress,
- delete all posts (move to trash and empty trash)
- delete all pages (move to trash and empty trash)
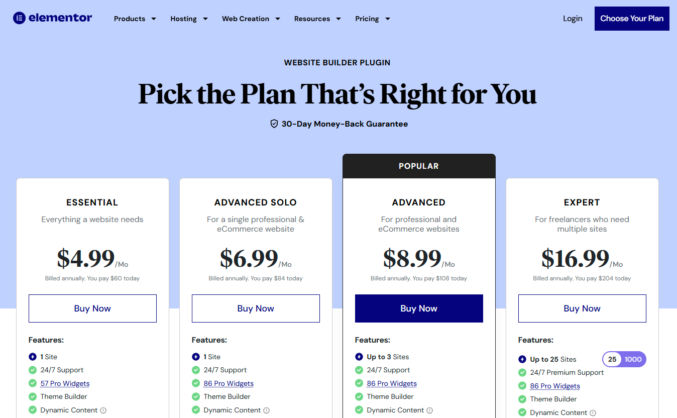
Purchase Elementor Pro
Go to Elementor.com and buy a license for the Elementor Pro website builder plugin.
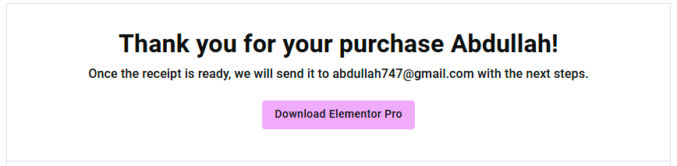
Once you’ve paid, click the Download button to download Elementor Pro.
Install Hello Theme
In WordPress,
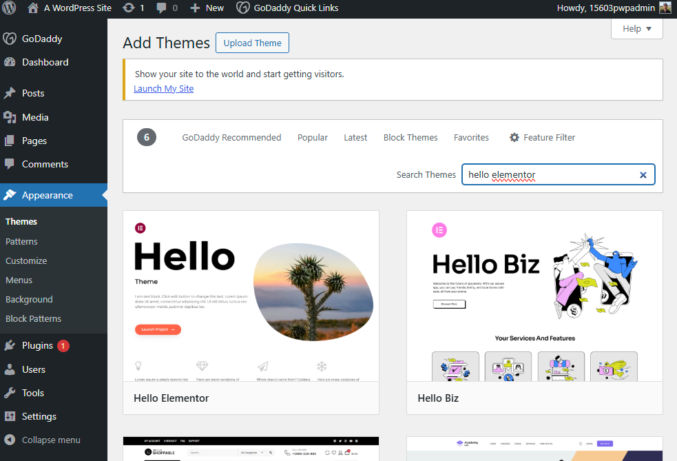
- go to Appearance > Themes
- click “Add New Theme”
- search for “Hello Elementor”
- hover over it and click “Install”
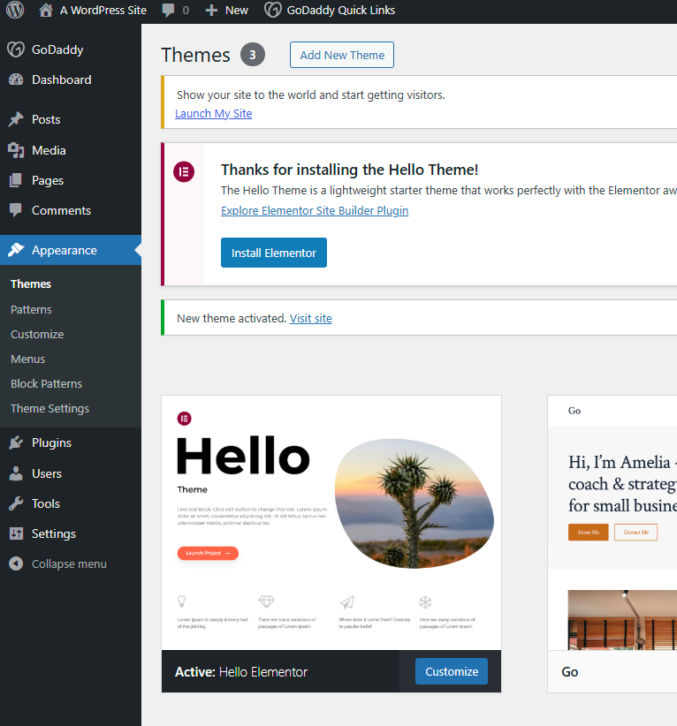
- when installation is complete, click the “Activate” button
You will see a message offering to install the free version of Elementor. Click “Install Elementor” and then click “Activate Plugin”.
Install Elementor Pro
Go to Plugins. You will see the free version of the Elementor plugin installed.
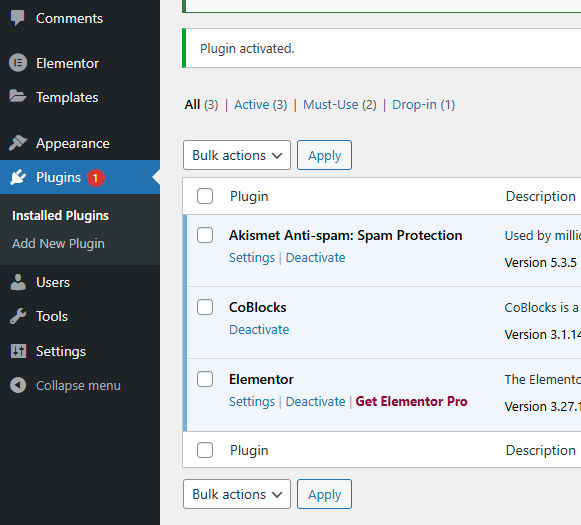
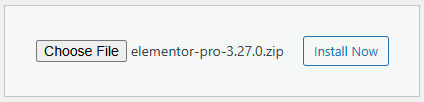
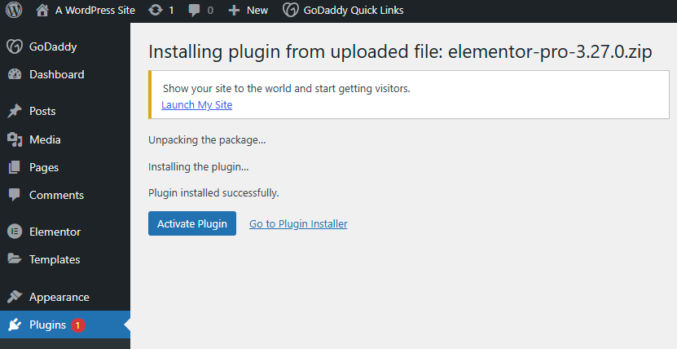
Click “Add New Plugin” > “Upload Plugin”, choose the Elementor zip file you download previously, then click “Install Now”.
Click “Activate Plugin”.
In the list of plugins, click “Connect & Activate”.

You will taken to Elementor’s website to log in.
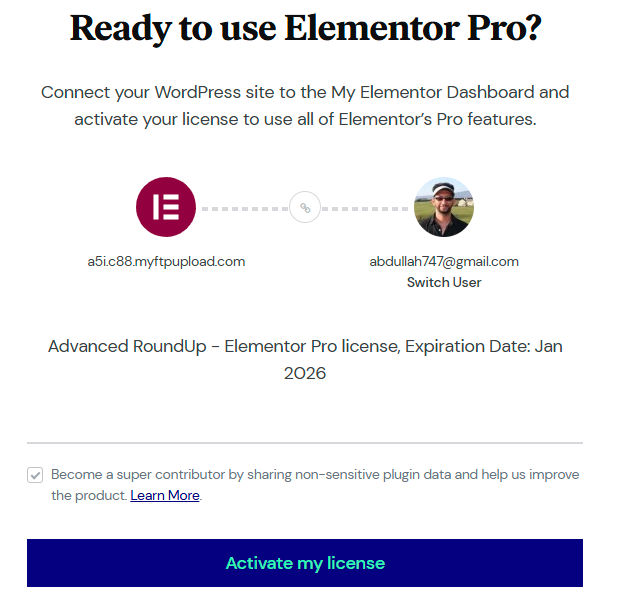
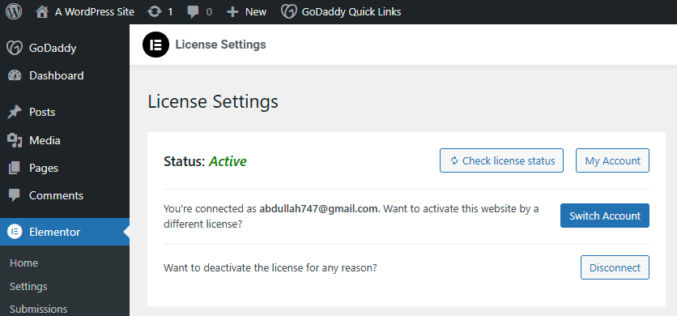
Click “Activate my license”. Once activated, you will see…
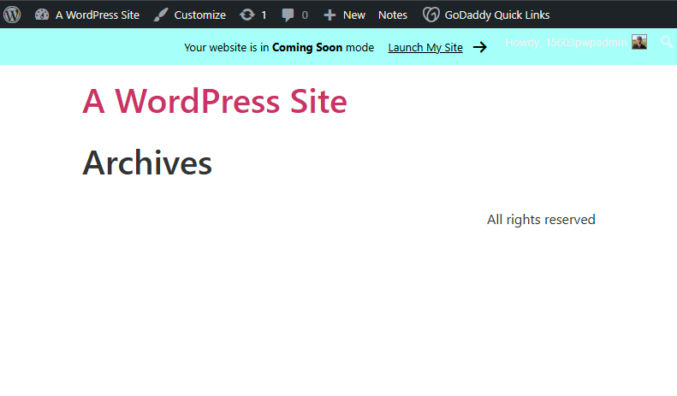
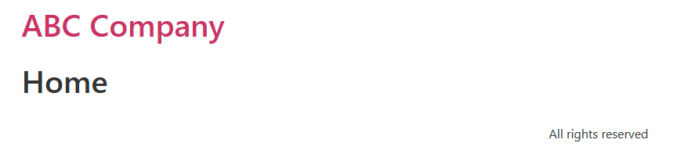
If you visit your website, it will look similar to this.
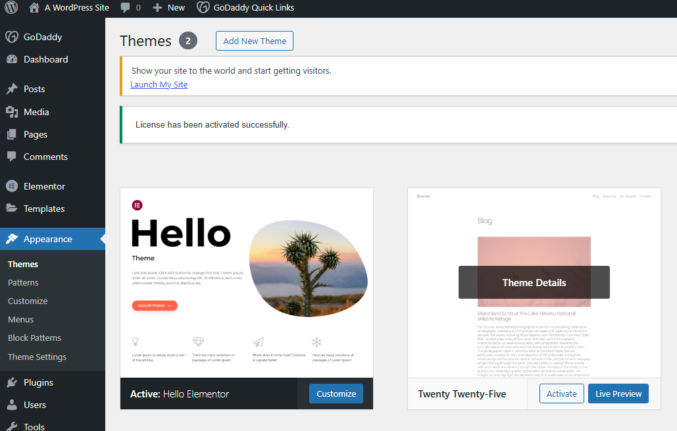
Delete All Other Themes
Go to Appearance > Themes. For each theme besides “Hello Elementor”, click “Theme Details” > “Delete”.
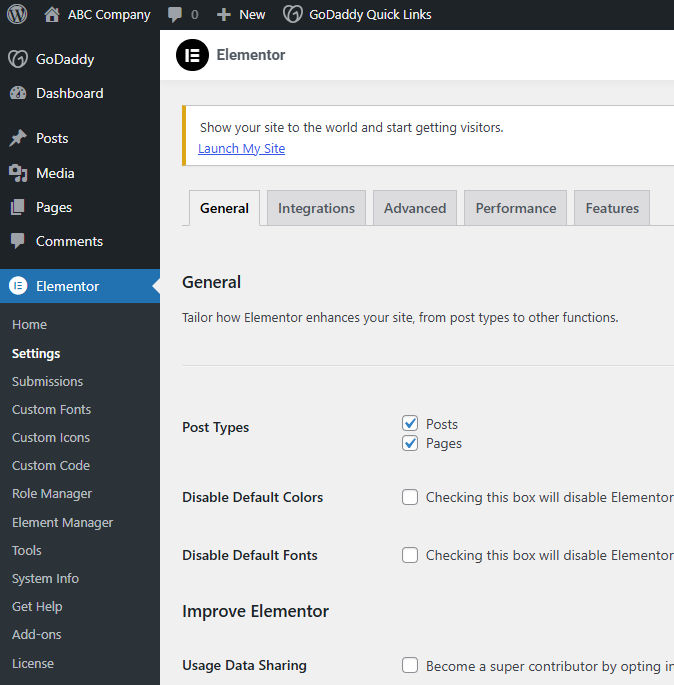
WP Admin > Elementor > Settings
Now that Elementor has been activated, you’ll see 2 new menu items in the WordPress admin: “Elementor” and “Templates”, each with submenus. Click on Element > Settings to optionally change any general settings, integrations, performance settings, and features.
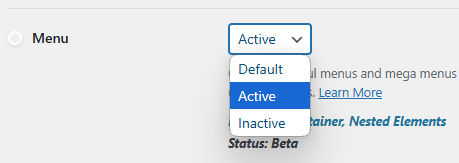
To create mega menus, go to Elementor > Settings > Features and beside “Menu”, select “Active”. Scroll down and click “Save”.
WP Admin > Elementor > Submissions
When someone submits a form, Elementor will store form submissions here.
WP Admin > Elementor > Custom Fonts
You can upload some custom fonts here to use in your website. For example, you can browse free fonts on Google Fonts, download them, and then upload them here.
WP Admin > Elementor > Custom Icons
You can upload custom icon sets here from Fontello, IcoMoon, and Fontastic as zip files to use in your website.
WP Admin > Elementor > Custom Code
You can add custom code like pixels, meta tags and any other scripts to your site from here.
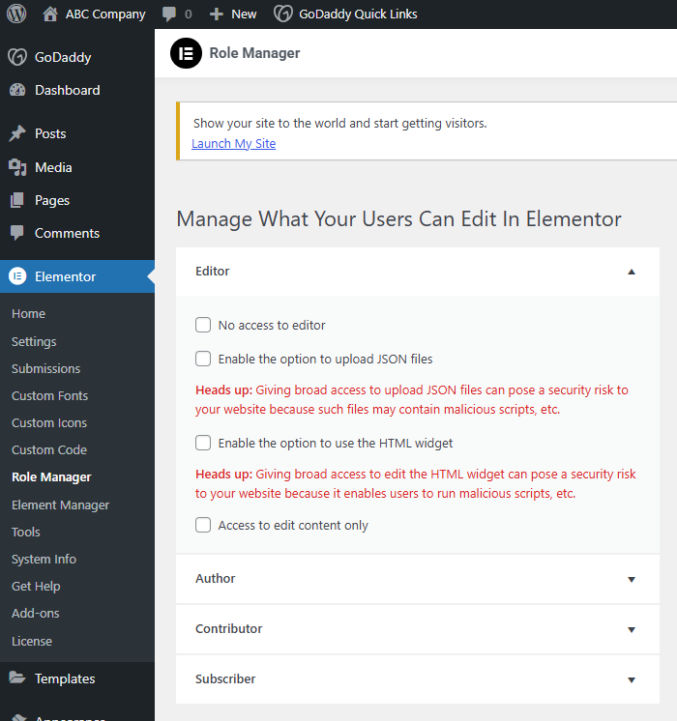
WP Admin > Elementor > Role Manager
The Role Manager lets you specify what your users can edit in Elementor.
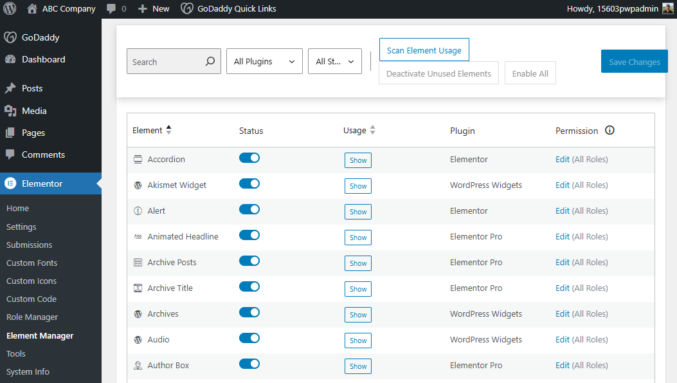
WP Admin > Elementor > Element Manager
The Element Manager lets you enable/disable various Elementor, Elementor Pro, and native WordPress widgets when you are building pages with the Elementor page builder.
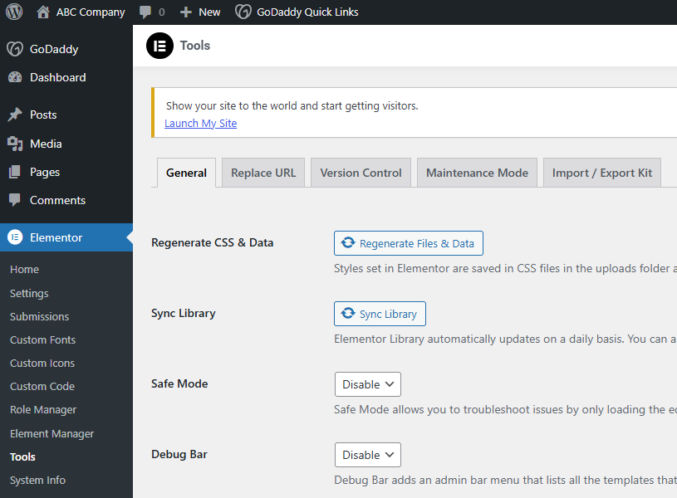
WP Admin > Elementor > Tools
Under Tools, you can do various things like regenerate CSS and data files, replace URLs, roll back to an older version of Elementor, put your site in maintenance mode, and import/export a template kit.
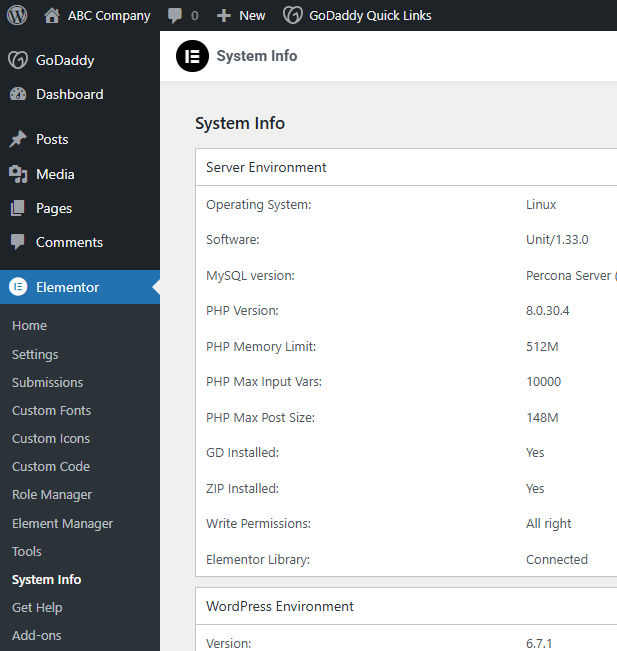
WP Admin > Elementor > System Info
Under System Info, you see details of your server environment, WordPress environment, theme, user, active plug-ins, must-use plugins, features, integrations, Elementor experiments, error log, and more.
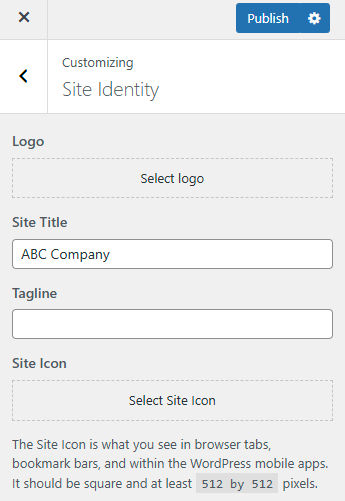
WP Admin > Appearance > Customize > Site Identity
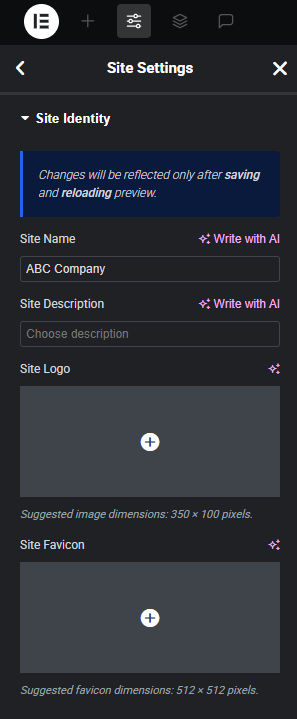
To add your logo and favicon to your website, go to Appearance > Customize > Site Identity and then click the “Select Logo” button and the “Select Site Icon”, respectively. You can also enter a name and tagline for your website. For demo purposes, I’ll enter “ABC Company” and leave the tagline blank.
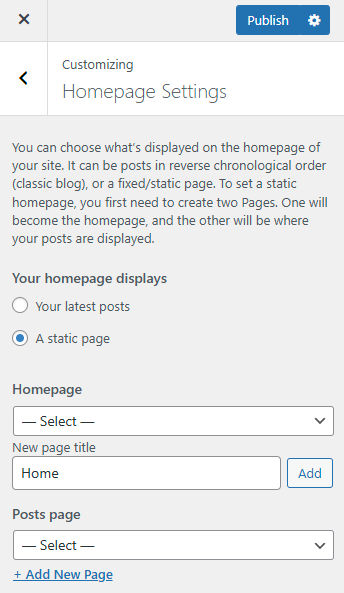
WP Admin > Appearance > Customize > Homepage Settings
Since WordPress started as a CMS to create blogs, the default home page was an index of blog posts. Since we want our home page to be a custom page, let’s change the home page type to “static”. Go to Appearances > Customize > Homepage Settings and choose “A static page”. For “Homepage”, since we haven’t created one yet, add a new one titled “Home” and click the “Add” button. You can leave “Posts page” empty for now.
WP Admin > Appearance > Customize > Menu
Decide what pages you want linked from your website’s main menu. You can have a multi-level menu, e.g. top-level links with a drop-down on hover to show a submenu of links. For demo purposes, let’s say we want our menu to be as follows:
- Products
- Product A
- Product B
- Product C
- Services
- Service A
- Service B
- Service C
- About
- Contact
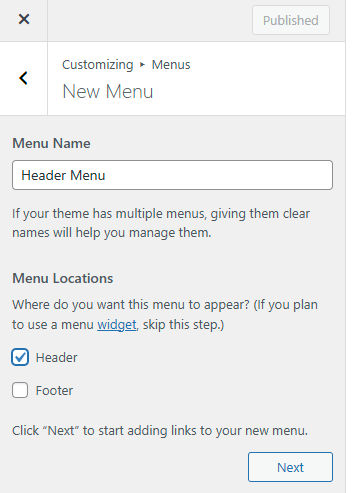
To create this menu, go to Appearance > Customize > Menus > Create New Menu. Then, give the menu a name, e.g. Header Menu, and choose a location.
Click Next > Add Items and start adding the names of the links under “Pages”. You can then drag menu items to nest them the way you want to create submenus.
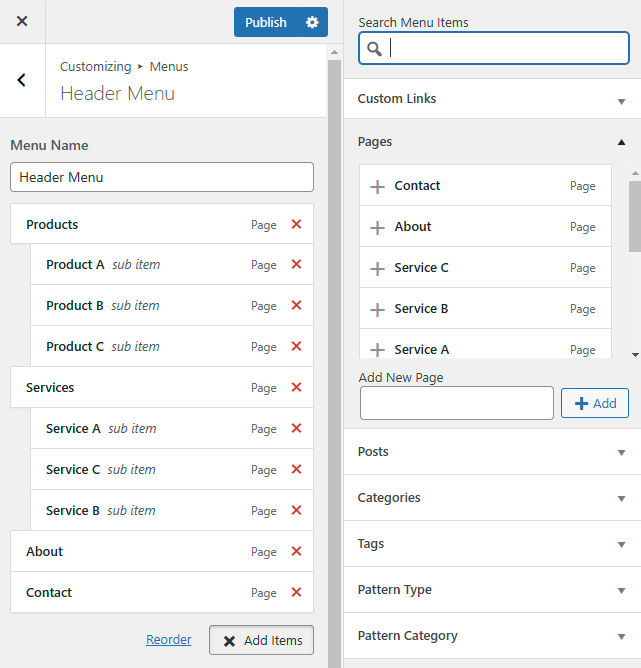
You can see a live preview of the menu in the Hello Elementor starter theme we’re using. Click “Publish” to save your changes.
Note that you can create multiple menus, e.g. one for the header and one for the footer.
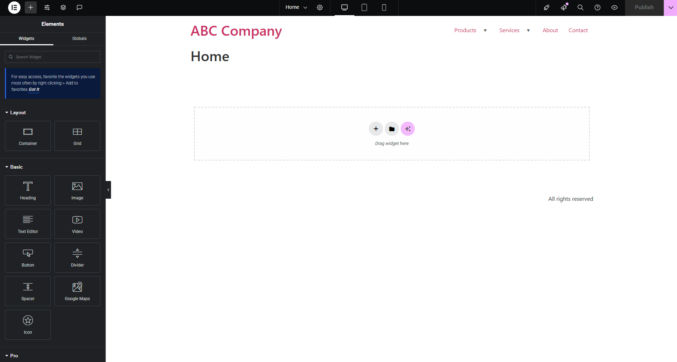
Edit Home Page
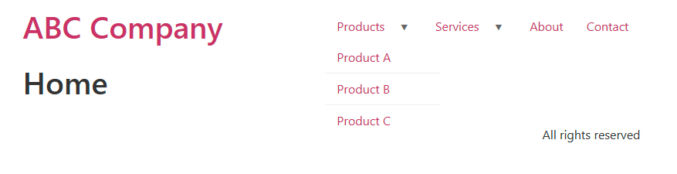
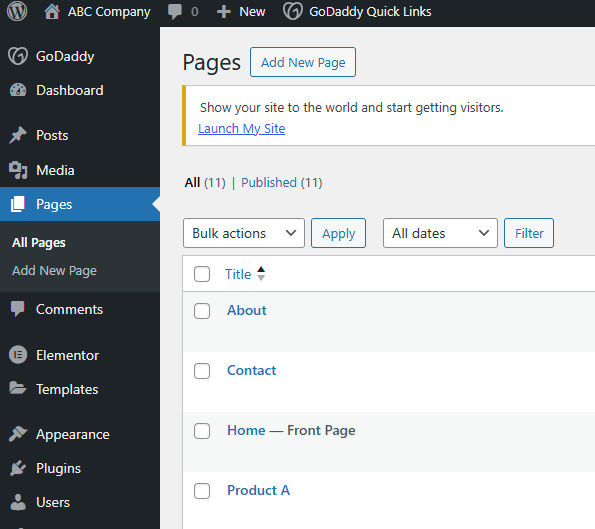
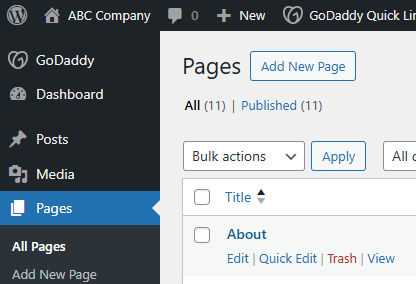
When you click “Pages” in the WordPress admin panel, you’ll see a list of pages you created when you added menu items. Note that the “Home” page is labeled as the “Front Page”.
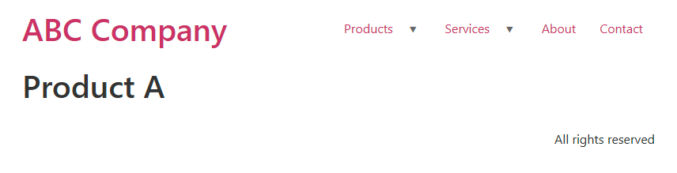
That’s why when you click on a menu item, a page that uses the “page” template will appear with a page title that matches the menu item text. For example, when I click “Product A” in the menu, I see this.
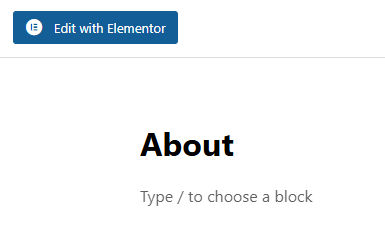
If you click on “Home” in the list of pages, you’ll see the WordPress Gutenberg block editor showing the page title “Home”.

We don’t want to edit the page using the native WordPress editor. Click the blue “Edit with Elementor” button at the top. We’ll be taken to the same page but in Elementor, which is a much better WYSIWYG editor.
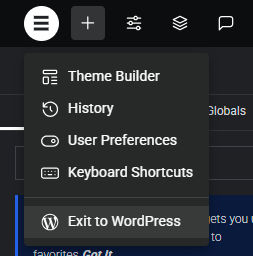
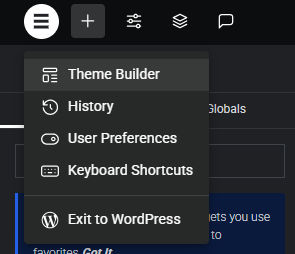
If you need to go back to the WordPress admin panel, click the Elementor button in the top left corner and then “Exit to WordPress”.
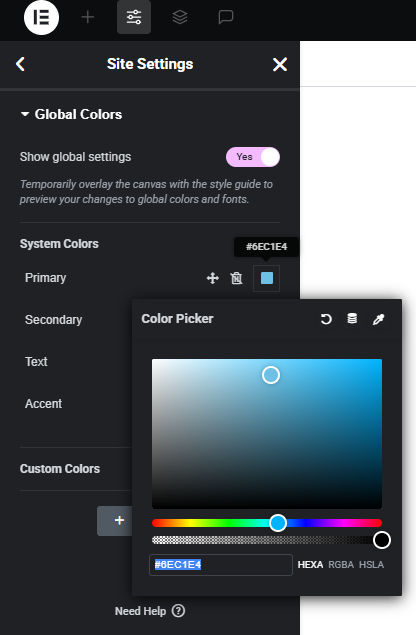
Elementor > Site Settings > Global Colors
Here, you can specify primary, secondary, text, and accent colors as well as additional optional colors.
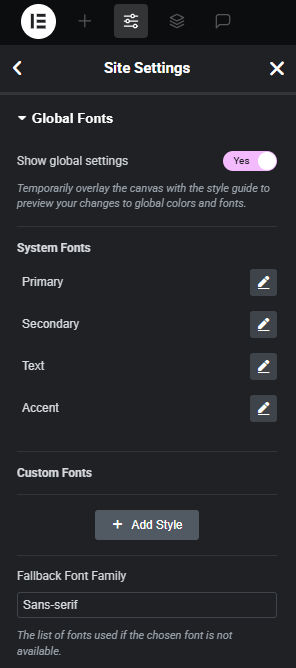
Elementor > Site Settings > Global Fonts
Here, you can specify primary, secondary, text, and access font family and styles as well as additional custom fonts.
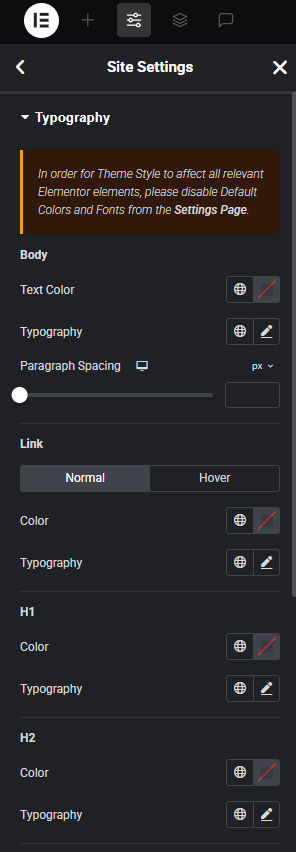
Elementor > Site Settings > Typography
Here, you can specify font family and style for body text and H1 – H5 headings.
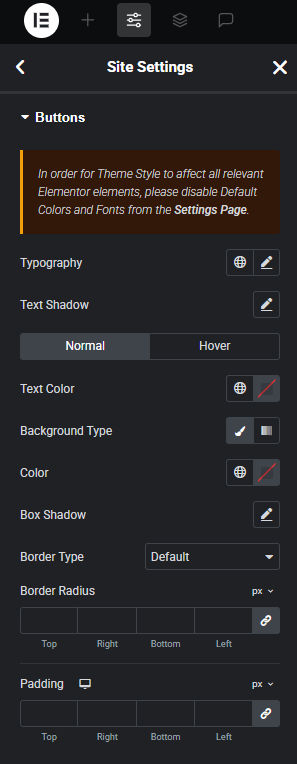
Elementor > Site Settings > Button Style
Here, you can specify how your buttons should look.
Elementor > Site Settings > Image Style
Here, you can specify how your images should look.

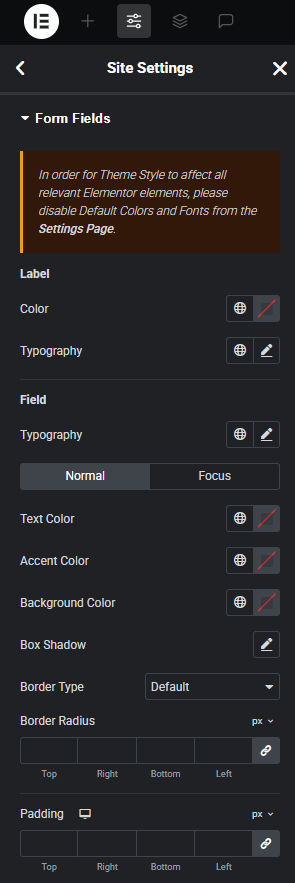
Elementor > Site Settings > Form Fields
Here, you can edit the style of form fields.
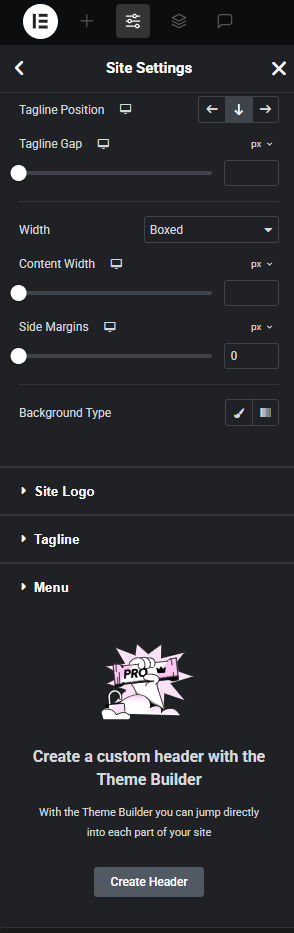
Elementor > Site Settings > Header
Here, you can edit the header of the active theme (in this case, Hello Elementor). If you scroll down, you can optionally create a custom header using the Theme Builder.
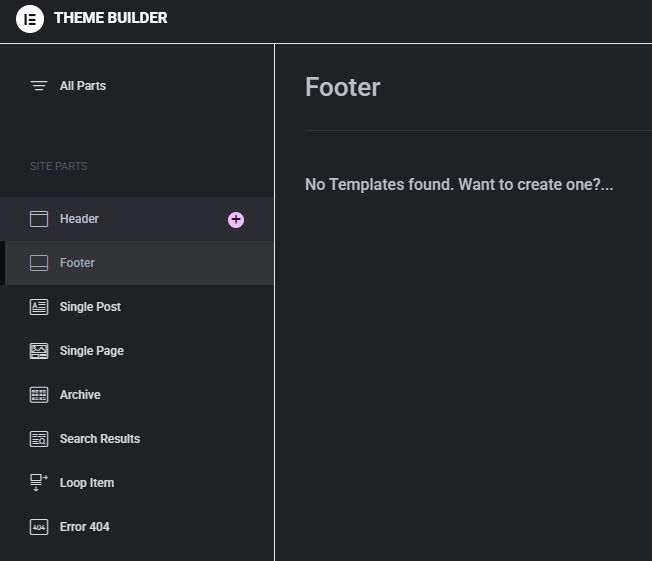
You can also access the Theme Builder from the Elementor menu in the top left corner.
The Theme Builder allows you to create a template for various parts of your site (header, footer, single post, single page, etc).
For example, under Header, when you click to “Add New”, a popup will appear with premade header blocks to insert into your site.
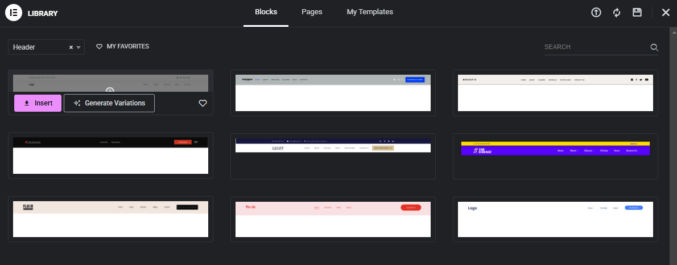
The library has many types of content blocks to choose from.
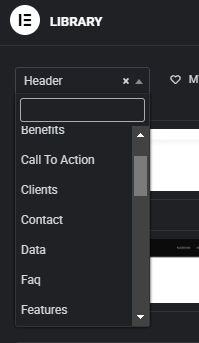
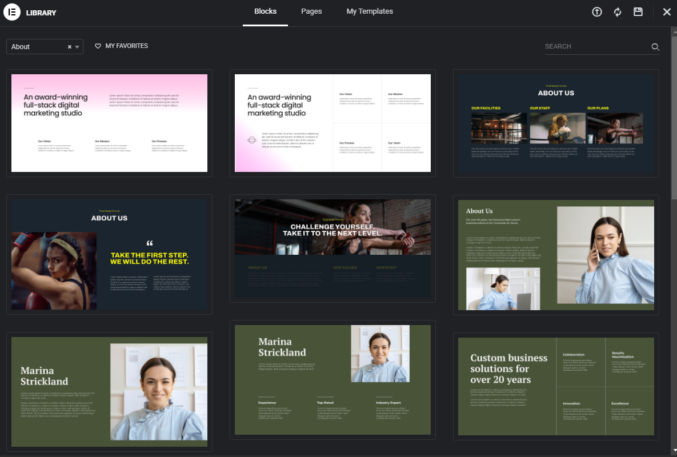
For example, here are “About” blocks.
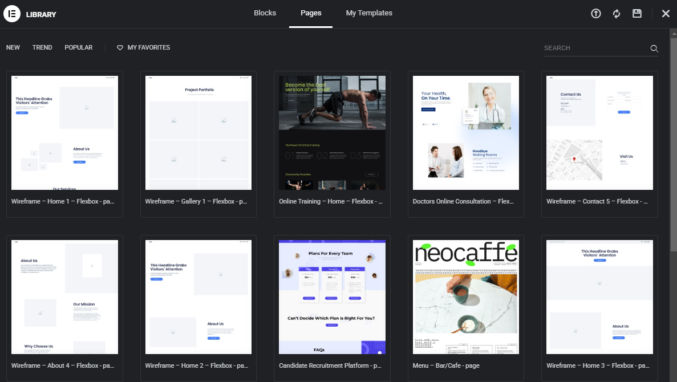
If you click the “Pages” tab in the Library, you’ll see a bunch of premade pages to insert into your website.
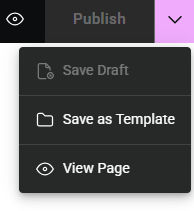
And if you click the “My Templates” tab, you’ll see any custom block or page templates you’ve created and saved. For example, once you’re done creating a page, you can click the down arrow in the top right corner and then click “Save as Template”.
Elementor > Site Settings > Footer
Like the header, here, you can edit the footer of the active theme (in this case, Hello Elementor). If you scroll down, you can optionally create a custom header using the Theme Builder.
Elementor > Site Settings > Site Identity
Here, you can specify a site name, description, logo, and favicon.
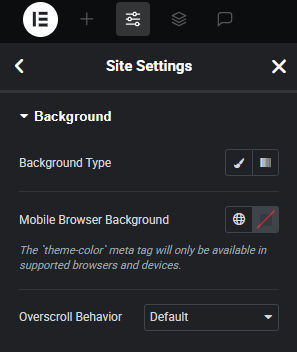
Elementor > Site Settings > Background
Here, you can set a background for your website. It could be a solid color, a gradient, a video, etc.
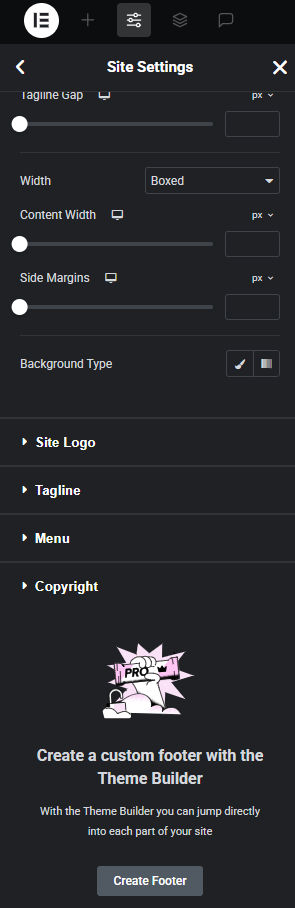
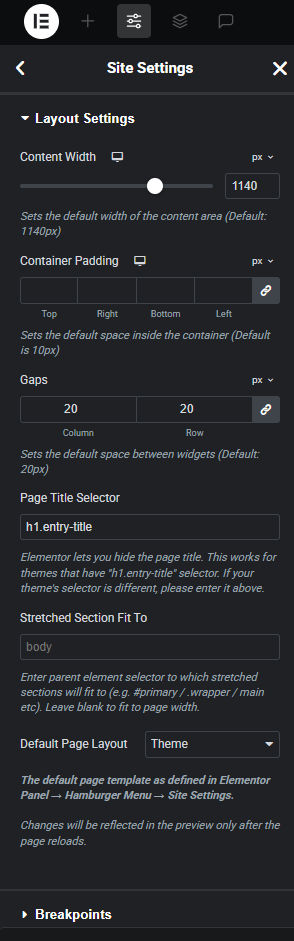
Elementor > Site Settings > Layout Settings
Here, you can specify the width of your websites content area, default container padding, the gap size between widgets, breakpoints, etc.
Elementor > Site Settings > Layout Settings
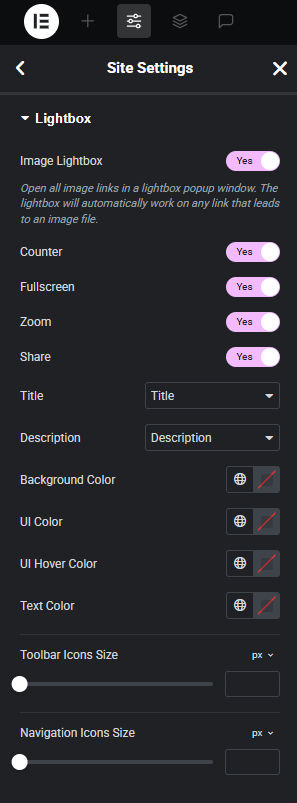
Here, you can enable image lightbox, which opens all image links in a popup window. You can edit the style of the lightbox here.
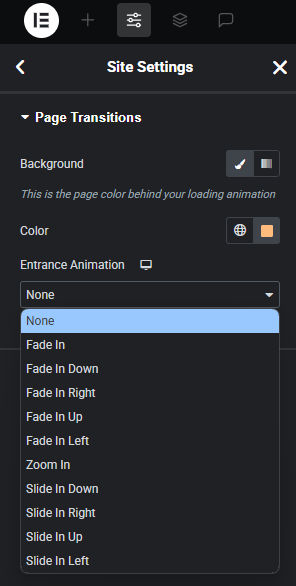
Elementor > Site Settings > Page Transitions
Here, you can specify how a page transitions from one to another, e.g. fade in, zoom in, slide, etc.
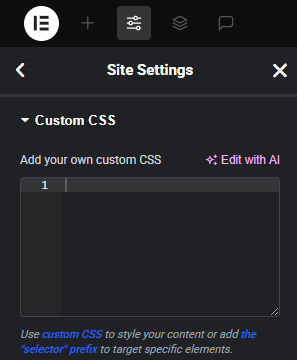
Elementor > Site Settings > Custom CSS
Here, you can enter any custom global CSS.
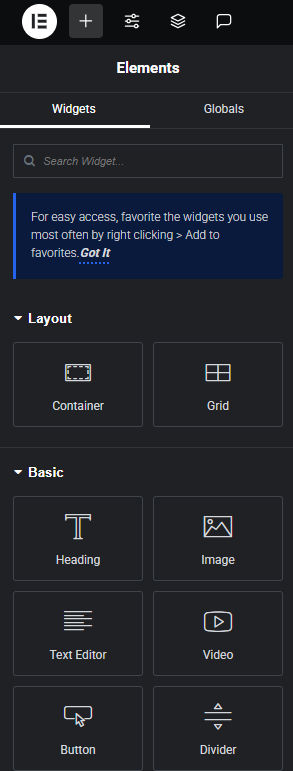
Elementor > Add Element > Widgets
To start building a page from scratch, you’ll click on the + icon to open the widget library. There are
- layout widgets (flexbox and grid),
- basic widgets (text, image, etc)
- Pro widgets (loop grid, loop carousel, etc)
- general widgets (tabs, accordion, etc)
- link in bio widgets (minimalist, classic, etc)
- site widgets (site logo, site title, etc)
- single widgets (these are widgets for single posts, e.g. post title, post excerpt, etc)
- WordPress widgets (pages, calendar, etc)
Add Widgets to a Page
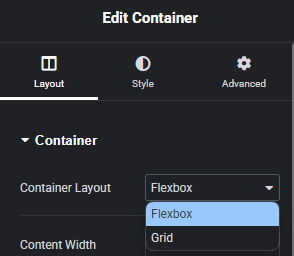
To start building a page, drag a widget from the widget library to the location in the page where you want the widget to appear. Most of the time, you will start with a container layout widget. The default container is “Flexbox”, which is used for any type of layout. If you are created a symmetrical layout, you can choose “Grid”. Note that for each widget, there are 3 tabs with controls to configure various settings of the widget:
- Layout
- Style
- Advanced
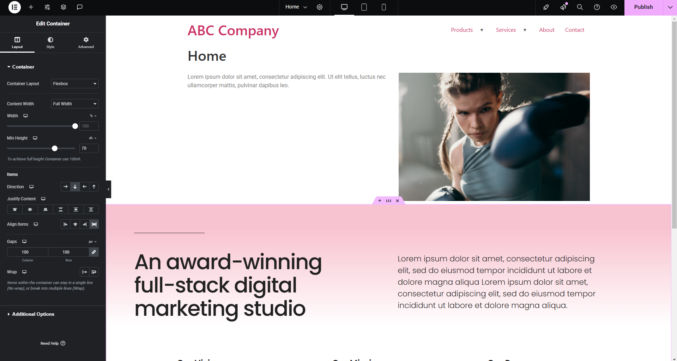
As you can see below. I’ve added a simple flexbox container to the page.
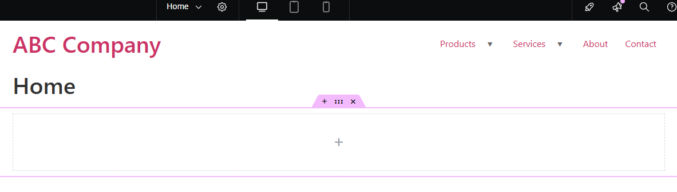
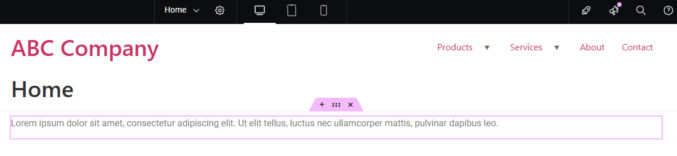
Now, let’s add some text on the left and an image on the right. Drag the text widget to the container. There is placeholder text.
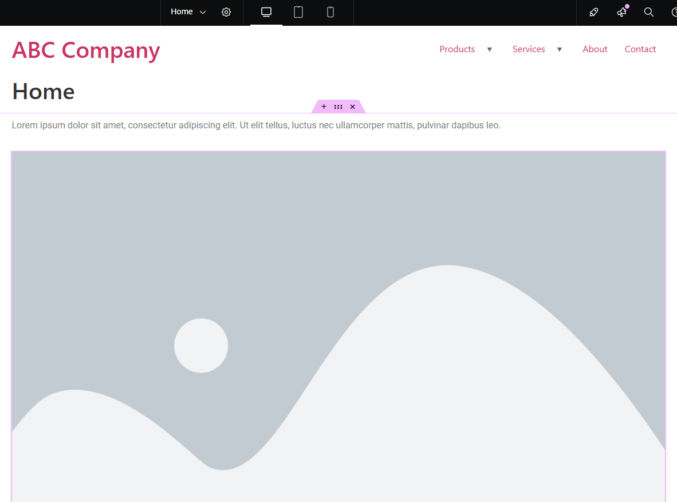
Now, drag the image widget to the container. By default, we see a huge placeholder image and it appears below the text.
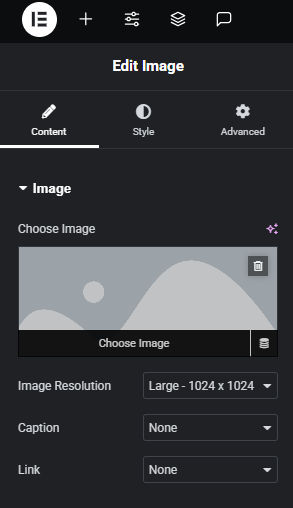
In the Content tab of the image widget settings, let’s replace the image with any test image.
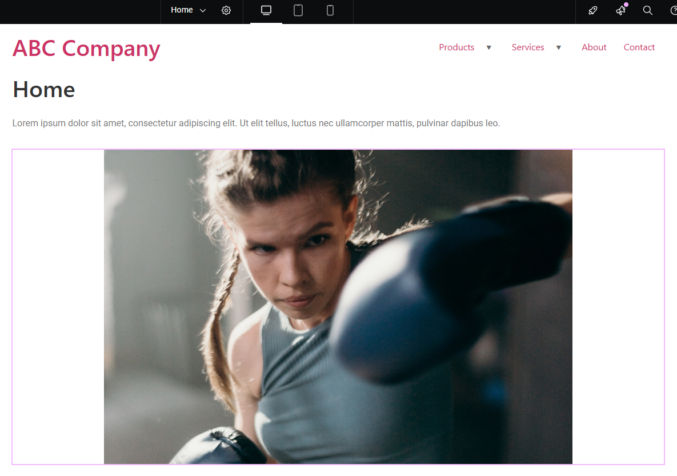
Our page now looks like this.
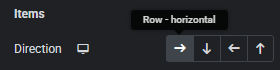
Since we want the text and image to be in a row, we need to click on the container (6 dots)
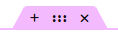
and then click “Row” (right arrow) under “Items”.
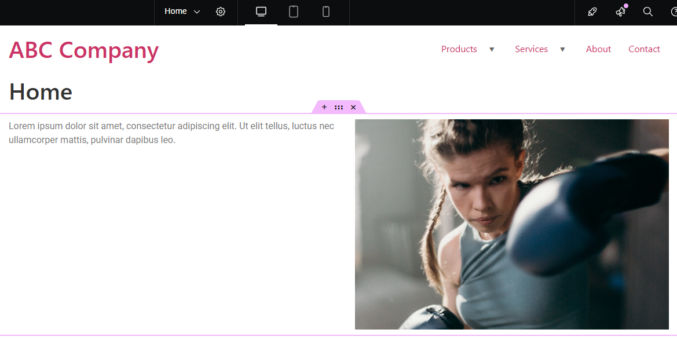
The page now looks like this.
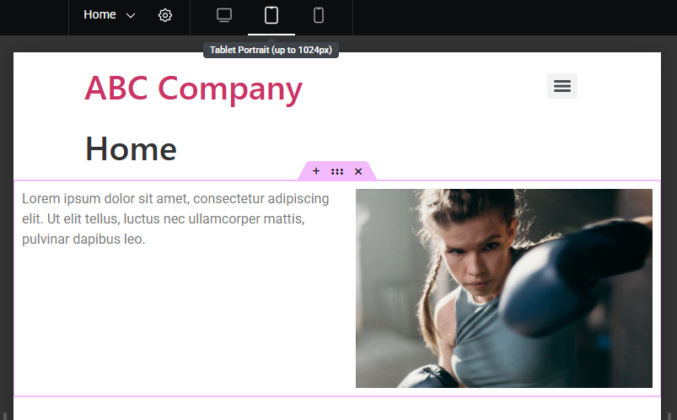
Tablet Preview
In the top center of the Elementor editor, you will see which page you are editing with a dropdown of other pages you can edit. There are also buttons for desktop, tablet, and mobile to preview how your site looks in each device. Clicking the tablet button shows us how the page looks on table.
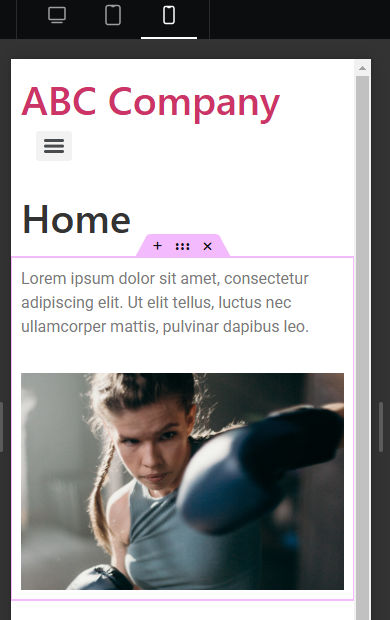
Mobile Preview
Similarly, we can see a preview of the page on mobile.
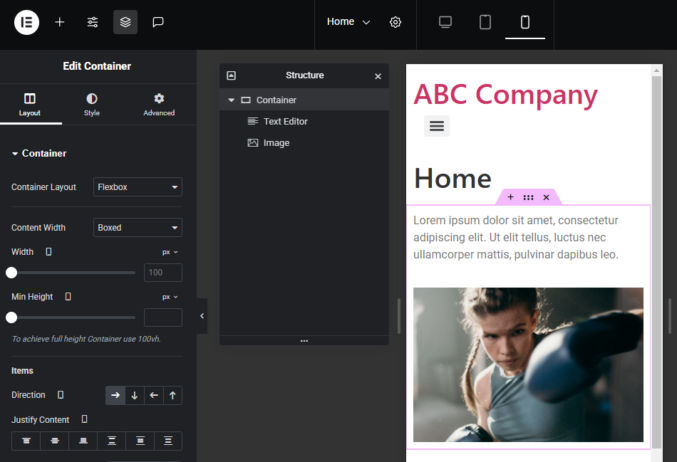
Elementor > Structure
If you click the Structure button in the top left, a popup will appear showing the structure of the various elements on the page except for the header and footer. Since we added a container with nested text and image blocks, we see that structure in the Structure popup.
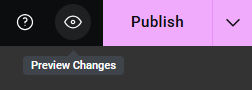
Elementor > Preview
To preview the page, click the eye icon next to the Publish button.
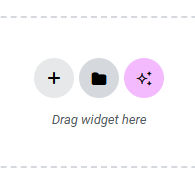
Insert a Block
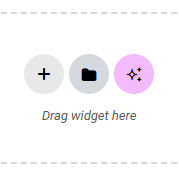
Below the section we just added, let’s add a premade block. Click the folder icon to add a template.
Browse the premade blocks, choose one, hover over it, and click “Insert”.
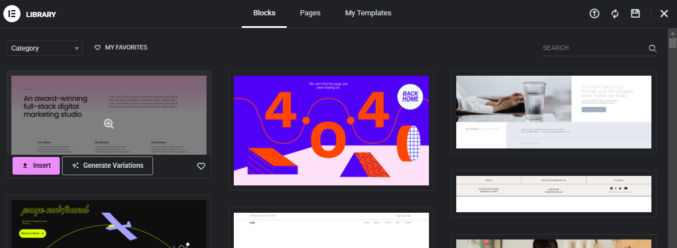
You’ll see that the block has been added to our page.
Publish
Right now, our home page still looks like this.

Click the pink Publish button in the top right and then reload your site. Your changes will be live.

Insert a Page Template
Go back to the WordPress admin and click on another page to edit, e.g. the About page.
In the WordPress editor, click the “Edit with Elementor” button to edit the page in Elementor.
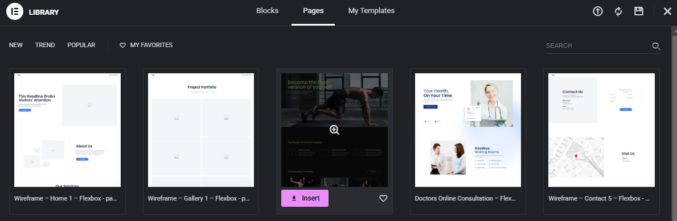
Now, click the folder icon to open the template library.
Click the “Pages” tab, browse the page templates, hover over one, and click “Insert” to insert it into our About page.
We now see that page template inserted into our About page. We can edit the content and then publish it.

Browsing the premade templates, inserting them into your pages, and inspecting how they are set up is one way to learn how to create pages from scratch
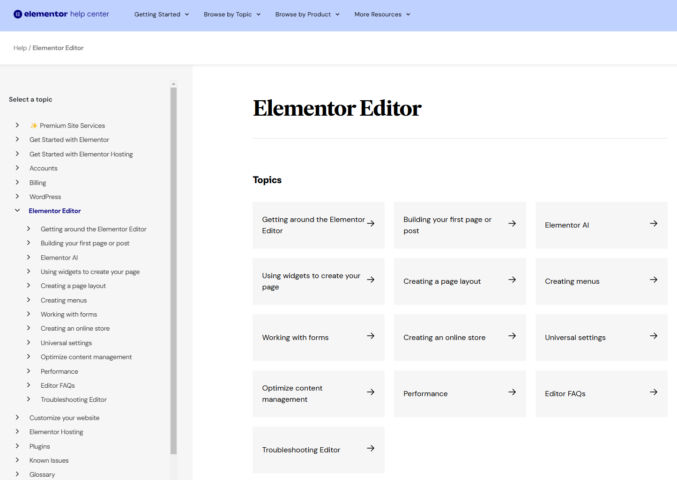
Last but not least, if you need any help, you can read the Elementor docs at https://elementor.com/help/elementor-editor/