This post will explain how I easily made this short 5-minute 4K video using LosslessCut and VideoStudio Pro.
Short videos like this are handy when you want to condense a lot of video footage into a short video. Unlike 1080p video footage, 4K footage is much larger in file size, so, depending on your computer, editing it can be slow and frustrating. I used LosslessCut to easily and quickly create many short video clips from several large video files. I then used Corel VideoStudio Pro to assemble the clips and add transitions, effects, music, etc.
1. Take Video Footage
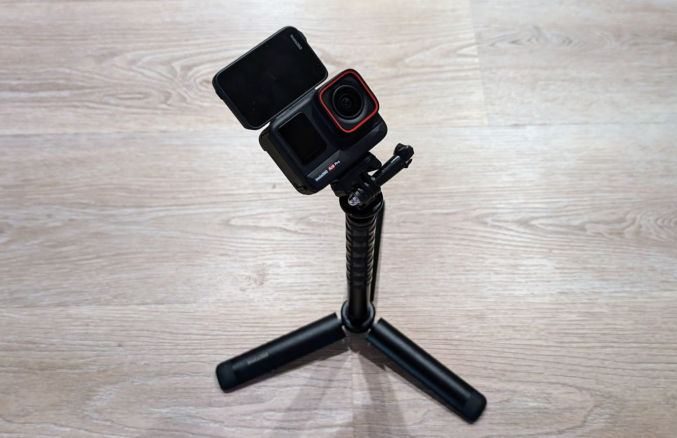
I used the Insta360 Ace Pro action camera. This camera has a large flip screen, which made it super easy to get footage on my own using a tripod. The camera has pretty good low-light quality when you choose the PureVideo setting. I took 4K30fps video.
2. Extract Clips From Video Footage
Open your video footage in LosslessCut.
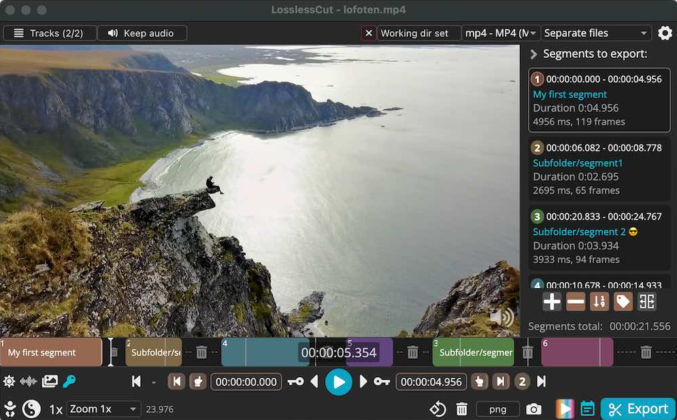
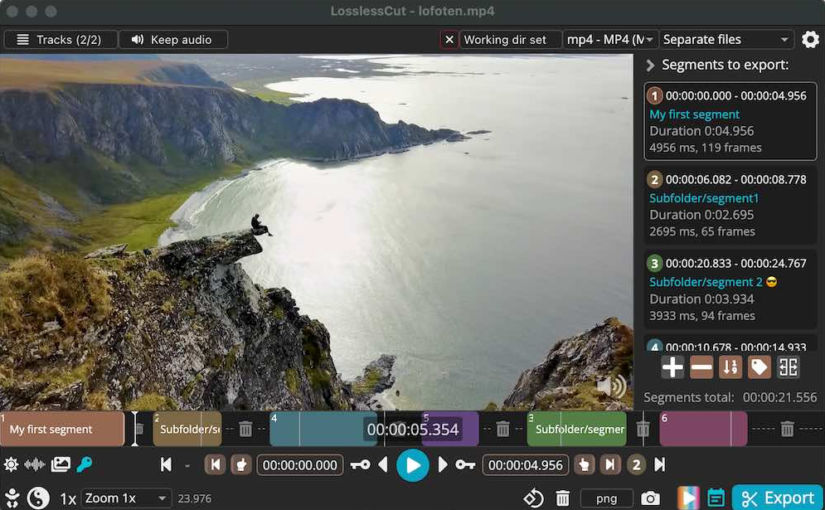
Go to the beginning of the first segment you want to turn into a clip. You can click the play button to play the video or jump to different sections by clicking on the timeline. You can also click the left and right arrow keys to move one frame at a time. Mark the beginning of the segment by clicking the left-finger pointer button. Go to the end of the segment and click the right-finger pointer button. In my video above, I made each clip between 3 and 5 seconds long.

You will see the segment in the right column.
To create a new segment, click the plus (+) button below the segments in the right column. If you want to delete a segment, you can click the minus (-) button.

Repeat this process until you have all the segments you want to export. When you’re ready to export, click the Export button in the bottom right corner. The segments will almost instantly be exported as individual clips without loss of quality.
3. Compress Video Clips
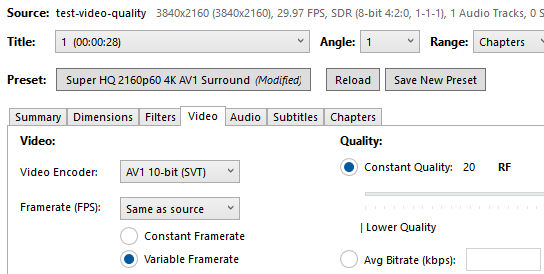
Use Handbrake to batch compress all video clips.
| Video | Video Quality Setting (CRF) | Bitrate | File Size | File Size % of Original |
|---|---|---|---|---|
| Original | – | 106Mbps | 355 MB | |
| Fast | 63 | 0.5 Mbps | 1.7 MB | 99% smaller |
| Fast | 35 | 4.7 Mbps | 16 MB | 95.5% smaller |
| Super HQ | 20 | 20 Mbps | 66 MB | 82% smaller |
| Super HQ | 0 (highest) | 319 Mbps | 1092 MB | 300% larger |
I used the Super HQ (20) preset since that produced 82% smaller files while maintaining visual quality.
4. Assemble Clips in a Video Editor
I used Corel VideoStudio Pro to create my final video.
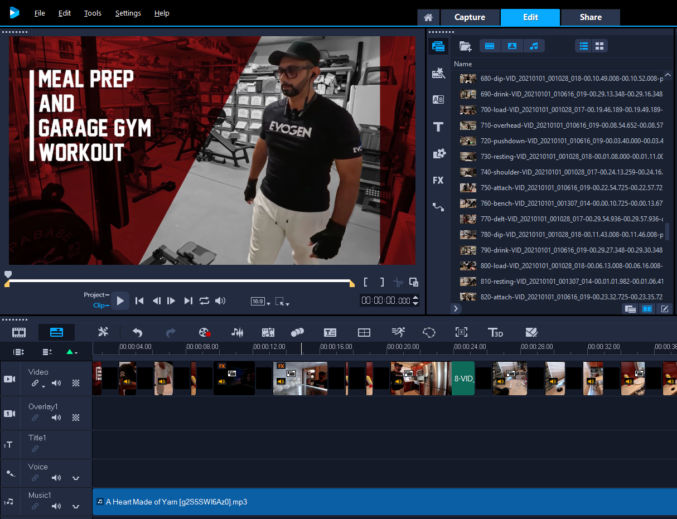
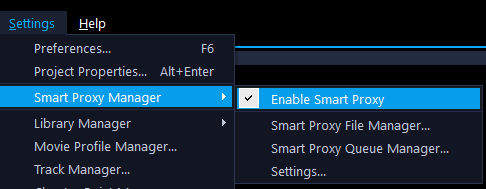
Import all the clips into VideoStudio Pro. Make sure to enable smart proxy to improve video editing performance.
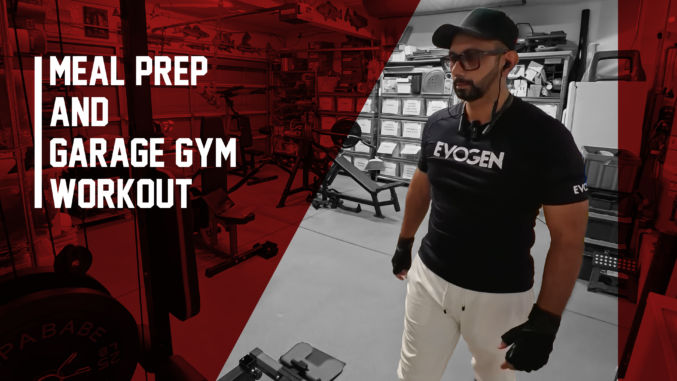
Since I made a 4K video, I made a poster image that was 3840 px by 2160 px.
For the music, I chose the following
For the transitions, I used Fade to Black. You can choose “Apply current effect to video track” to apply the transition to all clips at once.

For the workout scenes, I added the duotone effect to the clips so the background wouldn’t be distracting.
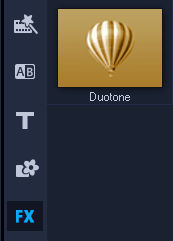
Drag the Duotone effect thumbnail to the clip on the timeline. You’ll see an “FX” label on the clip.

Here’s how a clip looked before and after applying the duotone effect.
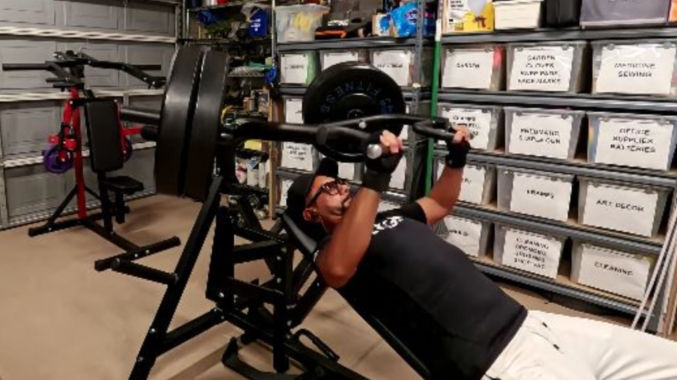
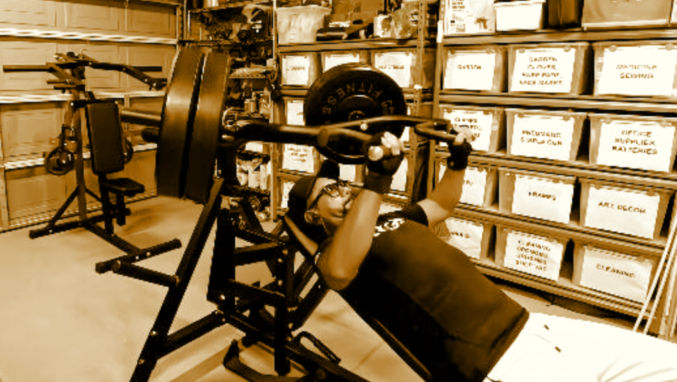
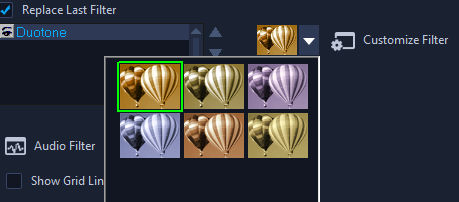
When you click on a clip that has the duotone effect applied, you can customize the effect, e.g. by changing the color.
5. Export the Video
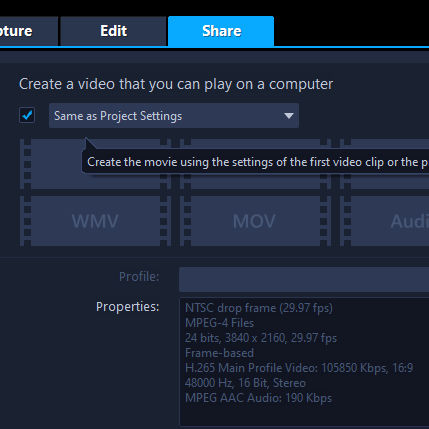
After assembling all assets (video clips, music, etc), transitions and effects, click the Share tab to export the video. Make sure the render video properties match the properties of the source video clips to maintain quality. In particular, pay attention to the resolution (3840 x 2160) and bitrate.
