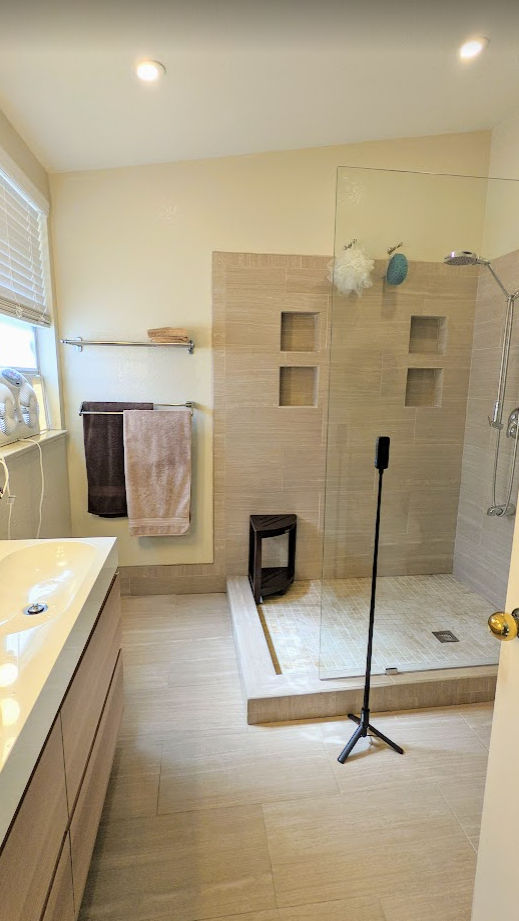
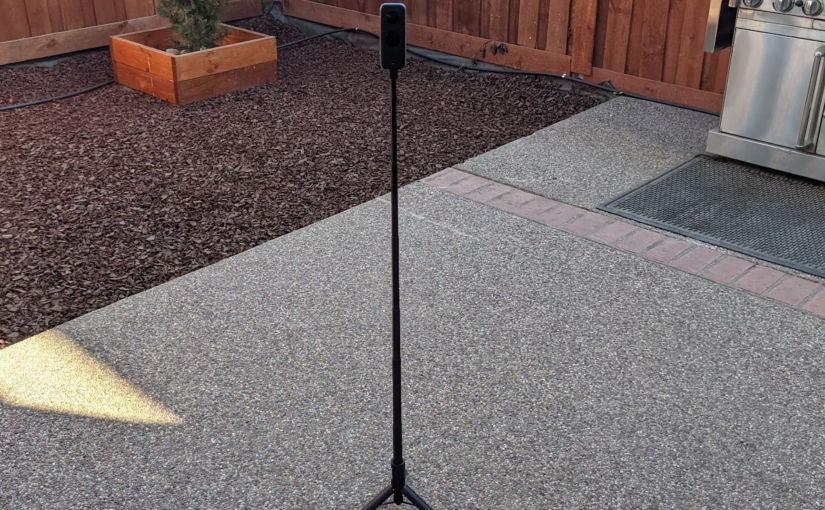
This article is based on using the Insta360 ONE X2. Let’s say you want to make a video tour of your house. You’re not a pro, you don’t want to spend a lot of money, you don’t really know what you’re doing, but you do want a video tour of each room of your house for marketing purposes, for example. Here’s an example of a house tour but only showing one room (area) – the backyard.
Here’s one easy way to do it using the Insta 360 ONE X2.
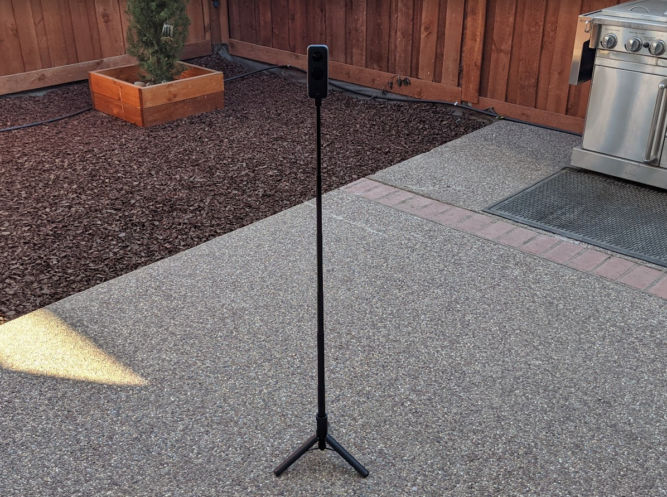
Put the camera on a tripod in a room
For this example, I put the camera in the backyard as shown below.
Start recording and leave the room
In post editing, we’ll trim the beginning of the video so you’re not in it.
Wait a while, e.g. 40 seconds
It’s up to you how long you want to wait. In the video above, the duration is 18 seconds. If you mess up and the video is too short, you can slow it down in post editing to twice the duration or 4 times the duration. In the example backyard video above, the duration is 37 seconds.
Go back into the room and stop recording
In post editing, we’ll trim the end of the video so you’re not in it.
Transfer the video to your computer
I just use a USB-C cable to transfer the video. Note that each video has 3 files because the video is unstitched and has the proprietary .insv (Insta360 Video) file extension.

Edit the video in Insta360 Studio
Open the video (you can just open one of the 3 insv files) and start editing.
- Enable Flowstate Stabilization (although maybe that’s not necessary since the camera is static on a tripod)
- Move the left trim marker to where you want the video to begin (the point after you’ve left the room)
- Move the right trim marker to where you want the video to end (the point before you reenter the room)
- Set the aspect ratio to 16:9 (standard TV screen size)
- Add 5 keyframes (indicated in yellow circles) on the timeline with the following specs
Keyframe 1
Timestamp = beginning of video in timeline
Pan angle = 0°
View = Natural view

Keyframe 2
Timestamp = 25% of the duration of the video from the beginning
Pan angle = 90°
View = Natural view

Keyframe 3
Timestamp = 50% of the duration of the video from the beginning
Pan angle = 180°
View = Natural view

Keyframe 4
Timestamp = 75% of the duration of the video from the beginning
Pan angle = 270°
View = Natural view

Keyframe 5
Timestamp = end of the video in the timeline
Pan angle = 360°
View = Natural view
Insta360 Studio converts 360° to 1×0°.

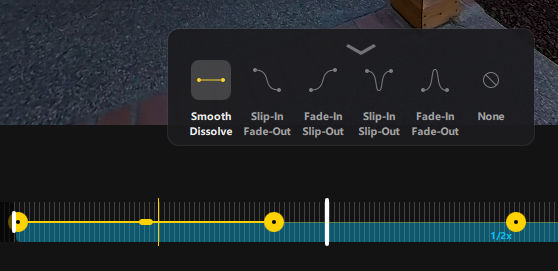
Choose a transition
Between each keyframe, you can click on the yellow line to pick a transition type. The default is “Smooth Dissolve” which is recommended.
Adjust video speed
If the video is too short or too long, you can slow it down (2x or 4x) or speed it up (2x, 4x, 6x, 8x, 16x, 32x, 64x). Just click the lightning icon and drag from the beginning to the end of the clip. Then click on the pink bar to change the speed.

Export the video
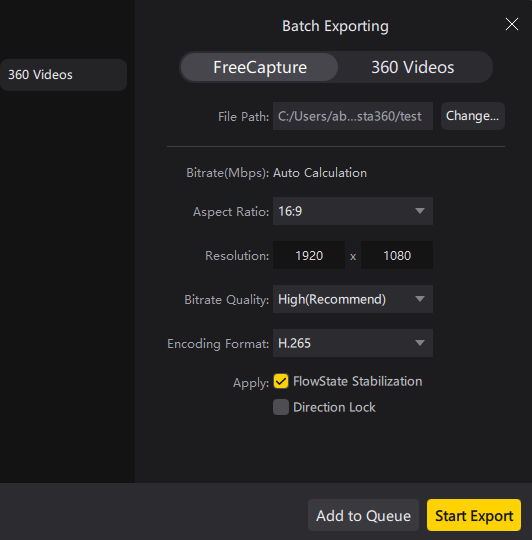
In the dialog box, you can choose either H.264 or H.265.
H.265 produces a smaller file size but takes longer to render compared to H.264 for the same level of video quality.
For example, for an 18 second video
- H.264 – 85 MB
- H.265 – 55 MB
If you’re just going to upload the video to YouTube, then you might want to just pick H.264 since the time to upload a larger file may be quicker than the extra time to render in H.265. Rendering the video will stitch the video together and produce a mp4 file which can be opened and viewed in most video applications.
Repeat for each room or area of the house
Once you’ve editing the videos for each room and exported them as MP4s, you can use any regular non-360 video editor to combine the clips together, add background music, text overlays, etc.
Here’s an example of the master bathroom with additional rotation to show the ceiling.
Again, the camera was just placed in the center of the room.
