Here’s a quick intro to 3d modeling using SketchUp in the browser.
Note: you can use SketchUp online or using the downloaded app. The free version of SketchUp doesn’t support creating Bezier curves. For that and other features, you’ll have to upgrade to SketchUp Pro.
When we create a new SketchUp sketch, we see this screen.

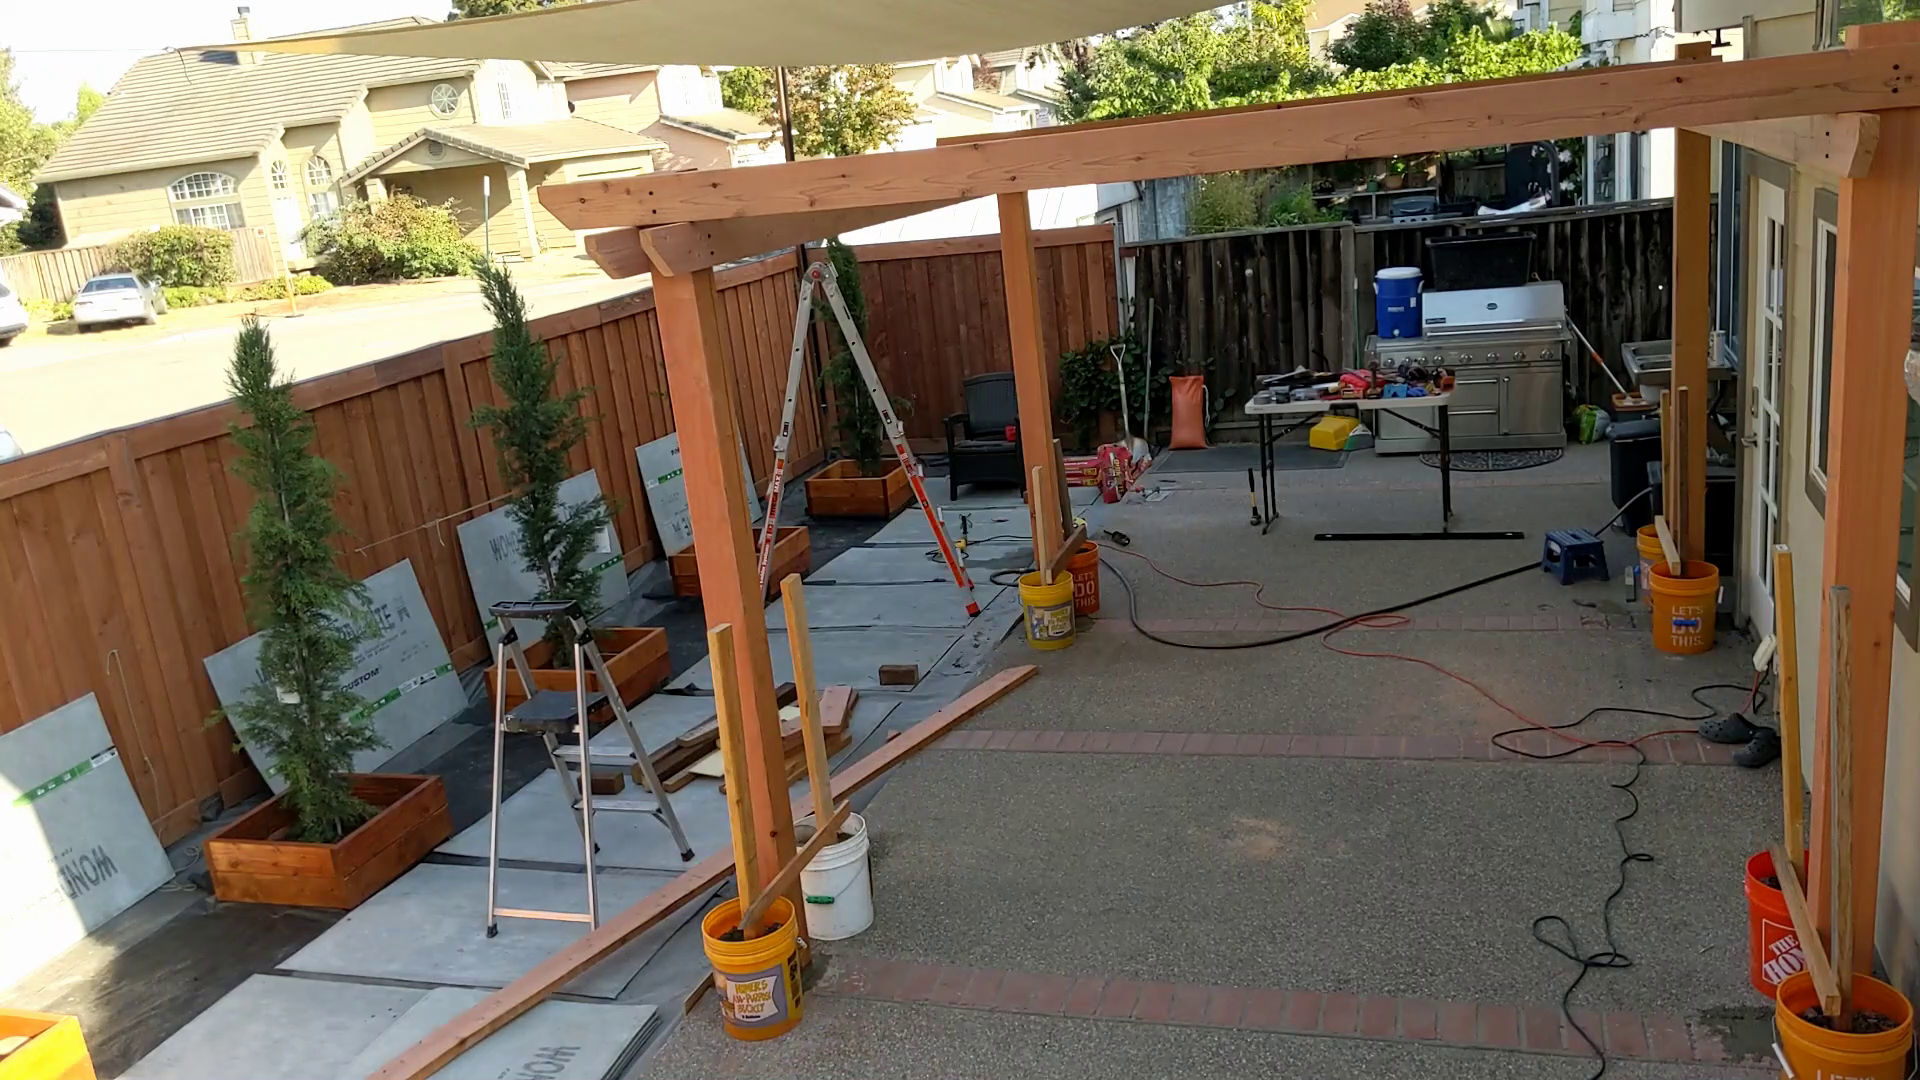
Let’s say we want to make four posts for a pergola. The posts are 6″x6″x10′ tall (actual dimensions are 5.5″x5.5″x10′).
First, under Model Info, we set the length format and precision.

To create our first post, we choose the Rectangle tool.

We click once in the 3D space and drag to create a rectangle which is 5.5″ x 5.5″. When dragging, we see in the bottom right corner the dimensions of the rectangle.

Instead of dragging until you get the right rectangle dimensions, just type 5.5,5.5 and then hit Enter.

Now, to complete making the first post, we need to “pull” the rectangle (actually, it’s a square) up 10 feet. Click the “pull” button.

Then click the square and drag up.

Again, to simplify getting the right dimensions, just type 120 and hit Enter to make the post 10 feet tall. Since all measurements are in inches, we type 120 instead of 10. SketchUp then converts the 120 to 10′ in the Dimensions box in the bottom right corner.

To verify the dimensions of any side of the object, click the Select tool.

and then click a side, e.g. a long side of the post, and in the Entity Info panel, we see that the length of that side is 10′.

Now, we’ll copy and paste that post by selecting the entire post, hitting Ctrl+C and Ctrl-V, and clicking where we want the other posts to be.

Now, the 2nd post is clearly not lined up with the first so we have to move it. Moving objects in SketchUp can be confusing to new users. Here are some ways to move an object.
Moving an object against another object
Let’s say we want to move the 2nd post flush against the first post. First, we orbit the view, if necessary, and select all of the 2nd post.
Then, we click the Move button.

and click on one corner of the 2nd post that we want to touch a corner on the first post.

Then, we click on the corner of the first post where we want that corner to touch. Now, the posts are flush and lined up together with each other.

Moving an object along an axis to line up with another object
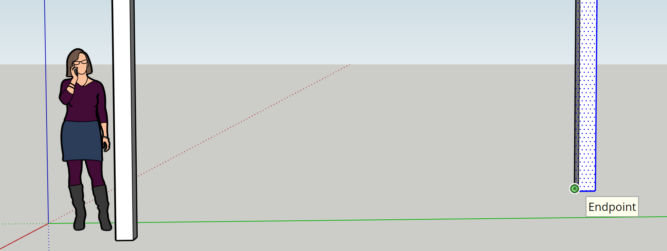
Let’s say the 2nd post is higher up than the first post. We want to lower it so that both are on the ground, so to speak. We want to move the 2nd post vertically along the Z axis down until its bottom is on the same plane as the bottom of the first post. To do this,
- select the 2nd post
- click the Move button and click the bottom left corner of the 2nd post
- drag up and down until you see “On Blue Axis” which is the Z axis
- hold the Shift key – you will see the tip “Constrained on line from point” which means your movements are constrained to the axis you were on (blue / vertical / Z)
- while holding Shift, drag and click on the bottom right corner of the first post.


You can also constrain movements to other axes as well.
Moving by Coordinates
Using the dimensions tool, we mark the distance between the two posts along the green axis. We get 12′.

Let’s say we want the distance between them to be 10′ instead.
Relative coordinates in SketchUp are indicated as <r,g,b> or <red,green,blue> (the colors of the axes). So, if we want to move 2′ (24″) towards the first post (towards [0,0,0]), we can do this
- select all of the 2nd post
- click the Move tool and click the bottom left corner
- drag a little anywhere to begin movement
- type <,-24,> and hit Enter

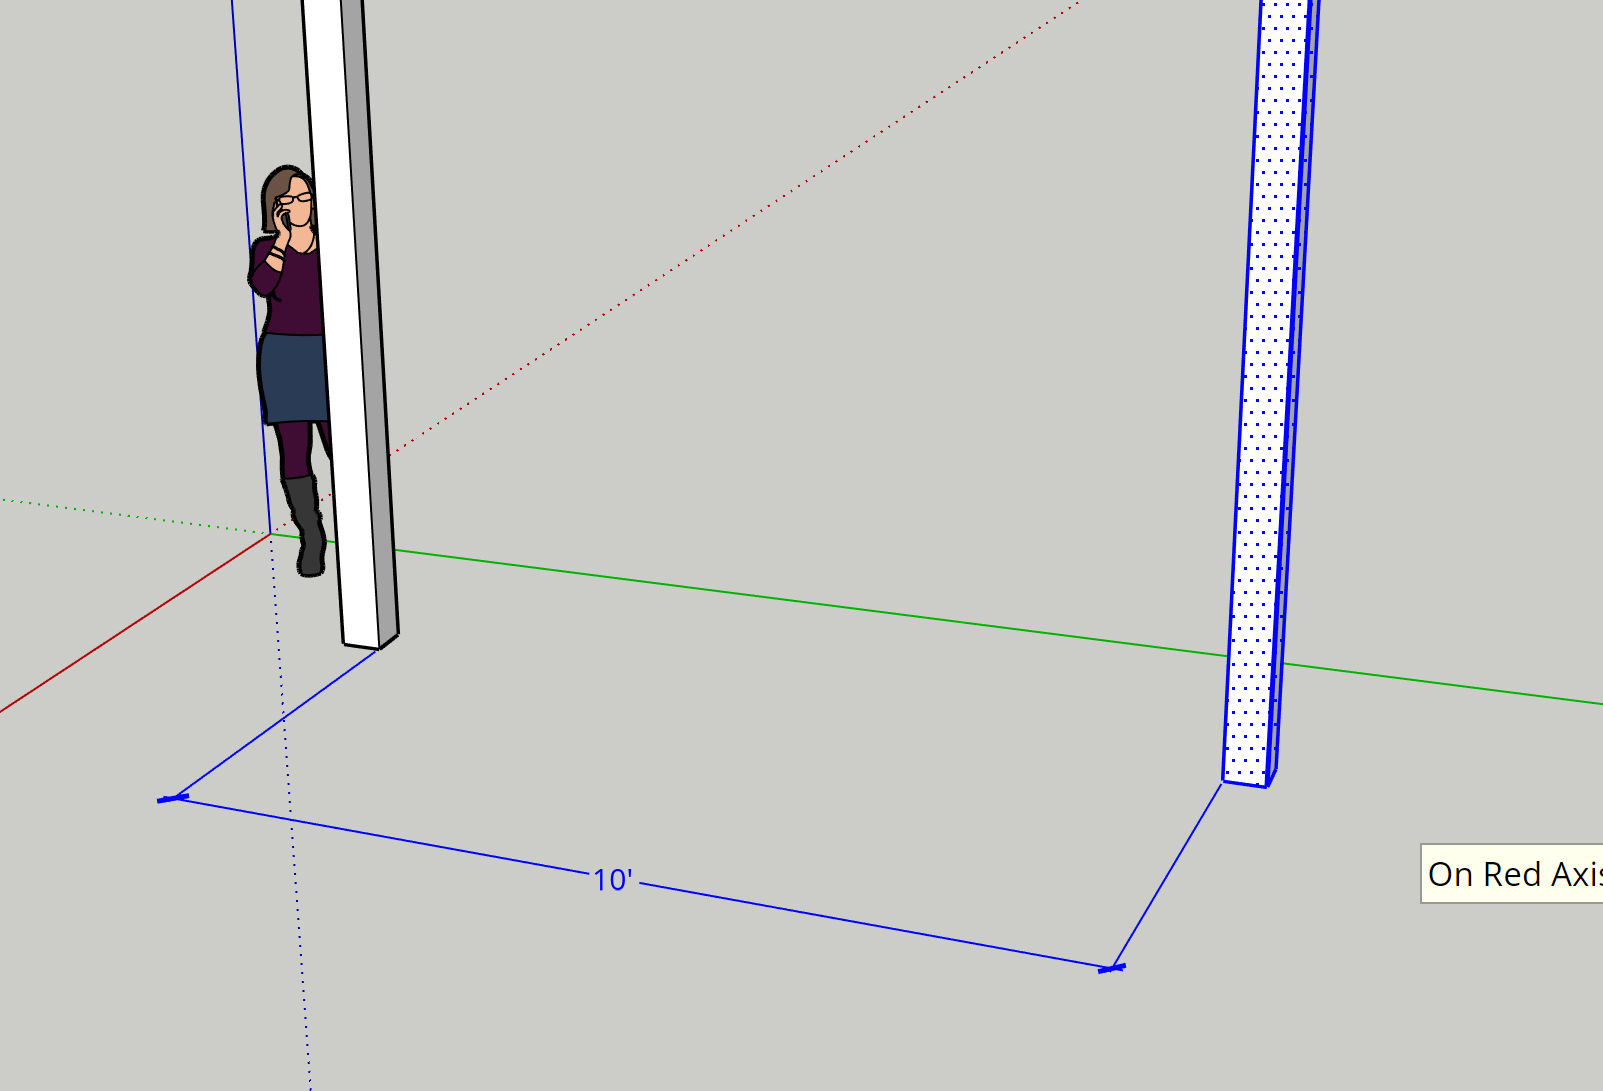
Now, the distance between the two posts along the green axis is 10′.
Absolute coordinates in SketchUp are indicated as [r,g,b] or [red,green,blue]. So, if we want to move to the center of the coordinate system, we do the same as above except we enter [0,0,0].

Using the techniques above, we can make 4 posts that are exactly 10′ apart and all on the same red-green plane.